Changes Within the US National Parks You Need to Know Before Planning a Trip

Throughout the last few years, the national park system has changed the way visitors can access certain areas within the parks during peak seasons. Certain parks now require reservations for specific areas to limit crowds and enhance visitor’s overall experience. As of this year, there are 9 national parks that require some type of reservation when visiting.
If you’ve read other national park posts I’ve written, you know I’m frequently recommending planning at least 6+ months in advance, especially for popular parks. While I know this isn’t always possible or convenient, due to the changes with national parks, planning in advance is almost essential if you want to fully access and experience the parks as it’s not possible to purchase these reservations upon entering the park, they must be reserved in advance..

Types of Reservations that may be Required

  • Timed Entry Reservation. This kind of reservation requires visitors to reserve a ticket for a time period (ex. 6am-4pm). These kind of reservations may give you access to one section of the park, the entirety of the park, a road within the park, etc, depending on the park. If you aren’t able to access a timed entry reservation (if you’re planning a last minute visit) there are ways around this. If the time slot is 6am-4pm, that means if you enter the park BEFORE 6am, you’ll be able to get in. However, if you leave the park at any point before 4pm, you won’t be able to get back in until after 4pm. Similarly, you could access the park after 4pm.
  • Vehicle Reservation. This kind of reservation may be for a specific area in the park. For example, in Acadia National park, you need a vehicle reservation to drive up to Cadillac mountain.
  • Hiking Permit. This kind of reservation is necessary if you want to hike a particular trail in the park that requires a permit. For example, Old Rag trail in Shenandoah national park now requires a permit to access.

Parks that Require Reservations

*As of December 2023*

  • Acadia National Park, Maine– requires a vehicle reservation to access Cadillac mountain if visiting between May-October. This reservation costs $6 and can be purchased on the park’s website.
  • Arches National Park, Utah– requires a timed entry reservation (7am-4pm) between April-October. This reservation costs $2 per vehicle. Learn more on the park’s website.
  • Glacier National Park, Montana– requires a vehicle reservation (6am-3pm).
    • Due to Glacier’s popularity, the park has split the major areas of the park into three sections that ALL require reservations if you plan to visit. All sections require a reservation between the hours of 6am-3pm during the months of May-October. The sections within the park that all need a reservation include:
    • Going to the sun Road
    • North Fork
    • Many Glacier
  • Haleakala National Park, Hawaii– requires a vehicle reservation (3am-7am) that costs $1 per vehicle to watch the sun rise above the clouds at Haleakala Summit. Learn more on the park’s website.
  • Rocky Mountain National Park, Colorado-requires a timed entry ticket from May through October. RMNP has split the timed entry tickets into two sections:
    • Bear Lake corridor, timed entry reservation required to access the bear lake trails + access to the rest of the park, costs $2. Timed entry from 5am-6pm.
    • Rest of the park, timed entry reservation for the Rocky Mountains national park, excluding the bear lake trails, costs $2. Timed entry from 9am-2pm.
  • Shenandoah National Park, Virginia– requires a day use hiking permit if you desire to hike ‘Old Rag trail’ which is one the most popular trails in the park. Reservation required from March-November and costs $1 (each person is required to have a ticket). Learn more on the park’s website.
  • Yosemite National Park, California– requires a timed entry ticket to access areas in the park and a hiking permit for the Half Dome trail. The park has different types of reservations if you plan to visit this year:
    • Horsetail Fall reservation– ticketed entry during the months of February on the weekends of February 10–11, February 17–19, and February 25–26, 2024. Note, this reservation is only required if you plan to visit on the listed days in February. This is a big attraction during the month of February in the park, so the reservations are listed for the weekends. This reservation costs $2 and is per vehicle. Purchase tickets on the park’s website.
    • Peak Hour Plus reservation– timed entry ticket valid to enter the park from 5am-4pm and good for 3 conservative days! This reservation is required during the months of April-October. It’s $2 and per vehicle. Purchase tickets on the park’s website.
    • Half Dome hiking permit– this popular trail now requires a permit to hike as an attempt to reduce crowds. Learn more about how to obtain a permit through the park’s lottery system here.
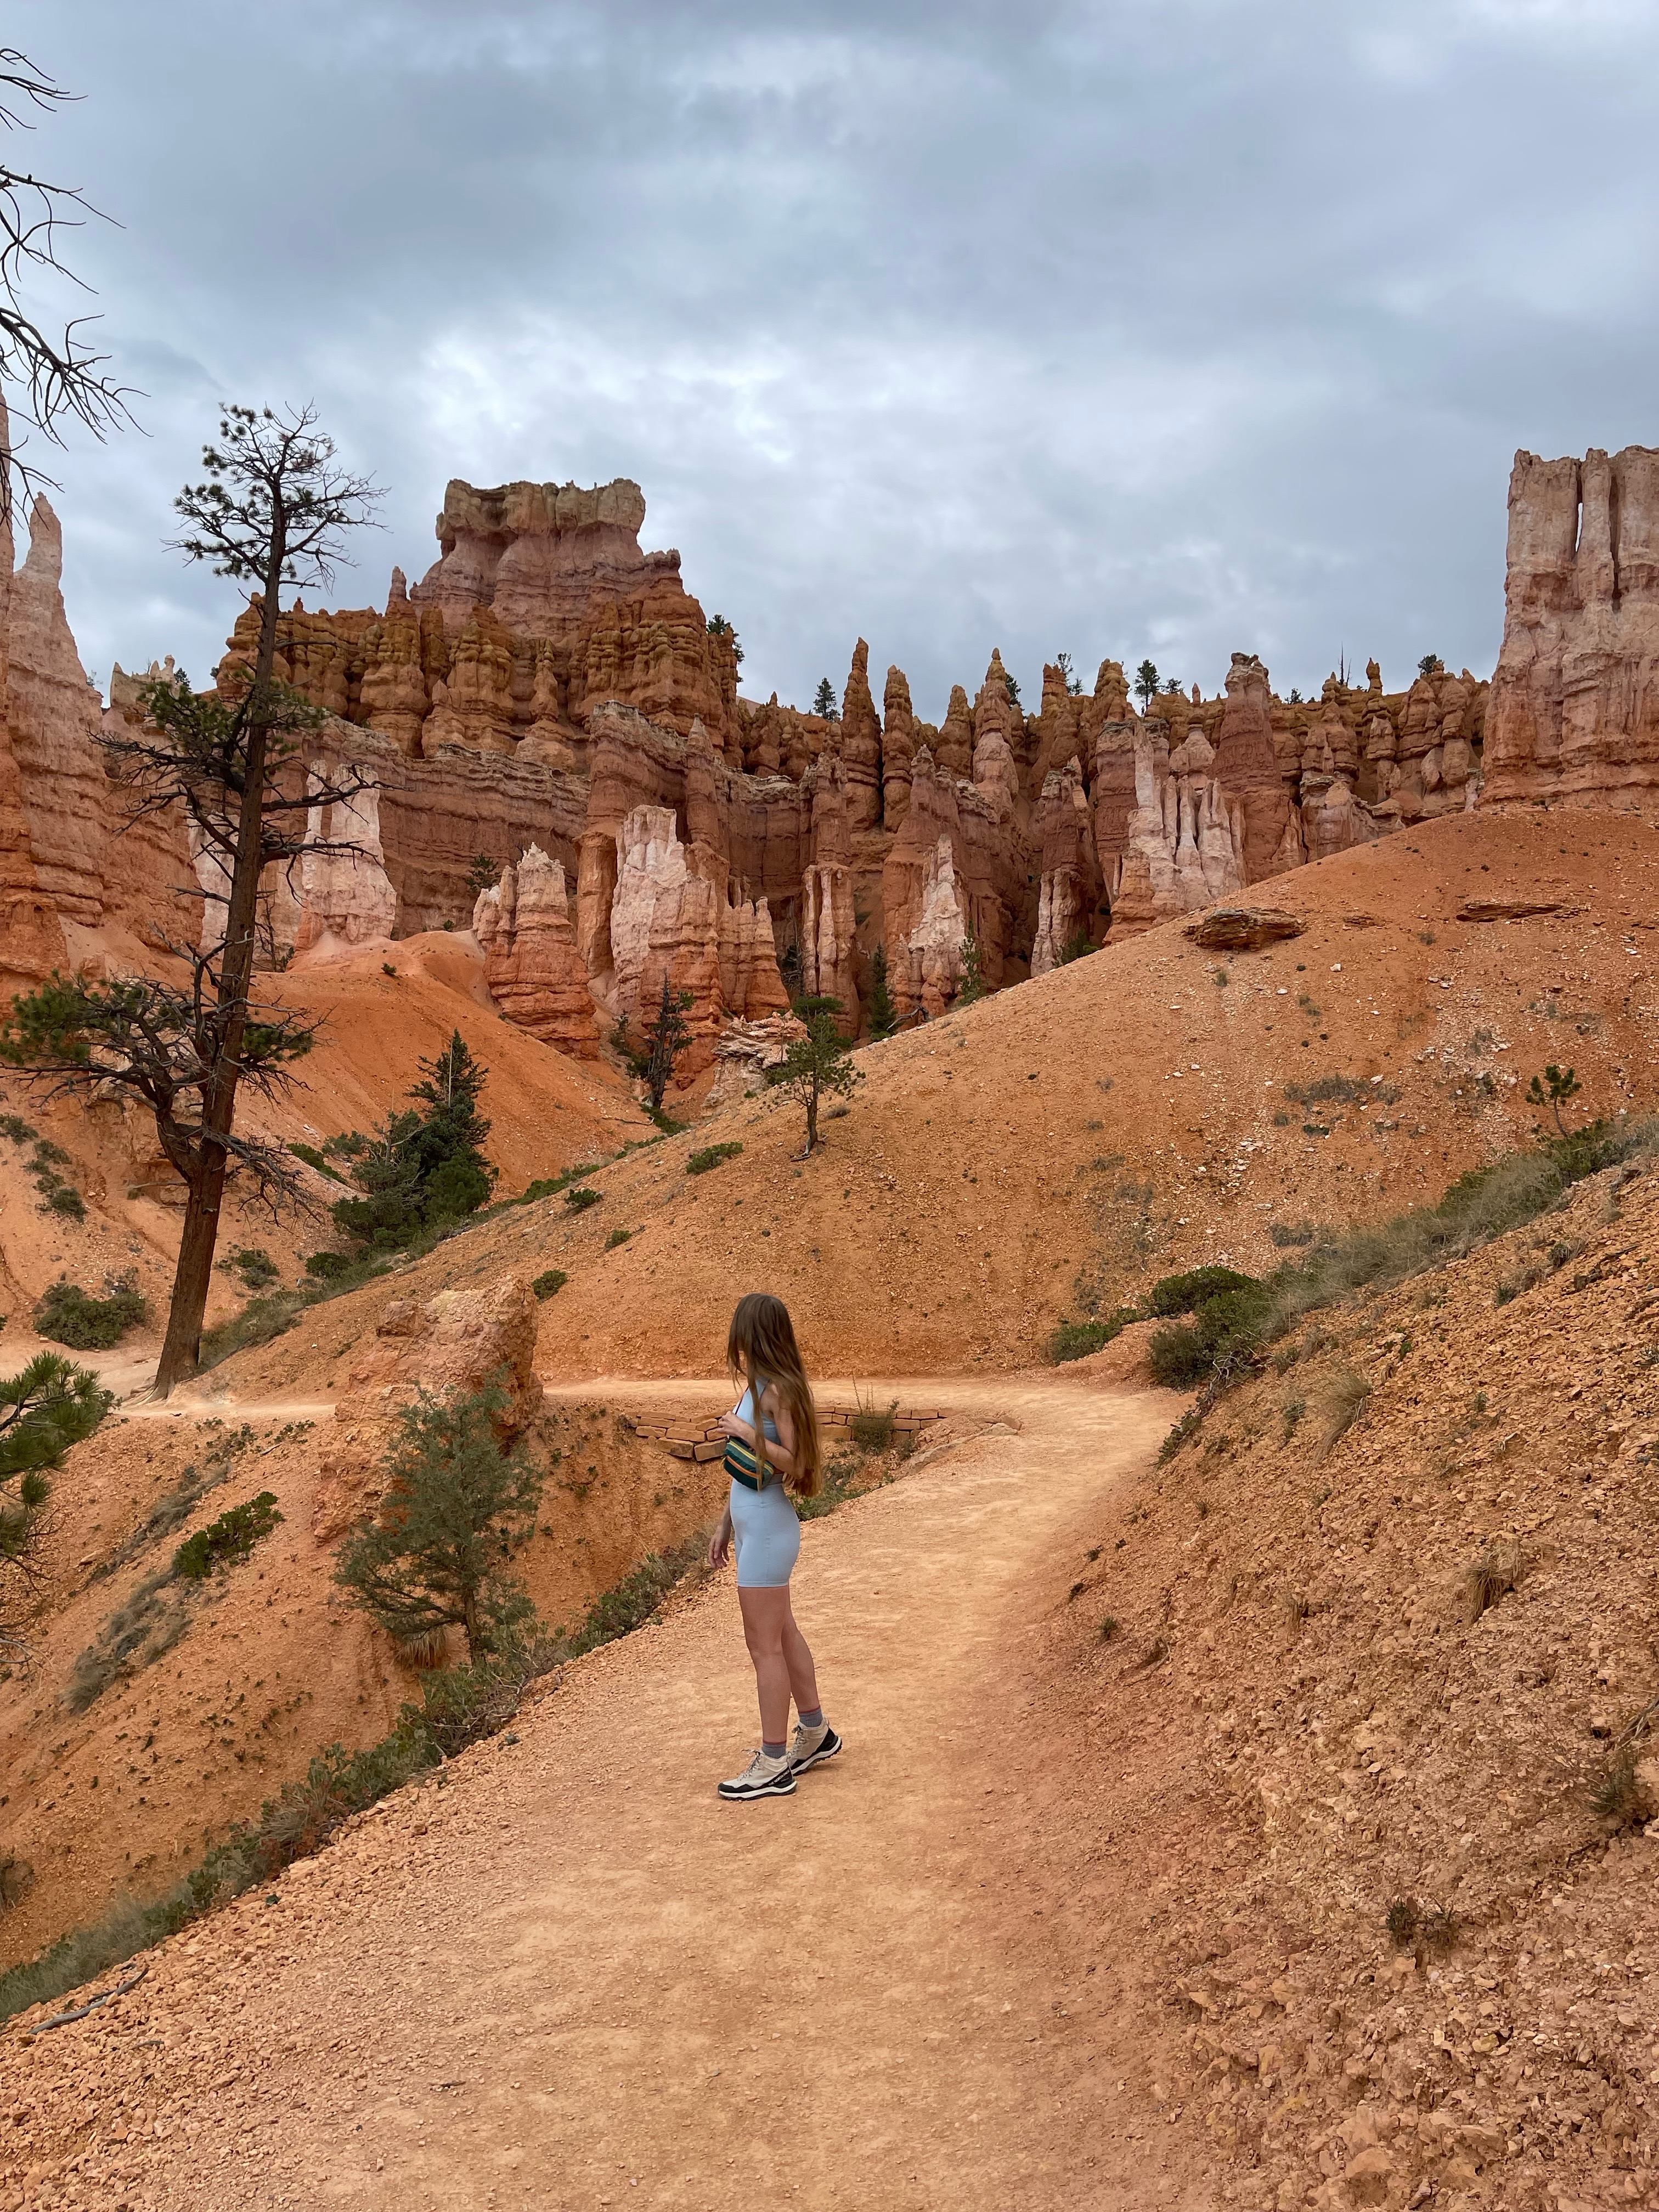
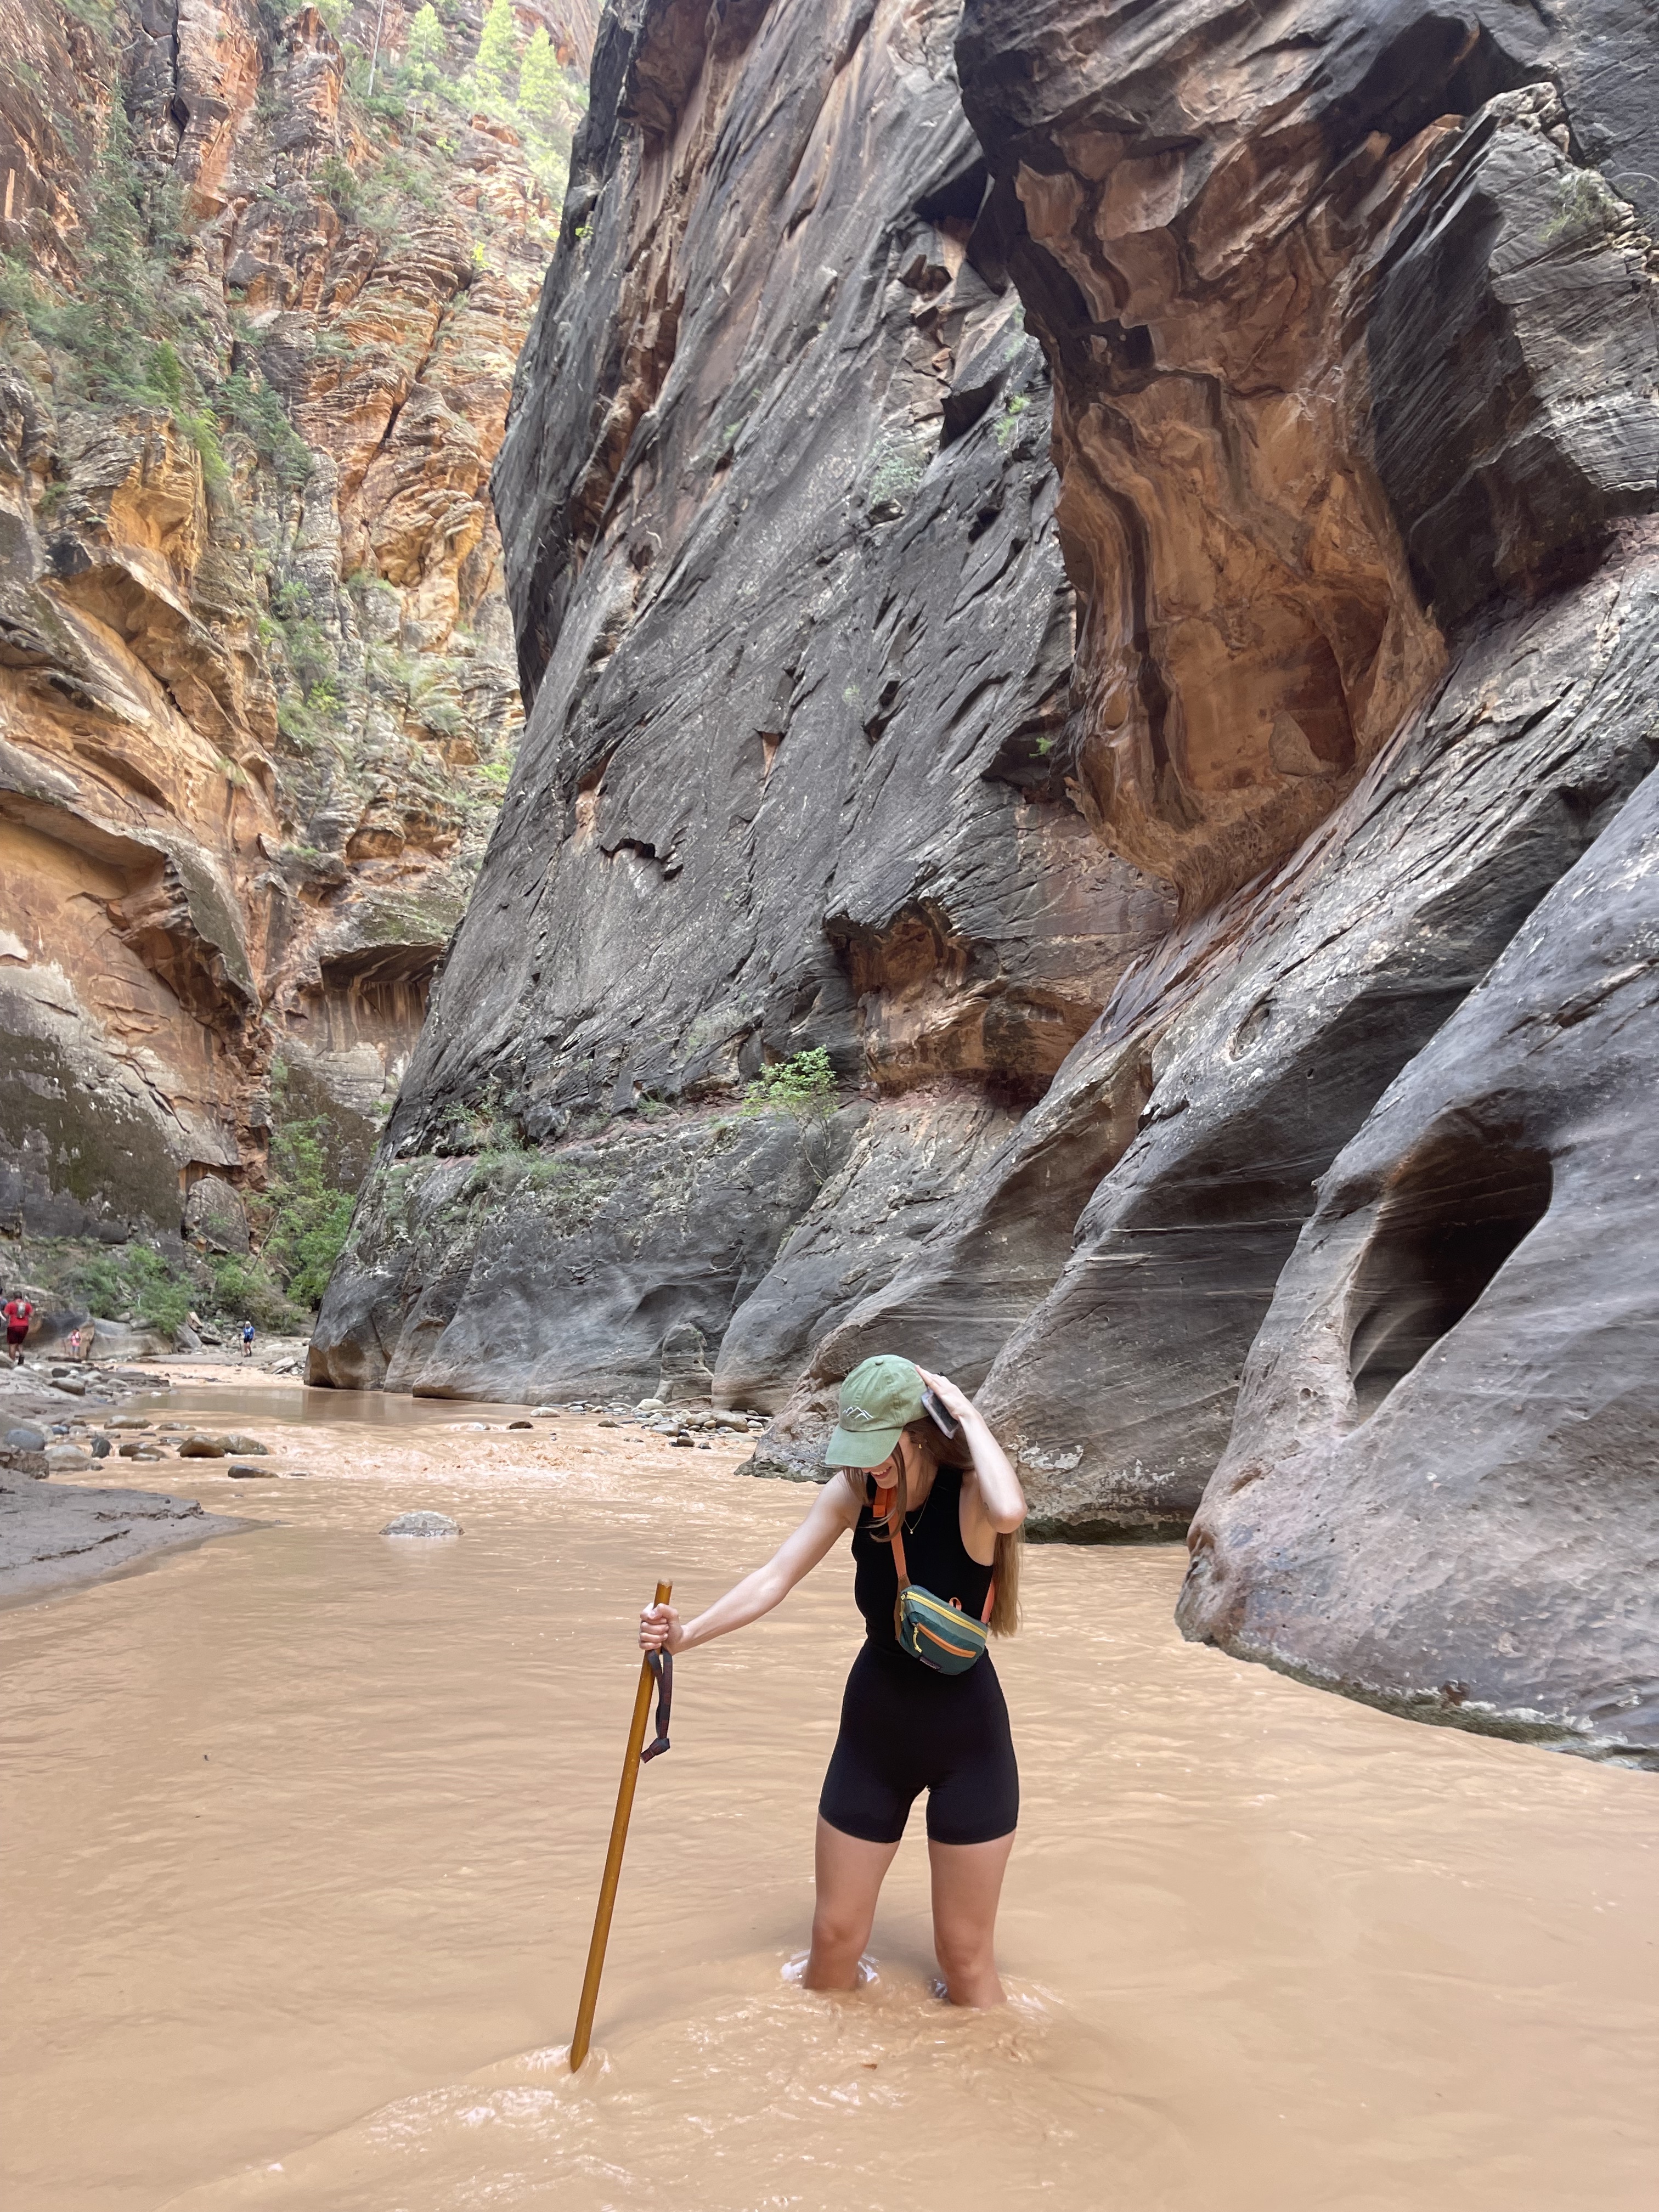
  • Zion National Park, Utah– requires hiking permits for Angel’s Landing, Subway, and the Narrows from top-down.
    • Angel’s Landing– the park now requires a permit to hike the entirety of this trail (without a permit you can hike all the way to “scout lookout”). Similarly to Yosemite, permits are selected by a lottery system. It costs $6 to apply and if selected it’s $3 per person to hike this trail. Learn more on the park’s website.
    • The Subway- this hike requires a permit if you plan to hike it between the months of April-October and is selected through a lottery system as well. Learn more here.
    • The Narrows from top down– the narrows is one of the most incredible hiking experiences within the park! Many visitors hike this from the bottom up (I did!) but if you wish to hike the trail from the top down (16miles total), you’ll need a wilderness permit. Learn more here.
  • Muir Woods, California– requires a parking reservation to access this national monument. Learn more here.

Tips & Things to Know

  • Book the reservations as soon as you are able. On the park’s websites, there will be a time when you are able to book. Some parks allow you to book a couple months in advance, and if you miss out, they reopen more reservations 1-2 days before your visit for additional chance. It can definitely be stressful so I recommend logging on to purchase tickets as soon as the window opens (for example, most tickets become available on the park’s website at 10am).
  • Usually if you book a reservation for a campground within the park, the park counts this as your reservation for timed entry or vehicle reservations, depending on the park. Be sure to check exceptions to purchasing reservation tickets if you have a campground booked in the park.
  • If you can’t purchase timed entry tickets, find ways to experience the park outside of the timed restrictions (i.e., if timed entry reservations start at 6am, enter the park before then).
  • Do some research to determine which areas, activities, and hikes you may want to do that require reservations.

Bryce Canyon National Park, Utah

Our third National Park on our road trip last year was Bryce Canyon National Park. Bryce Canyon is a smaller park, known for their iconic “hoodoos” which are rock formations that populate most of the park. We only spent a day in Bryce Canyon and this was enough time to see some highlights. Someday, I would like to revisit and hike other trails but visiting this park in a day is definitely possible! Here’s an outline of how we spent a day in Bryce Canyon.

An Afternoon with Hoodoos

We drove from Arches National Park to Bryce Canyon National Park and spent the night car camping at a free camp spot outside the park (Tom’s Best Spring Dispersed Camping). This campsite was about 15 minutes from the park entrance and we had a quiet evening camping before a full day of exploring. The next morning we drove into the park early so we could watch the sunrise. We decided to watch the sunrise at Inspiration Point which was stunning! We got to the top just before the sun rose and were able to see all of the hoodoos come to light.

After sunrise, we made coffee and breakfast in the parking lot before heading to our first hike. When researching Bryce Canyon, I was most excited to hike along the Navajo and Queen’s Garden Loop trail. The two trails can be separated but if you connect them it ends up being a 3 mile hike that offers the best views for a quick trip in this park. The park has two major points Sunrise Point and Sunset Point. Both are equally beautiful views and lead you to the trail head of Navajo loop.

There are a couple ways to start the Navajo/Queen’s Garden Loop trail. If you start at Sunset Point, like us, there are signs that direct you towards the Navajo trail. As you hike along the Navajo trail there’s a fork soon after starting and you’ll need to decide if you want to hike to Wall Street first or Two Bridges which are two well known sights on this trail. Keep in mind, you will see both eventually since it’s a loop trail. We decided to start with Wall Street. This is an iconic view of the park and involves several tight switchbacks. When we hiked down Wall Street it was extremely crowded so be prepared for that. From Wall Street we continued on the trail, admiring hoodoos along the way. We felt like we were walking in a different planet, the scenery in Bryce Canyon is so surreal. The hike itself isn’t too difficult but it is steep in some areas. If you start from Wall Street like we did, eventually there will be signs that point towards the Queen’s Garden loop trail. There are a couple fun hoodoos I would recommend keeping an eye out for as you hike this trail:

  • Queen Victoria (near the Queen’s Garden loop)
  • Thor’s Hammer (near sunrise point)

Tips

  • Bryce Canyon is a popular. Be prepared for crowds! When we went, there were several tour buses and so many people on the trails.
  • If you plan to have a picnic or snacks and want to sit somewhere during a hike, be aware the orange sand throughout the park can stain clothes! We brought a towel we could sit on which was helpful.
  • There are a few campgrounds within Bryce Canyon National Park [North campground and Sunset campground]. There are also a lot of free camp spots in the area like the one we found.
  • Bryce Canyon feels like it’s in the middle of “nowhere” so there aren’t many restaurants and shops in the area.
  • Bryce Canyon is close to other National Parks. Bryce is about 2 hours from Zion National Park and 4.5 hours from Arches National Park. If you’re planning on visiting several National Parks on one trip like us, this is super convenient to do!

Hoodoos along the Navajo trail
Sunrise Point
Navajo/Queen’s Garden trail

Sunrise at Inspiration Point

Free Camp spot near Bryce Canyon

Rocky Mountains National Park, Colorado

This past summer my boyfriend, Patrick and I took our first big road trip out west. The first stop along our road trip was the beautiful, Colorado. We only spent a few days in Colorado and our main focus was the Rocky Mountains National Park. The park exceeded our expectations! We are dreaming of our next trip to RMMP! We had about two full days in the park which was a decent amount of time for a quick visit. I would recommend at least 3-4 days in the park to enjoy several activities and hikes. Throughout this guide I’ll be sharing our experience in the Rocky Mountains National Park.

Things to know before visiting RMNP 🌲

  • Timed Entry Reservation system: Currently RMNP requires visitors to have a timed entry reservation pass throughout the months of May-October. There are two types of timed entry reservations:
    • The Bear Lake Road Corridor [required during the hours of 5am-6pm (MDT)]. This pass will give you access to the entire park as well. I would recommend trying to get this pass to experience all parts of the park.
    • Park Access, No Bear Lake Road [required during the hours of 9am-3pm (MDT)]. This reservation allows access to the park but not the bear lake road area.
    • The timed entry reservations can be purchased on the RMNP park’s website and they cost $2 per vehicle. Note, you’ll need a timed reservation pass for each day you plan to visit the park.
    • Exceptions for the timed entry reservations tickets:
      • If you have a reservation with a campground in the National Park, you can show your campground reservation in place of having a timed entry reservation and enter at any time as long as the dates of the campground reservation match the dates you want to enter the park.
      • You can enter the park before or after the allowed times! If you are unable to get a reservation, you can enter the park before 5am/9am depending on the area you want to access. However, keep in mind if you enter the park this way, once you leave the park you will not be allowed back in during the hours required for a timed entry ticket. Similarly, you may enter the park after required hours (i.e., after 6pm or 3pm depending on the area).
  • Afternoon Thunderstorms: The RMNP is known for afternoon thunderstorms especially in the summer time. Keep this in mind when planning hikes and other day activities.
  • Elevation Change: The RMNP has a significant elevation range which can cause altitude sickness without proper time to allow your body to adjust. The only way to treat altitude sickness is to return to lower elevation.
  • Fees: It costs $25 per vehicle to enter the park which covers the cost of 7 days. We bought the America the Beautiful pass which is $80 for the year and covers entrance fees for all National Parks. I would highly recommend this if you plan to visit multiple National Parks!
  • Phone reception: Like many National Parks, there is no cell reception available within the park (including campgrounds!). Keep this in mind if you need to download directions to trails in advance.
  • Accommodations: If you plan to stay at a campground while visiting the park, book early! Campgrounds are available to book 6 months in advance and definitely fill up quickly. I imagine hotels/lodges in the area fill up just as quickly.
  • Area: Estes Park is the closet town/area to the RMNP. In Estes Park you’ll find restaurants, hotels/lodges, and grocery stores.

Things to Do in RMNP:

DAY ONE

Estes Park & Bear Lake Corridor

Overview:

  • Stop at Kind coffee, Estes Park before a full day of hiking
  • Spend the day at Bear lake trailhead:
    • Hike to Bear Lake
    • Hike to Nymph lake
    • Hike to Dream Lake
    • Hike to Emerald Lake (3.2mi one way)
  • Explore Estes Park
  • Check into campground, Glacier Basin

On our first day in the park, we drove in from Boulder, CO which was about an hour drive. Before going into the park we stopped in the park’s closest town, Estes Park. This town is definitely worth exploring either before or after a day in the park! I’d recommend stopping on the way into the park for a cup of coffee and a breakfast sandwich at Kind Coffee before starting a big day of hiking.

After some coffee and breakfast, we spent our first day in RMNP exploring the Bear Lake corridor area. This area features several hikes but we focused on the lake hikes that all connect: Bear Lake, Nymph Lake, Dream Lake, and Emerald Lake. If you hike all the way to Emerald Lake it’s about 3.2 miles. We were only able to hike to Dream Lake and back due to a rain storm that started coming in. And although we missed out on Emerald lake, this hike was still one of my favorites in the park!

After a full afternoon of hiking, we spent our evening exploring more of Estes Park. We then checked into our campground for the next couple nights, Glacier Basin campground. If you’re looking to book a campground, I highly recommend Glacier Basin, it’s great proximity to the park and clean.

DAY TWO

Trail Ridge Road & Mount Ida

The highlights:

  • Drive along Trail Ridge road and catch the sunrise
  • Hike Mount Ida (park in Milner pass parking lot) 9 mi roundtrip
  • Stop at Alpine visitor’s center for souvenirs
  • Enjoy dinner back in Estes Park at The Bird and Jim

We started our second day in RMNP bright and early (4am!) for a drive along the Trail Ridge road on our way to Milner Pass parking lot for a big hike. From this trial head we started our hike to Mount Ida. This hike is strenuous and long but the 360 views make it all worth it! I recommend starting as early as we did to beat any thunderstorms that may roll in during the afternoon hours. This hike was a total of 9mi round trip and took us about 6 hours. Keep in mind this trailhead is on the opposite side of the park, so plan for a lengthy drive. From our campground, we were about an hour away from the trailhead.

My Tips

  • Start hikes early!– Even with the timed reservation system, the RMNP is still very crowded! Starting hikes before 7am ensures the trail to yourself or with only a few others. You’re also more likely to see some amazing wildlife.
  • Carry bear spray!– As a precaution it’s always best to be prepared in case you encounter an aggressive bear.
  • Wear layers– we visited RMNP in August and the mornings and evenings were cold but by the afternoon the sun was strong.
  • Plan in advance– if possible, start planning your trip to RMNP (or any national park) well in advance (6+ months) to ensure you can reserve an overnight accommodation.
  • Leave no trace– only leave footprints and only take photos + memories!