Capitol Reef was the last National Park we visited on our road trip last summer. After our time in Zion, we drove 3.5 hours to Capitol Reef. We spent about two days in Capitol Reef and in my opinion that was plenty of time. This is a small National Park that offers unique scenery and a more secluded environment. Here’s an outline of our time in Capitol Reef.
Things to Know About Capital Reef
It’s hot! Similar to many other National Parks in Utah during the summer, the heat is extreme. Many of the trails in Capitol Reef have little to no shade at all.
The park is the main attraction. Capitol Reef is nearby the small town of Torrey, UT. There are limited restaurants and shops in this area. We also discovered the restaurants in the town had limited hours and most were closed during the early days of the week.
There are different regions of Capitol Reef National Park, we spent our time in the most popular area of the park, the Fruita Historic district. Someday I’d love to explore other regions of this park but they are quite spaced out so more time would be necessary.
I would recommend having a park map with you while hiking or using an app like Alltrails. We noticed many hikes were not clearly marked and it was easy to become lost.
Day One
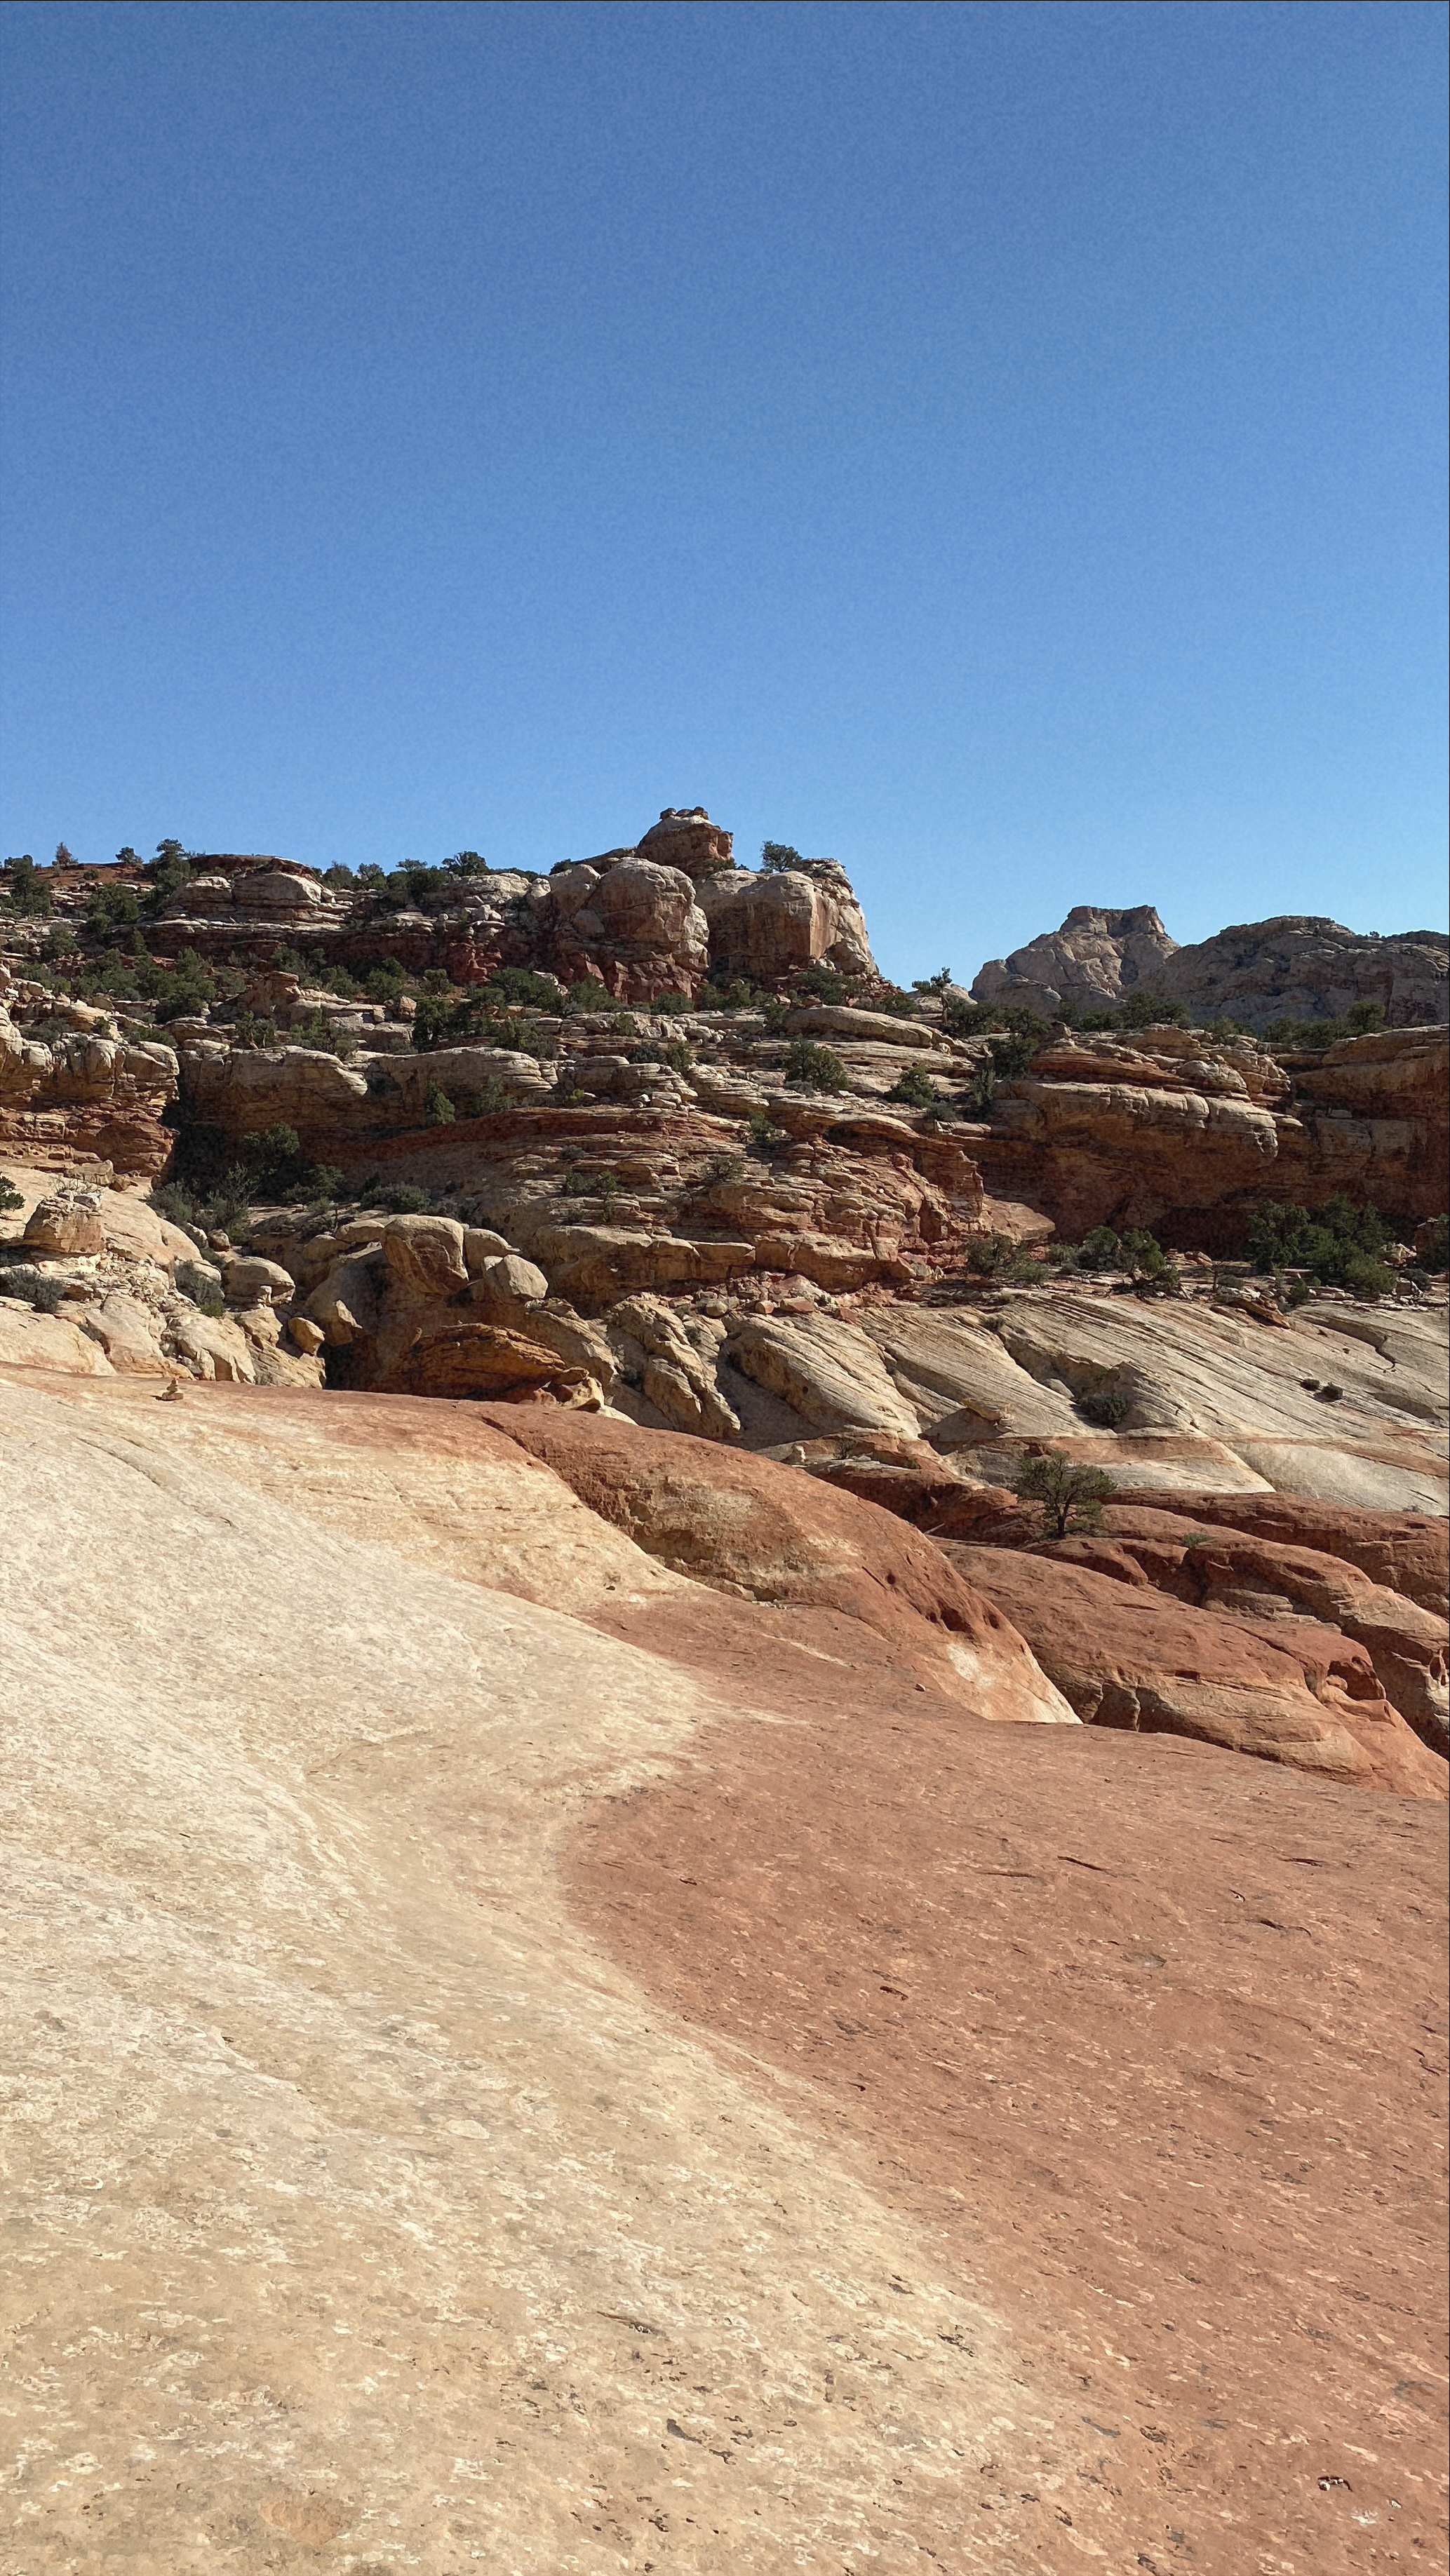
We started our time in Capitol Reef late in the afternoon after a drive from Zion. One of the first things we wanted to do was drive along the scenic drive in the park and check out some scenic overlooks. The scenic drive is called the Capitol Reef Scenic road and it leads all the way to the capitol gorge area.
After taking some time driving along the scenic drive, we decided to check into our hotel. We stayed at Capitol Reef Resort while visiting the park. This resort is more like a nicer motel but offers incredible views of the red rocks in the park. We stayed in one of the hotel rooms but they also offer cabins and other unique accommodations. For dinner we found a local place that was open, and had a relaxing night in after a long day.
Day Two
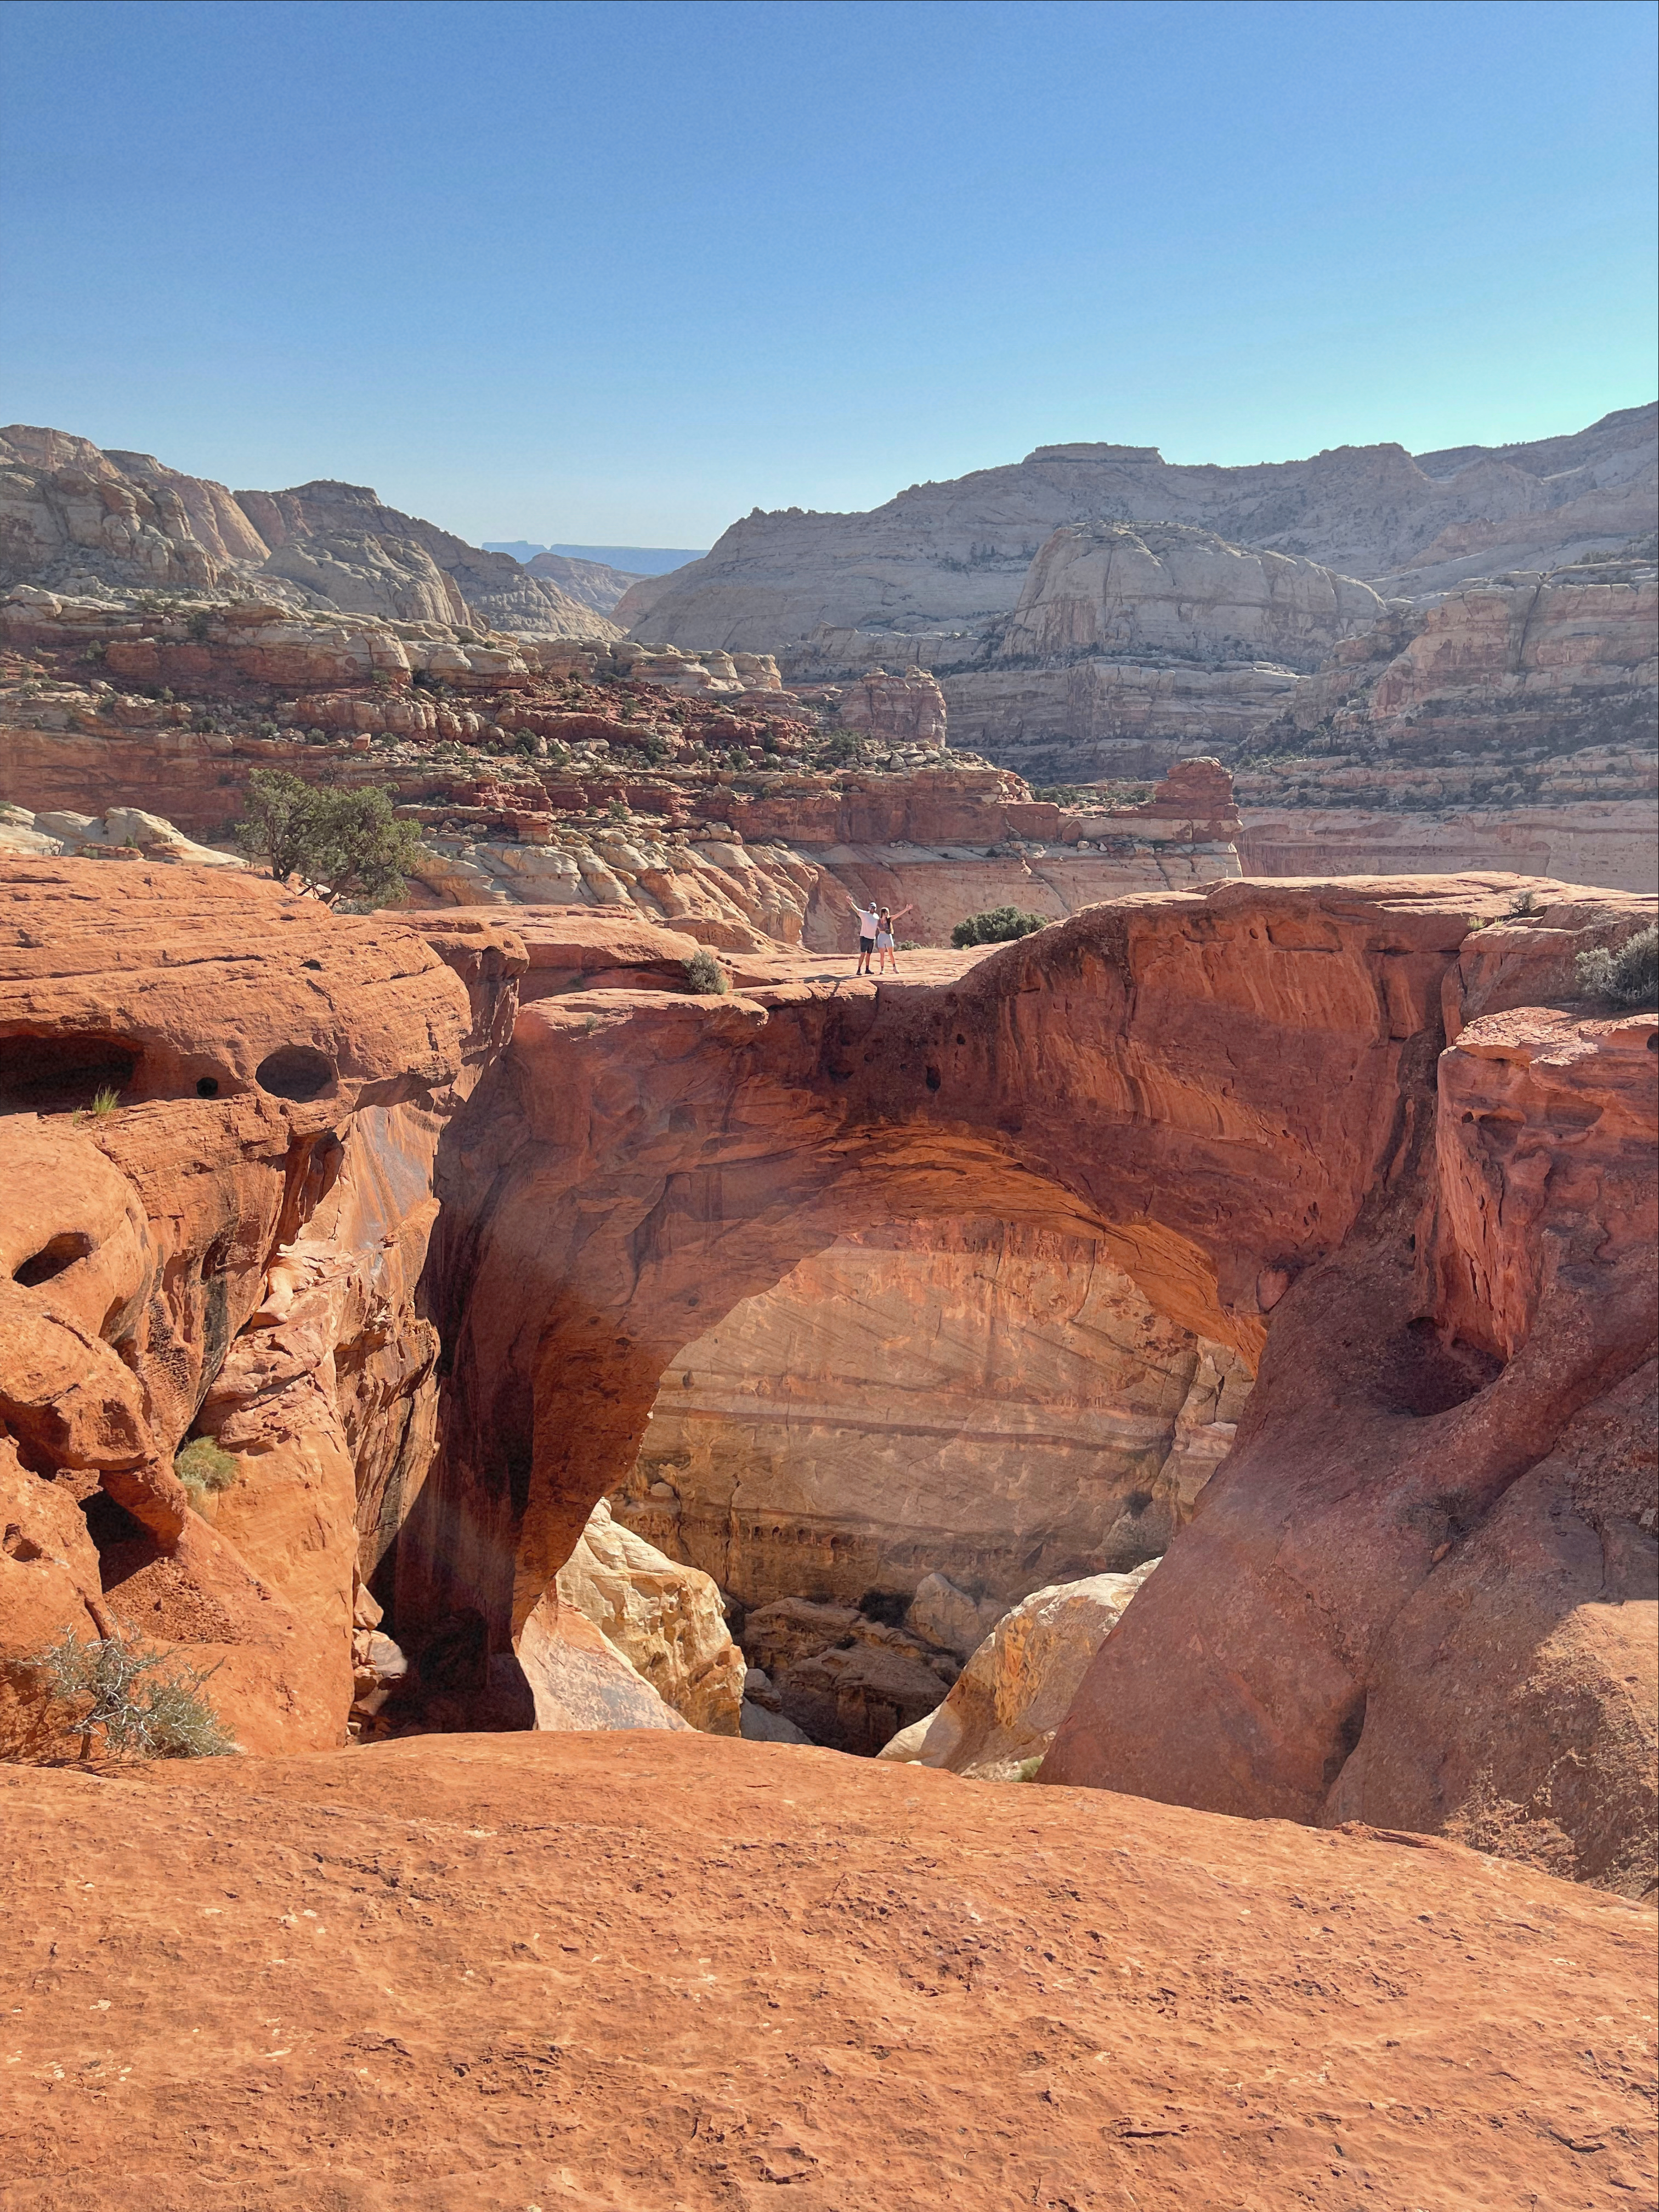
Our second and really full day in Capitol Reef was actually my birthday and I wanted to hike to Cassidy Arch. The hike to Cassidy Arch is 3 miles round trip and it provides some of the best views within Capitol Reef. The hike to get to Cassidy Arch is steep and pretty strenuous. It was also extremely hot even though we started fairly early in the morning, there was limited shade. This trail was marked more so towards the end of the hike as you become closer to the arch. The beginning of the hike is where we became turned around a few times and we were frequently referring to Alltrails app to find the way.
Once we reached Cassidy Arch we spent time at the top soaking in the view. When we reached the arch, there was only one other family there. One of the most surprising parts of visiting Capitol Reef was experiencing popular areas with no crowds, definitely a nice change compared to other parks we’ve visited. The best part of Cassidy Arch is you can actually walk across it! It’s a lot wider than it appears and is safe to walk across.
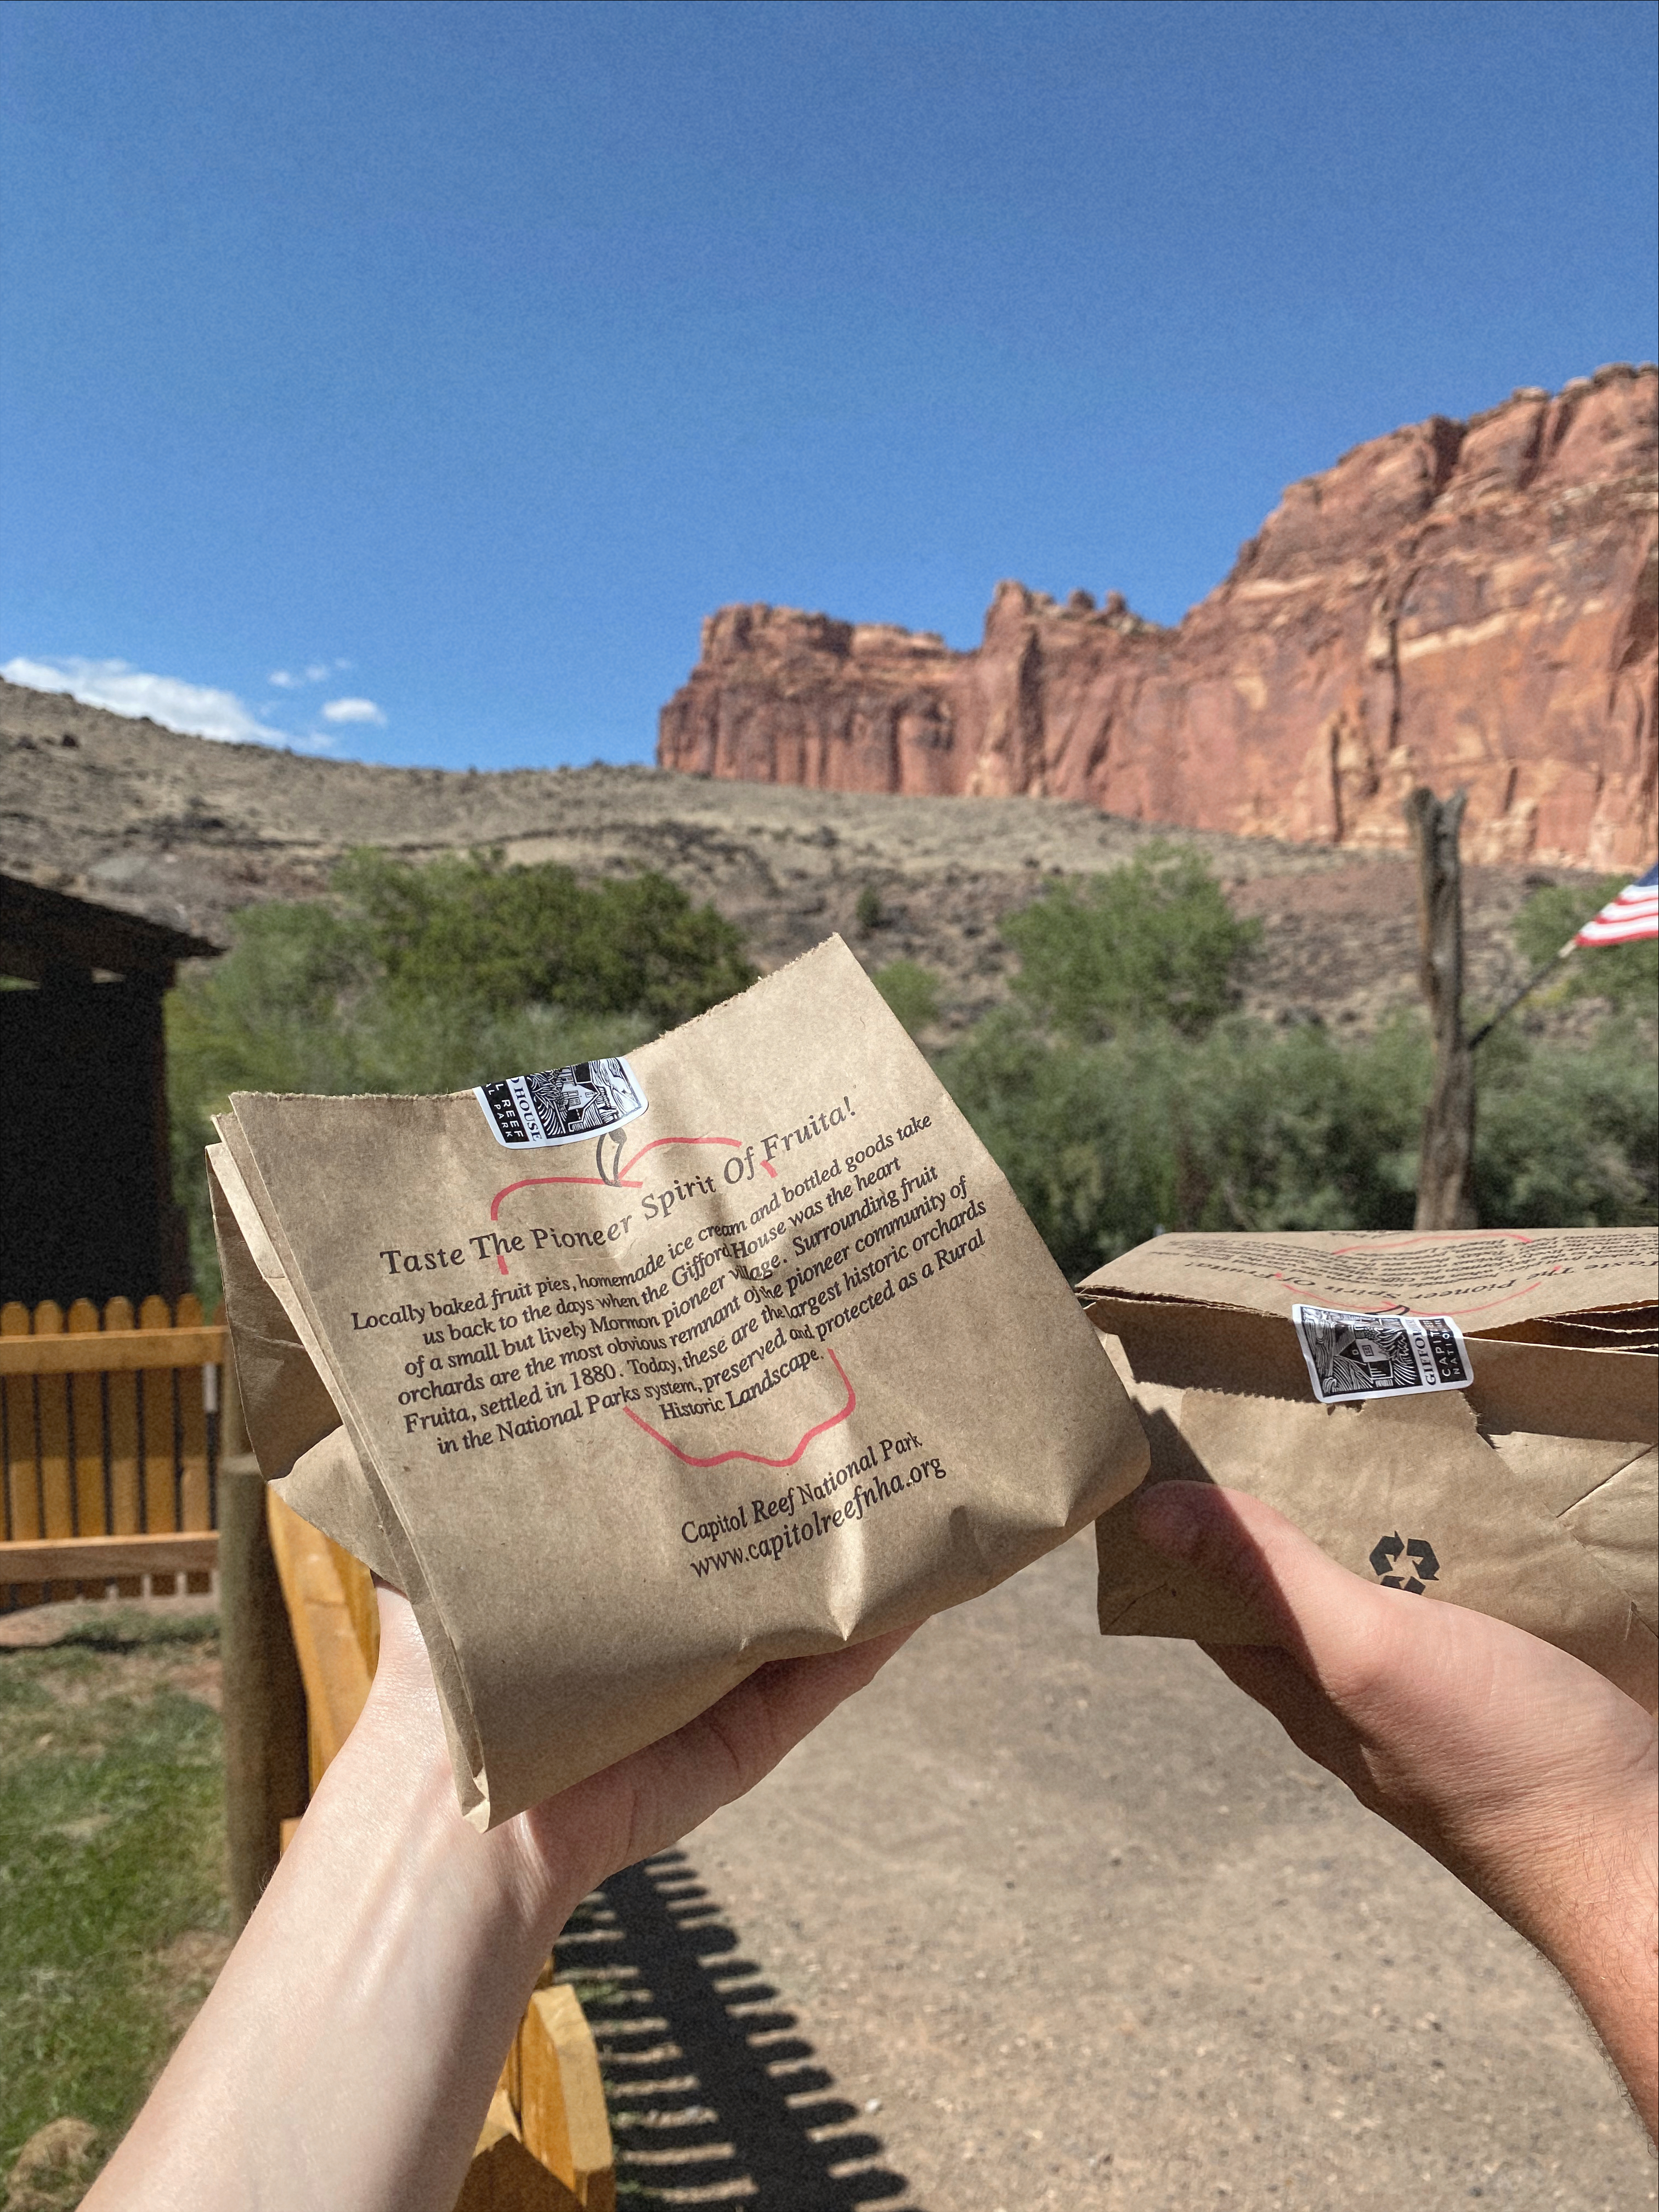
After Cassidy Arch, we made our way back towards the historic fruita district to explore. We stopped by Gifford Homestead for fresh pies. Gifford’s is famous for their fresh fruit and pies throughout the year. The pies did not disappoint, we bought two apple pies and they were incredible! Definitely a must see while visiting the park. The pies are baked fresh daily so it’s best to go early as they do sell out fast.
For the rest of the afternoon we spent time at the visitor’s center and exploring the grand wash trail. Unfortunately we did not hike the entire trail due to extreme heat temperatures. We decided to go back to our hotel and spend some time in the pool and cool down before dinner.
For my birthday dinner, we decided to eat at our hotel’s restaurant, The Pioneer Kitchen. I would highly recommend if you want a nice sit down dinner, it was very good!
View along scenic driveBirthday morning from hotel balconyCassidy ArchPicking out pies at Gifford HomesteadPies securedGrand Wash trailExcited to start exploringHiking to Cassidy ArchPit stop along scenic driveSunset from hotel balcony
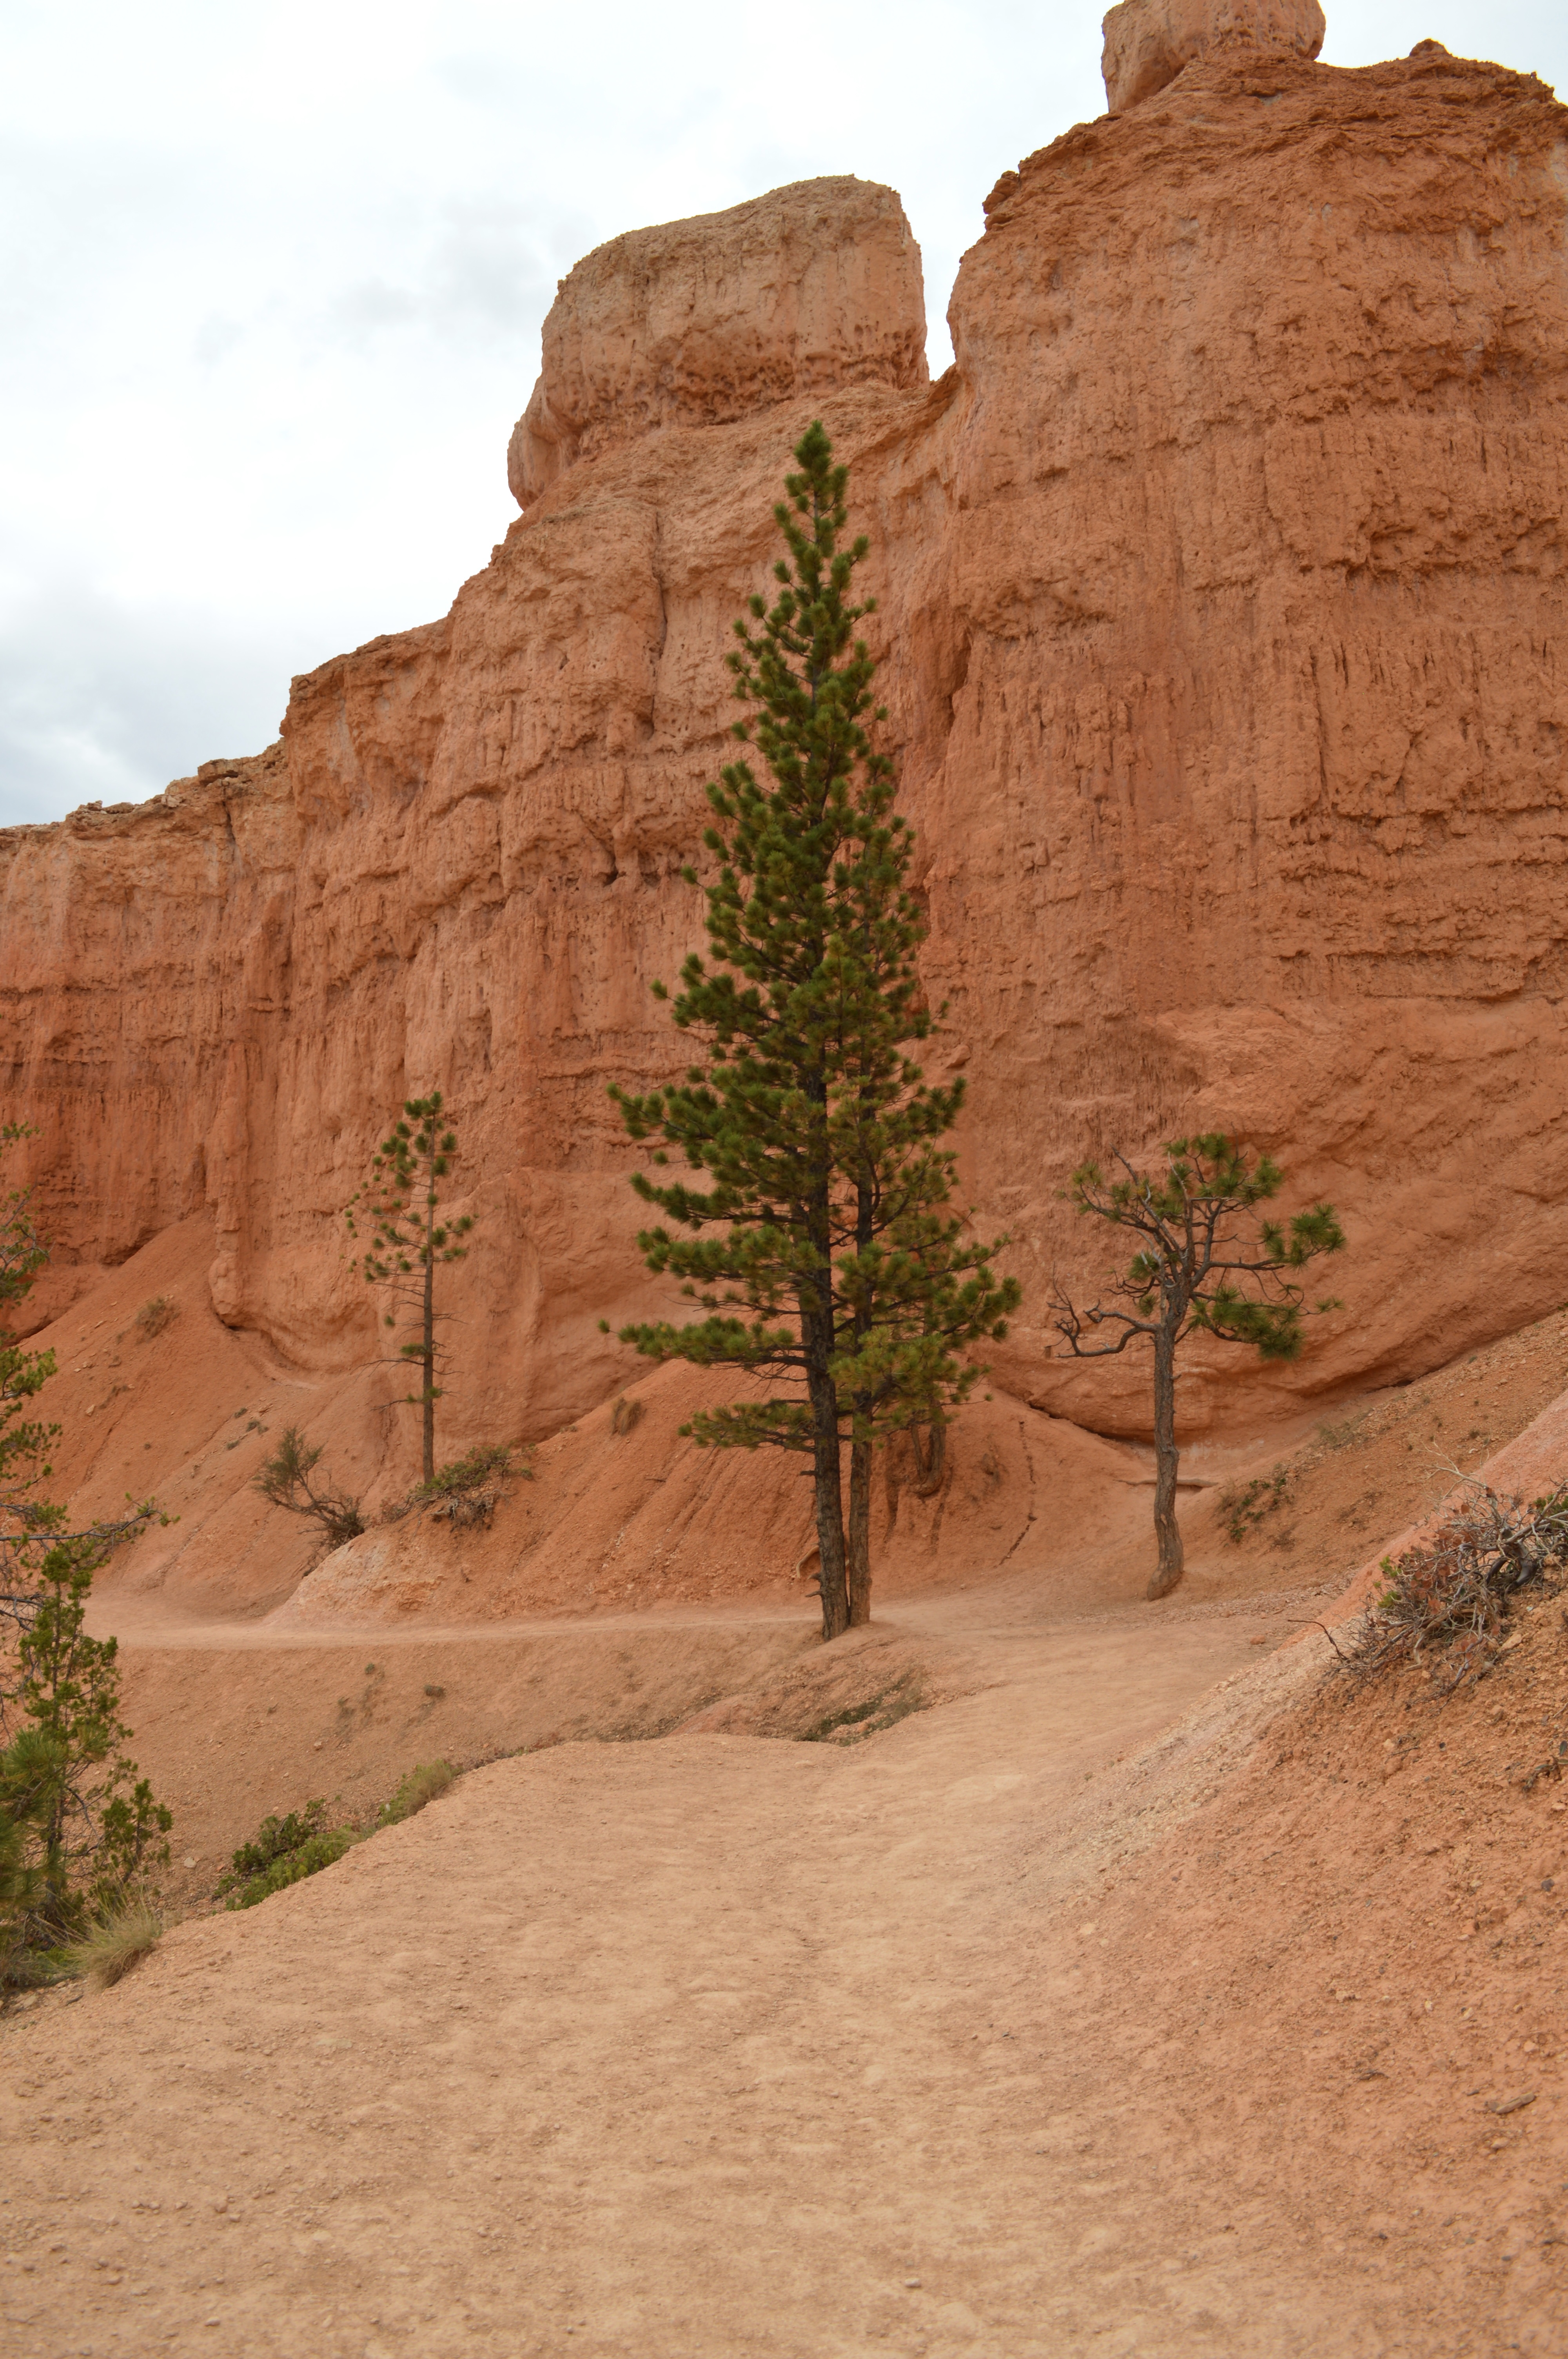
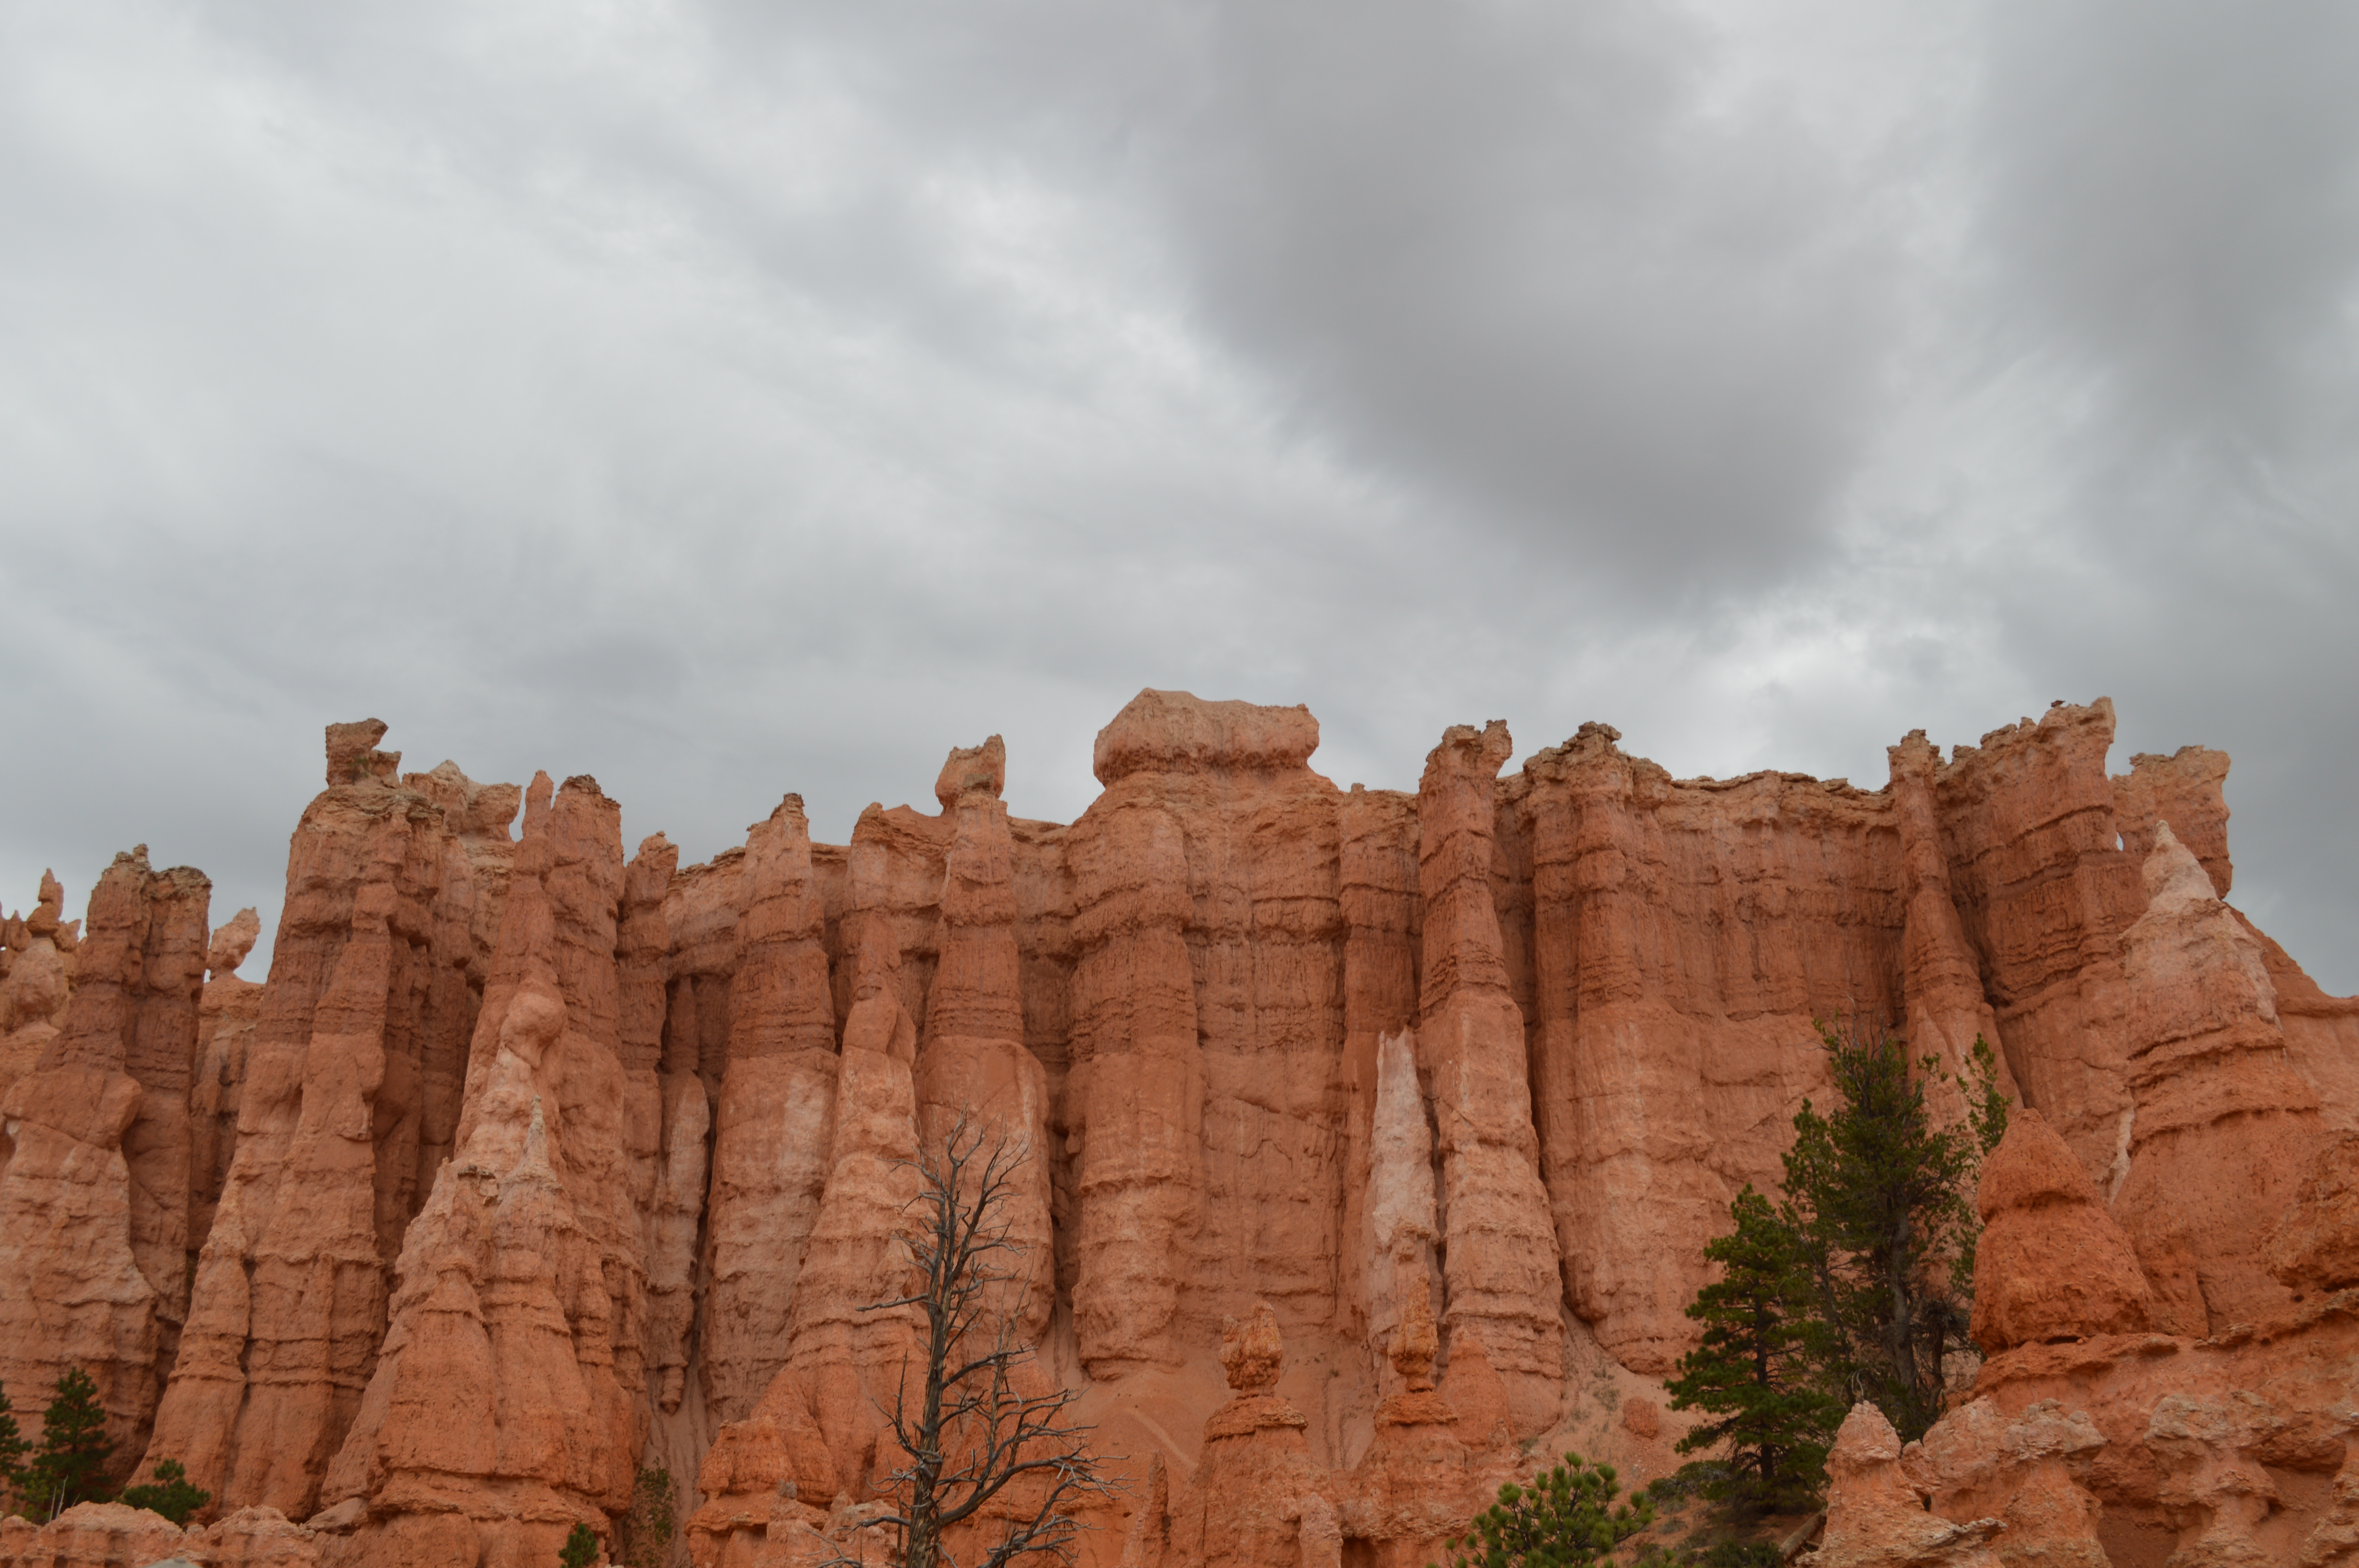
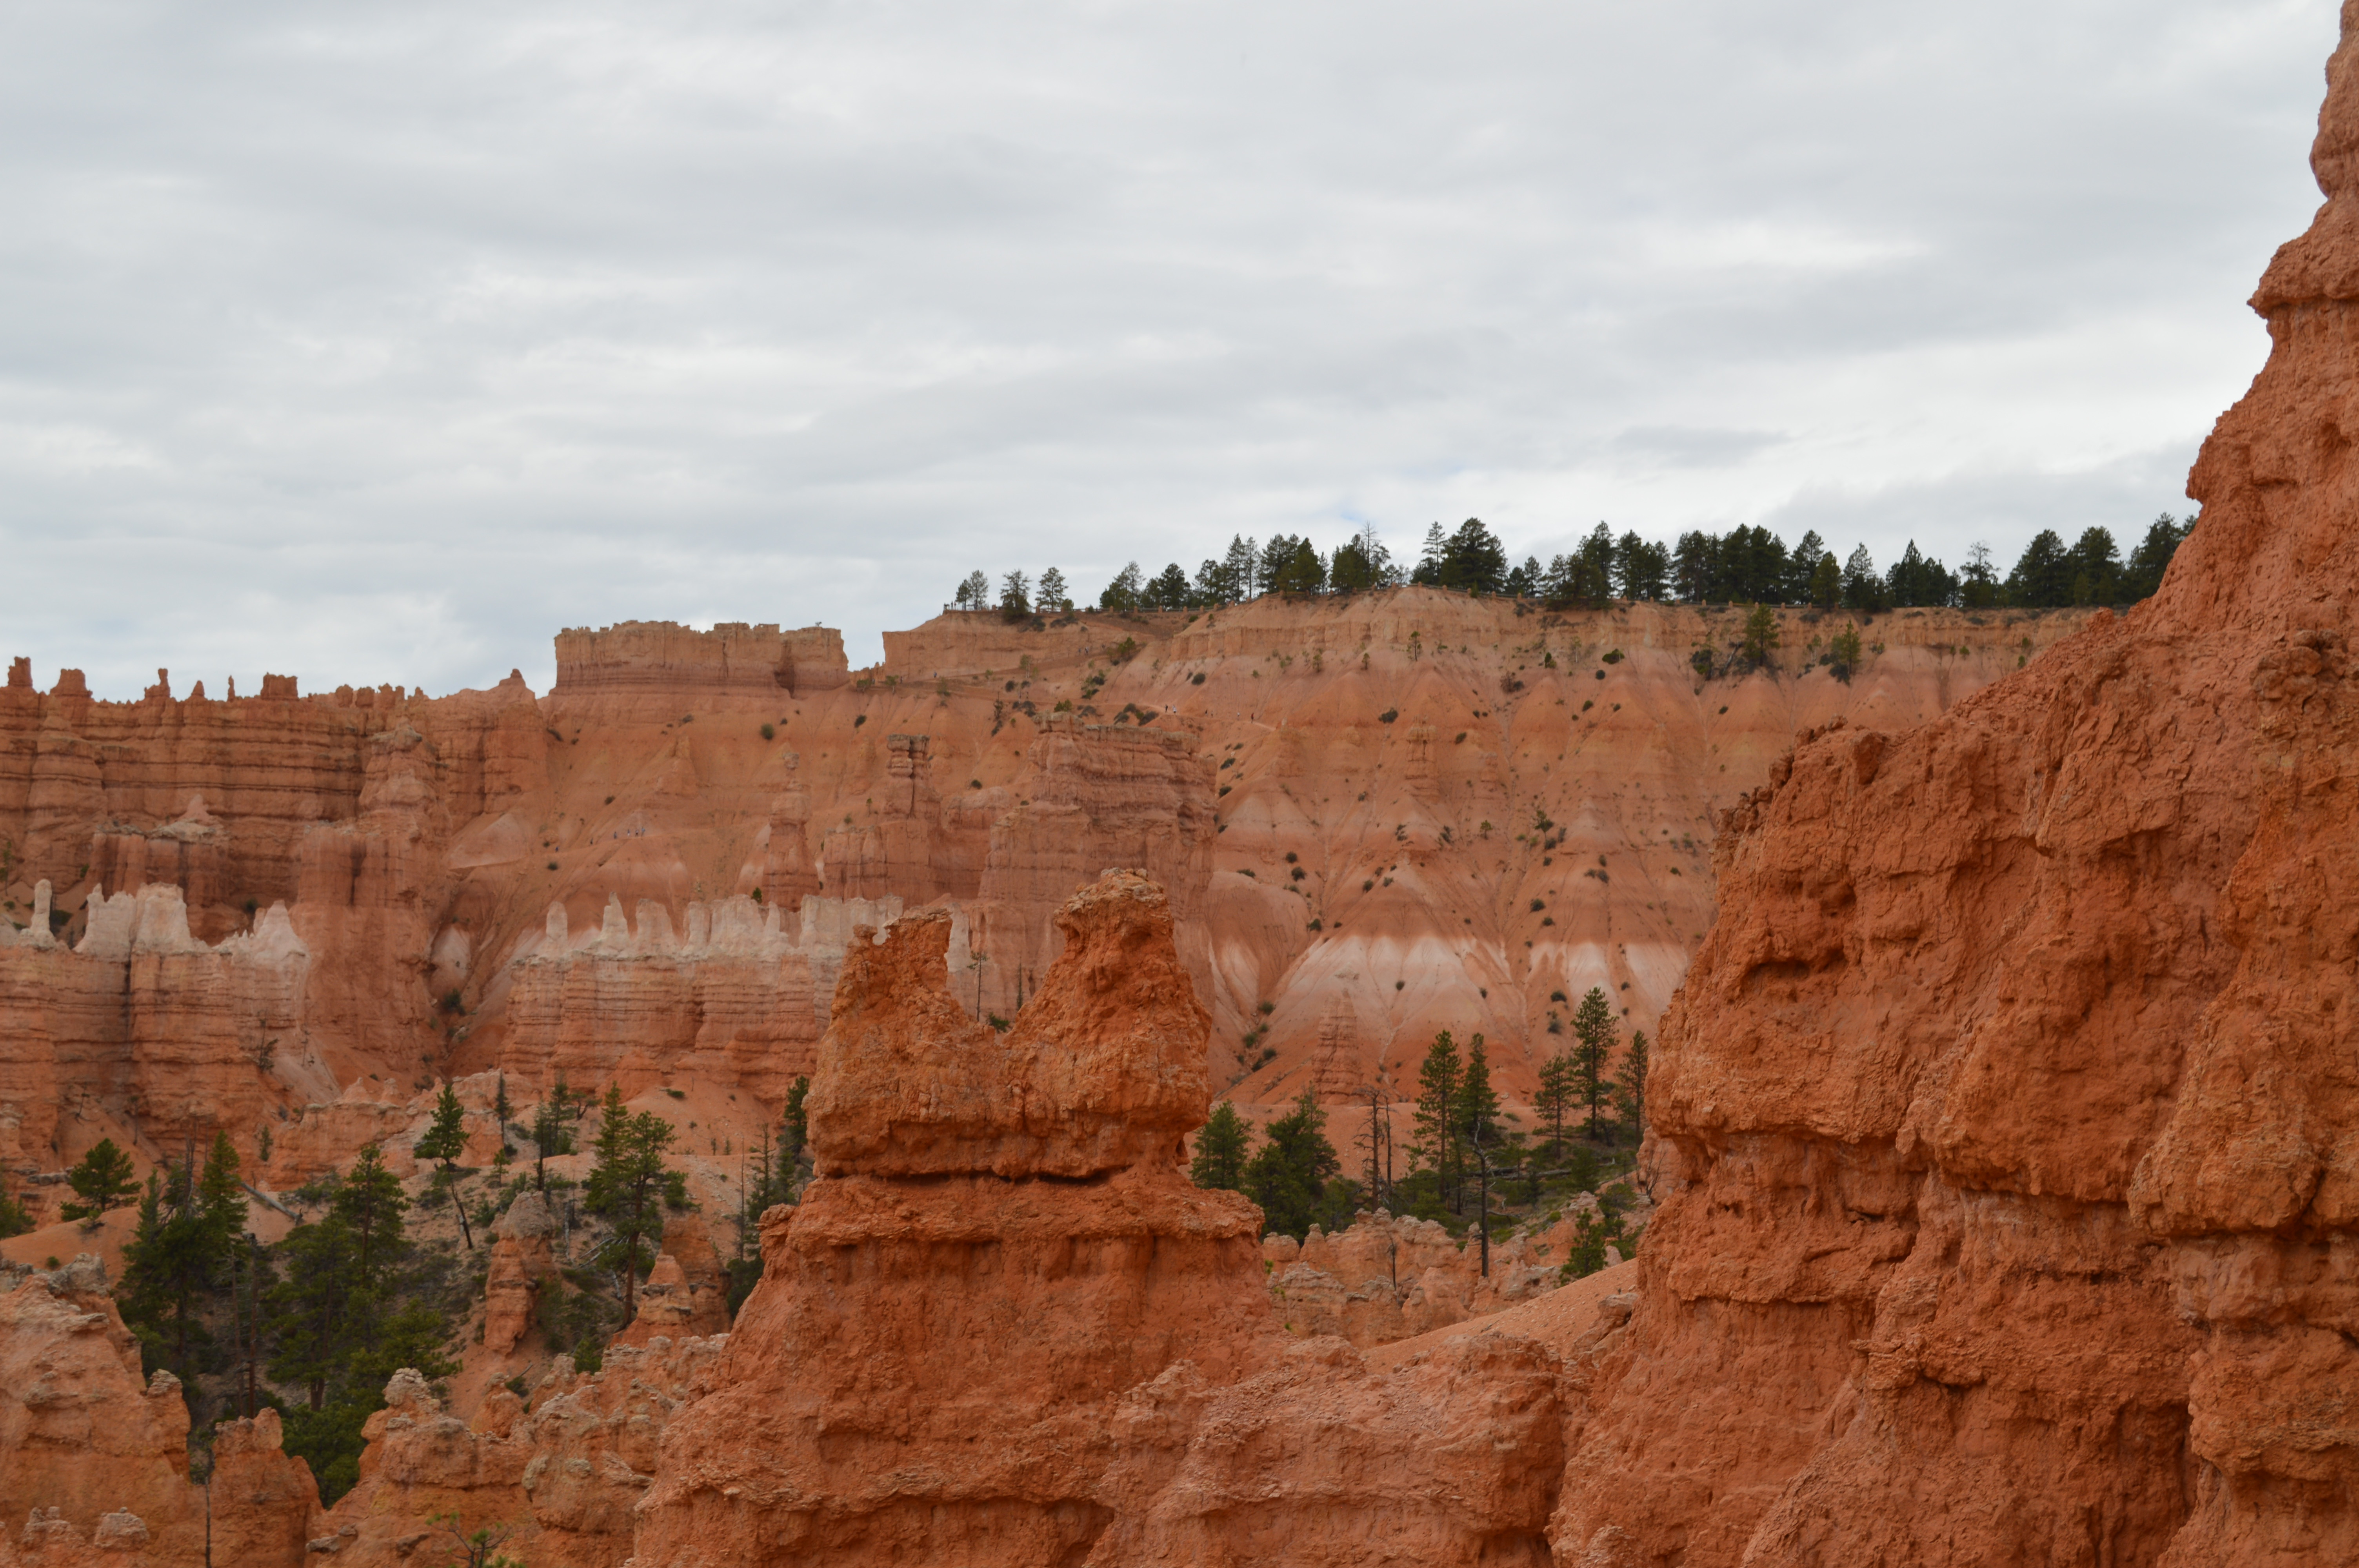
Our third National Park on our road trip last year was Bryce Canyon National Park. Bryce Canyon is a smaller park, known for their iconic “hoodoos” which are rock formations that populate most of the park. We only spent a day in Bryce Canyon and this was enough time to see some highlights. Someday, I would like to revisit and hike other trails but visiting this park in a day is definitely possible! Here’s an outline of how we spent a day in Bryce Canyon.
An Afternoon with Hoodoos
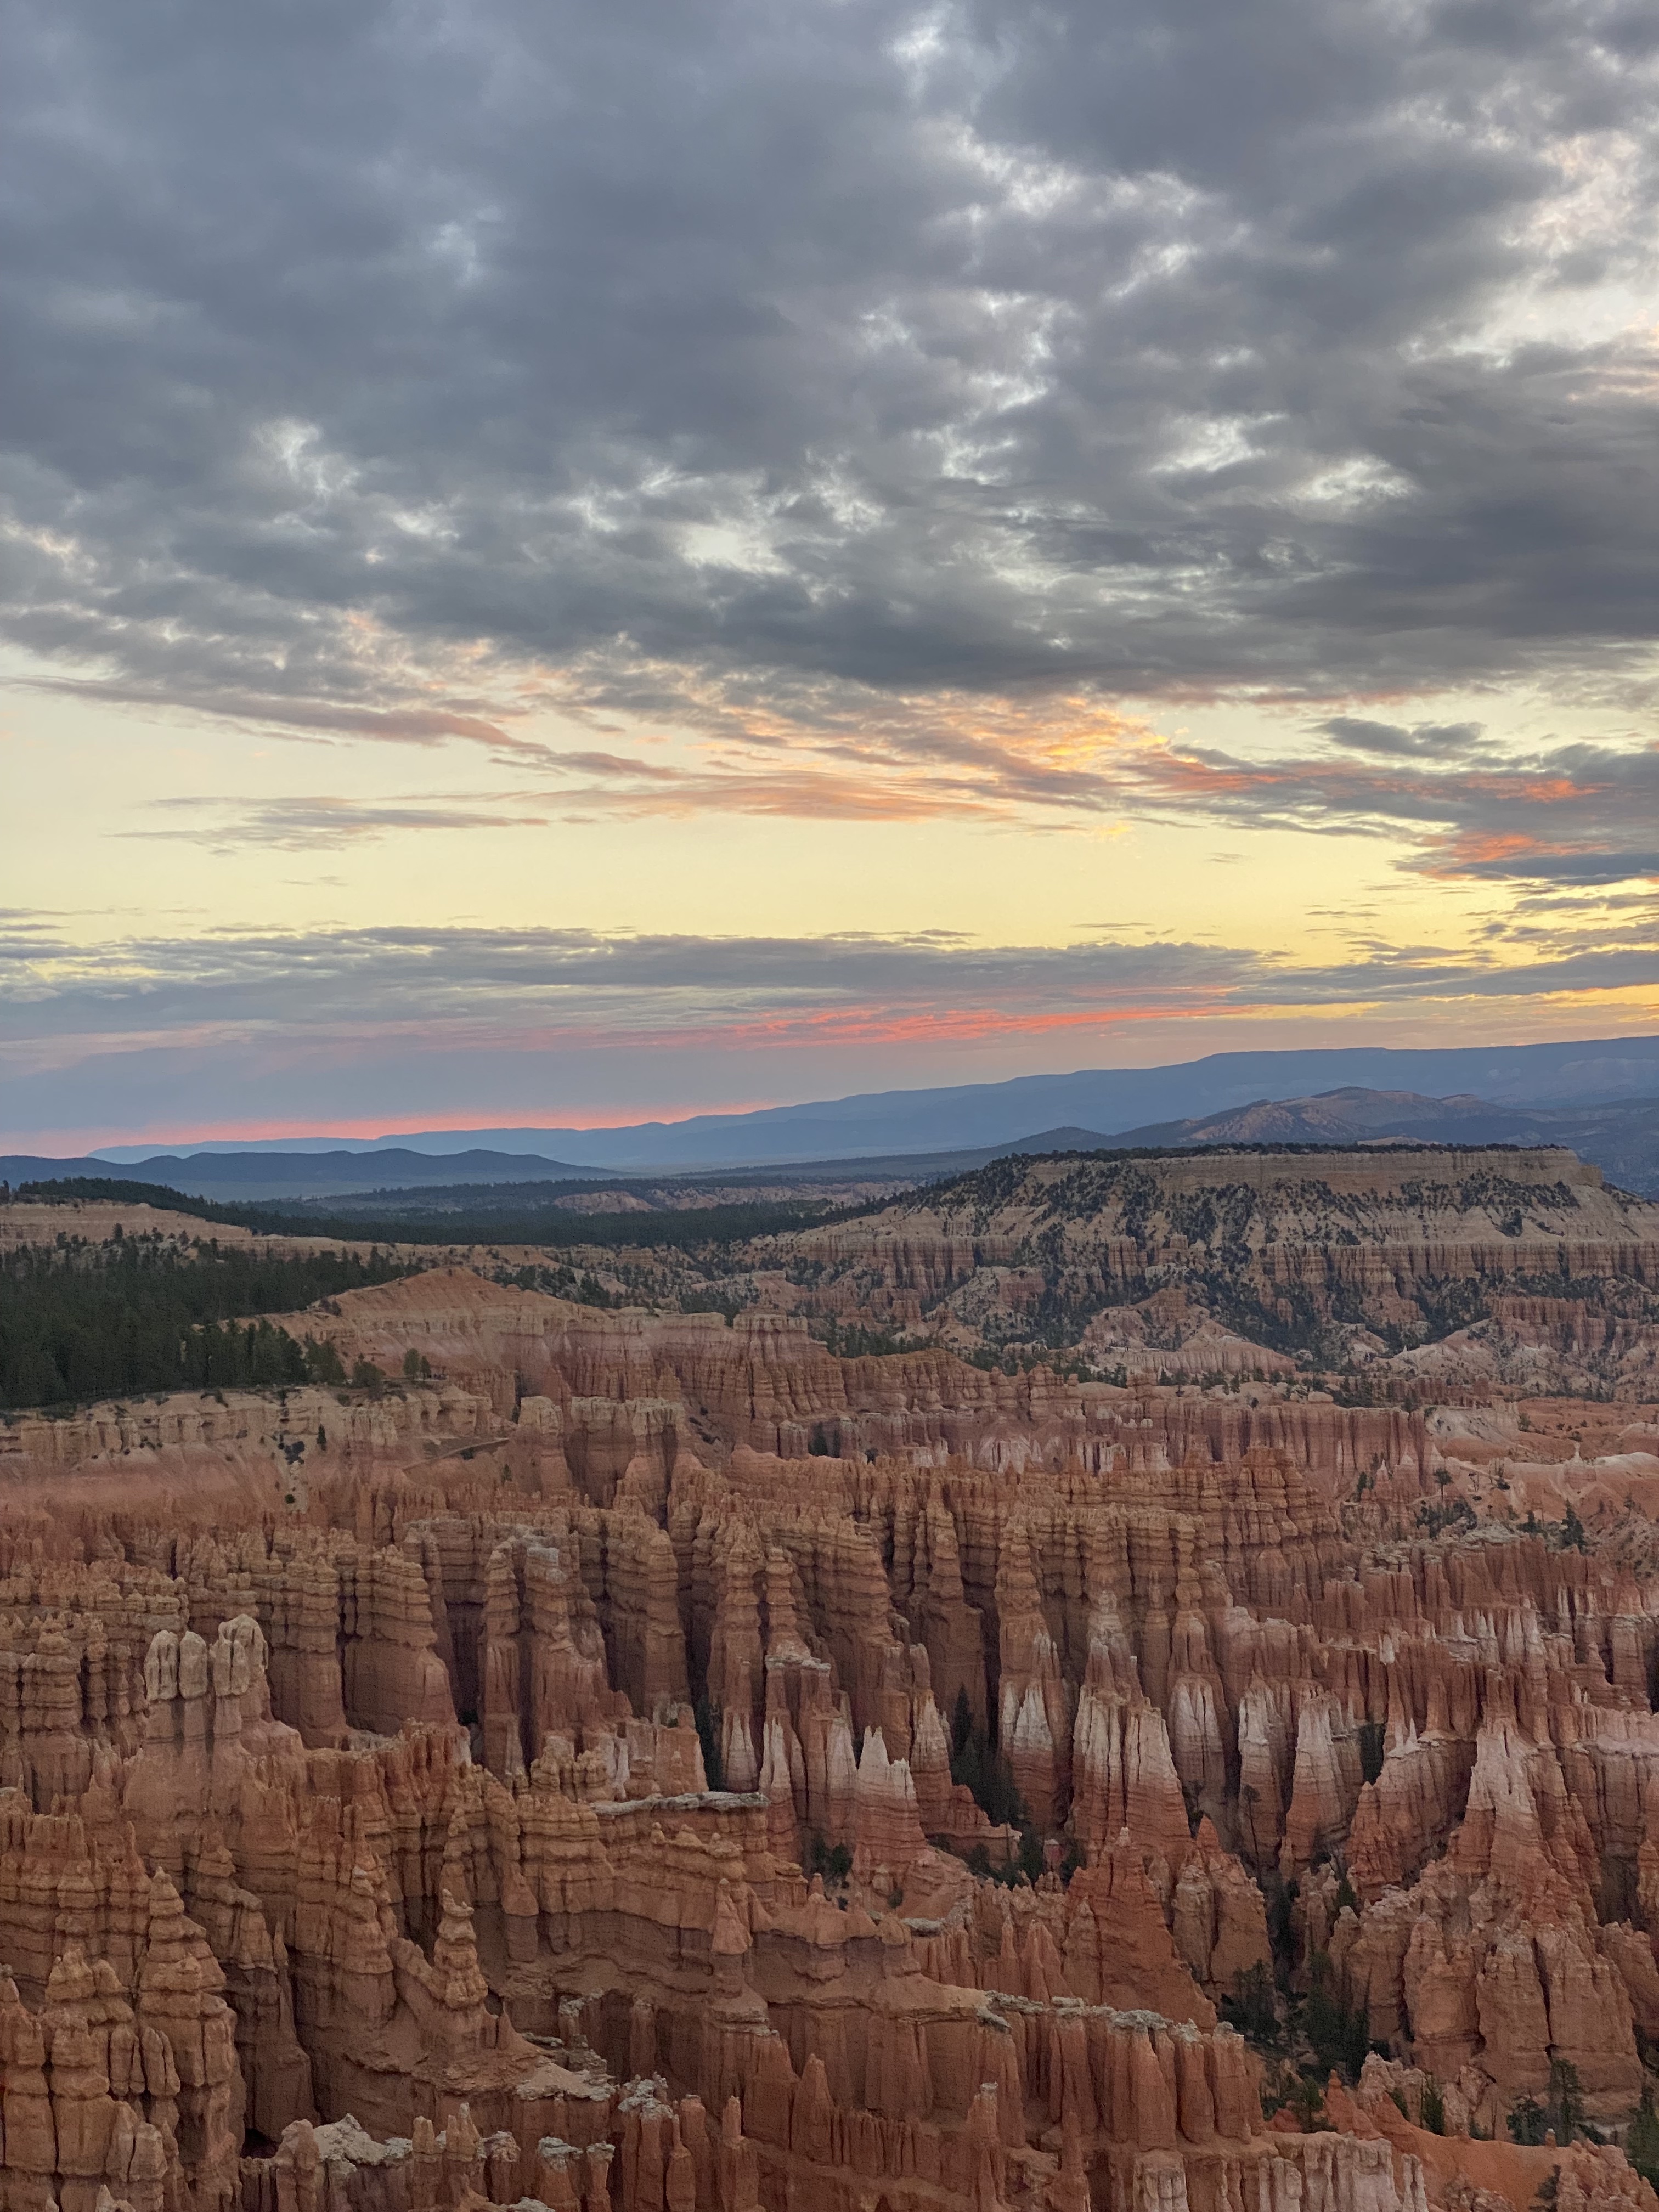
We drove from Arches National Park to Bryce Canyon National Park and spent the night car camping at a free camp spot outside the park (Tom’s Best Spring Dispersed Camping). This campsite was about 15 minutes from the park entrance and we had a quiet evening camping before a full day of exploring. The next morning we drove into the park early so we could watch the sunrise. We decided to watch the sunrise at Inspiration Point which was stunning! We got to the top just before the sun rose and were able to see all of the hoodoos come to light.
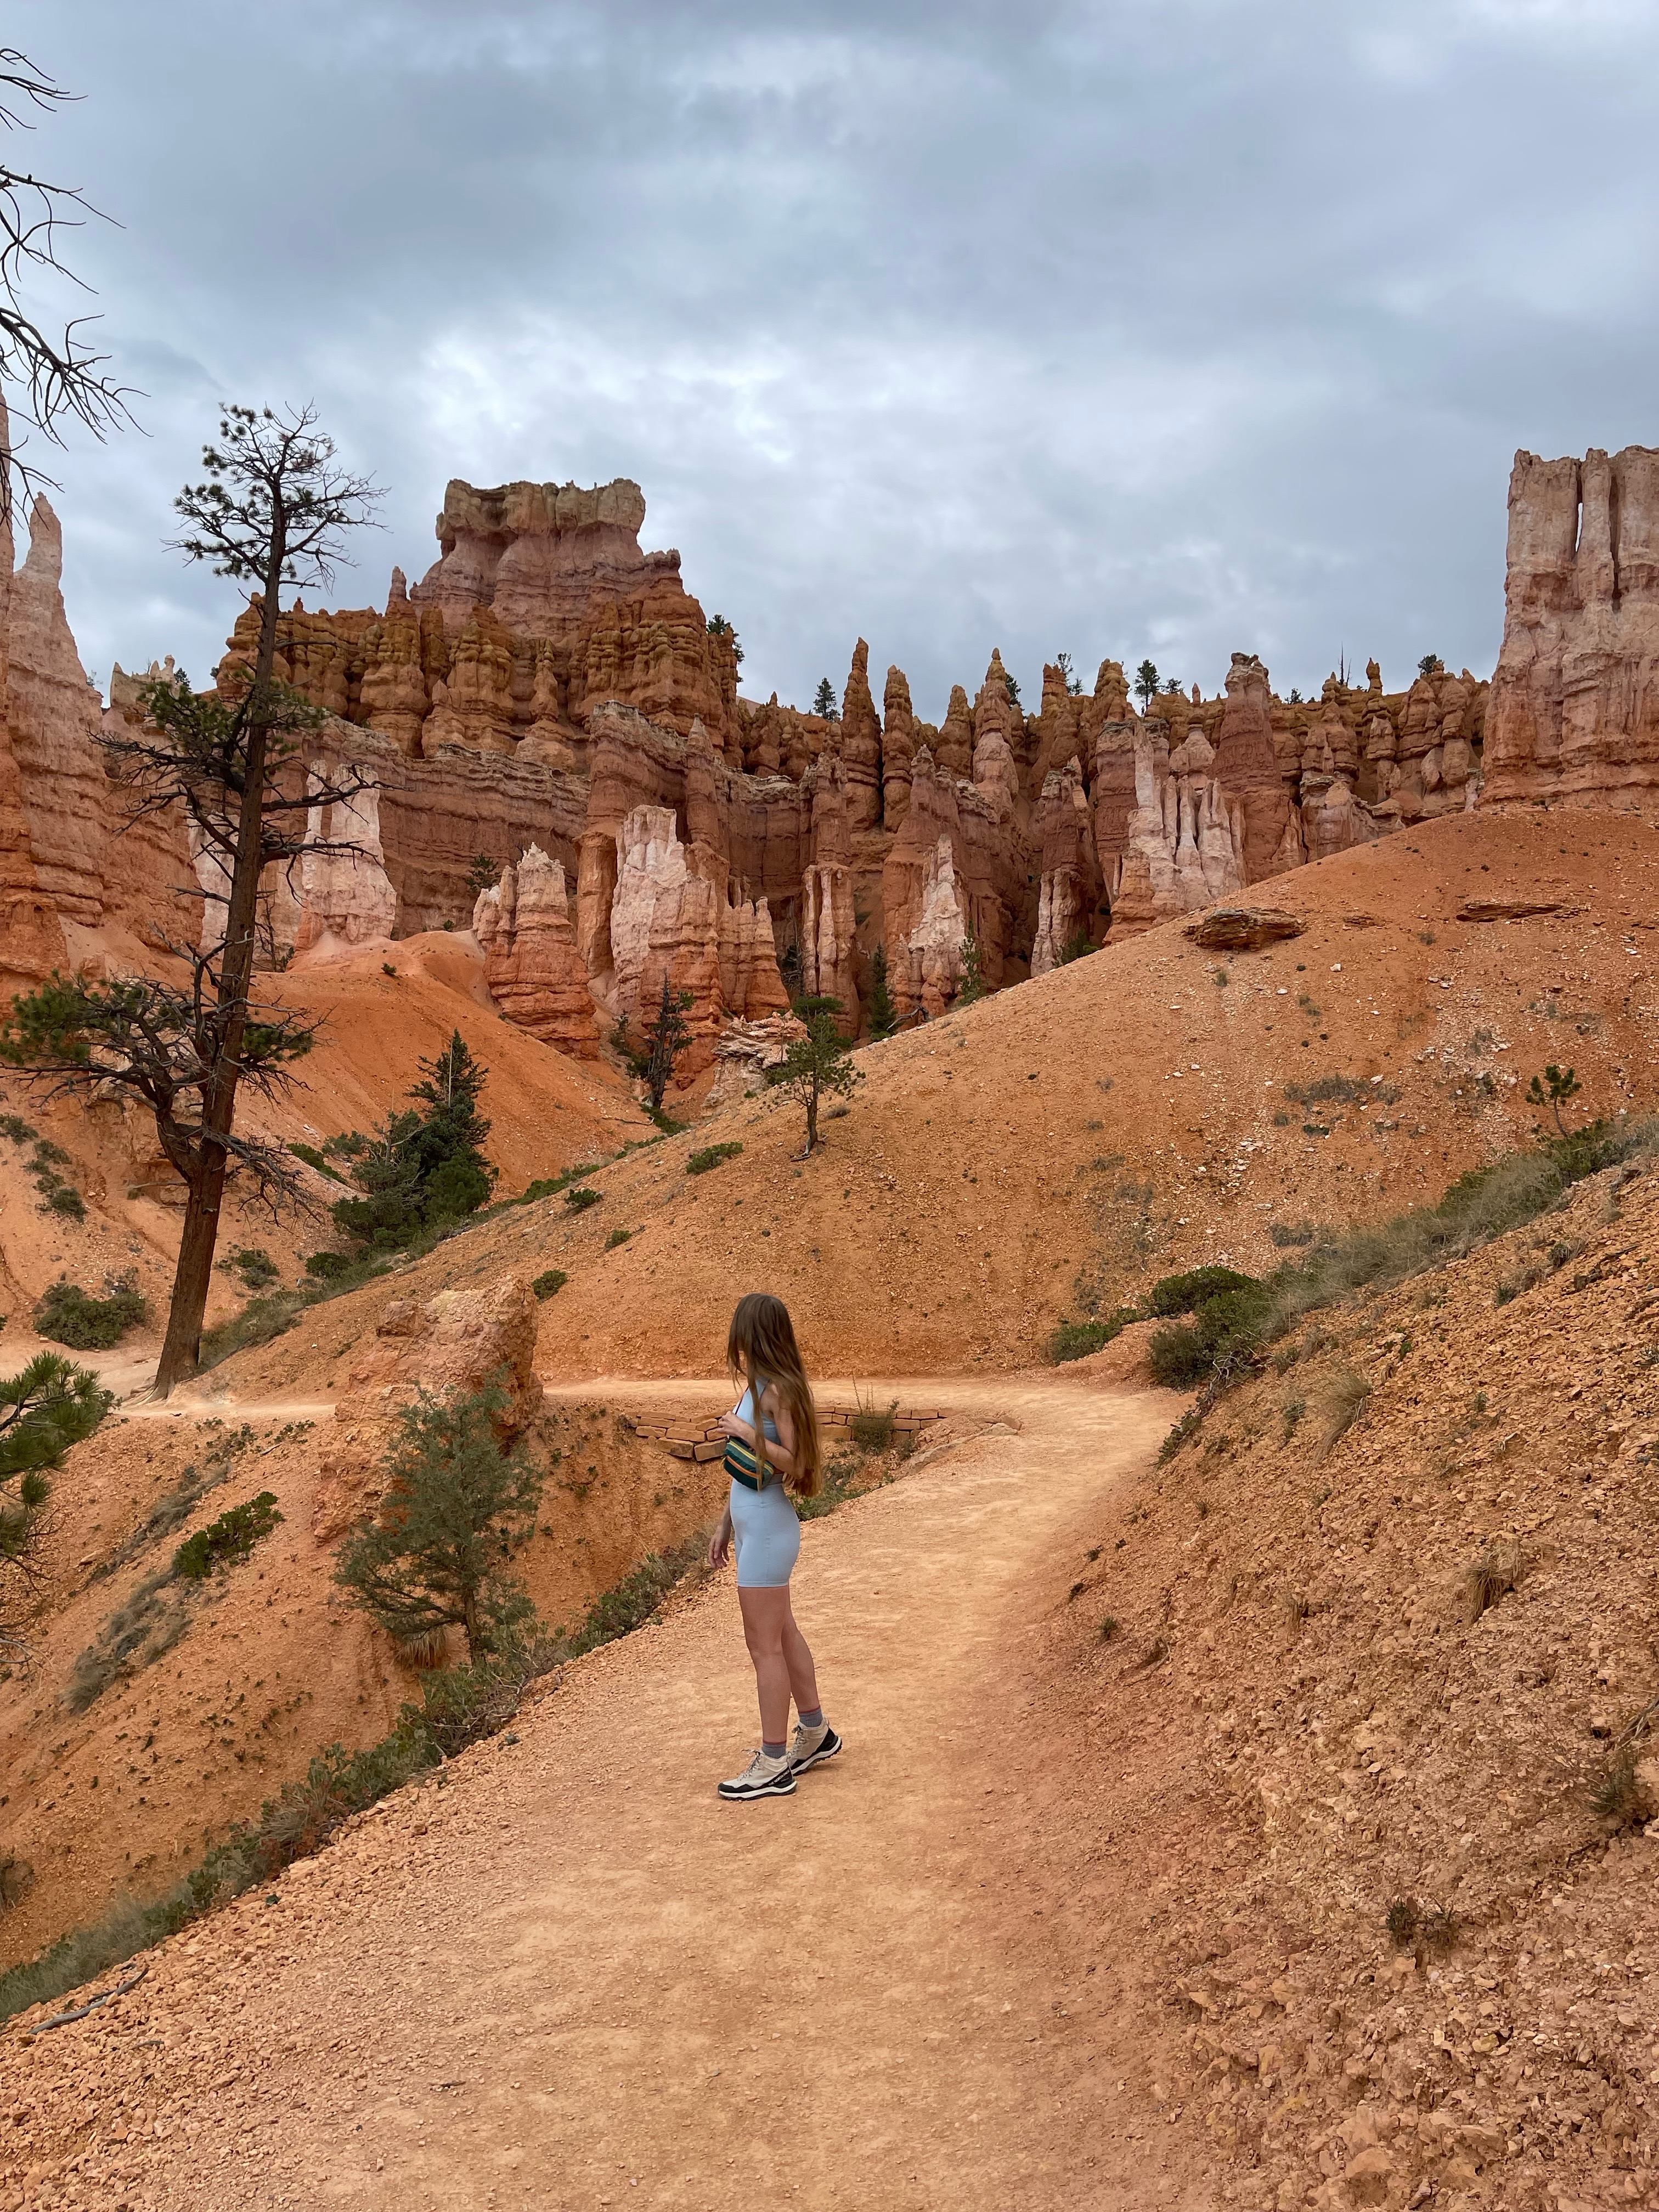
After sunrise, we made coffee and breakfast in the parking lot before heading to our first hike. When researching Bryce Canyon, I was most excited to hike along the Navajo and Queen’s Garden Loop trail. The two trails can be separated but if you connect them it ends up being a 3 mile hike that offers the best views for a quick trip in this park. The park has two major points Sunrise Point and Sunset Point. Both are equally beautiful views and lead you to the trail head of Navajo loop.
There are a couple ways to start the Navajo/Queen’s Garden Loop trail. If you start at Sunset Point, like us, there are signs that direct you towards the Navajo trail. As you hike along the Navajo trail there’s a fork soon after starting and you’ll need to decide if you want to hike to Wall Street first or Two Bridges which are two well known sights on this trail. Keep in mind, you will see both eventually since it’s a loop trail. We decided to start with Wall Street. This is an iconic view of the park and involves several tight switchbacks. When we hiked down Wall Street it was extremely crowded so be prepared for that. From Wall Street we continued on the trail, admiring hoodoos along the way. We felt like we were walking in a different planet, the scenery in Bryce Canyon is so surreal. The hike itself isn’t too difficult but it is steep in some areas. If you start from Wall Street like we did, eventually there will be signs that point towards the Queen’s Garden loop trail. There are a couple fun hoodoos I would recommend keeping an eye out for as you hike this trail:
Queen Victoria (near the Queen’s Garden loop)
Thor’s Hammer (near sunrise point)
Tips
Bryce Canyon is a popular. Be prepared for crowds! When we went, there were several tour buses and so many people on the trails.
If you plan to have a picnic or snacks and want to sit somewhere during a hike, be aware the orange sand throughout the park can stain clothes! We brought a towel we could sit on which was helpful.
There are a few campgrounds within Bryce Canyon National Park [North campground and Sunset campground]. There are also a lot of free camp spots in the area like the one we found.
Bryce Canyon feels like it’s in the middle of “nowhere” so there aren’t many restaurants and shops in the area.
Bryce Canyon is close to other National Parks. Bryce is about 2 hours from Zion National Park and 4.5 hours from Arches National Park. If you’re planning on visiting several National Parks on one trip like us, this is super convenient to do!
Hoodoos along the Navajo trailSunrise PointNavajo/Queen’s Garden trailSunrise at Inspiration PointFree Camp spot near Bryce Canyon
One of my favorite National Parks is definitely Zion National Park. It offers incredible natural beauty and breath taking views. We were able to spend two full days exploring the park which was a nice introduction. I would recommend 3-4 days in the park to fully experience everything Zion has to offer. Here’s an outline of the hikes and activities we did within our two day trip.
Things to Know About Zion National Park
During peak season, the park requires use of their shuttle system. There are only certain areas of the park you are able to drive with your personal vehicle. For most of the hikes and activities, the shuttle is required. The shuttle is free and is easily accessible. There are nine stops within the park and the easiest place to get on the shuttle is the visitor’s center which is stop #1. On the park’s website, there is a list of all shuttle stops you can download. The park also provides this map to all visitors upon entering the park.
If you plan to hike Angels Landing, you’ll need to enter the lottery system. This is the park’s way of limiting traffic on this congested trail. Visit the park’s website to find out more information.
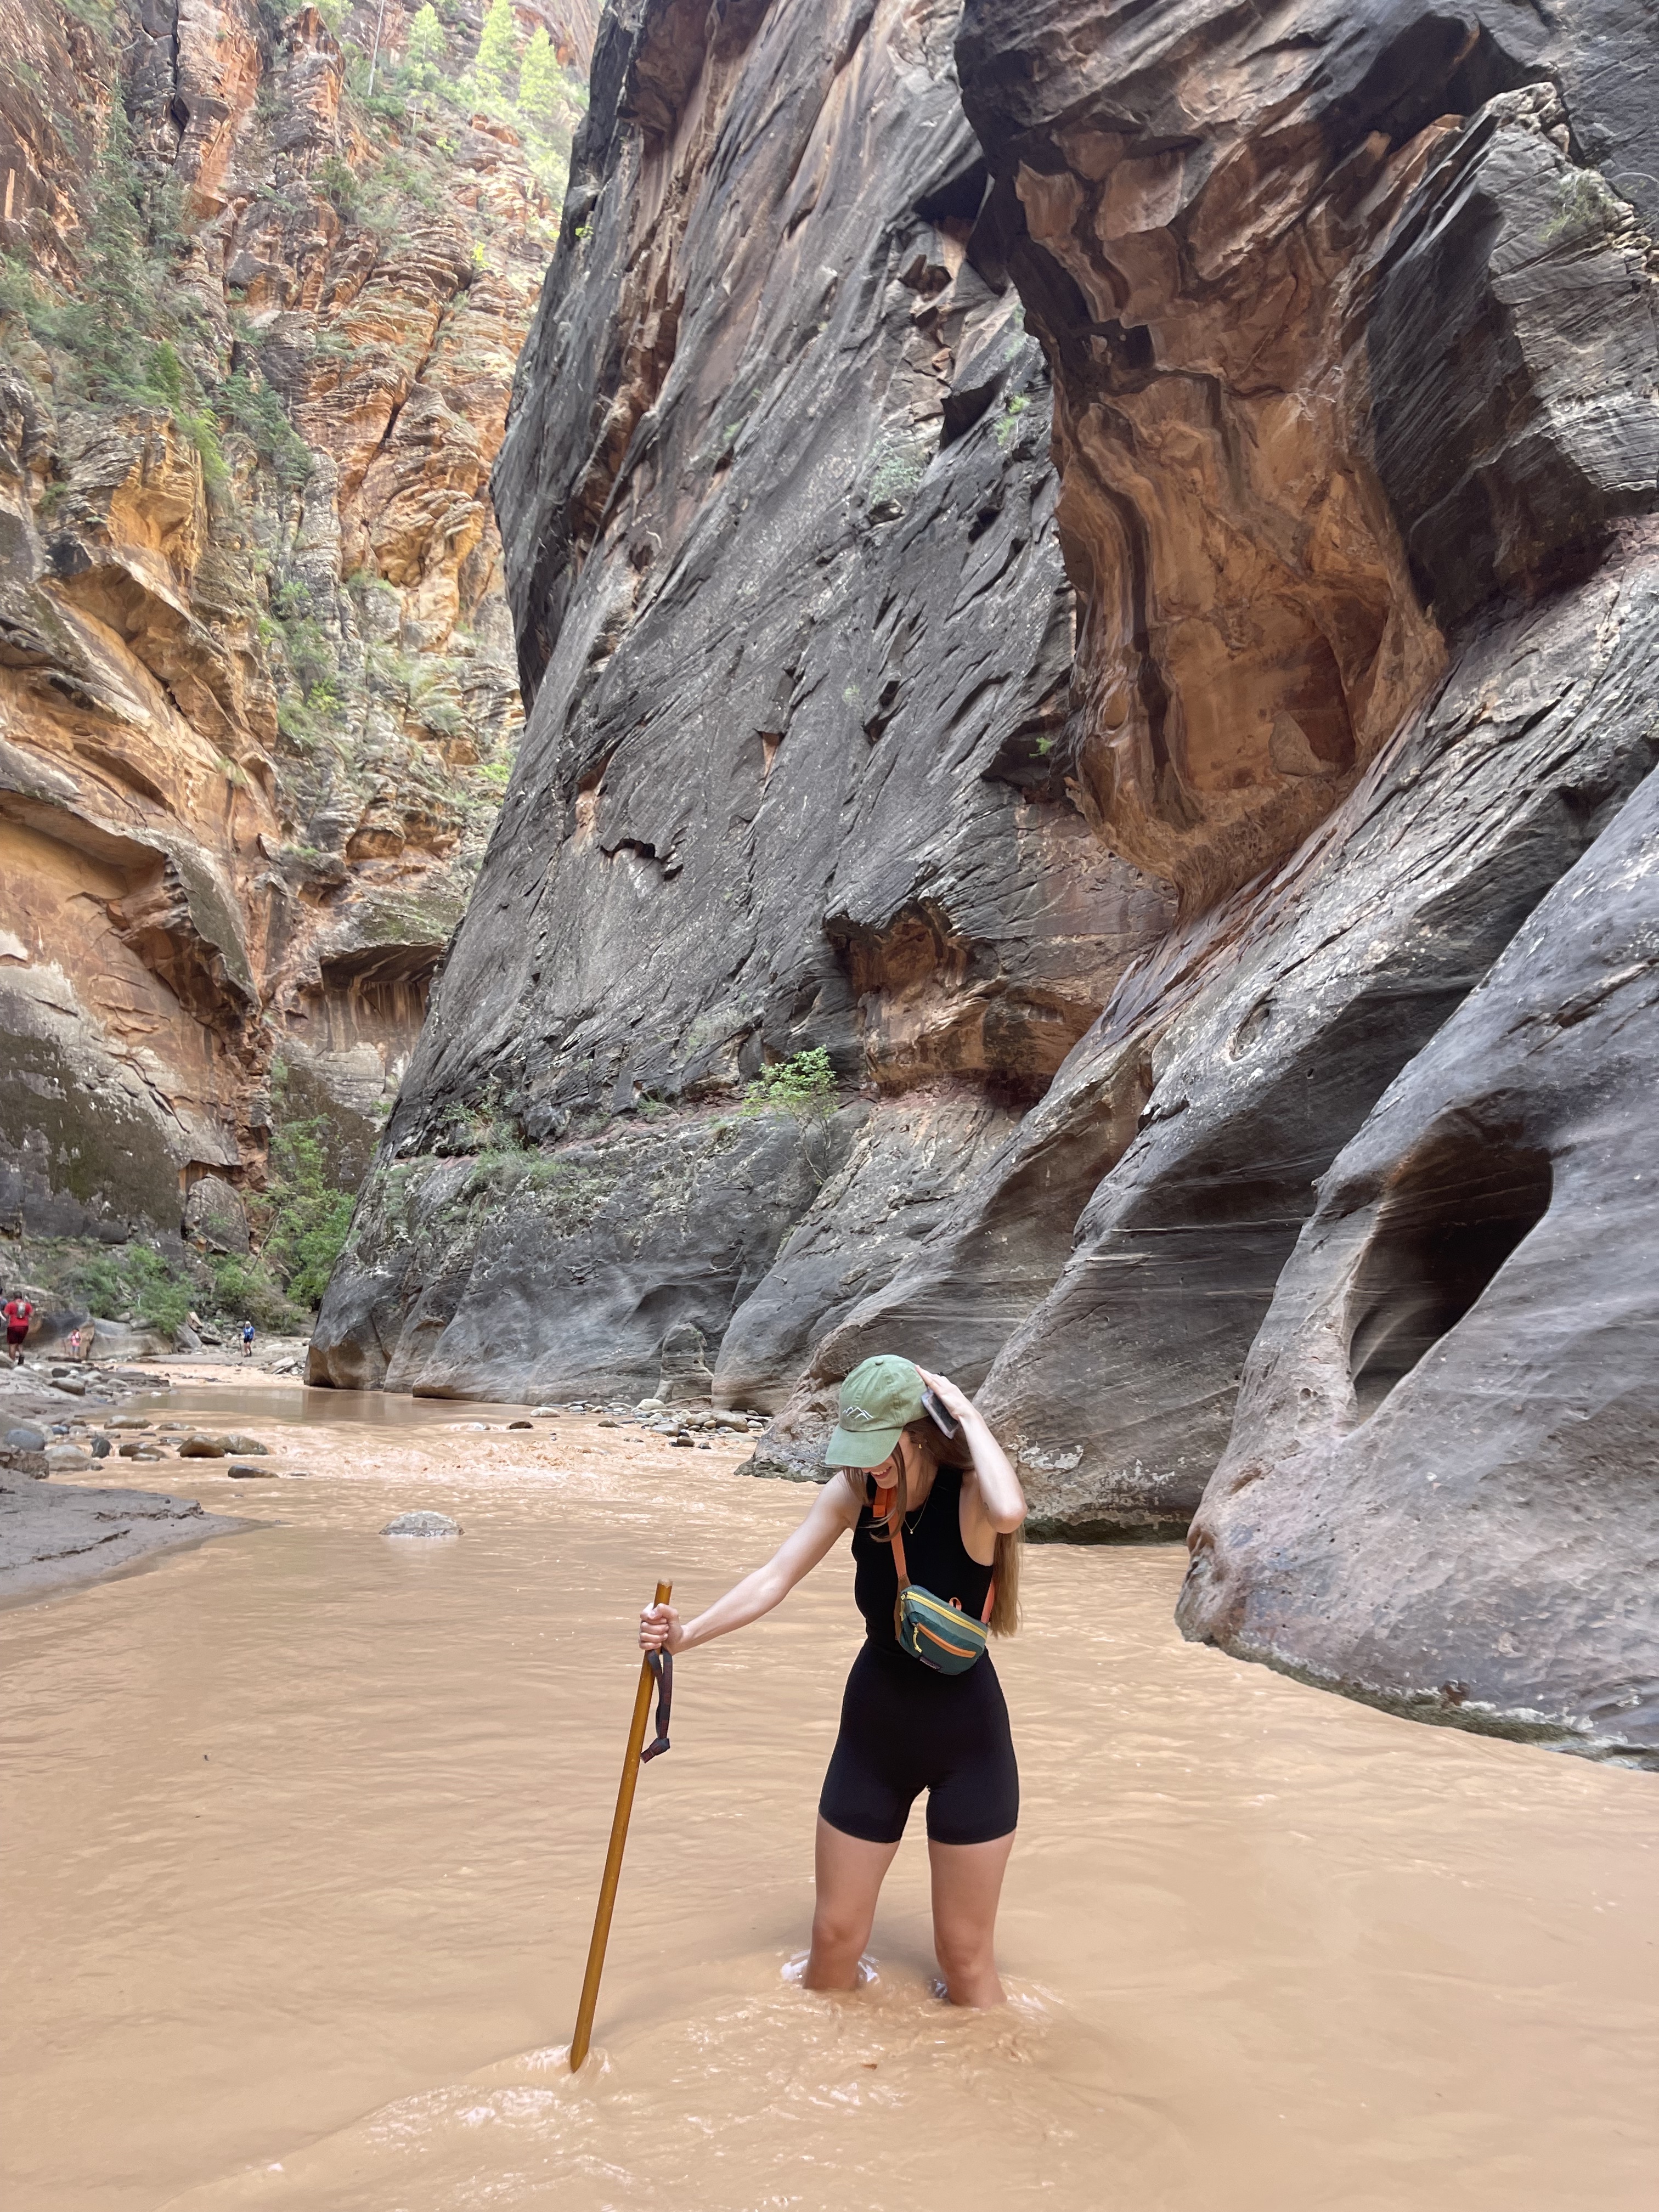
If you plan to hike the Narrows, I would highly recommend renting the gear which includes neoprene socks, boots, and a walking stick. In the summer months it’s about $32 to rent the gear for the day. We rented the gear from Zion Outfitters which is near the visitor’s center.
If you plan to hike to Observation Point, there’s a few things you’ll need to know. This hike used to be accessible through the East Rim Trail which started at the Weeping Rock shuttle stop. However, due to falling rocks a few years ago, the trail is closed until further notice. Luckily, there’s other ways to hike to Observation Point. We hiked to Observation Point via the East Mesa trail which is on the other side of the park, it’s actually outside of the entrance of Zion so you can hike it without even entering the park! The parking lot at East Mesa is very limited and the road to get there is rocky and rough. It’s advised that only cars with 4×4 drive should take a risk to access the parking lot. If that’s not possible for you, there is a shuttle that takes hikers which is accessible from Zion Ponderosa Resort. The shuttle is $7. Keep in mind, the shuttle takes you to the road above the parking lot not the trail head itself so you’ll have to walk a .5mi walk to the actual trailhead after being dropped off.
The heat at Zion, like many other parks in Utah during the summer, is extreme. We originally planned to car and tent camp but decided to find a lodge instead due to high temperatures even at night. Last minute, we found Gooseberry Lodges located in Apple Valley, UT which is about 45 minutes from the park. I can’t recommend Gooseberry enough! It was extremely comfortable and affordable.
Day One
We started our first day in the park, bright and early for a sunrise hike to Canyon Overlook. I always recommend starting hikes before sunrise while visiting any National Park, but especially if you’re planning to hike Canyon Overlook in Zion. The parking lot is very limited and this is one of the most popular hikes in Zion! It’s also one of the only hikes that does not require the shuttle to access. The parking lot is located right after you pass through the Mount Carmel tunnel and you have to walk across the street to begin the hike. This hike is a simple 1 mile hike and it provides one of the most stunning views in the park! We arrived to the top just before the sun rose and it was one of my favorite memories watching the sun come up over the canyon.
After our sunrise hike, we drove into the nearest town which is Springsdale, UT. We stopped by Deep Creek Coffee for some breakfast sandwiches and espresso which tasted so great after a hike!
Our next adventure involved hiking the Narrows! The Narrows hike is only accessible from the shuttle in the park during peak season. The hike begins at shuttle stop #9 which is called Temple of Sinawava. From the shuttle drop off, you have to walk a paved path (Riverside Walk) that’s at least a mile to get to the start of the Narrows. The Narrows is a popular hike within Zion National Park so be prepared for crowds, especially at the beginning of the hike. The beginning was the most populated but as you continue through, the crowds definitely thin out. We hiked a little past”Wall Street” and turned back which was about 6 miles total. The Narrows was an incredible hike and so unique, I’d highly recommend adding this to your Zion Itinerary.
Narrows Notes & Tips:
If you decide not to rent the gear, I would at least recommend buying or renting neoprene socks. The Narrows is a challenging hike for many reasons. One reason being the water temperature. Even with the summer heat, the water is typically cold and after spending hours in the water, your feet will be wet and cold!
You will get wet. The rented socks and boots do not prevent your feet from getting wet, but ensure your feet stay warm.
The walking stick provided with the rental is another pro of renting gear. Since there is so much traffic through the Narrows, the water when we went was a brown color and impossible to see through. The hike is entirely water and rocks so walking and balancing is challenging. The walking stick helped us navigate the rocky terrain.
Try and go during lunch hour. The park recommends waiting at least until noon to begin hiking the Narrows. That way, the sun will be above the Narrows and allow some sunlight in between the canyons. Otherwise, it may be a chilly hike since the water is already cold. If you decide to go early, wear layers if possible.
The park determines each morning if there is any flood risk and if the water is safe to hike through. It’s always a little unpredictable if you’ll be able to hike the Narrows so be prepared to be flexible.
Pack snacks! Similarly to any long hike, you’ll want plenty of snacks and water to have when you take breaks. This hike is particularly more challenging since it’s all through water. You’ll want to keep energy up!
There are restrooms when you arrive at the shuttle stop but no restrooms along the hike.
The water in the Narrows contains cyanobacteria, which means it’s not safe to consume the water or submerge your head beneath the water.
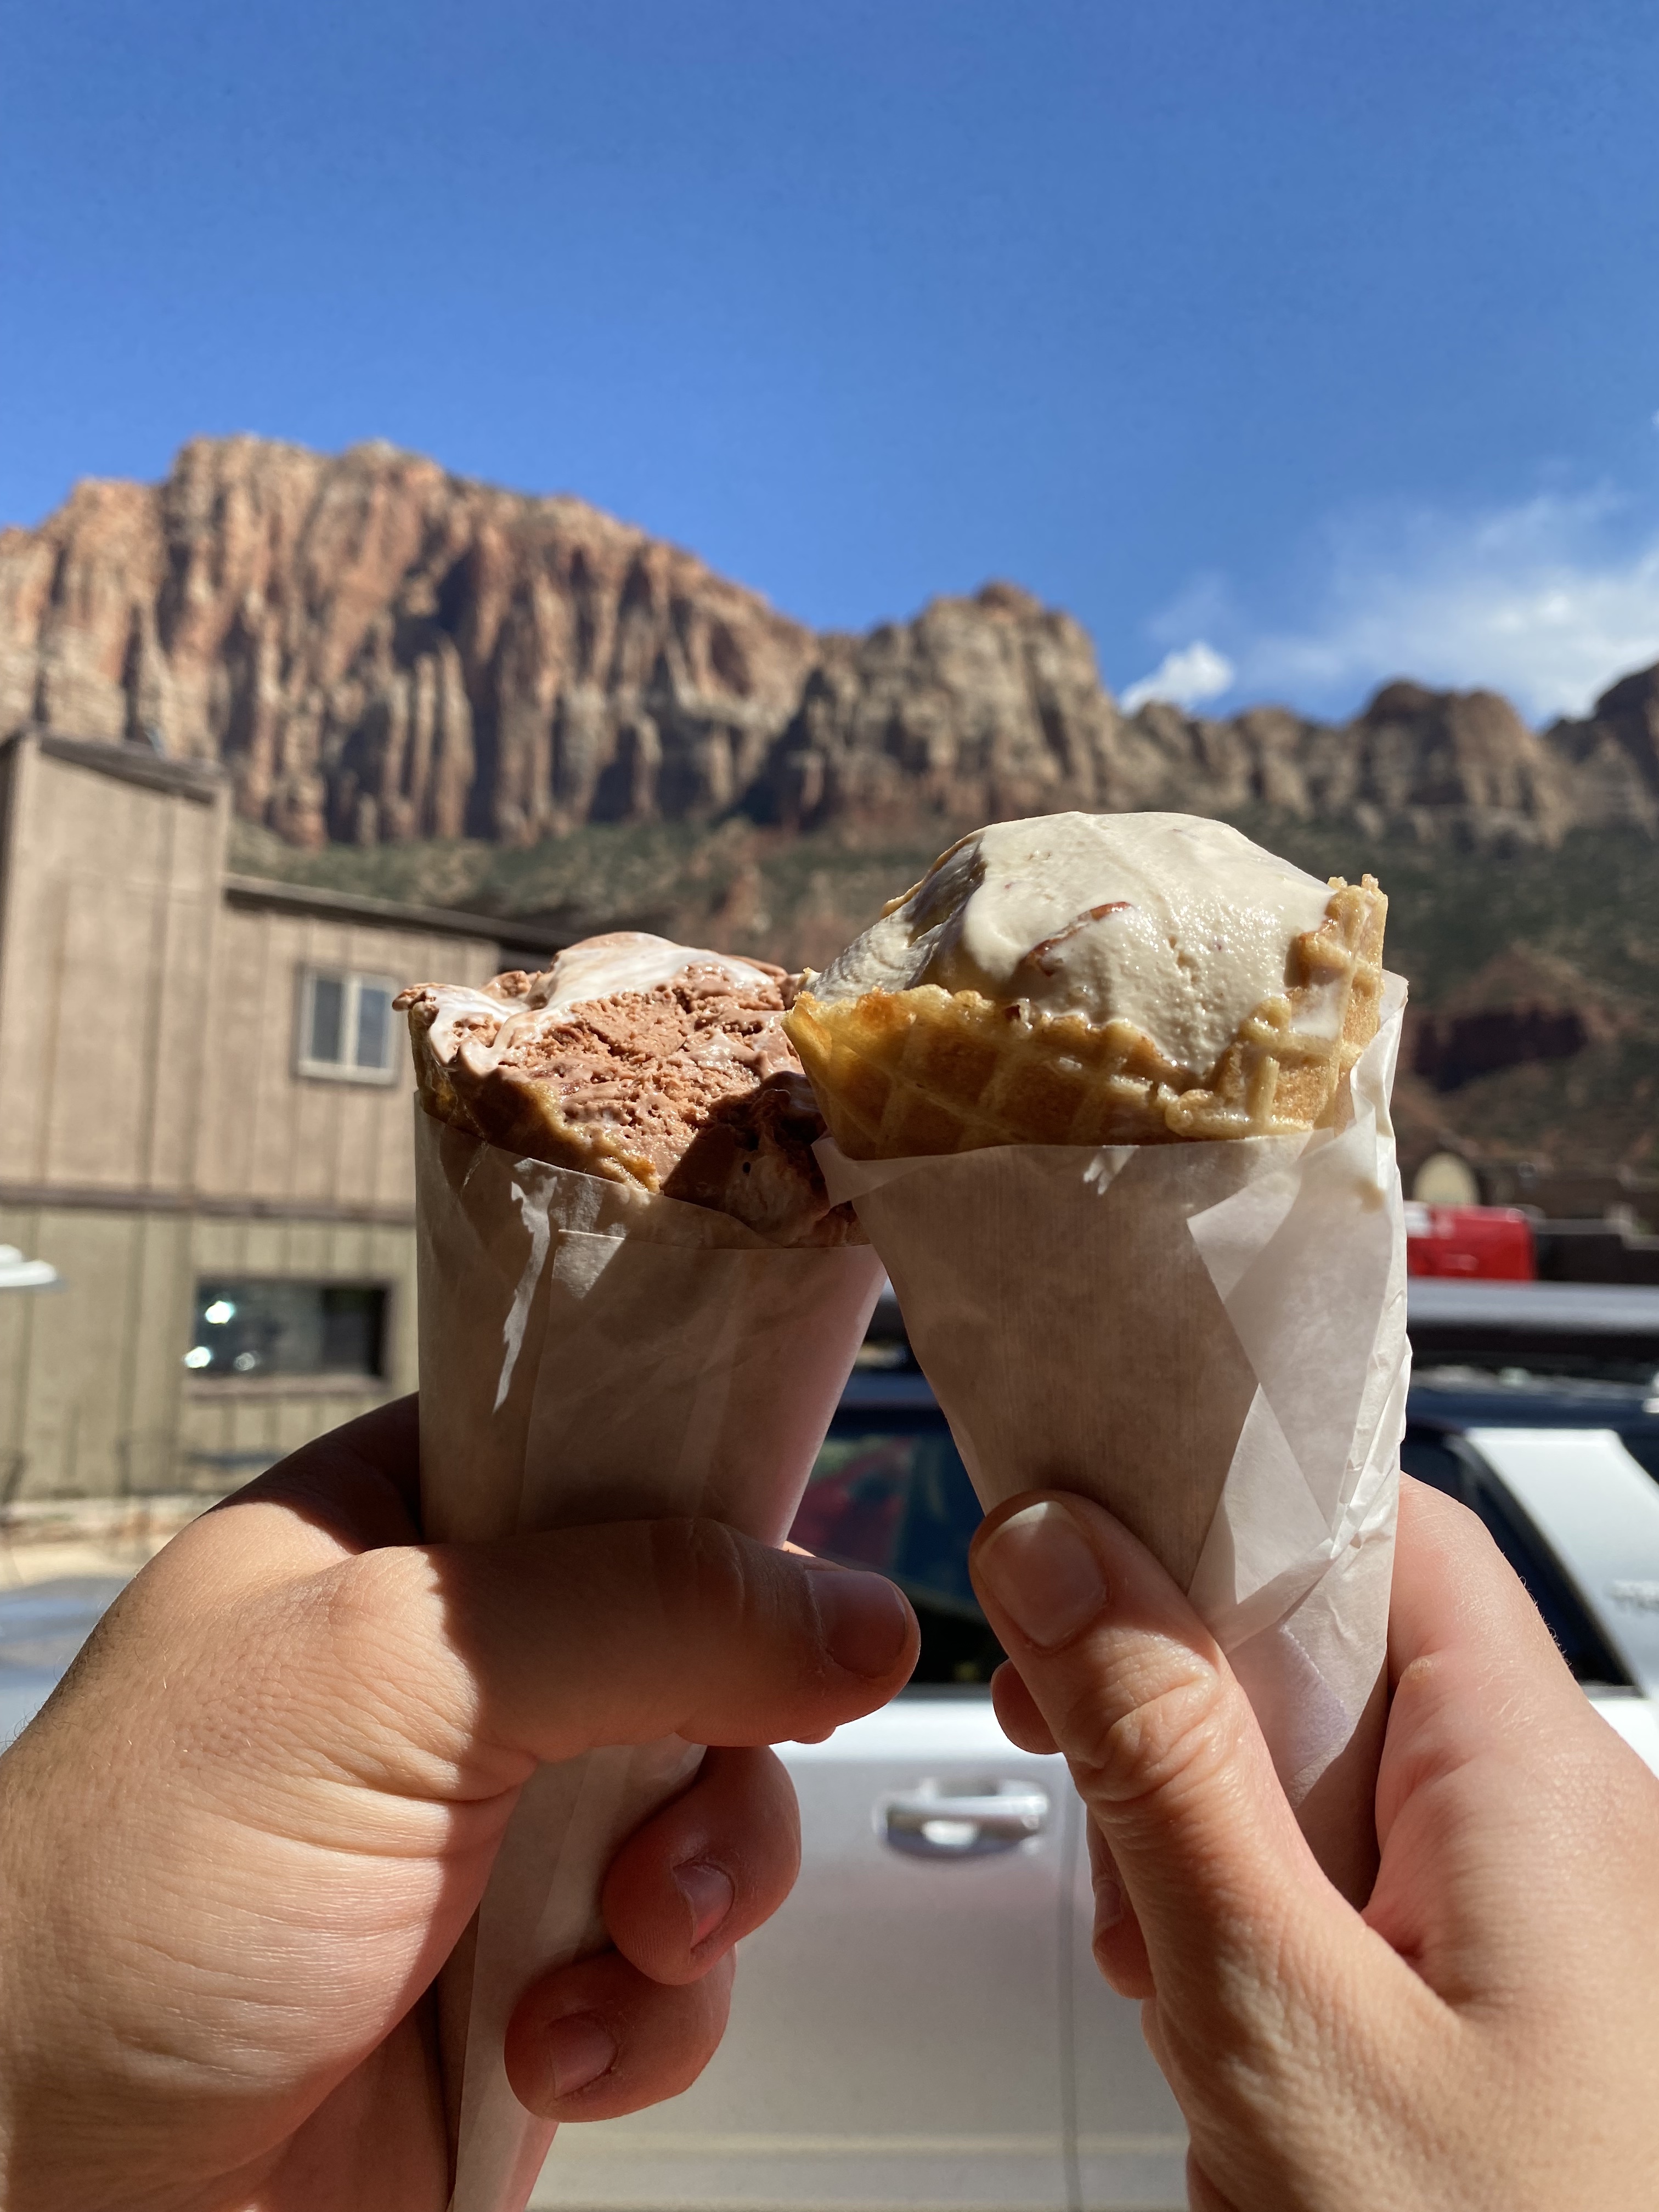
After a long day of hiking, we headed back into town and found ice cream before heading to camp. We originally planned to camp out at a free camp spot we found, however, due to extreme heat temperatures we decided to find a place to sleep with air conditioning. We booked a two night stay at Gooseberry Lodge and it was one of the best over night accommodations we experienced on our road trip! Gooseberry offers private small cabins with a kitchenette and outdoor area. These cabins are super affordable and perfect for a place to sleep after a long day of hiking. Gooseberry Lodges is located in Apple Valley, UT which is about 45 minutes from Zion National Park. Even though it was a drive to the park, we had so much fun exploring Apple Valley and experiencing another small town.
Day Two
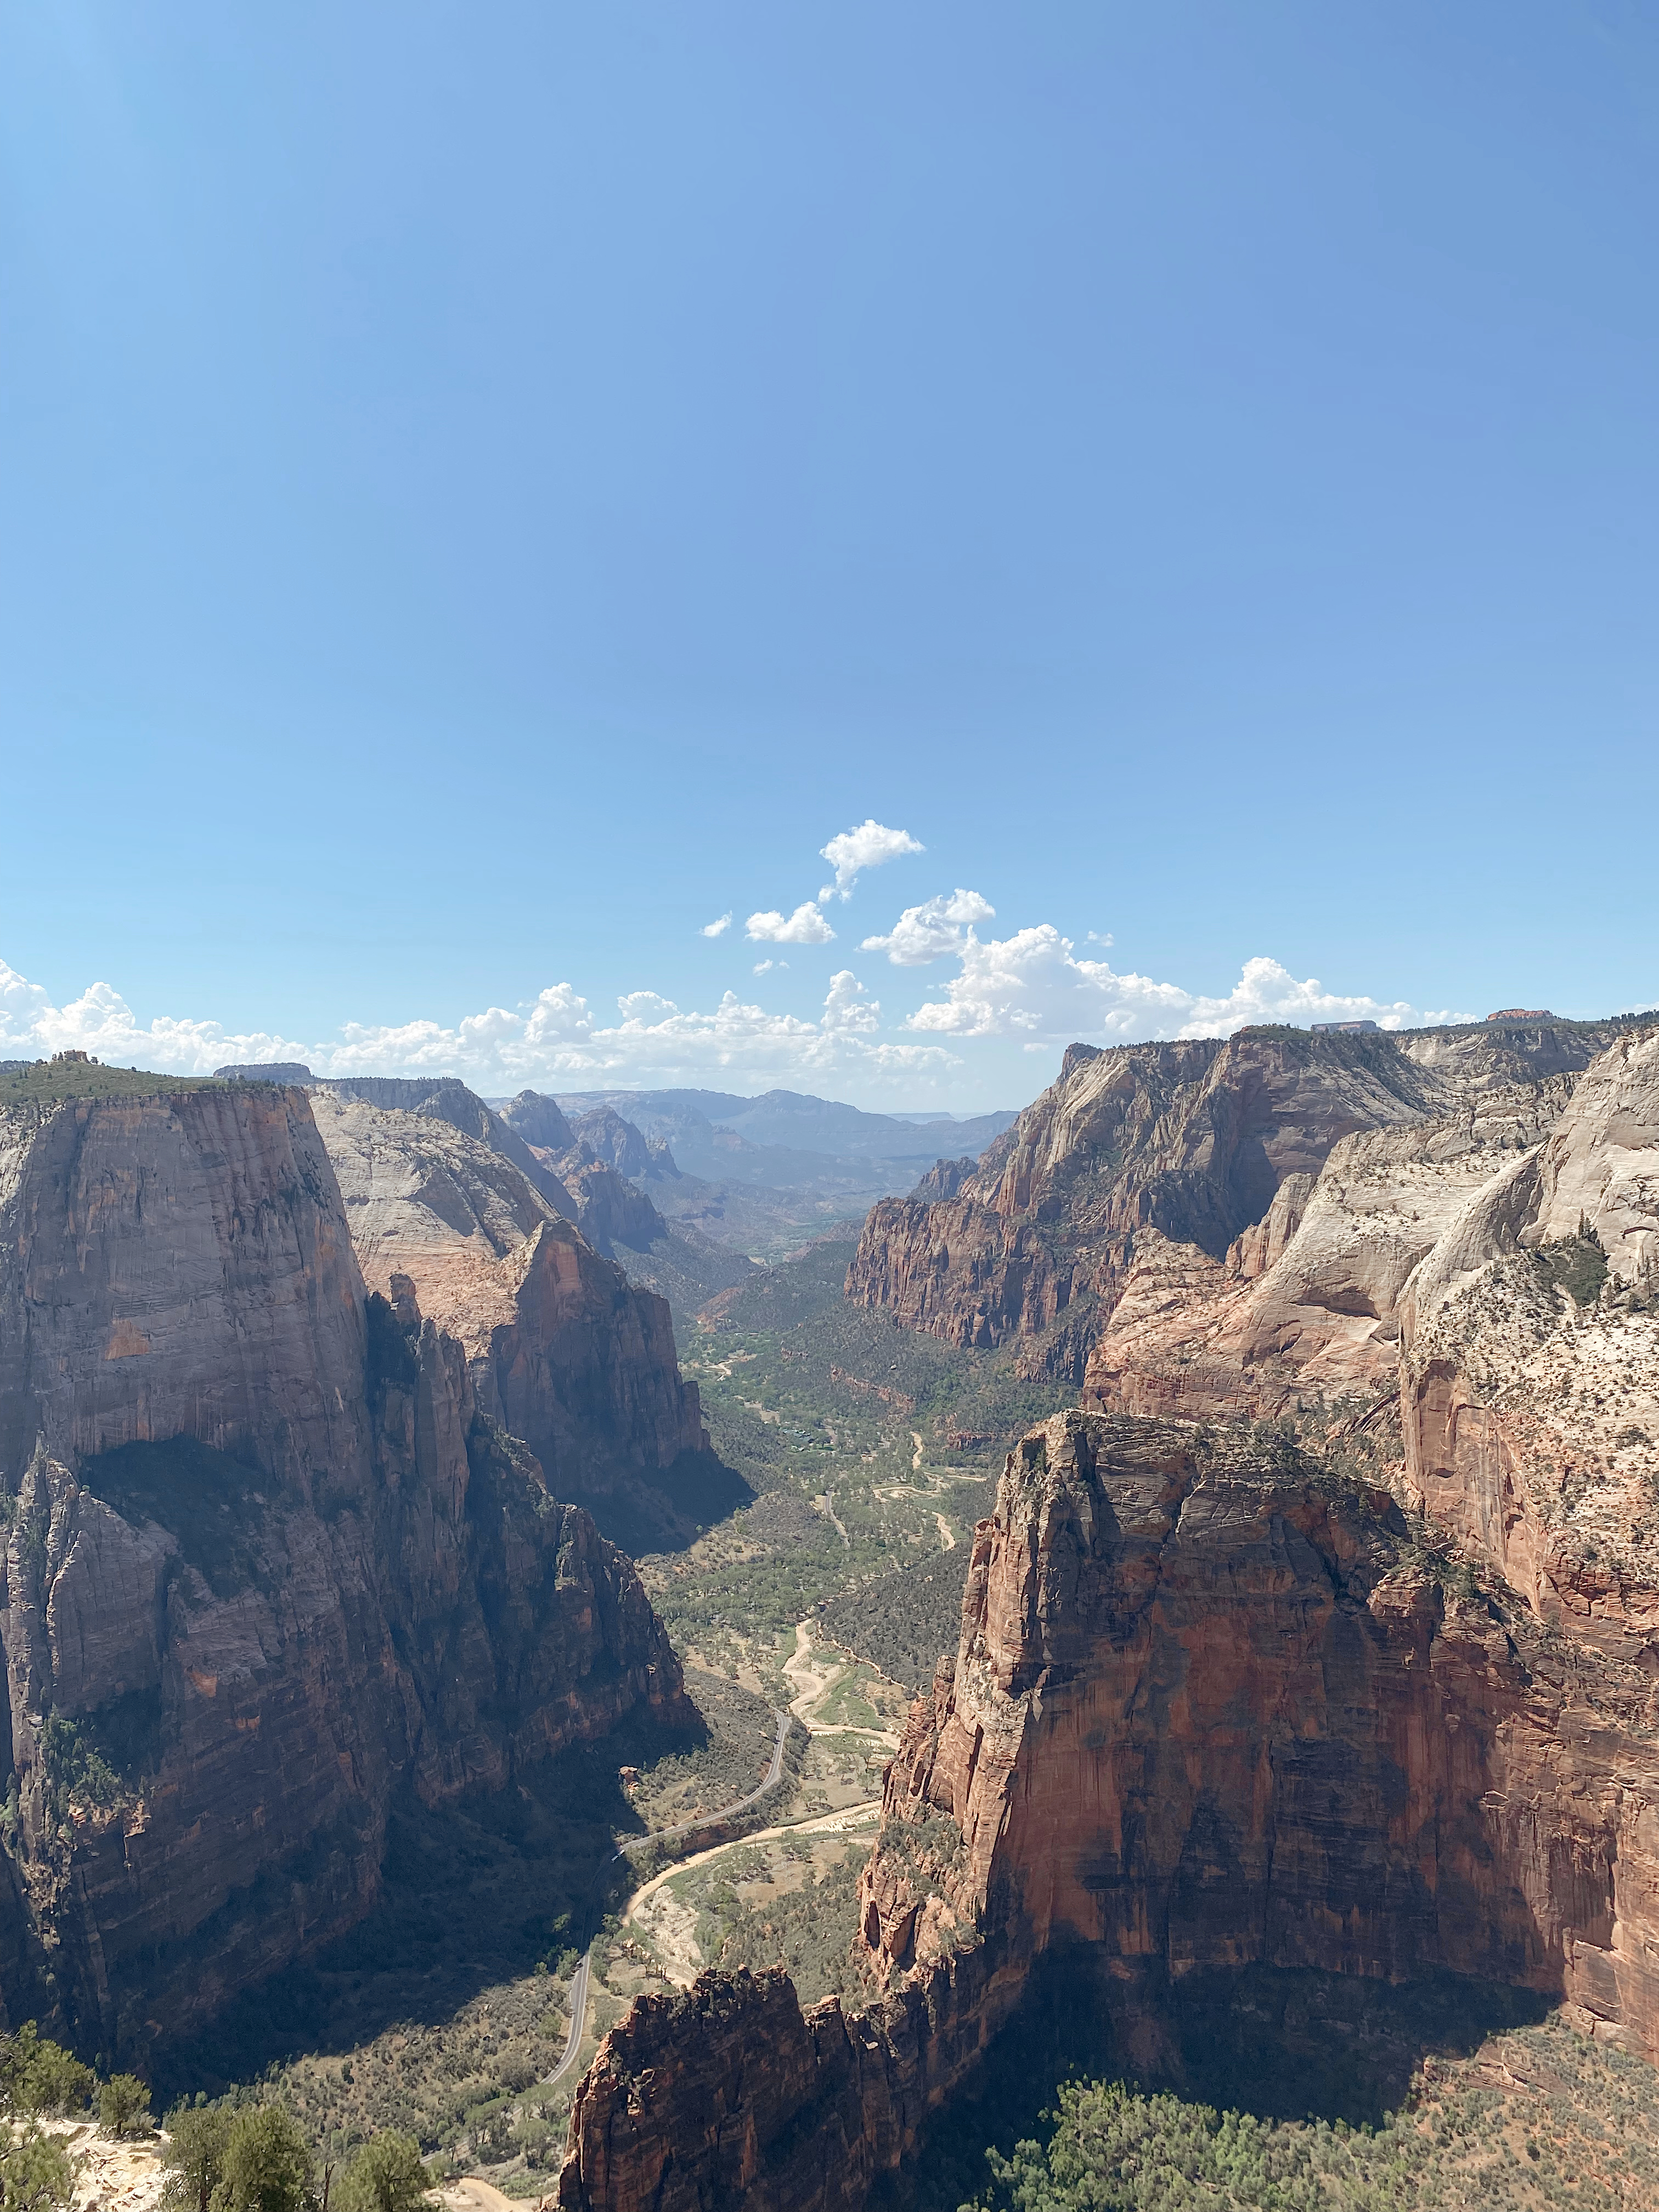
During our second day in the park, our only plan was to hike to Observation Point. Many compare this hike’s view to the one you could have at the top of Angel’s Landing. Observation Point’s view is actually behind Angel’s landing so in my opinion, it’s an even grander view (plus much safer to the top!). This hike is about 6.7 miles round trip and not too challenging. The first half of the hike is through a forest like trail but the rest of the hike is pretty exposed so be prepared for strong heat if visiting during summer months. The view at Observation Point is stunning and definitely a must see while visiting Zion! We packed a lunch and spent hours at the top soaking in the view.
As I mentioned earlier, this hike is accessible a few different ways. We accessed the trail via East Mesa which is on the other side of the park. The road that leads to the trailhead is rocky and uneven and unless you have a 4×4 car, it’s not recommended you drive the road but instead take the shuttle which is located at Zion Ponderosa resort. Our vehicle was equipped for the road so we drove there ourselves. The parking lot is extremely small and there are several signs that state if you are unable to find a parking spot, you’ll have to drive back and take the shuttle so also keep that in mind. Luckily we found a parking spot but it was very limited.
After another long afternoon of hiking, we drove back into town and did some souvenir shopping. To end the night we drove along the Mt. Carmel highway which is the scenic drive offered in Zion National Park.
Observation PointThe NarrowsThe NarrowsIce cream stop in townFilm photo of Observation PointHiking through the NarrowsSunrise at Canyon OverlookDriving along Mt. Carmel highwayAt the top of Observation Point