


Glacier National Park is one of the most magical places I’ve ever been to. Glacier has been named the “crown jewel of the continent” for good reason. We were able to spend three full days in Glacier national park and experienced some of the most beautiful views I’ve ever seen. Here’s a quick guide and overview of our time in Glacier.
Things to Know Before Visiting Glacier
- Glacier national park is in the middle of nowhere! The park has done a nice job creating souvenir shops, mini grocery stores, and resturants but it’s limited.
- During peak season (May-September), the park requires a reservation pass for four sections of the park. This includes Going to the Sun Road, North Fork, Many Glacier, Two Medicine areas. Learn more on the park’s website.
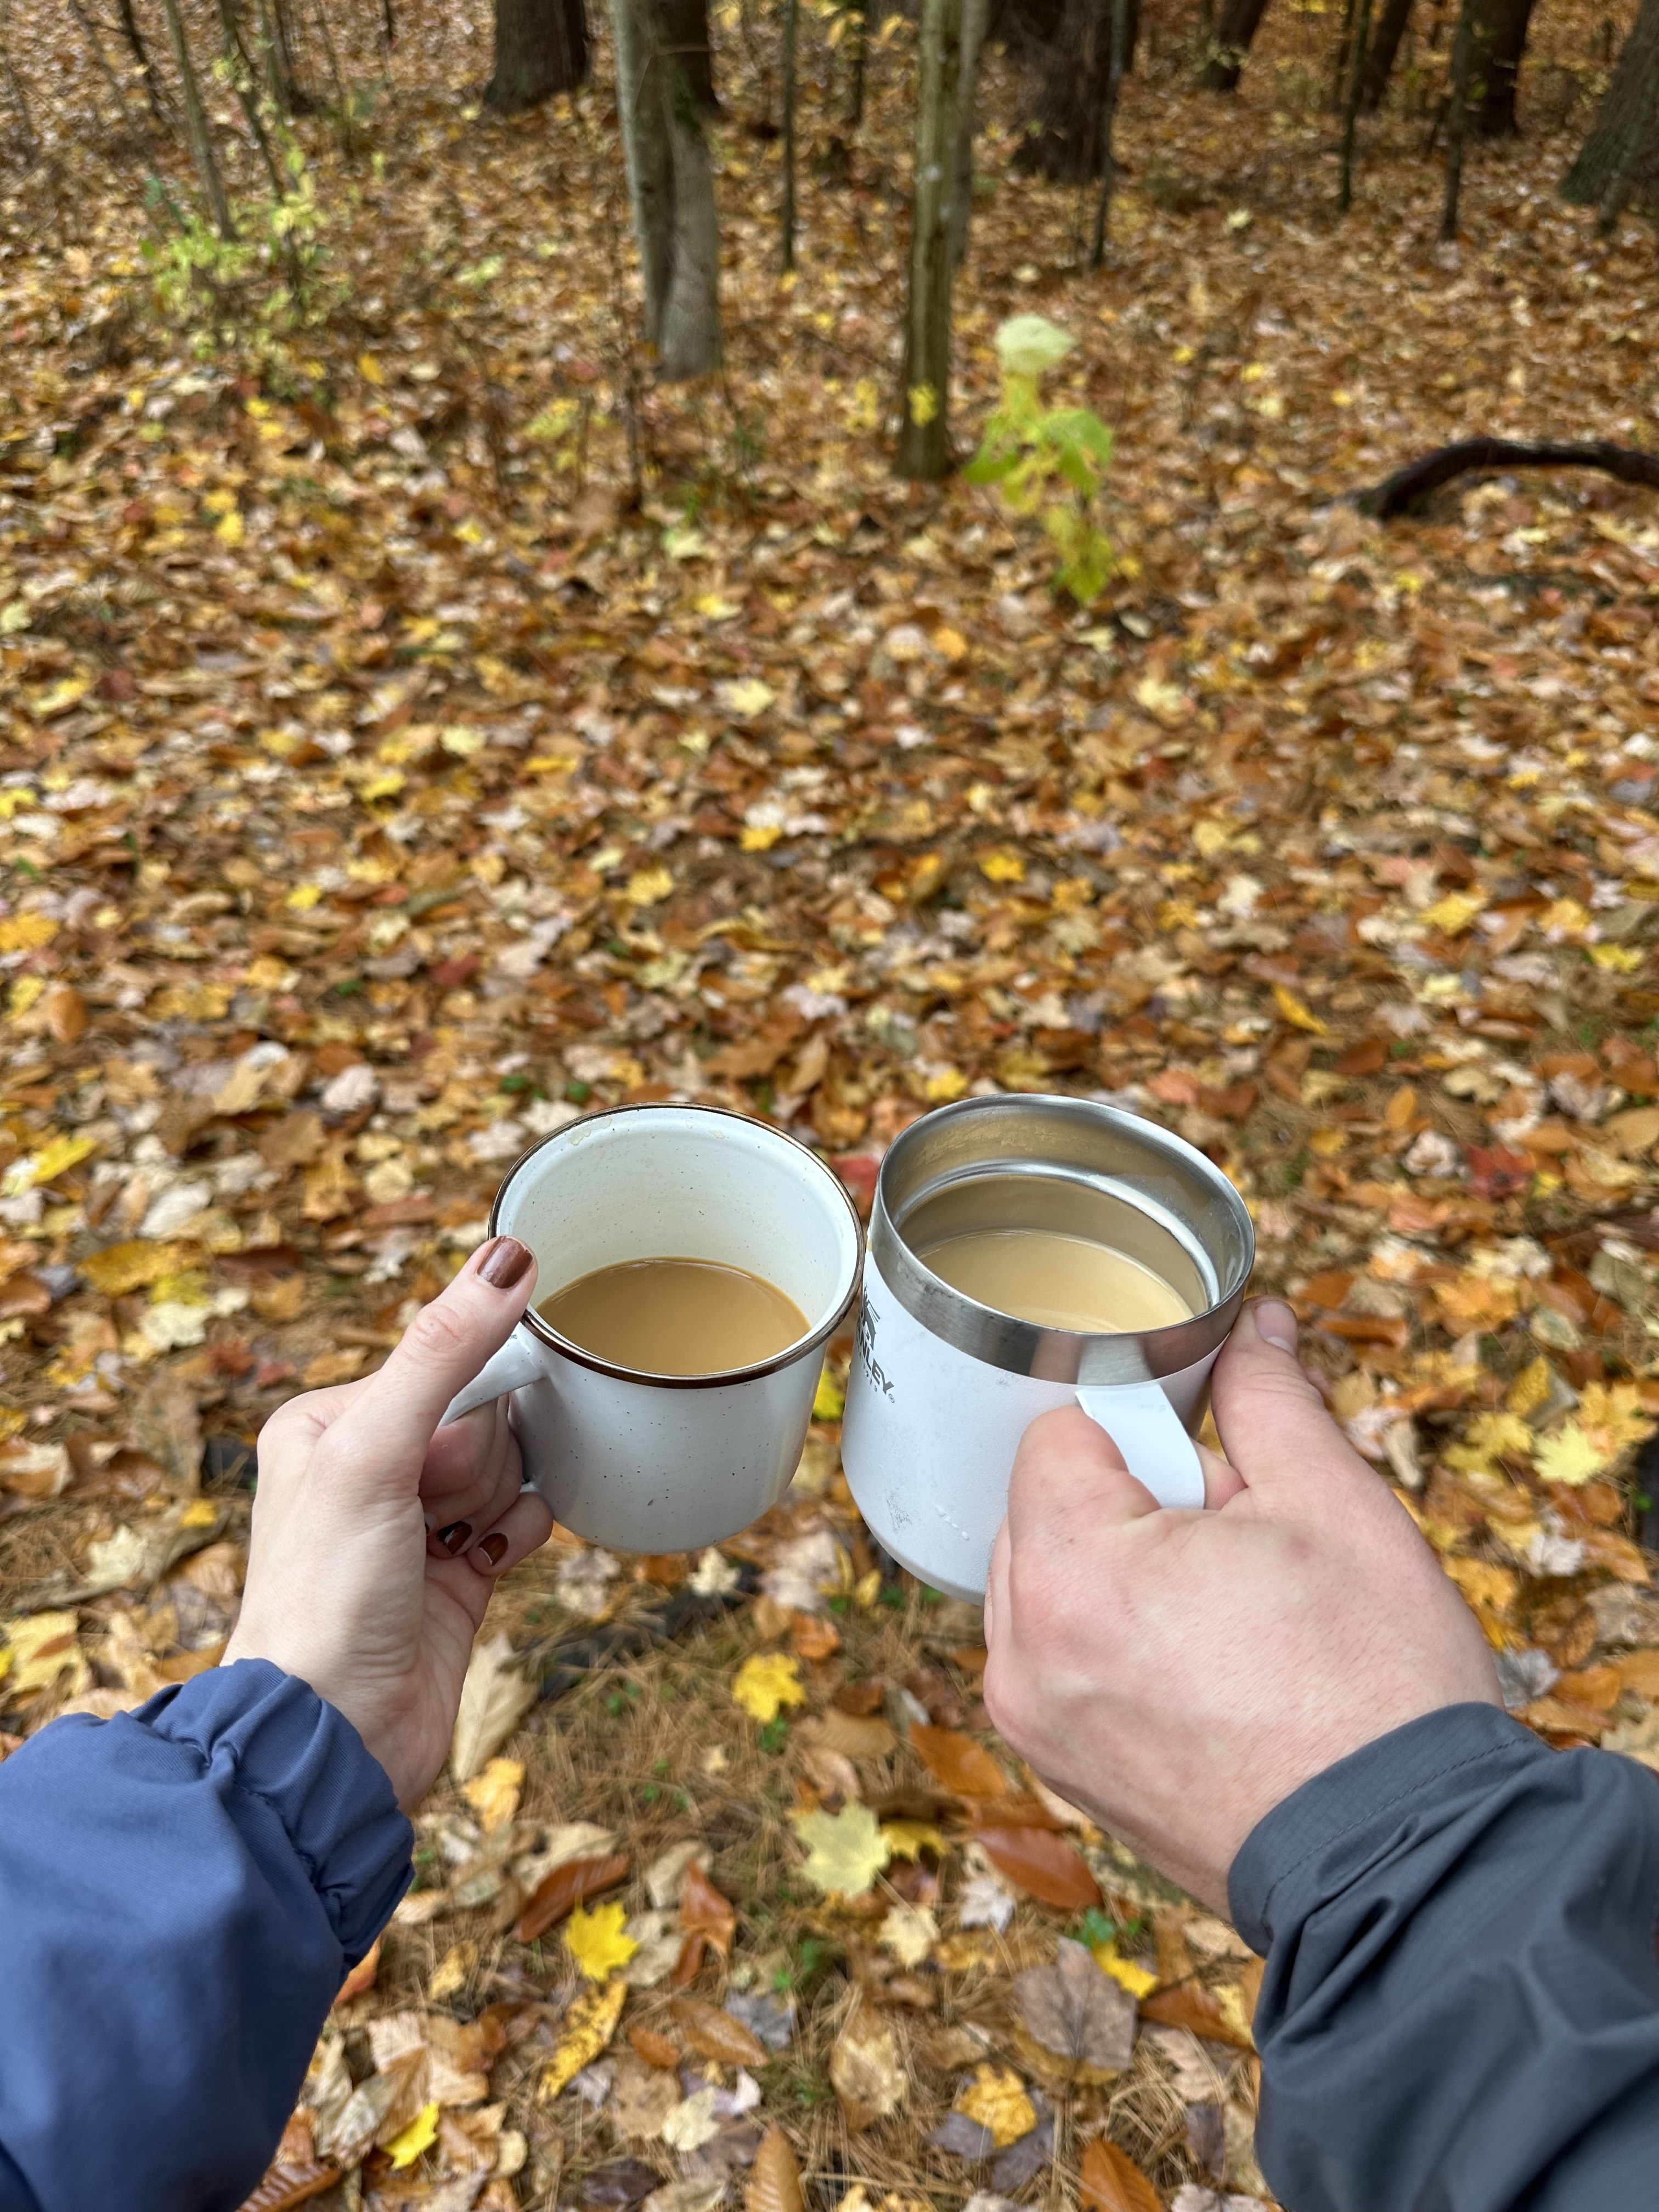
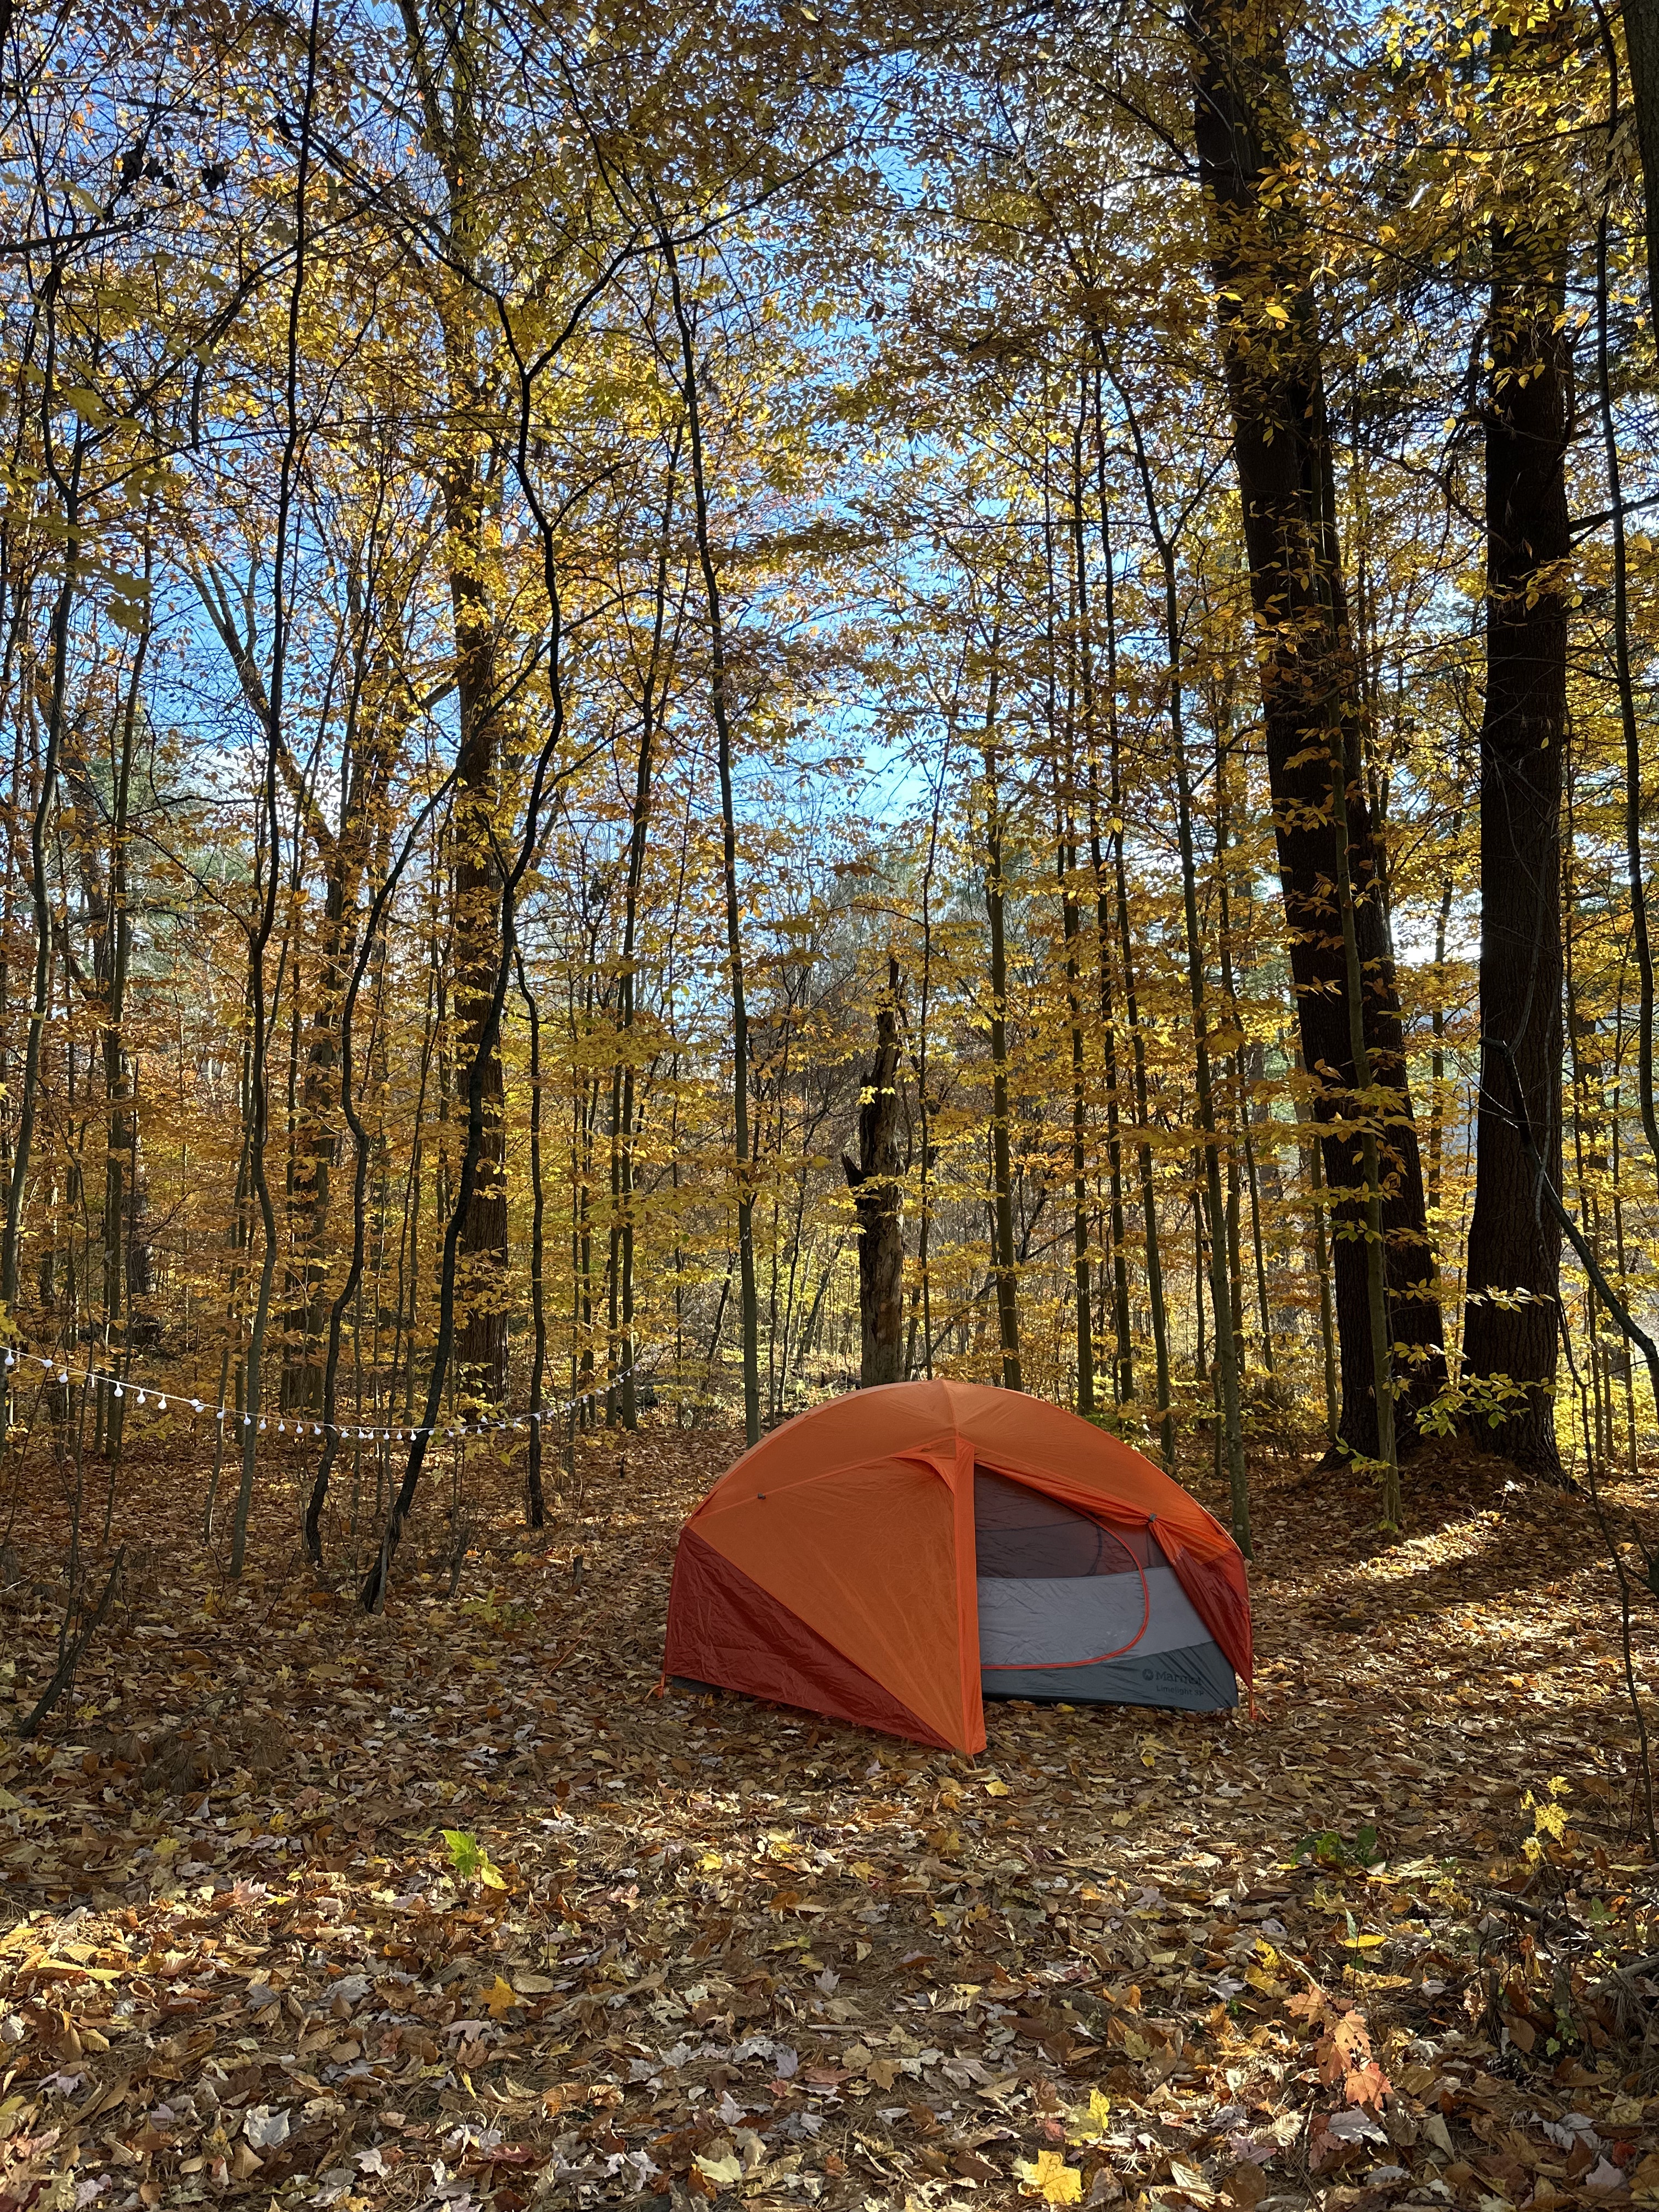
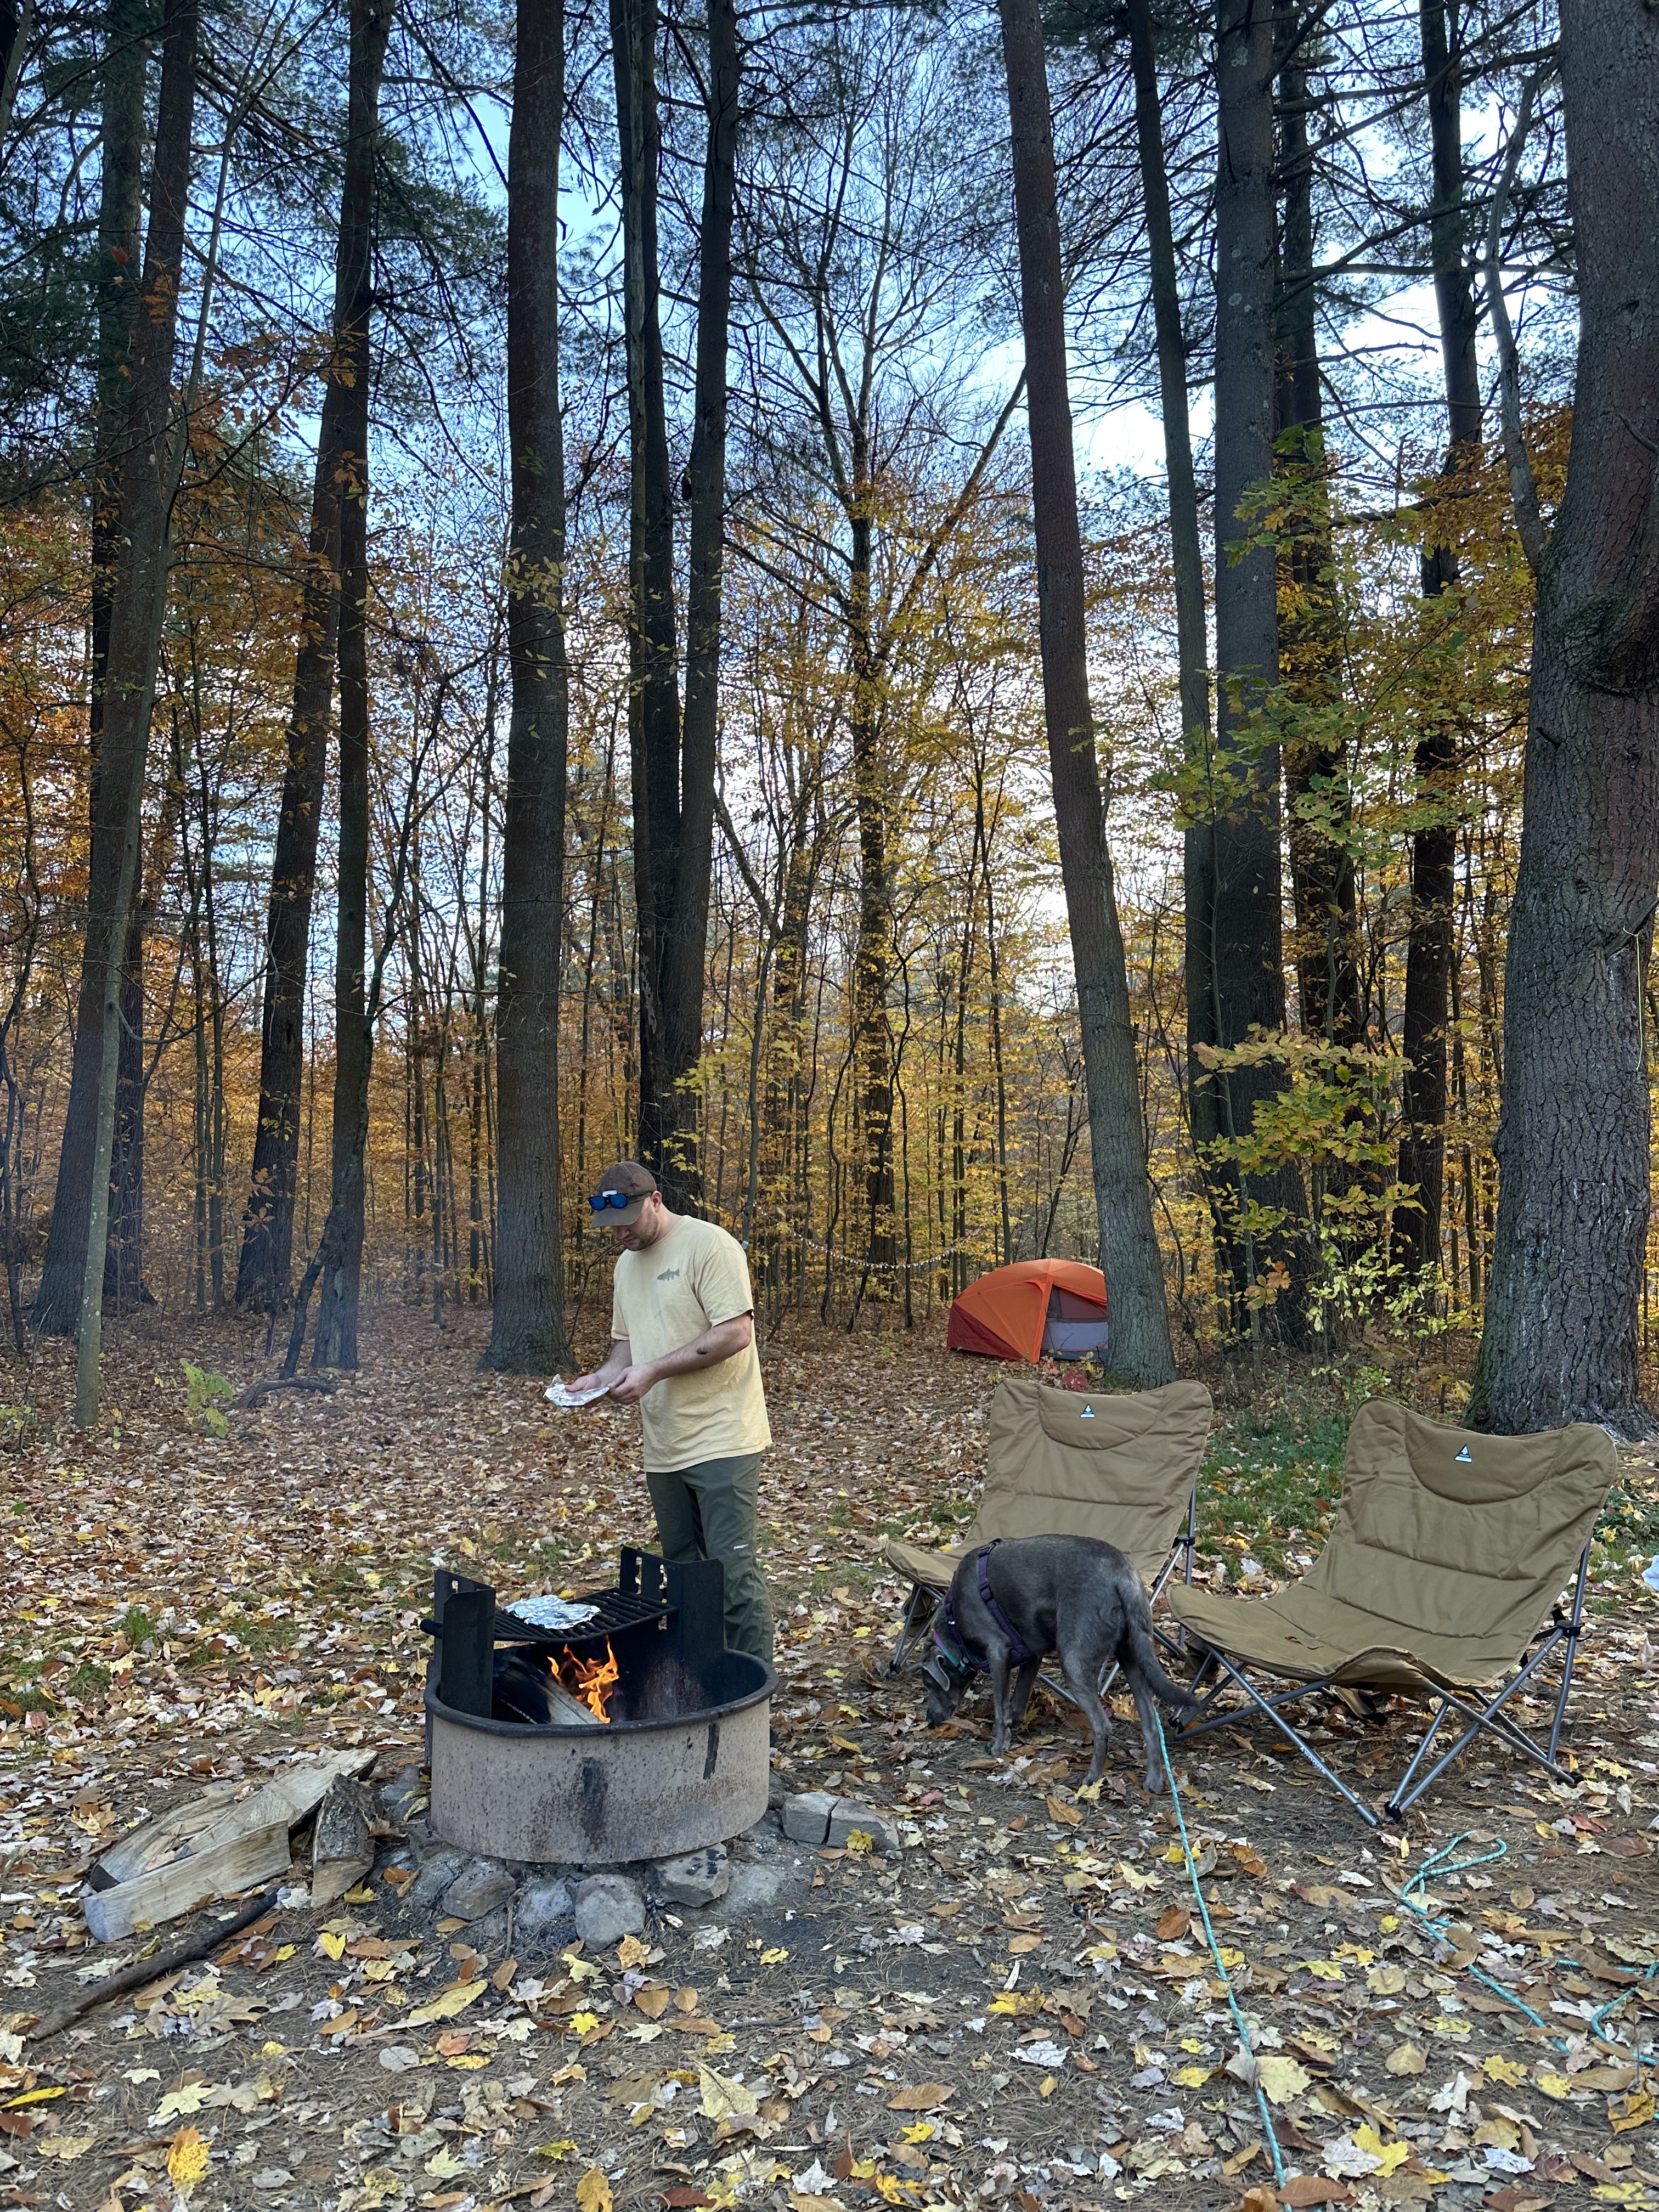
- There are several options if you plan to camp in Glacier. As always, I’d recommended booking these at least 6 months in advance. Glacier was the one park we almost didn’t secure a camping spot due to popularity.
- Be prepared to drive. Glacier is a large spread out park and most of the park is only accessible by one road.
- Check 0n the park’s website for updates. When we visited there was a lot of road construction and trail closures due to wild life.
Must See Spots in Glacier
Going to the Sun Road
This is the top “must see” in Glacier. The going to the sun road is an iconic road that has several look out points and incredible mountain views that will leave you speechless! Here are some stops along the way:
- The Loop– Hair pin turn on the road that allows views of stunning mountains
- Weeping Wall– Named after a cliffside that has water dripping from snowmelt onto the road and your car!
- Big Bend – Located just after the Weeping Wall, the best spot for photos or to watch the sunset :)
- Logan Pass – The highest point on the road, also where the visitor’s center is located
- Jackson Glacier Overlook– Pull off area to view Jackson Glacier
- Saint Mary Falls – Trail head for Saint Mary Falls starts at this pull off
- Wild Goose Island – Stop here to get a photograph of the famous island in the middle of Saint Mary lake!
- Rising Sun– Cute area to stop in for a restroom break or snacks
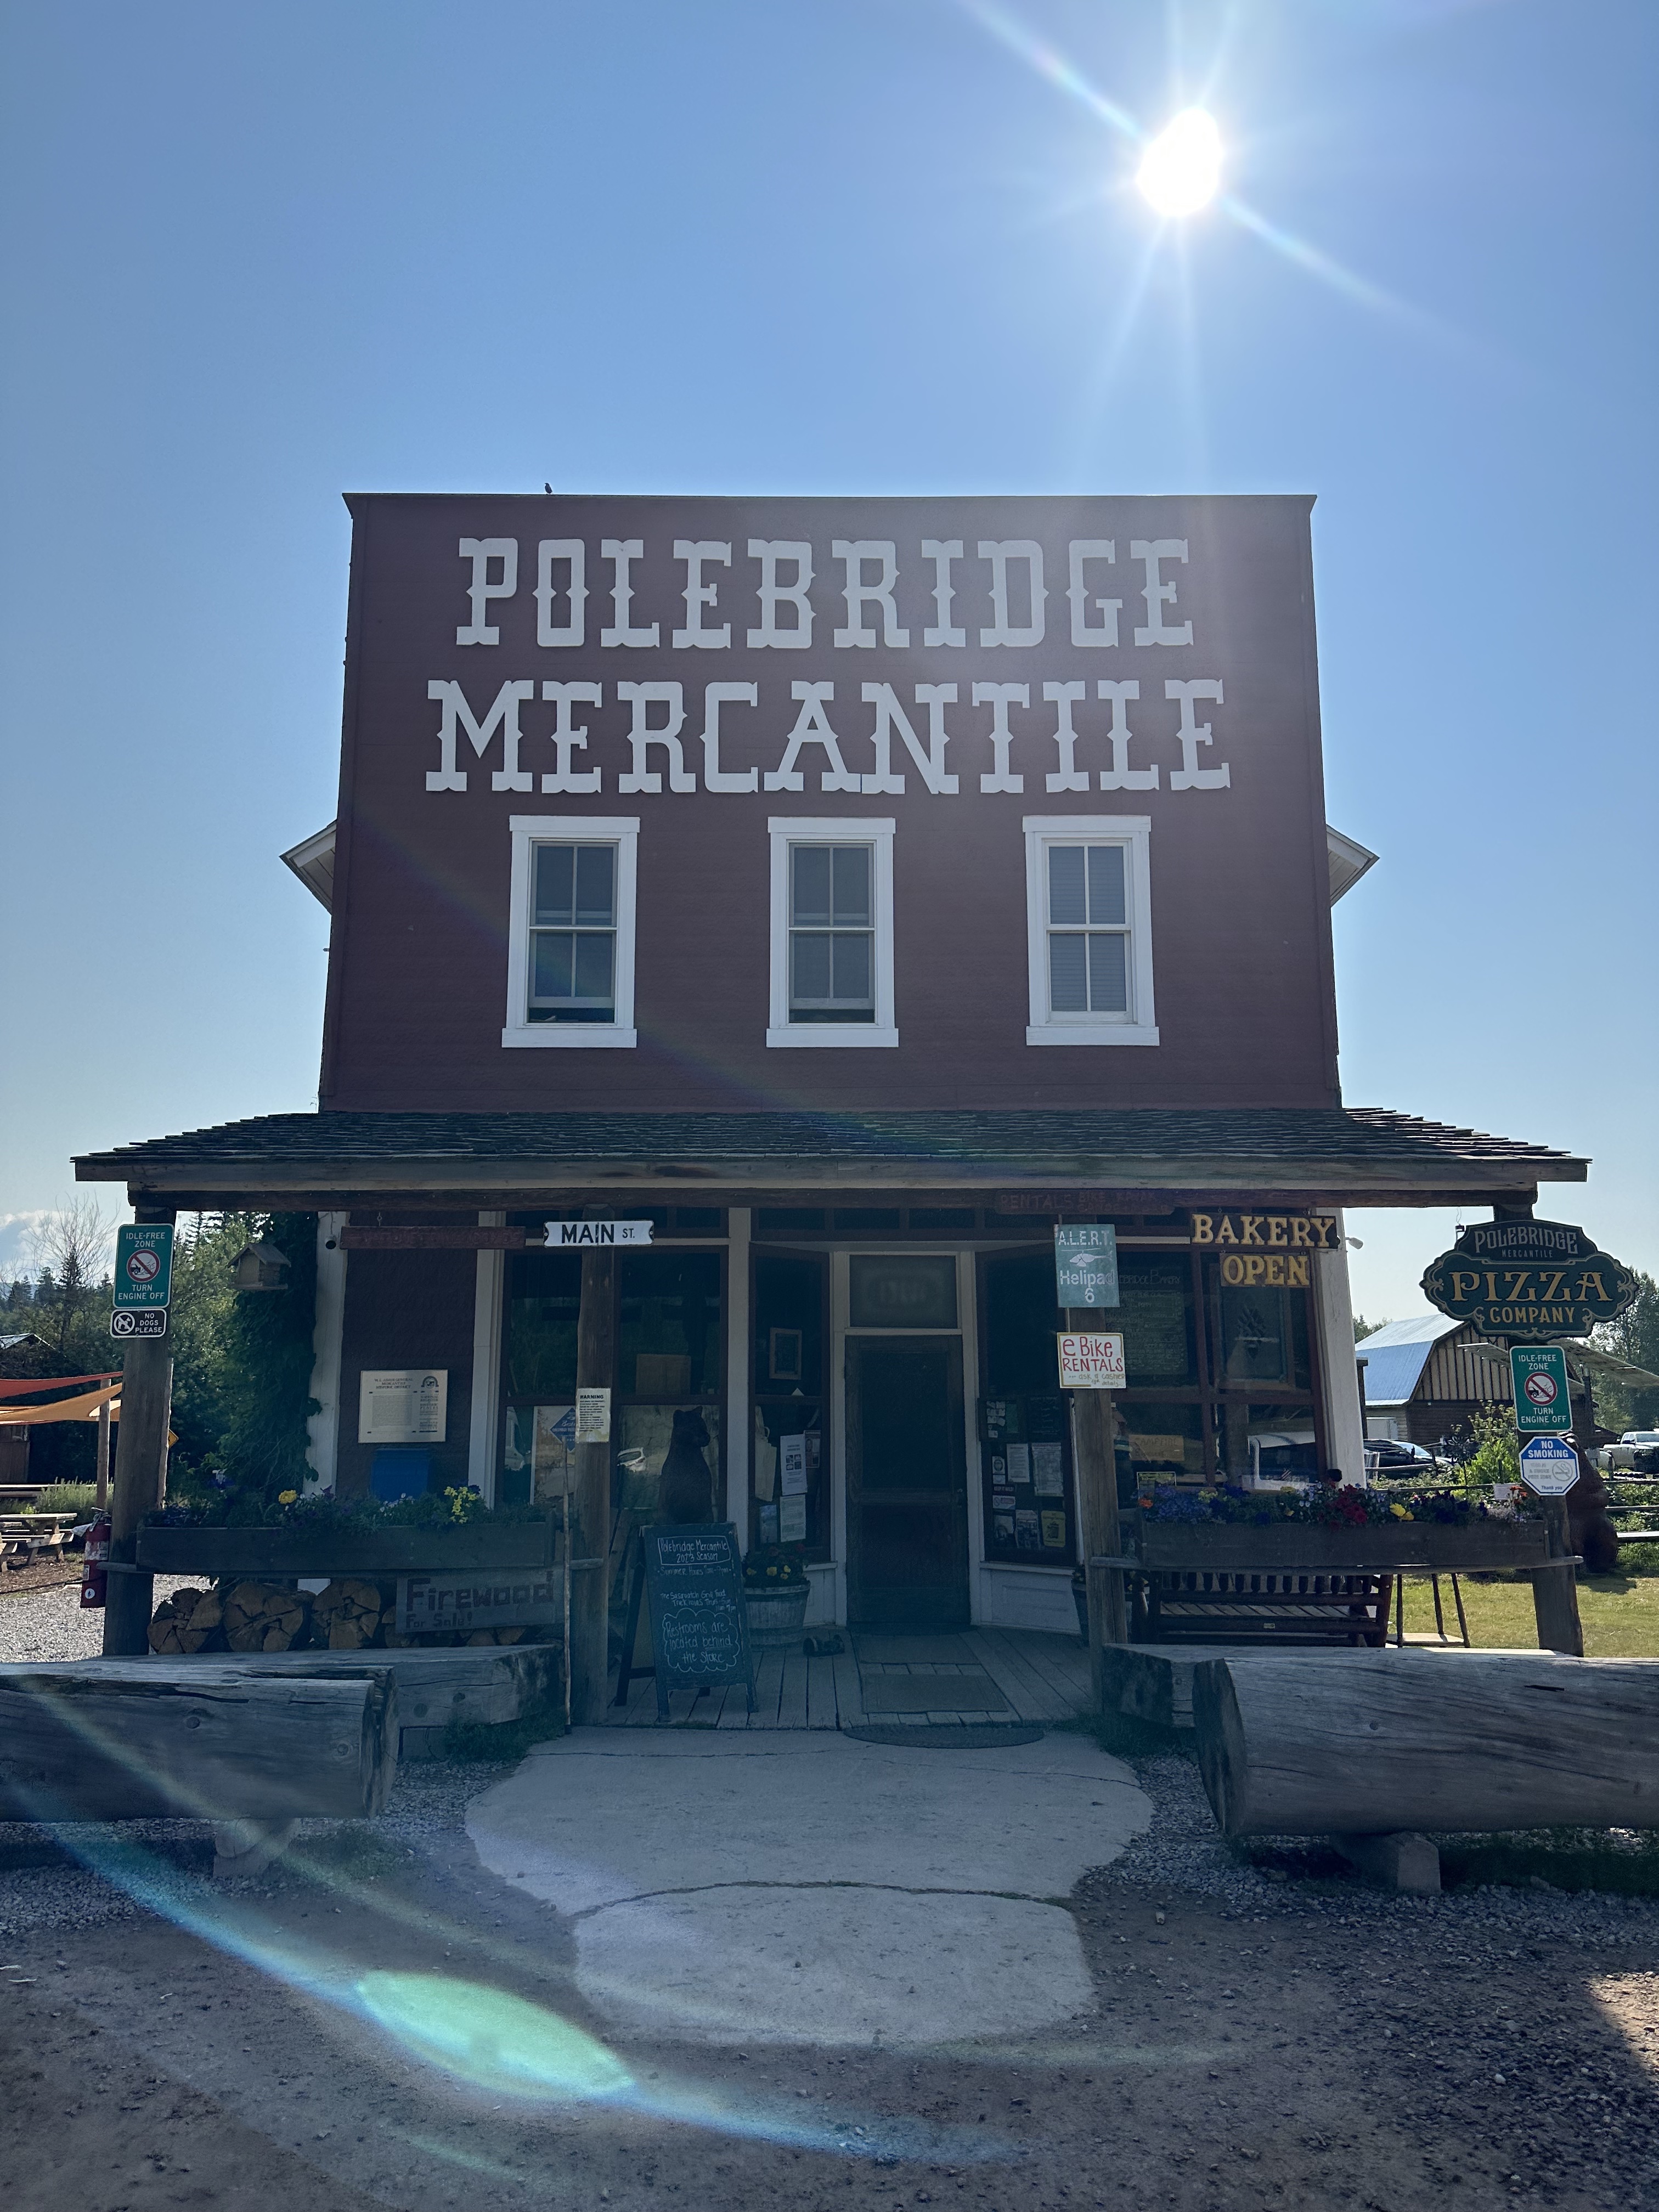
Polebridge area
Polebridge is technically a mile outside of Glacier national park, but it’s still a neat spot to add to your itinerary if you have time! The town offers a sweet old fashion western feel and is home to the Polebridge Mercantile. This cute general shop has souvenirs, homemade eats and sweets and is definitely a must stop while driving through Polebridge. I’d recommend trying any of the huckleberry pastries!

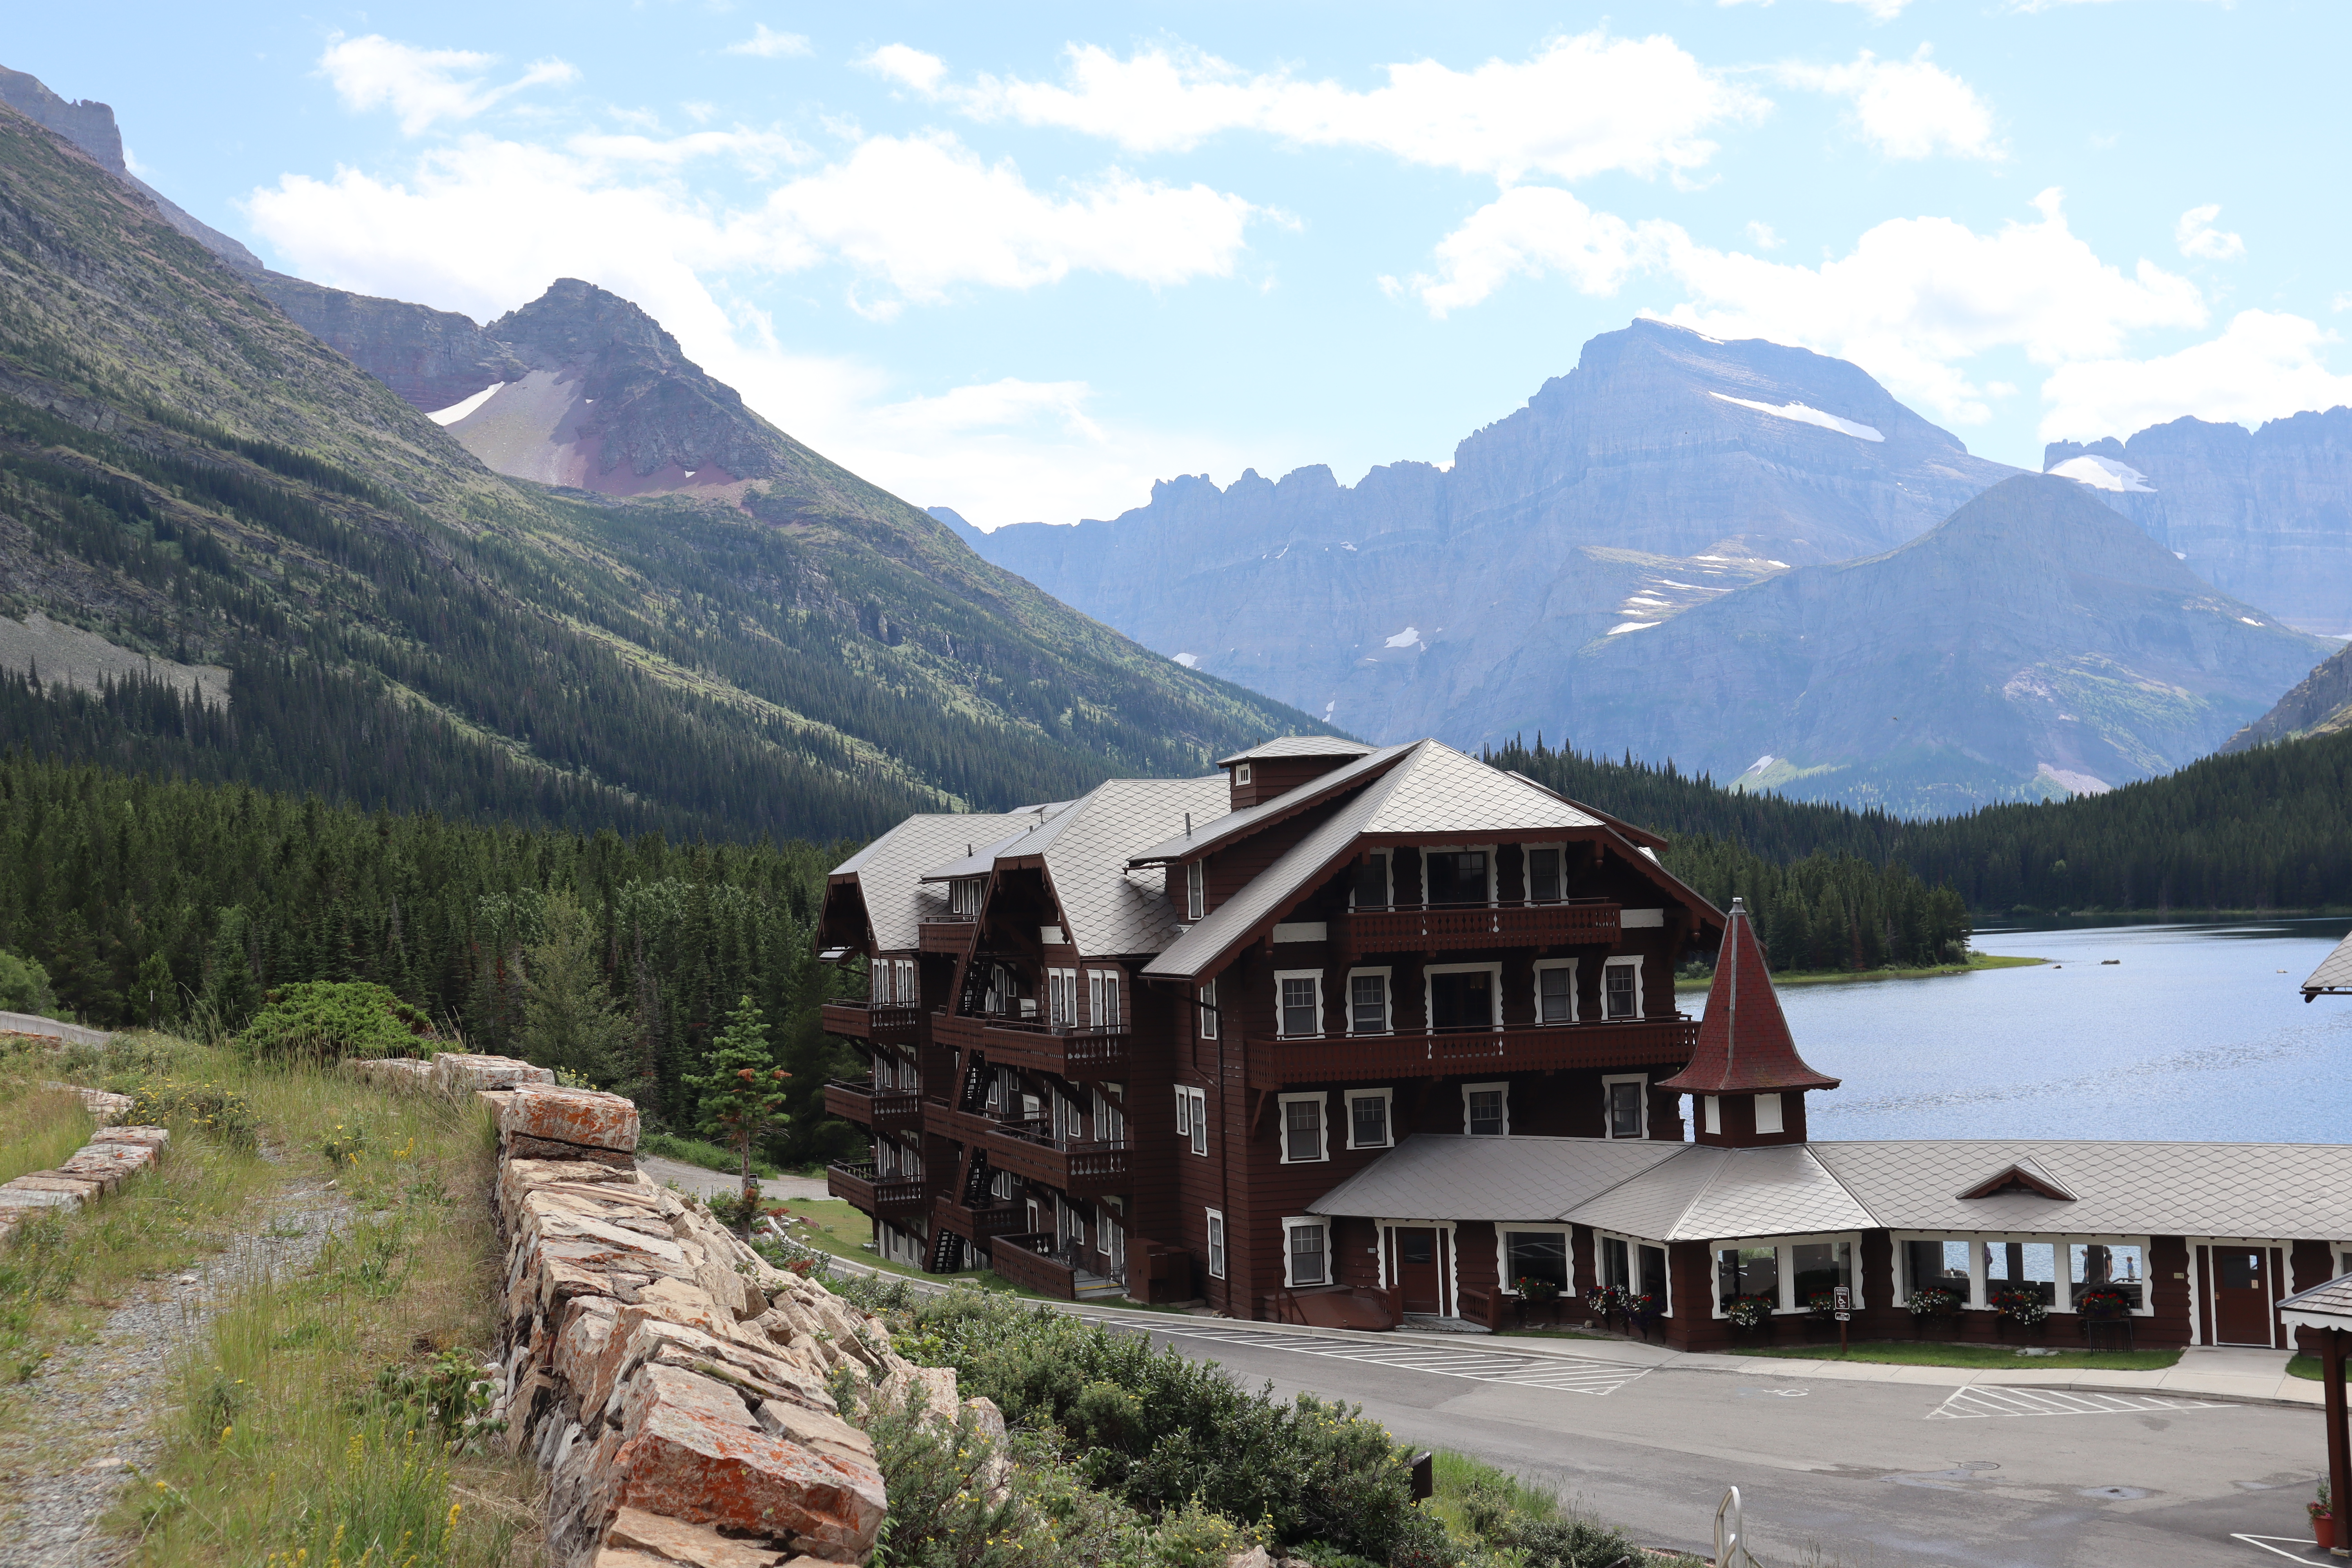
Many Glacier area
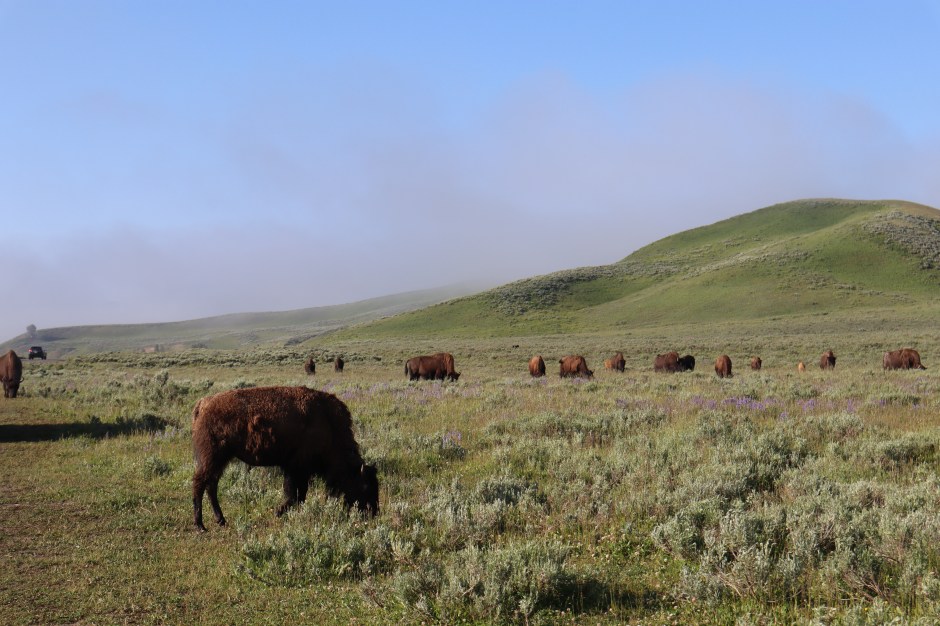
The Many Glacier area is a quieter side of the park that offers stunning mountain views, wildlife, and iconic spots to see. We spent part of one day exploring this area and it did not disappoint! One of the main spots to check out while visiting is the Many Glacier hotel. The hotel has a swish chalet inspired design that truly allows you to feel like you are in a different country! We spent time exploring the inside of the hotel and the grounds. A popular hike in this area is grinnel glacier overlook. We hiked a portion but unfortunately didn’t have enough daylight to hike the entire trail. It’s still worth attempting even if you can’t finish to the top, the views were incredible! There’s also a boat from the hotel that takes you to various points on the trail if you don’t want to drive over to the trailhead, which also seems like a fun experience.

Must Do Hikes in Glacier
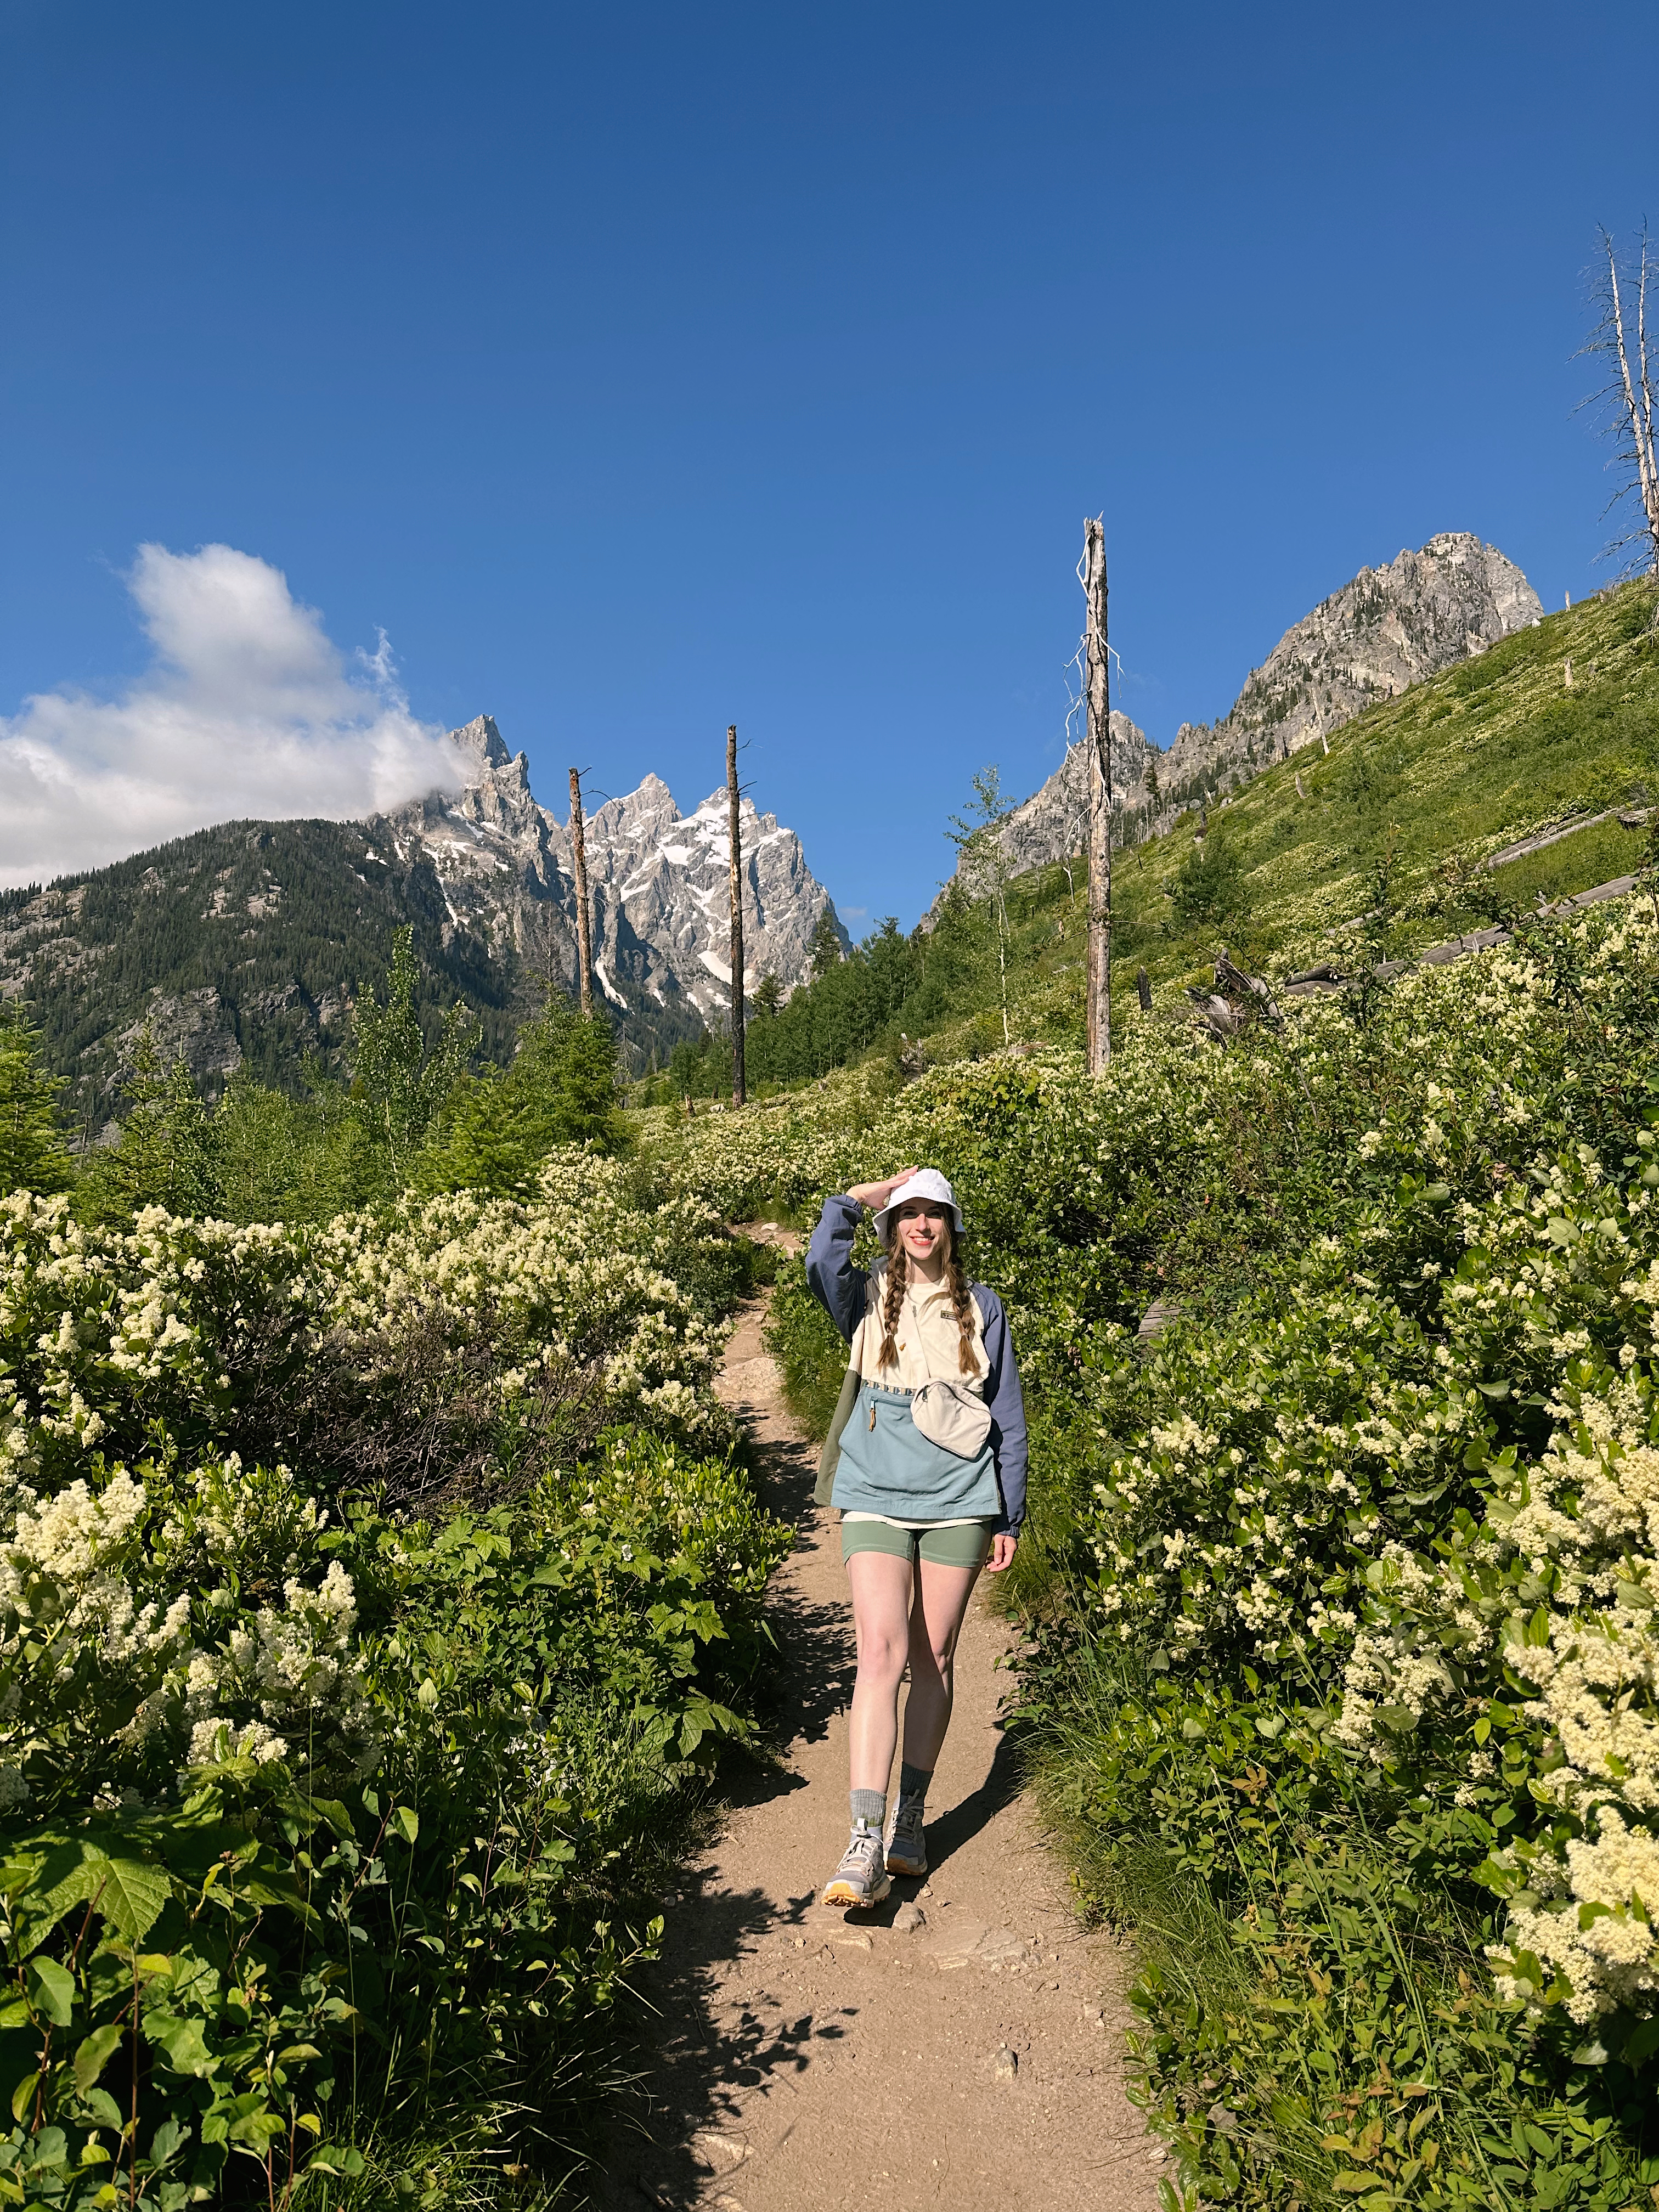
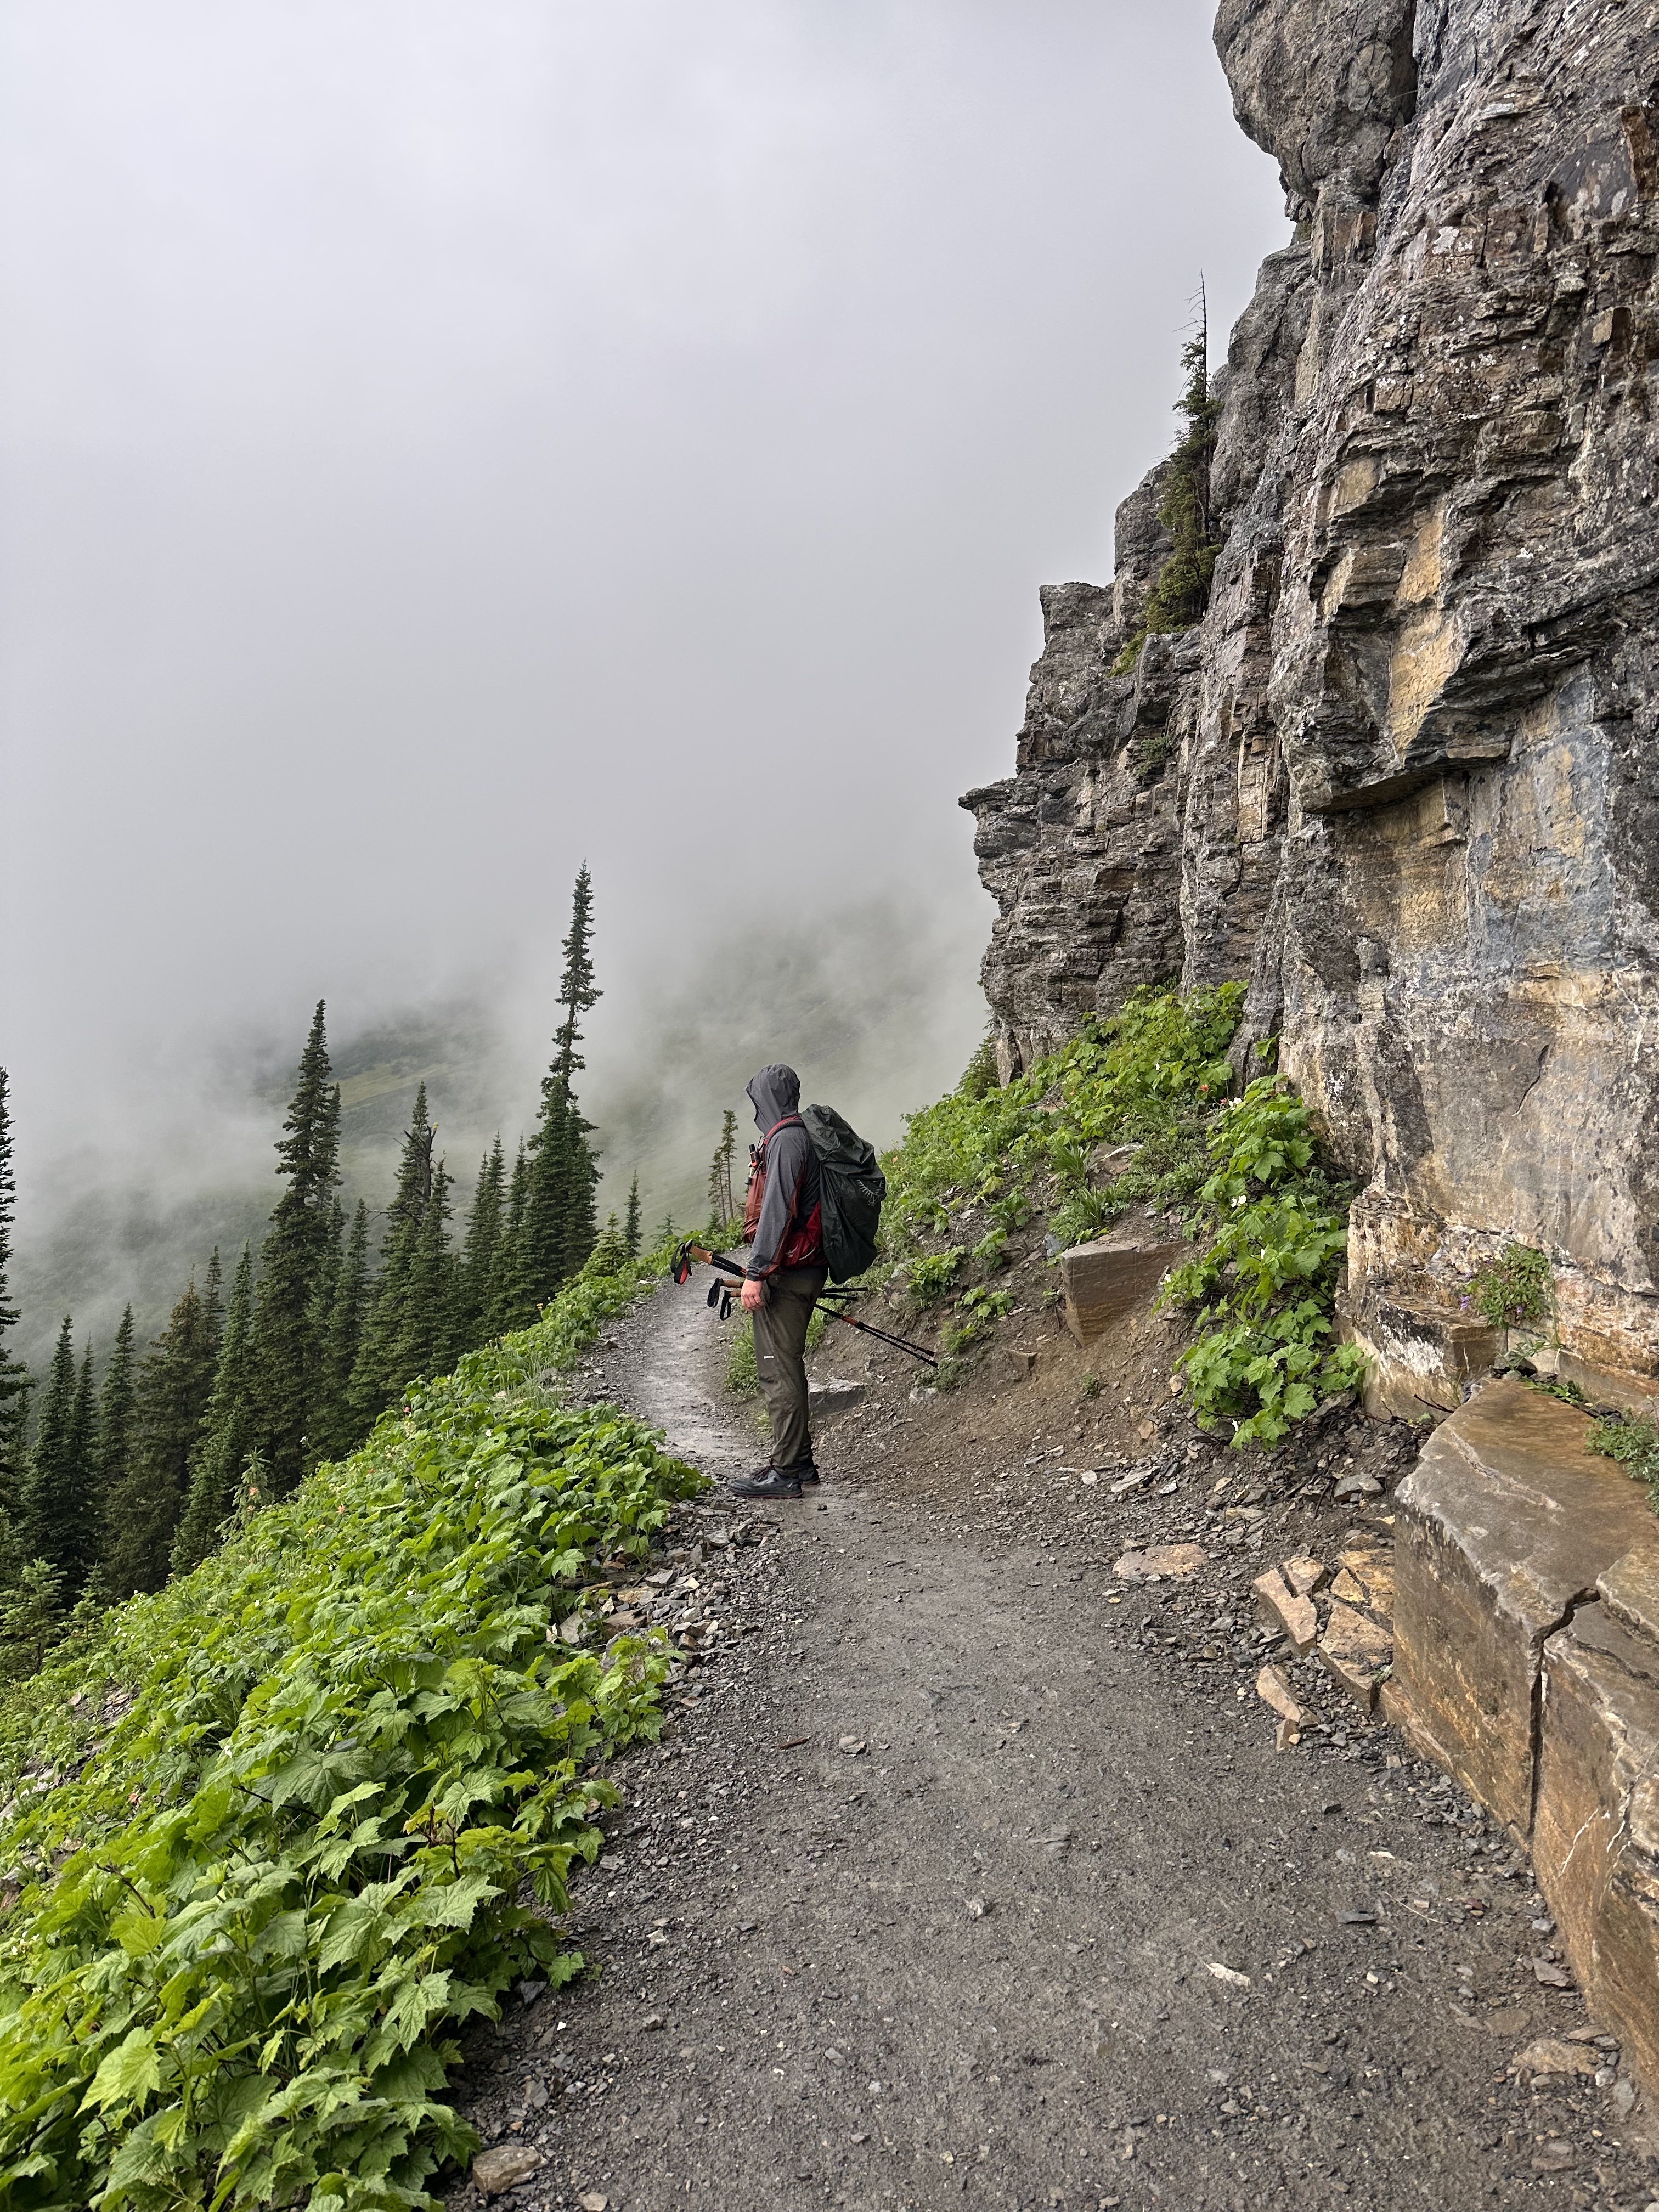
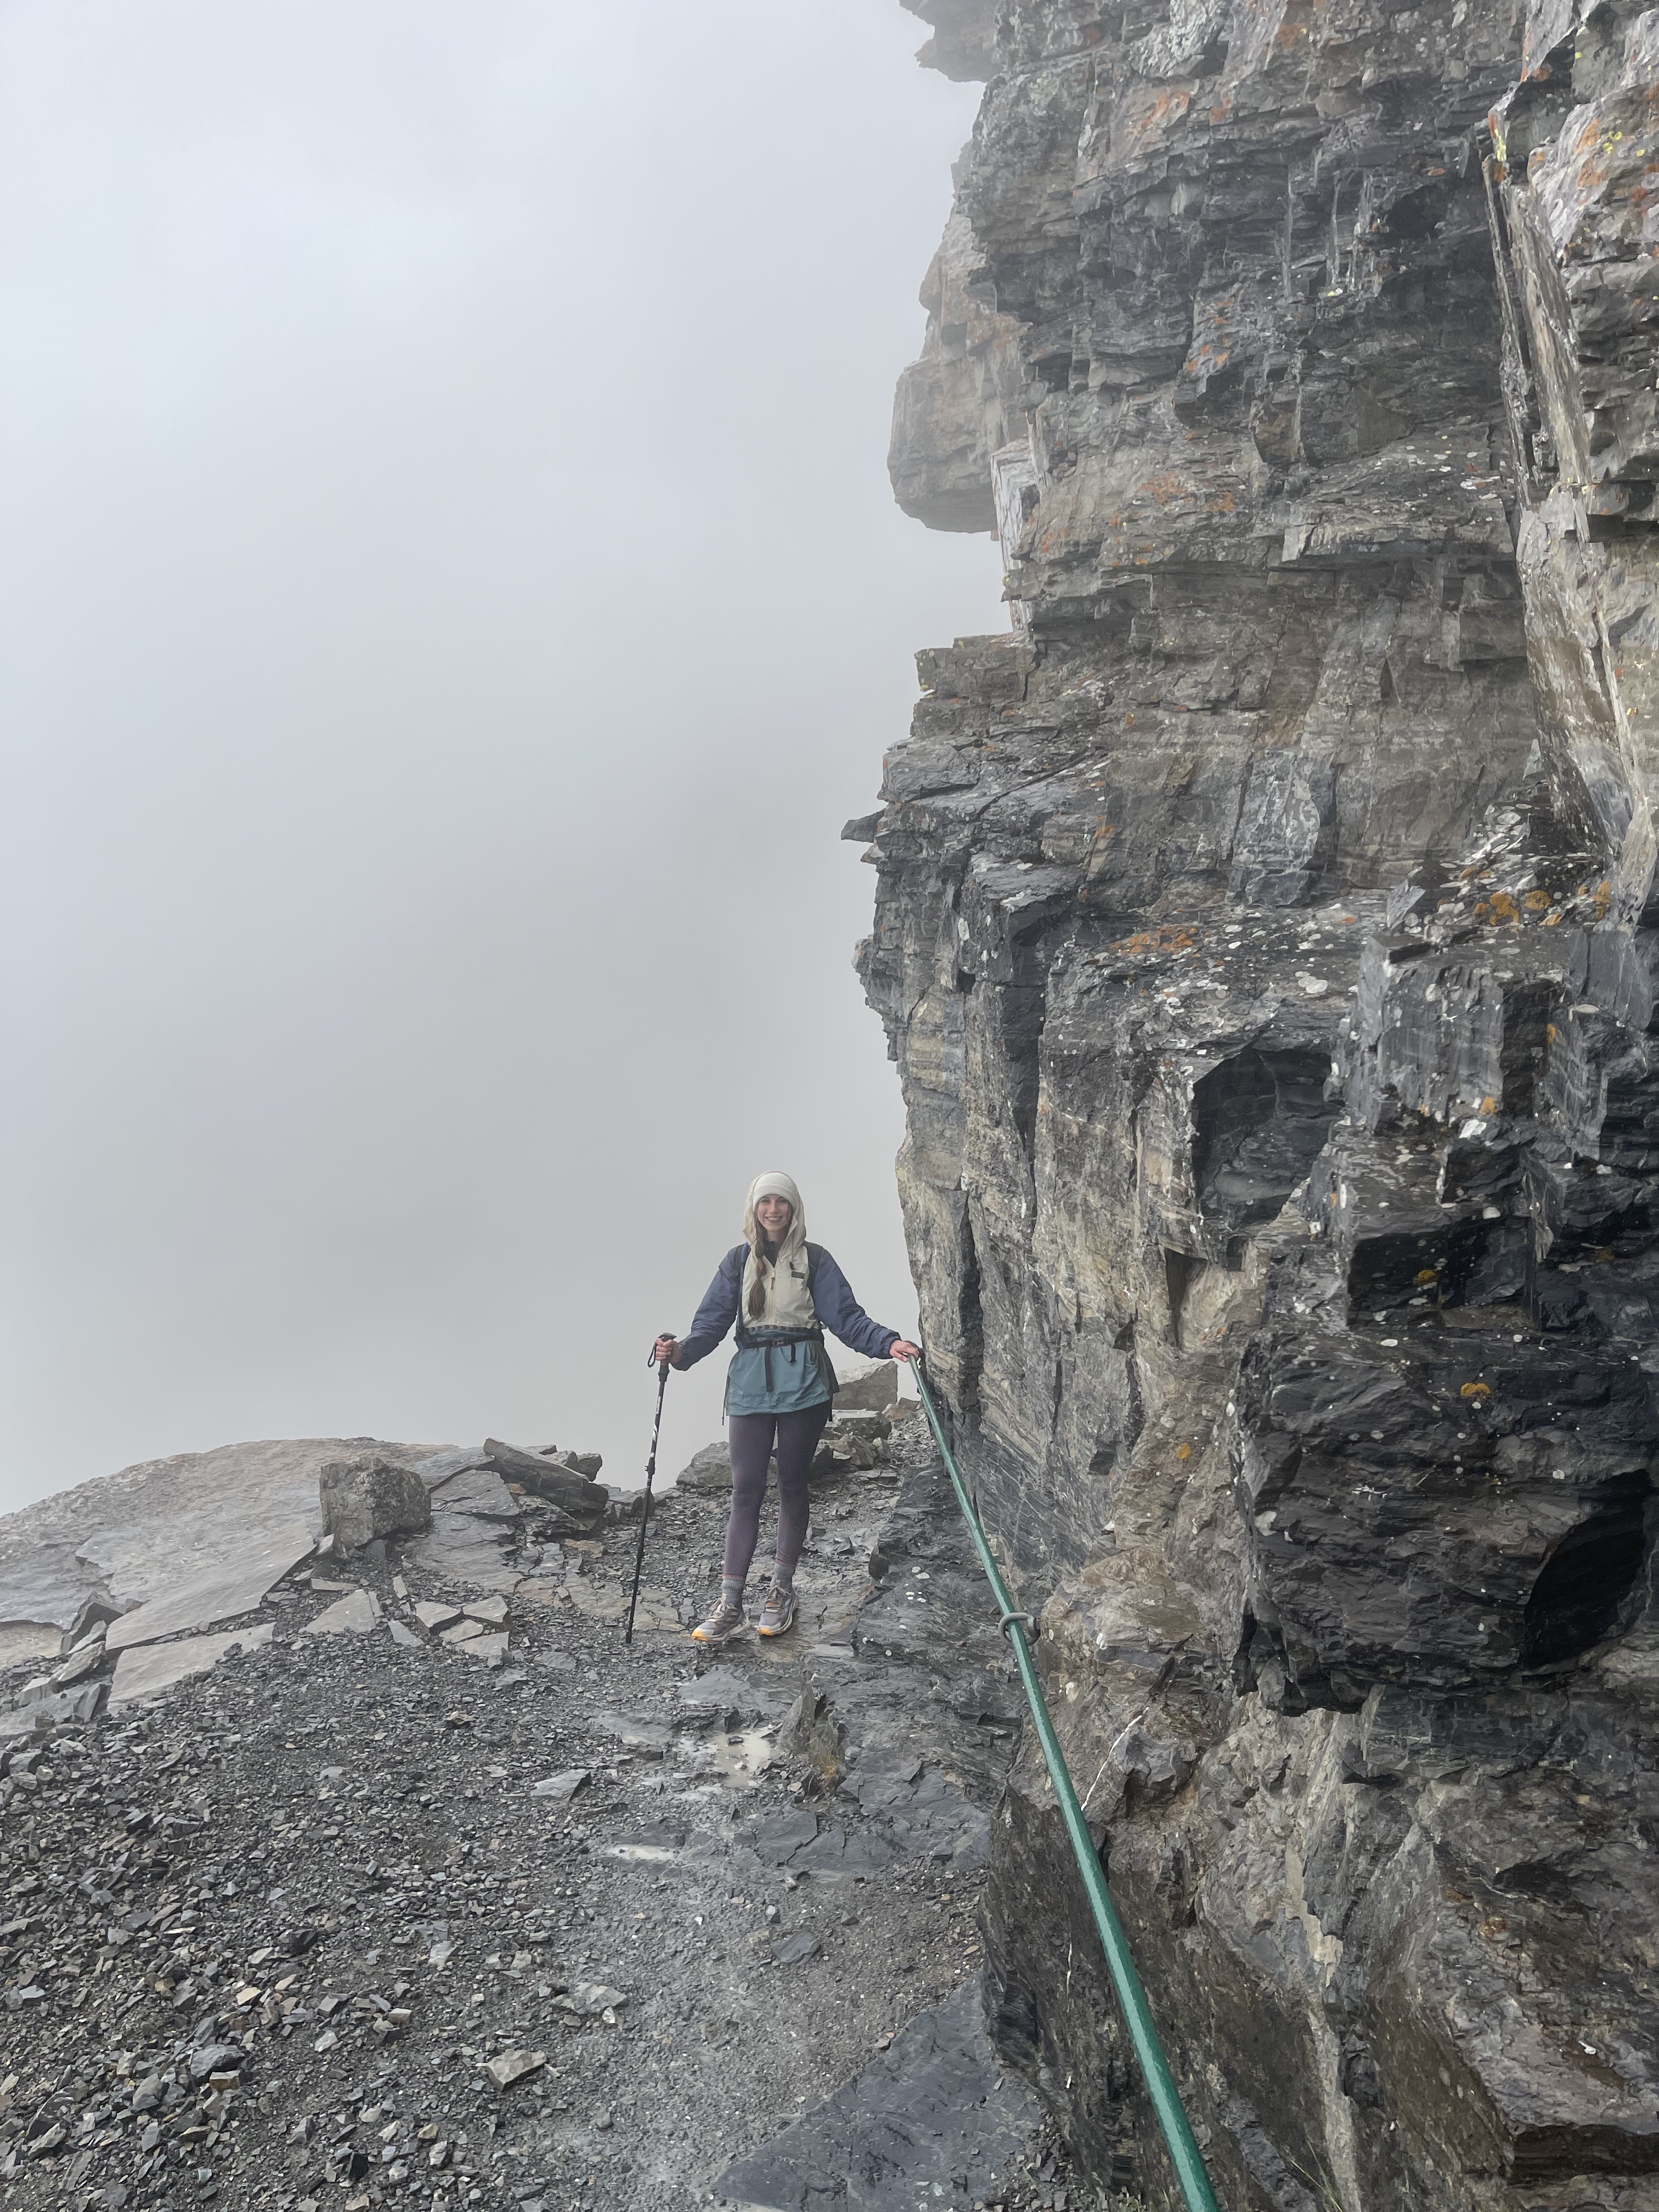
The high line trail
The high line trail is by far the most memorable hiking experience I’ve had in any national park. It’s accessible from the Logan pass visitor center. The high line trail a challenging and long hike but the views make it all worth it. It was surprisingly open when we visited the park in early July, typically it opens mid to late July due to snow melt. We weren’t able to finish the entire hike unfortunately due to weather conditions, we were able to hike about 8 miles round trip. Due to the weather conditions, there were times we were hiking through the clouds— that’s how high the trail is! Definitely be prepared for high elevation and altitude changes. Even if you don’t intend to hike the entirety of the high line trail, I’d recommend hiking part of it just to experience some incredible views!


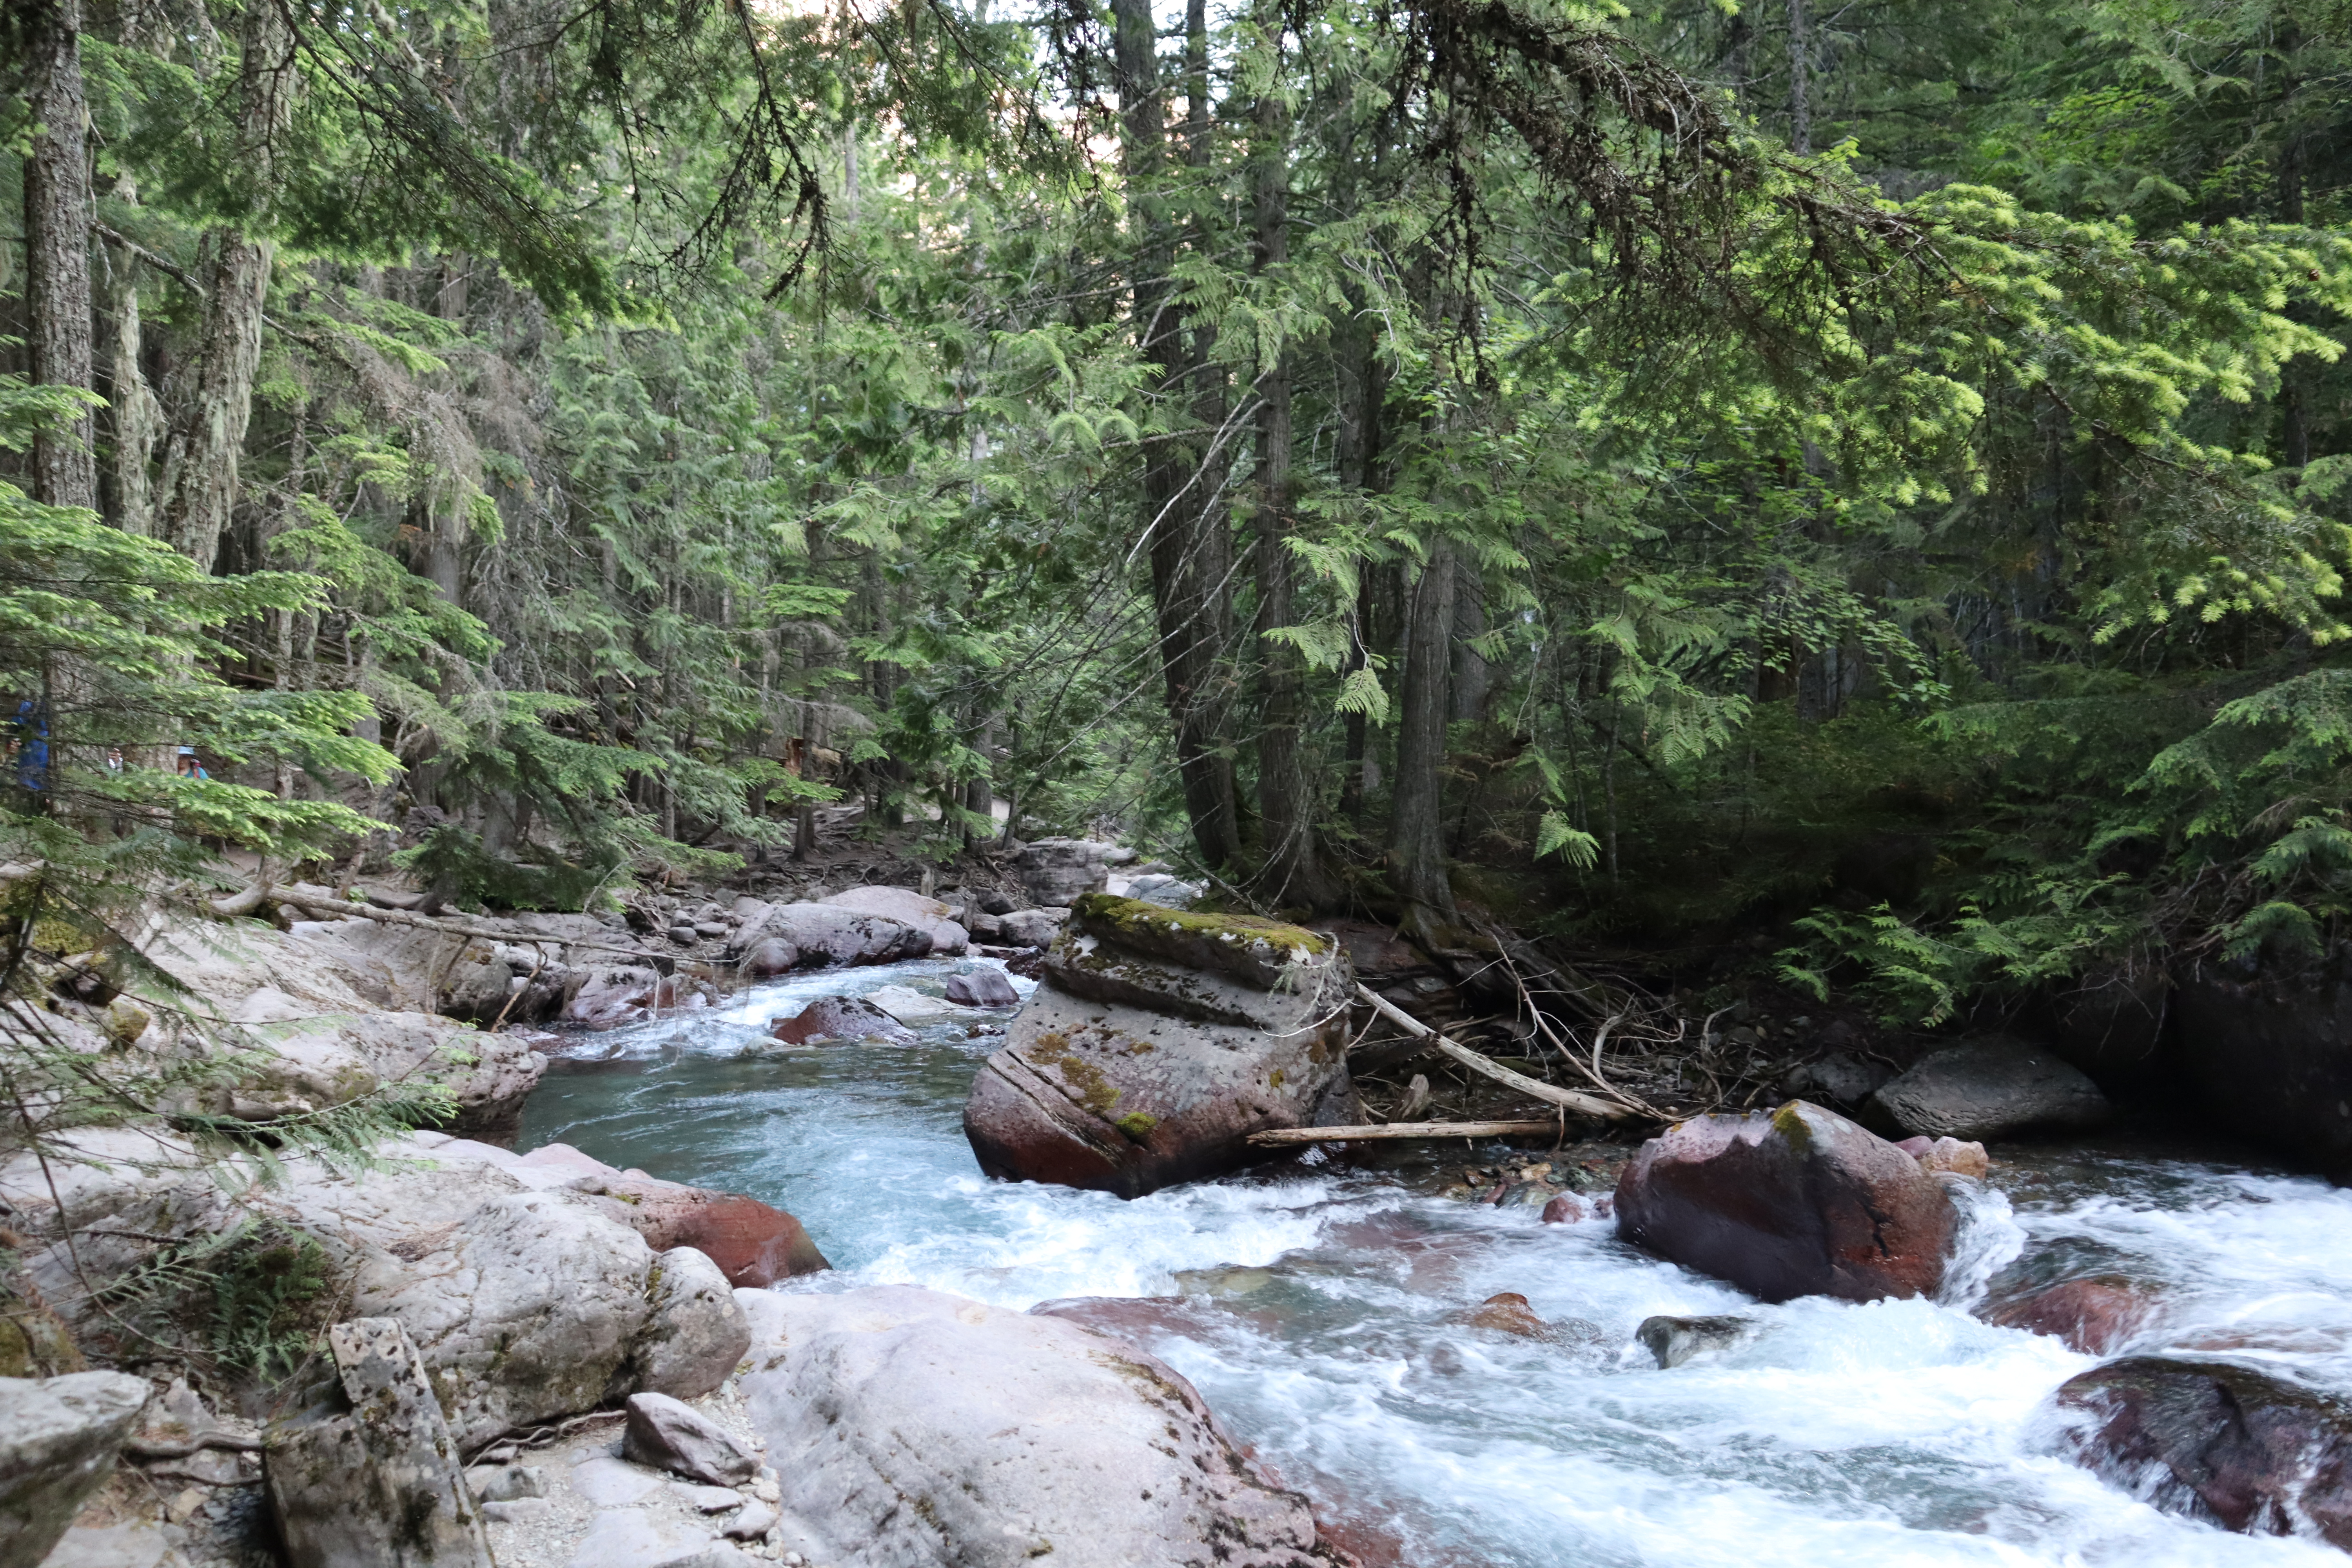
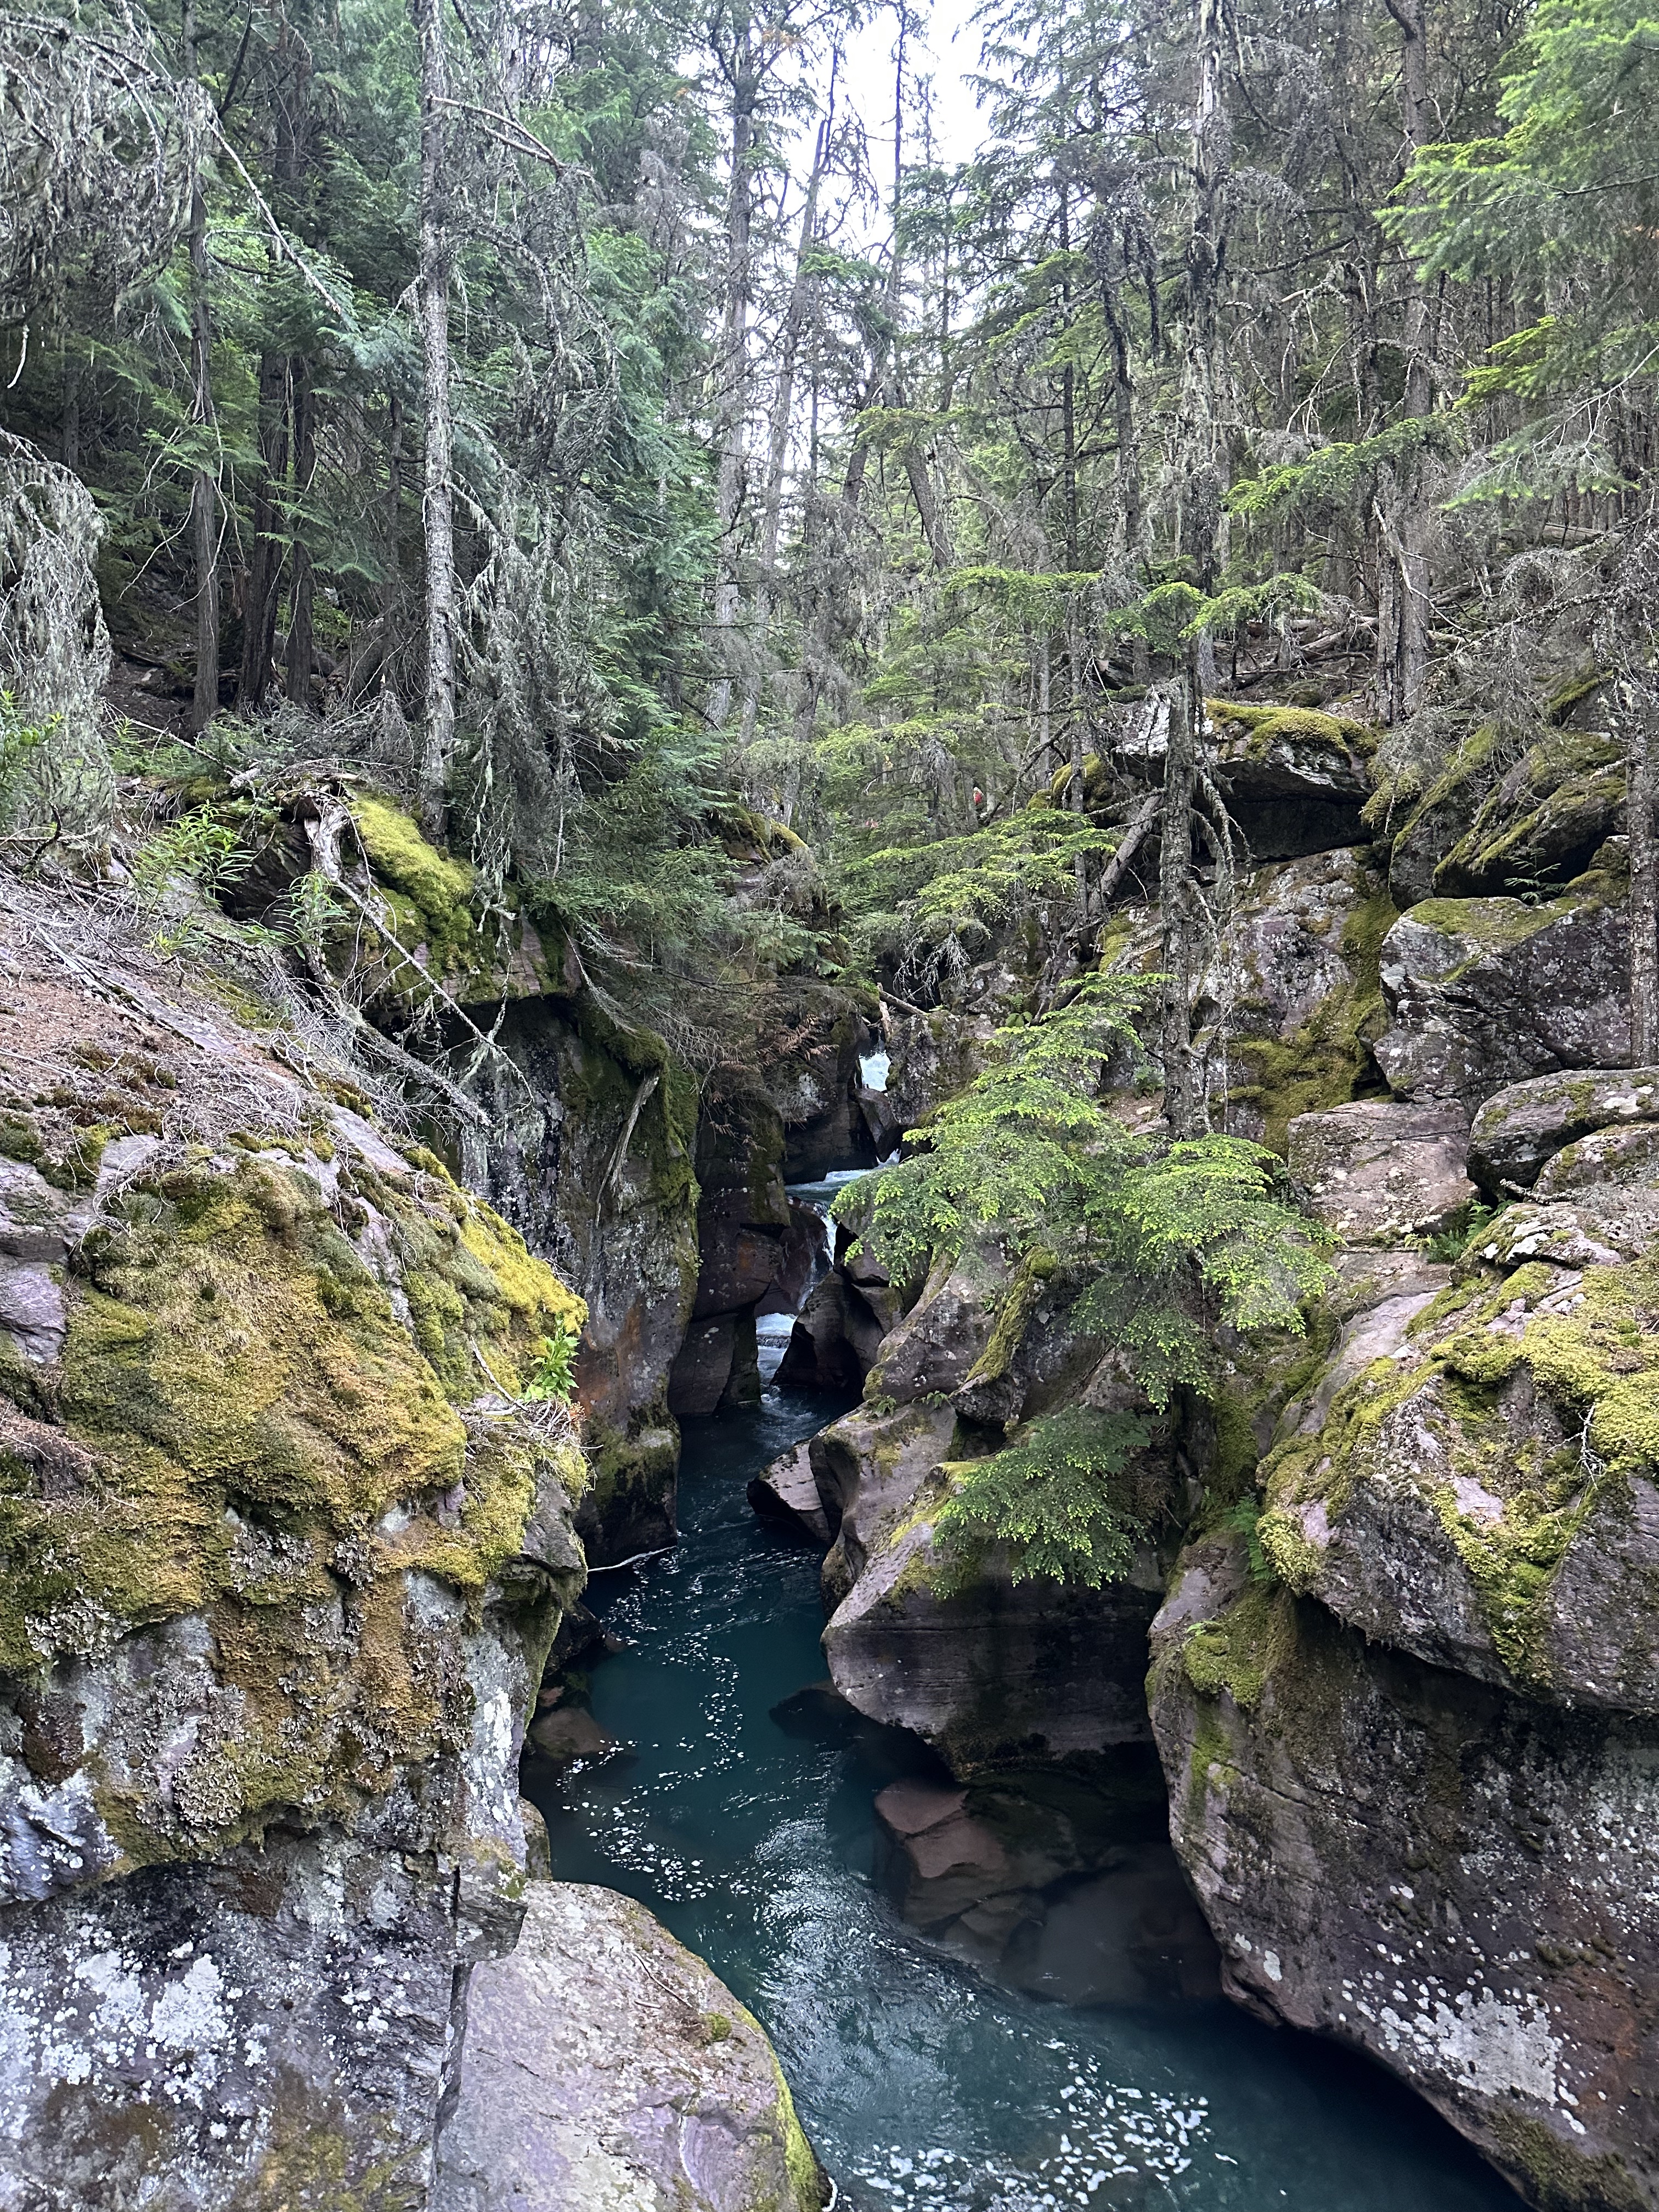
Avalanche Lake trail
Avalanche lake trail ended up being one of our favorite hikes during our time in Glacier! It’s an out and back 4 mile hike that takes you to Avalanche lake. The trail starts with the trail of the cedars which is a beautiful paved path through the forest. The trail of the cedars can also be a 1 mile loop trail but if you’re going to the avalanche lake trail turn off, you’ll walk about .5 miles to the start of the lake trailhead. This is the one hike we saw a grizzly bear from a distance once we reached the lake, so go prepared with bear spray and bells, and travel in a pack with other hikers if possible.


Grinnel Glacier overlook trail
Grinnel Glacier overlook trail is accessible from the Many Glaciers area of the park. This trail is 11 miles round trip out and back. It’s pretty challenging but the views are incredible! Patrick and I weren’t able to hike the entirety of this hike due to time constraints but we did hike the first few miles and definitely plan to attempt the full hike someday in the future.


Hidden Overlook trail
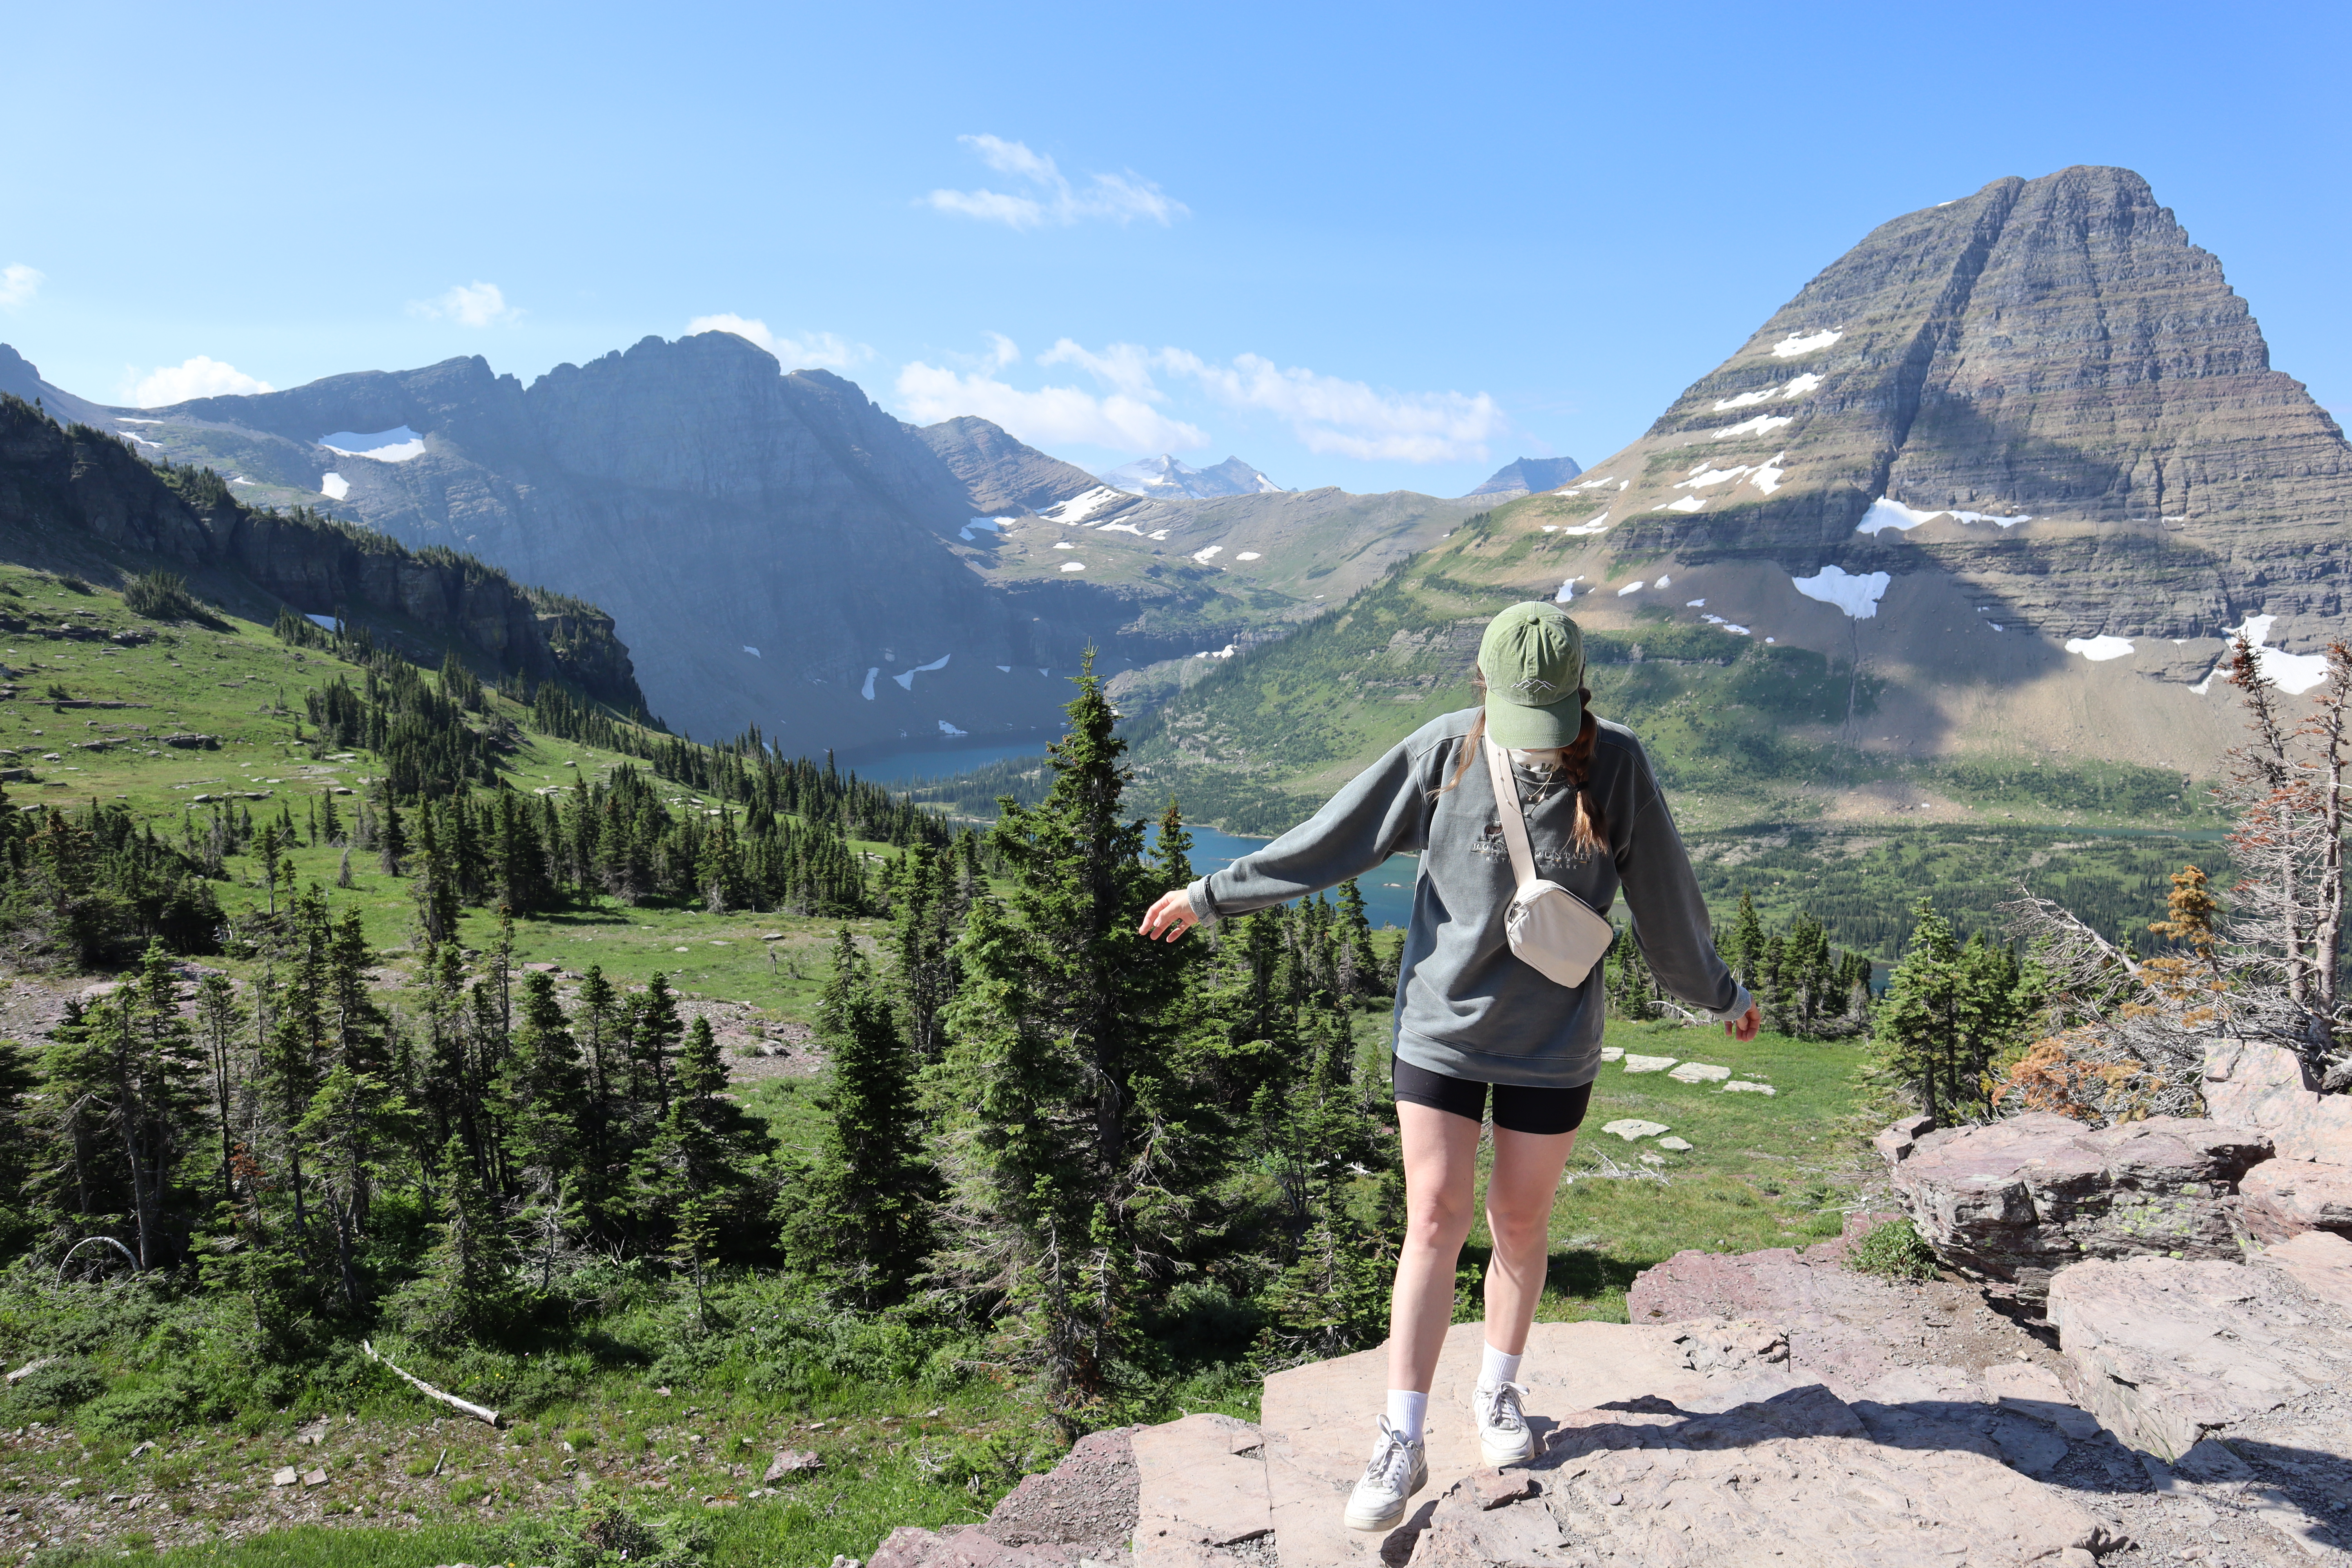
Hidden overlook trail was the hike I was most looking forward to while researching Glacier! It’s accessible from the Logan pass visitor center. The trail has board walks that take you up a hill in order to see a hidden glacier lake. The views from this trail are some of the best from a short trail. When we visited we were only able to hike to the look out point of the trail and not the last half mile down to the lake due to bear activity. The park monitors wildlife activity and will close trails because of it. Luckily, we were still able to enjoy almost the entire hike! If you plan to hike hidden lake, I’d recommend starting early. The parking lot at Logan’s pass fills up incredibly fast and there’s limited parking. Since hidden lake is a fairly short hike, this is also popular for many visitors.

Other Tips for Visiting Glacier National Park
- If you plan to visit several areas in the park, I’d suggest booking different campgrounds. I wish we would’ve done this but while I was researching, I didn’t realize how large Glacier is and how spread out the various sections are from each other. We stayed at Fish creek campground which is close to the main entrance of the park so there were days we drove 1-2 hours each way.
- Research any permits or reservations you need in advance. As I mentioned, due to the popularity Glacier continues to have, the park has several reservations and permit requirements for specific areas and trails that aren’t available for purchase on the spot.
- Be flexible with plans! The weather changes quickly in Glacier due to the higher elevations and location. It may rain, snow or hail even in the summer!
- Always have bear spray and bells. Glacier is grizzly bear country and it’s essential to be prepared on hikes. The park will usually close a trail if there’s a lot of reported bear activity but it is still possible to have a run in with a bear on any trail.
- Start early! This tip really applies to any big national park, but especially Glacier. It was one of the most crowded parks we’ve ever been to. By 7am, most trails and roads are flooded with visitors.
- Fill up on gas and food. Although some of the campgrounds have lounges with food options, it’s not much so it’s important to be prepared for meals. Similarly with gas, there’s one gas station when you’re about to enter the main entrance of the park. Otherwise, you’ll have to drive 15-20 minutes outside of the park for restaurants and gas stations.