Tips On How To Prioritize Travel

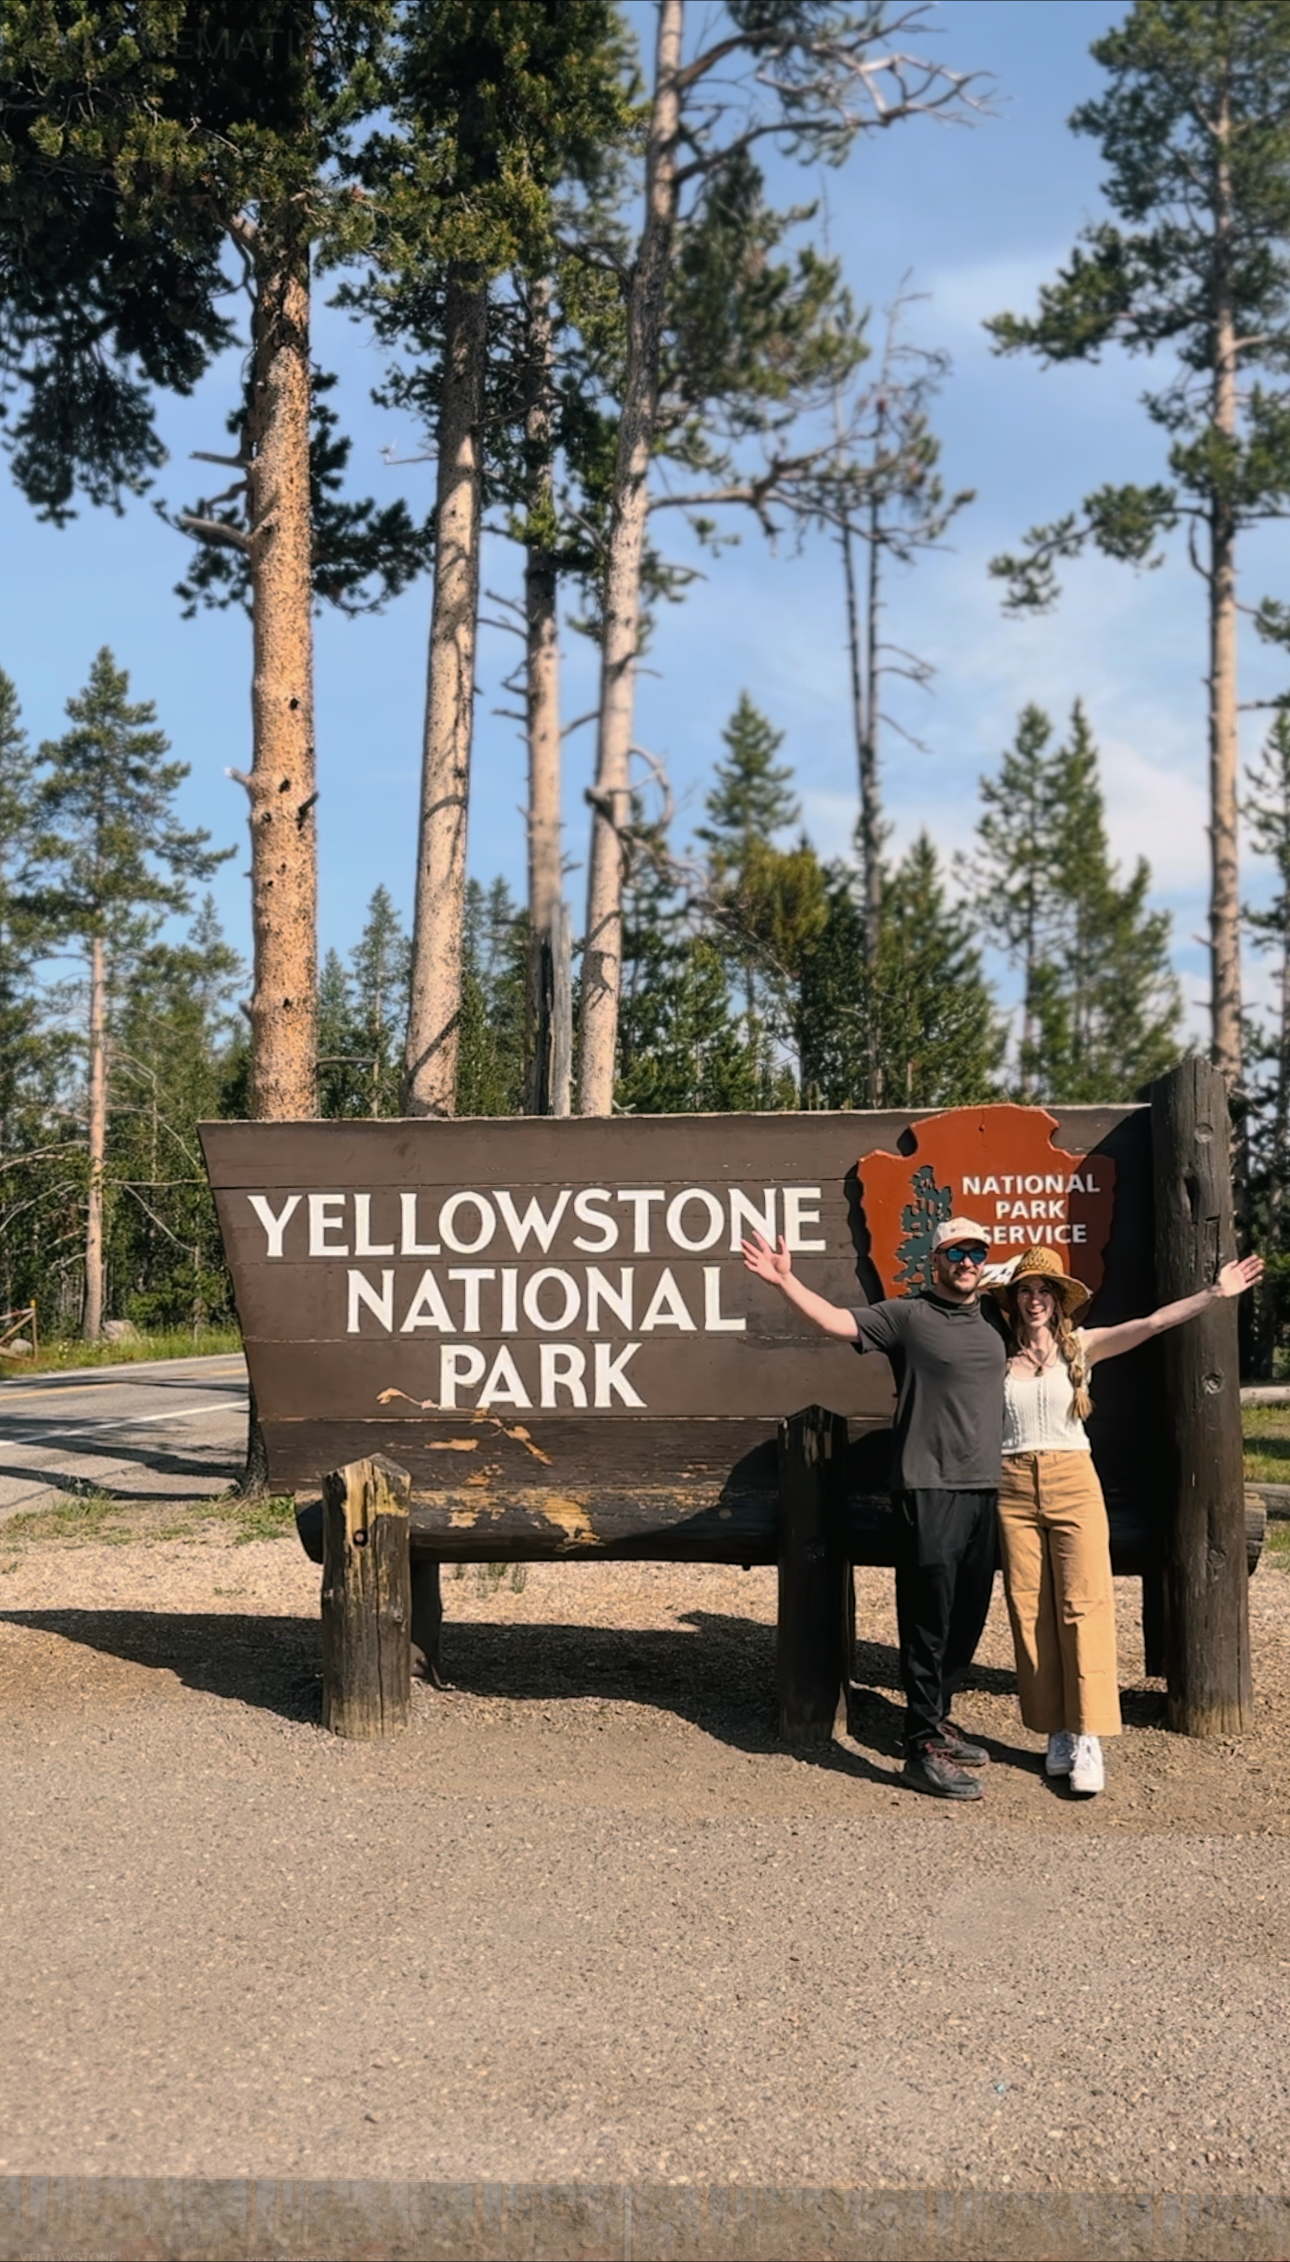
Traveling is something I love because it brings so much to my life and has introduced me to so many amazing places. For the last decade, I’ve made travel a priority in my life even when I’m working full time and balancing other life needs. I truly believe it’s possible and I wanted to create a small guide of some tips on how to prioritize travel for those who would like to travel more in the new year or make it more of a priority.

My Tips

  1. Start close. I would recommend starting with a destination that’s close to your home town if traveling often is new for you. Travel is really whatever you want it to be! Exploring somewhere an hour away could still be exciting and new.
  2. Go on a weekend trip. One of the best ways to start traveling is to plan a weekend trip. Patrick and I love to go away for the weekend and usually are willing to drive up to 6 hours away but even 1-2 hours away, makes for a great weekend getaway! This kind of trip is fun because it’s nice to explore other areas within your home state or a neighboring state. I find weekend trips to be worth prioritizing because it’s a fun way to end the work week and reset yourself before a new week.
  3. Make a list of trip destinations. At the start of every year, Patrick and I like to sit down and plan out some trip ideas we have. This usually includes weekend trips and a longer trip. It gives us something exciting to look forward to and it always helps make travel plans a priority because it’s something we are preparing for.
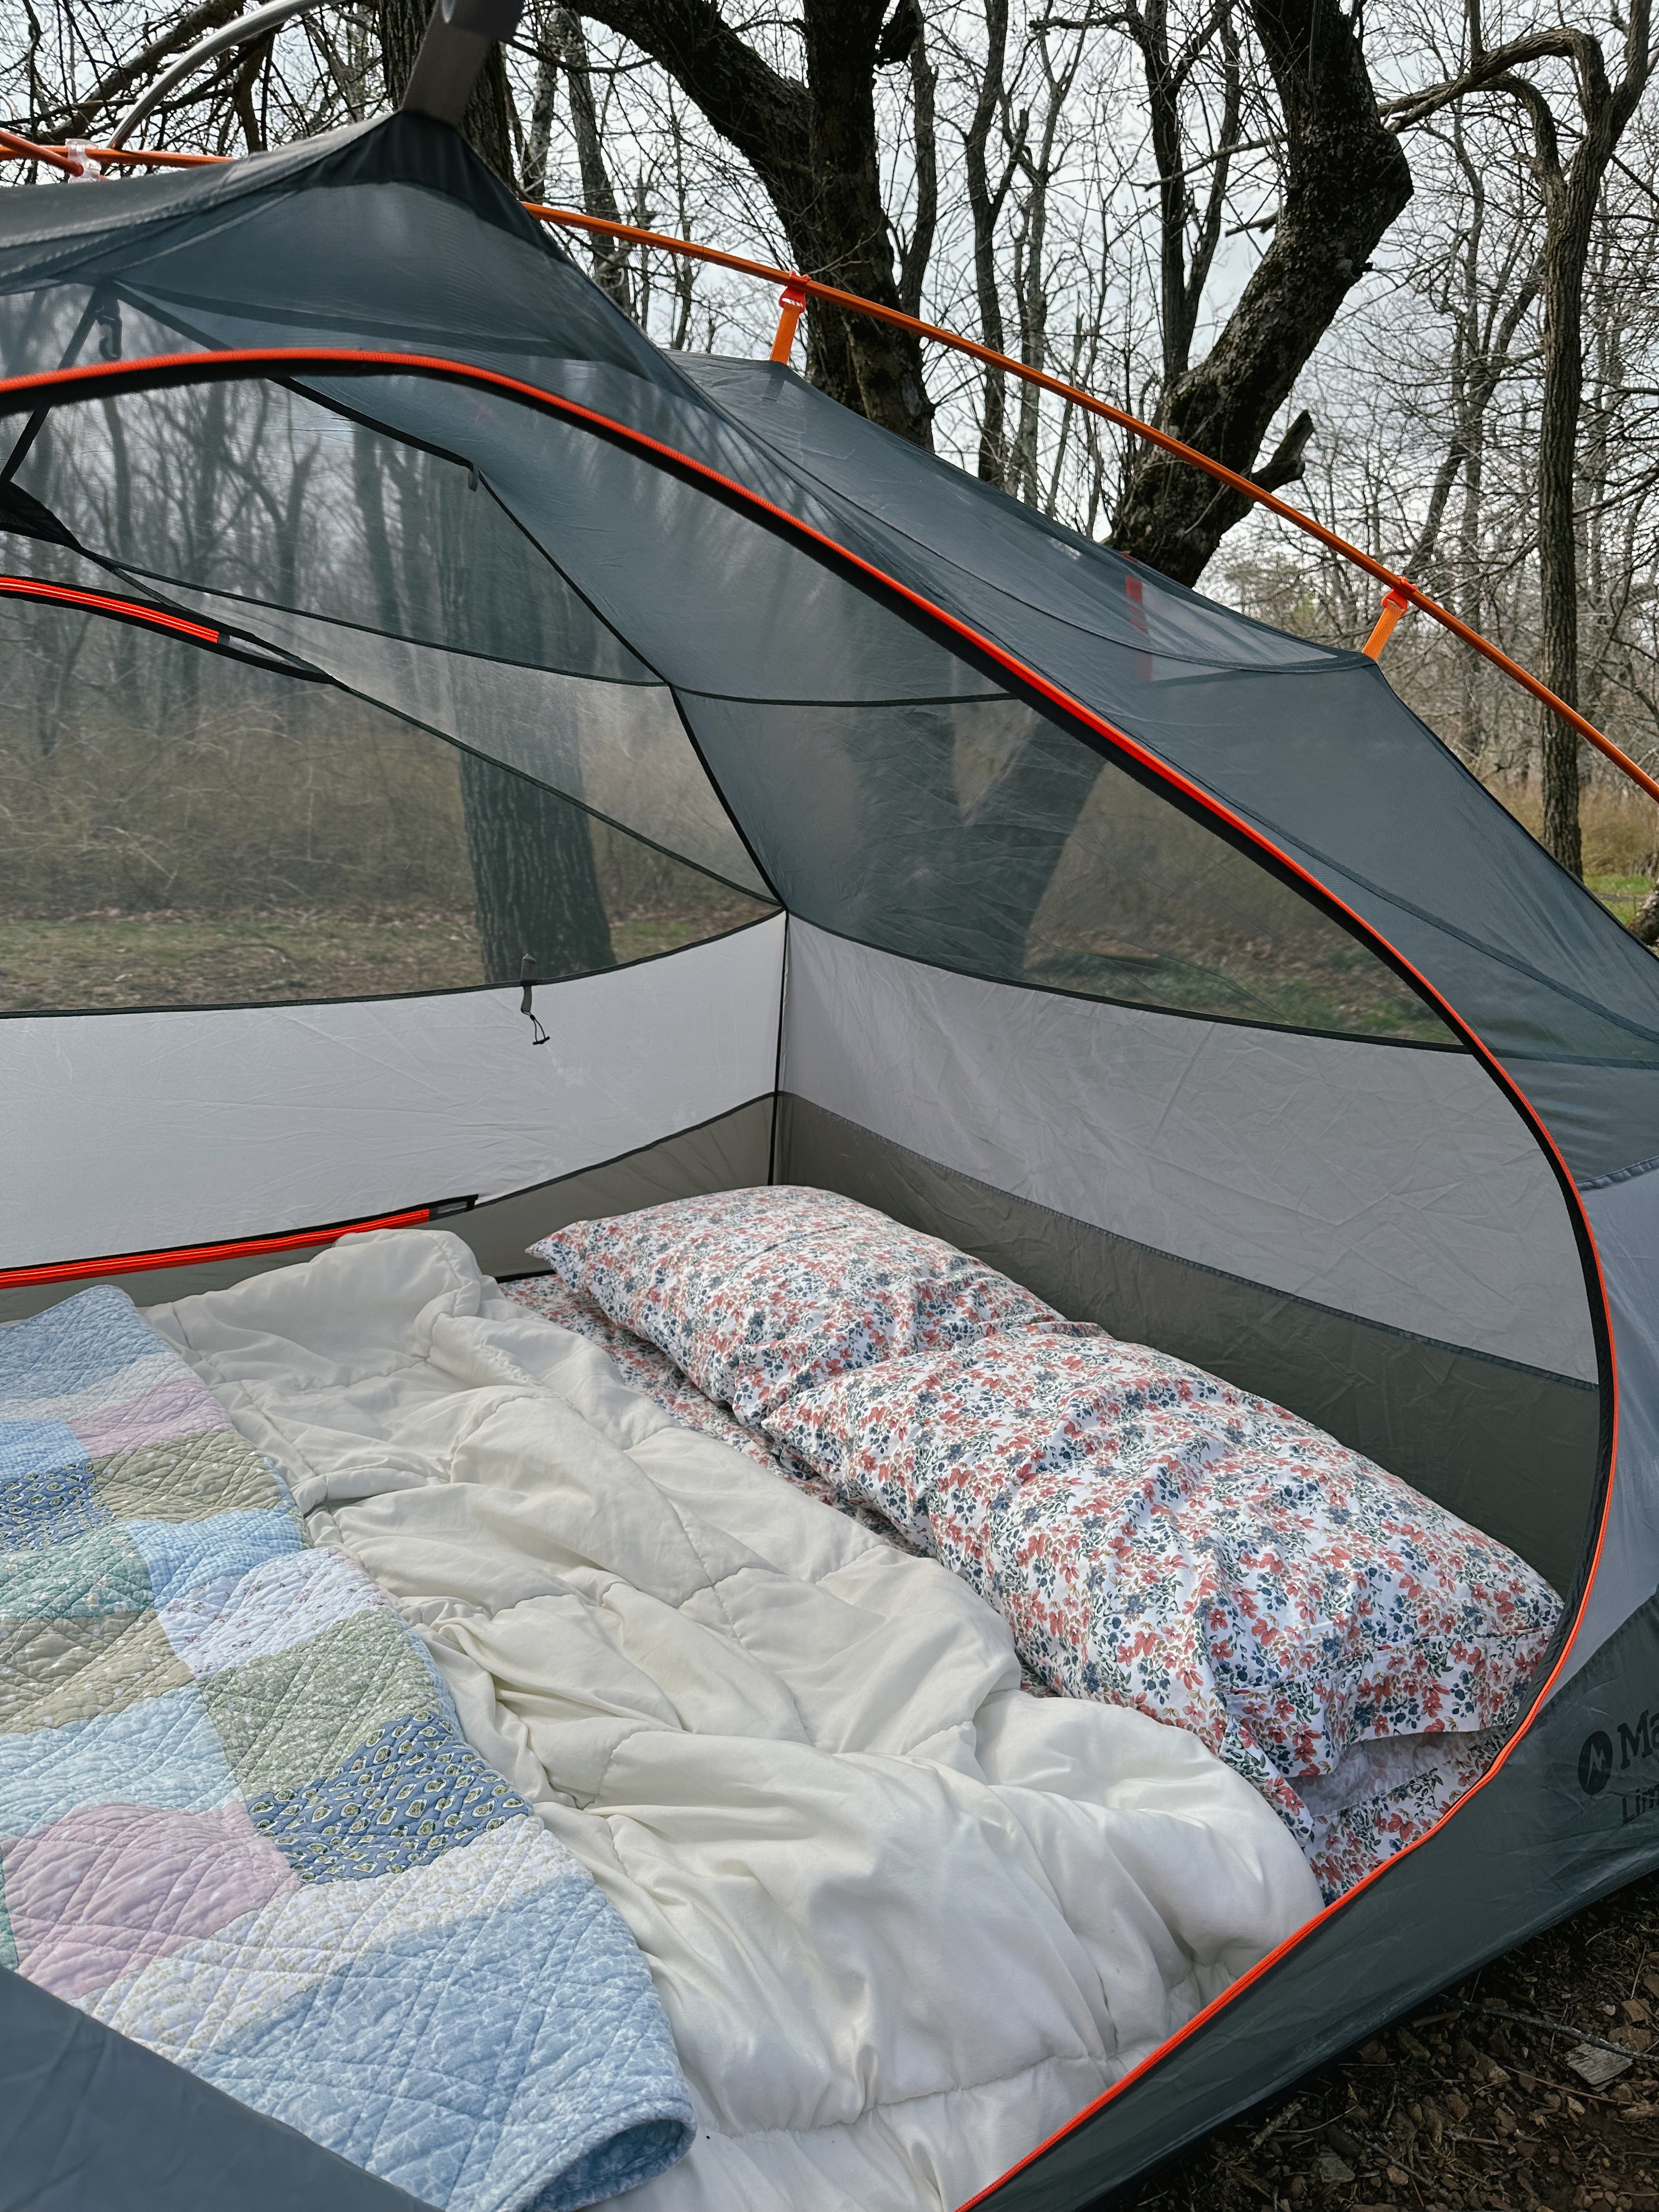
  4. Create a budget friendly plan. We like to camp which saves some money and we also enjoy outdoor activities which are usually free. We also always drive to our trip destinations within the U.S. Traveling in this way, helps the cost and preparation required which seems to make it more likely for us to plan several trips per year. Additionally, staying with family or a friend while exploring a new area is another great way to save some travel costs.
  5. Start planning early! One of my favorite traditions has become our annual two week road trip that we’ve prioritized for the last four years. There’s a lot of planning that goes into these kinds of trips but because we plan in advance, it creates less stress and makes it a priority for the year.
  6. Create a travel fund. Patrick and I both have a travel fund we contribute to regularly that makes it more manageable to save for trips each year. It really helps make the planning process more realistic and affordable.
  7. Take a day trip. Even if going far away isn’t realistic right now, take some time to explore an area near home that wouldn’t require an overnight accommodation. A day trip is still worth prioritizing and romanticizing! I guarantee there are some fun activities or attractions nearby your home that could be done in a day trip.
Camping is one our favorite budget friendly ways to travel

Where to Start with Trip Planning

Planning a trip should be fun! I recommend starting with a list of places you’d love to go to, this could be bucket list places or places close to home. If a big and far trip is possible, definitely go for it! If you’re looking for starting off slow, I’d recommend pulling up a map and looking around the areas that are closest to your home. This could be neighboring towns, neighboring states, or a place that are within driving distance of a few hours. Once you’ve selected a spot you want to visit, the planning can begin!

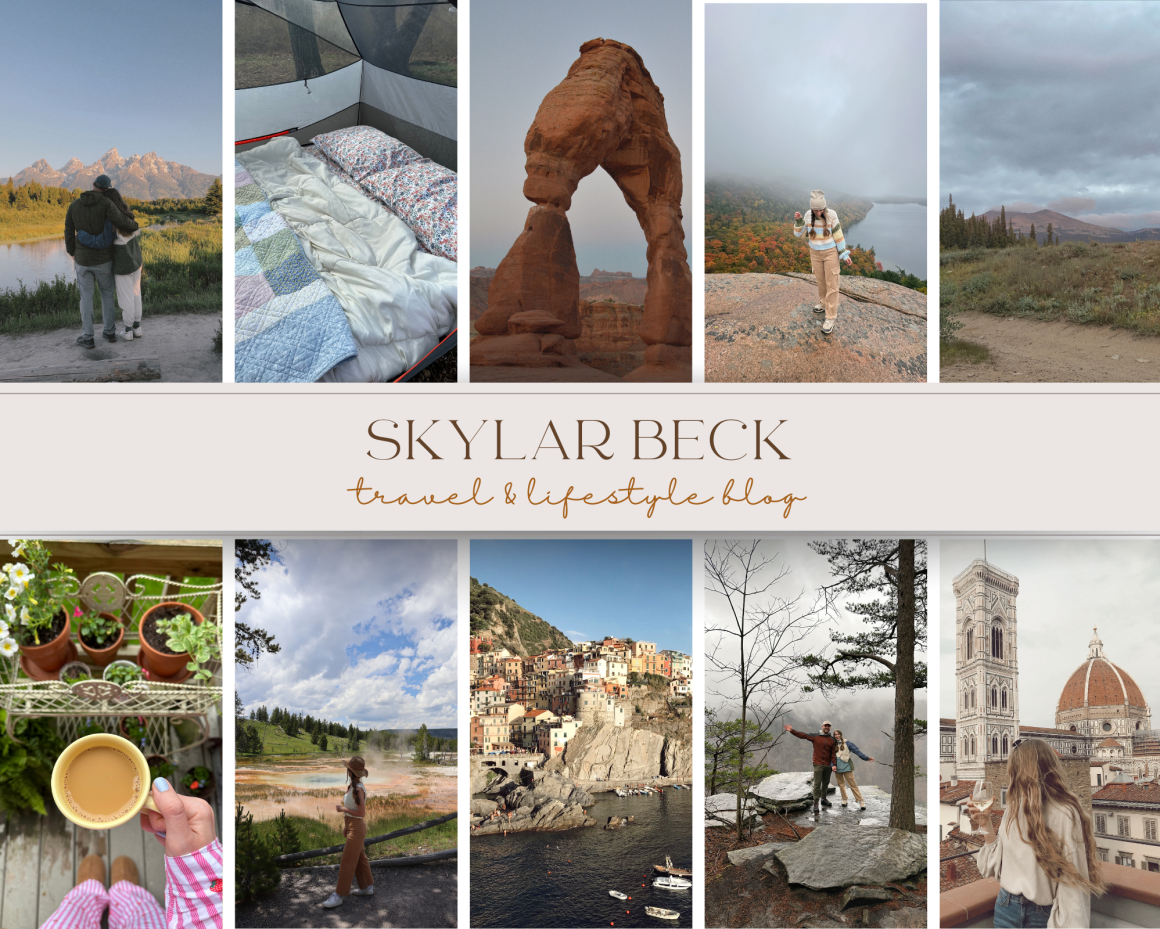
Looking For More Tips? Check Out Some Of My Other Posts:


Tips on How to Plan a Trip

Planning a trip can be overwhelming and stressful at times, especially larger trips. The planning process can take time depending on where you’re planning to go. I always recommended planning early if possible to relieve stress and give yourself plenty of time…

How To Take a Road Trip on a Budget

Throughout the last three years, taking a road trip has become Patrick and I’s favorite way to vacation. We’ve seen some incredible places throughout the country and we do so all from our own car, driving across several states. There’s something about…

Camping Essentials for Beginners

I still consider myself new to the camping world. Before I met Patrick, I could count on one hand the amount of times I had camped. Camping became more frequent in my life when Patrick and I started traveling to national parks…

Planning a National Park Trip in 2025

National park travel has become such an important part of my life and easily my favorite kind of travel. There are currently 63 established national parks in the United States and each year, there are new rules, permits, reservations, and important information you need to know before visiting. Gone are the days of spontaneously showing up to some popular parks and having an impromptu trip. Planning is required to ensure your trip is what you hope and expect it to be! I created this guide, similar to last year’s with important information about certain national parks you may need to know before visiting.

Reservation vs. Park Pass

Many national parks require a park pass to access the park and are typically valid for 7 days. This is still needed on top of any reservation or permit required. I would recommend looking at your desired national park’s website to make sure a park pass is required or not, however, this can be purchased when entering the park. The main difference between the two is a reservation or permit that is required needs to be purchased in advance before trip dates. The entrance kiosks and visitor’s centers will not sell these types of reservations in person.

Types Of Reservations That May Be Required

It’s important to check on park’s websites when and what kind of reservations may be required. Typically, these kinds of reservations are specifically required during peak seasons (summer-fall).

  • Timed entry. These kind of reservations are becoming more and more popular amongst certain national parks. Although it’s an additional step and hassle in some way, I do believe these are actually helpful in reducing the amount of crowds during certain times of day. It also just helps everyone enjoy and protect the park in the best way! These kind of reservations may give you access to one section of the park, the entirety of the park, a road within the park, etc, depending on the park. If you aren’t able to access a timed entry reservation (if you’re planning a last minute visit) there are ways around this. If the time slot is 6am-4pm, that means if you enter the park BEFORE 6am, you’ll be able to get in. However, if you leave the park at any point before 4pm, you won’t be able to get back in until after 4pm. Similarly, you could access the park after 4pm. I touch on more tips on what to do if you don’t secure a timed entry reservation later in this post.
  • Vehicle reservation. This kind of reservation varies depending on the park and again, the purpose is to limit the amount of cars gathering in one area or section of the park. For example, in Glacier national park, a vehicle reservation is required to access the ‘going to the sun road’ during certain times of day and seasons.
  • Hiking permit. This kind of reservation is required when hiking certain trails that are typically more popular. For example, Angel’s landing in Zion national park now requires a permit to complete the entire hike.

Parks that Require Reservations

*as of January 2025*

  • Acadia National ParkMaine– requires a vehicle reservation to access Cadillac mountain if visiting between May-October. This reservation costs $6 and can be purchased on the park’s website. The park hasn’t officially released 2025 dates required for this permit, but I’m sure they will soon. Check out my blog post about Acadia National park here for more information on the park.
  • Arches National ParkUtah– requires a timed entry reservation (7am-4pm) between April-October. This year the park is not requiring tickets during some days between July and August. Tickets will be required from 7 am to 4 pm each day between April 1 – July 6 and August 28 – October 31, 2025. This reservation costs $2 per vehicle. Learn more on the park’s website. Check out my blog post about Arches National park here for more information on the park.
  • Glacier National ParkMontana– requires a vehicle reservation (7am-3pm) in various areas.
    • Due to Glacier’s popularity, the park has split the major areas of the park into three sections that ALL require reservations if you plan to visit. Reservations can be made four months before your trip dates and booking will become available starting February 12th, 2025 for this year. All sections require a reservation between the hours of 7am-3pm during June 13-September 28 time frame. The sections within the park that all need a reservation include:
    • Going to the sun Road
    • North Fork
    • Many Glacier

keep in mind, if you plan to visit all three areas of glacier, you may need three different types of reservation tickets. Check out my blog post about Glacier National park here for more information on the park.

  • Haleakala National ParkHawaii– requires a vehicle reservation (3am-7am) that costs $1 per vehicle to watch the sun rise above the clouds at Haleakala Summit. Learn more on the park’s website.
  • Rocky Mountain National ParkColorado-requires a timed entry ticket from May through October. RMNP has split the timed entry tickets into two sections:
    • Bear Lake corridor, timed entry reservation required to access the bear lake trails + access to the rest of the park, costs $2. Timed entry from 5am-6pm.
    • Rest of the park, timed entry reservation for the Rocky Mountains national park, excluding the bear lake trail area, costs $2. Timed entry from 9am-2pm. Check out my blog post about RMNP here for more information on the park.
  • Shenandoah National ParkVirginia– requires a day use hiking permit if you plan to hike ‘Old Rag trail’ which is one the most popular hikes in the park. Reservations are required from March-November and costs $1 (each person is required to have a ticket). Learn more on the park’s website. Check out my blog post about Shenandoah National park here for more information on the park.
  • Yosemite National ParkCalifornia– the park has changed it’s requirements each year and as of right now, Yosemite hasn’t released the requirements for entrance reservations or permits needed during peak season. I will be sure to update this post when any news is posted. Patrick and I plan to visit Yosemite this year so I will definitely need to have reservation information before visiting! The park has released other types of reservations that are required:
    • Horsetail Fall reservation ticketed entry during the months of February on the weekends of February 8–9, February 15–17, and February 22–23, 2025. Note, this reservation is only required if you plan to visit on the listed days in February. This is a big attraction during the month of February in the park, so the reservations are listed for the weekends. However, if you plan to visit the park during these weekend dates even without going to Horsetail falls, you still need this reservation ticket. This reservation costs $2 and is per vehicle. Purchase tickets on the park’s website.
    • Half Dome hiking permit– this popular trail now requires a permit to hike as an attempt to reduce crowds. Learn more about how to obtain a permit through the park’s lottery system here.
  • Zion National ParkUtah– requires hiking permits for these trails; Angel’s Landing, the Subway, and the Narrows from top-down.
    • Angel’s Landing– the park now requires a permit to hike the entirety of this trail (without a permit you can hike all the way to “scout lookout” point). Similarly to Yosemite, permits are selected by a lottery system. It costs $6 to apply and if selected it’s $3 per person to hike this trail. Learn more on the park’s website. Be sure to figure out when the time period is to apply for the permit through the lottery that lines up with your trip dates.
    • The Subway- this hike requires a permit if you plan to hike it between the months of April-October and is selected through a lottery system as well. Learn more here.
    • The Narrows from top down– the narrows is one of the most incredible hiking experiences within the park! Many visitors hike this from the bottom up (I did!) but if you wish to hike the trail from the top down (16 miles total), you’ll need a wilderness permit. Learn more here. Check out my blog post about Zion National park here for more information on the park.
  • Mount Rainer National Park, Washington– last year the park decided to require a timed entry reservation for vehicles driving to either the Paradise Corridor and/or the Sunrise Corridor. Reservations were required each day from 7am-3pm from May through September for the Paradise Corridor and July through September for the Sunrise Corridor. Since the park tried this for the first time last year, they haven’t posted if they’ll be doing this again in 2025, I will update this post if they do. Learn more here.

It seems like more parks are trying to implement some kind of reservation system depending on the amount of crowds they see. I would recommend checking any park’s website you plan to visit prior to your trip to determine if any other decisions are made throughout the year to require reservations or permits to access areas.

National Park Checklist

Keep up to date with tracking what national parks you’ve visited! Download my free national park checklist below. I created two versions, horizontal and vertical PDF’s.

Tips & Back Up Solutions

If you don’t get a reservation or if you missed your window to purchase one, here are a few options to still be able to access reserved areas of the park:

  • Book the reservations as soon as you are able. On the park’s websites, there will be a time when you are able to book. Some parks allow you to book a couple months in advance, and if you miss out, they reopen more reservations 1-2 days before your visit for an additional chance. It can definitely be stressful so I recommend logging on to purchase tickets as soon as the window opens (for example, most tickets become available on the park’s website at 10am EST).
  • Book a campground. If you book a reservation for a campground within the park, the park counts this as your reservation for timed entry or vehicle reservations, depending on the park. Be sure to check exceptions to purchasing reservation tickets if you are camping in the park. Also note, your campground reservation will only serve as a reservation ticket if the dates you plan to access the park and stay at the campground are the same. (i.e., if you camp one night and move to a hotel, you’ll need a reservation ticket to assess specific areas the days/nights you’re at the hotel and no longer camping).
  • Enter the park outside the required time. If you can’t purchase timed entry tickets, find ways to experience the park outside of the timed restrictions (i.e., if timed entry reservations start at 6am, enter the park BEFORE 6am). Just keep in mind if you leave the park before the reservation time frame is finished, you won’t be able to go back in until after the time restriction ends. (i.e., if you leave the park at 12pm, and the time restriction ends at 3pm, you won’t be able to go back into that area of the park until AFTER 3pm).
  • Do some research to determine which areas, activities, and hikes you may want to do that require reservations.
  • Keep in mind, when timed entry reservation periods end, there are crowds trying to access the park, arrive early in kiosk lines to ensure you don’t have to spend too much time stuck in line.

Camping Essentials for Beginners

I still consider myself new to the camping world. Before I met Patrick, I could count on one hand the amount of times I had camped. Camping became more frequent in my life when Patrick and I started traveling to national parks and forests and wanted a budget friendly way to sleep. Although it was an adjustment at first, I can now say, it’s one of my favorite ways to travel.

Since I’ve learned a lot from experience the last few years, I thought I’d share some camping essentials I’d recommend if you’re just starting out or if you’d like to camp more.

Camping Essentials

🏕 Tent: Having a tent is an obvious essential while camping! Although we’ve done our fair share of car camping, tent camping is more spacious and there’s better air ventilation. We recently invested in a new tent, REI base camp 4 and I’m so excited to test it out on our next camping trip.Before we were using the marmot limelight and loved it! Either are perfect options for first time campers. I’d recommend doing some research when picking a tent, it’s important to find a tent that will be durable and hold up during weather conditions.

🧊 Cooler for food storage : Having a cooler for your food is a must especially if you’re planning to camp. I’d recommend a basic cooler like this one for a weekend camping trip.

🍳 Cooking Prep: The convenience of cooking your own food while camping is so important! We love our Eureka stove, it’s perfect for cooking any meal and storing it easy! Having your own stove is also ideal if a campsite doesn’t have a stove top over the fire pit. We also use a pots and pan set from stanley and have enjoyed the easy set up of this equipment.

🛏 Sleep Prep: If you want something more than a sleeping bag while tent camping, I’d recommend a mattress! While camping we’ve tried an air mattress, a trifold mattress, and sleeping bags. For the last three years, we’ve been consistently using a full sized trifold mattress that fits well in our tent and car. We’ve learned throughout the years how essential proper sleep gear is while camping and it’s definitely worth the extra money! I’d recommend doing some research to determine what would be most comfortable for you.

🛋 Lounging: While camping, it’s also important to consider the gear you’ll use outside of your tent for relaxing. We love our camp chairs from Woods, they are so big and cozy, perfect for relaxing by a camp fire!

💧Water Jug: It’s important to have plenty of water while camping. We like to carry a water jug, especially during our longer trips. Most campgrounds and national parks also have water fill up spots which comes in handy if you have a big jug to fill up.

🔦 Lighting: Lighting is essential while camping, especially if you are camping during the fall and winter months when the sun goes down sooner. We like to have head lights, a lantern, and sometimes string lights to maximize our lighting if needed.

🩹 First aid kit: It’s always a good idea to have a first aid kit to prepared for any accidents.

Extra Things to Consider

These items are more of an investment and I’d recommend if you plan to camp often or for long periods of time. Although camping is meant to be minimalistic, I believe it’s still important to have some items that bring comfort and enhance the experience.

☎️ Satellite Phone: We always carry our garmin in reach mini while camping and hiking in more secluded areas. Typically most campgrounds have little to no service and it’s nice to have some security of reaching out for assistance if needed in an emergency or to reach out to people at home if needed.

🚽 Travel Toilet + Biodegradable waste bags: We invested in a travel toilet a couple years ago and it is amazing! It definitely comes in handy if the campground toilet is far away from our site or when we camp in primitive areas that don’t have any bathroom facilities. This travel toilet set up is so easy and you can purchase biodegradable waste bags and waste gel to ensure you are disposing properly. We also use a privacy tent at times if the campground is less secluded and we need to use the travel toilet.

🧊 Travel refrigerator: This cooler is great when traveling long distances or camping for long periods of time. No ice required and it has a refrigerator and freezer side. It does have to be plugged in but if you have the right equipment, it’s a nice investment piece to ensure proper food storage and care while camping.

🚰 Jet boil: This is convenient for quick food prep. The jet boil is able to boil water very quickly and definitely worth the extra money.

🚿 Rinse Kit: The rinse kit is great for showers if needed or for rinsing off dishes. Sometimes campgrounds have showers and dish stations, and sometimes not so we like having this as a backup solution for both.

🔌 Jackery: Another investment piece that may be necessary if traveling and camping long distances. This device charges our electronics and cooler throughout our entire trip. The battery lasts a decent amount but does have to charged up when running low. It can be recharged through a typical outlet or through solar panels which you can purchase on their website.

🔋 Jump start battery: This was a new purchase for us, for a long time we had been borrowing it from my sister, and although it’s an investment item, I consider it a necessity. There were a few times, our car battery died on us when camping out west and this was a relief to have this for a quick charge!

How To Take a Road Trip on a Budget

Throughout the last three years, taking a road trip has become Patrick and I’s favorite way to vacation. We’ve seen some incredible places throughout the country and we do so all from our own car, driving across several states. There’s something about long car rides that I love and that make the trip even more memorable because of the journey involved to get to the destination. One of the main reasons we started driving everywhere on our trips was primarily to save money. The expenses on any trip will inevitably add up so it’s helpful to find some ways to reduce cost if that’s your goal! In this guide, I’ll be sharing my tips on how to save and budget money for a road trip.

Budget Tips

Camp

Camping can either be free or much less expensive than other accommodations. I was never a big camper until we started road tripping to various national parks and forests, but now it’s usually all we book when traveling. We found that campgrounds typically charge anywhere from $25-$50 per night which is much cheaper than nightly costs of hotels or airbnb’s! Free camping is also possible too, we’ve had luck finding free campsites by using apps or other online resources. Keep in mind, free camping is definitely different than an established campground, mostly because there aren’t any amenities and it’s all first come first serve. For finding campgrounds or free spots I’d recommended:

Make a Packing List to Follow

For the last three years, we’ve planned a big road trip and one thing that has made the whole experience less stressful was following a packing list. Writing out everything needed for a big road trip from clothes, food, camping equipment, and other necessities made the packing and planning process so much smoother! When following a list, you’re more likely to pack everything you need and not have to buy things along the way. Another plus is you can pack more when driving compared to flying.

Select Budget Friendly Activities

Depending on where you are road tripping to, there will likely be activities you are looking forward to. I’d recommended finding as many free or less expensive activities as possible to save money. If you like national park travel, like me, one of the main things I enjoy are the hikes (which are usually free!). However, depending on where you’re going, there may be activities on your bucket list that do cost something and that’s okay! It’s all about balancing and prioritizing what you want to do and spend money on.

Plan to Make Most Meals

One of the luxuries of road tripping vs. flying is you can pack as many snacks and food items as you want! Making your own meals while road tripping will be a huge cost saver! If you’re planning to stay at hotels, take advantage of free breakfast if offered too. Of course we love to eat out but we usually plan to make majority of our meals + coffee while traveling.

Plan Road Trip Route in Advance

Planning your route in advance will not only save money but also time. It’s a big relief to know the route you’ll be taking, if there are tolls, how many hours til your destination, where you’ll be stopping to sleep, etc. Planning out stops in advance, will make it more likely for you to budget expenses for each spot which can really save money! Another helpful tip is to use navigation (i.e., apple or google maps) to find the fastest route, a route without tolls, if there will be any traffic delays, etc.

Save On Gas

The biggest expense while road tripping is gas. If possible, in the planning process you can consider how many miles per gallon you need to fill up or when you’ll likely have to stop. We’ve used the app gasbuddy too to try and find cheap gas in the areas we’re in. While saving money and budgeting for your trip, keep in mind, gas is something that will add up and that you’ll have to stop for the most while road tripping.

One Day in Mammoth Cave National Park, Kentucky

This past weekend, Patrick and I crossed another national park off our list, Mammoth Cave! Mammoth Cave national park is located an hour and a half south of Louisville, Kentucky. It is an underrated park in my opinion, I was amazed with how incredible Mammoth Cave was! We only spent one day exploring which I think was enough to experience the highlights but I’d recommend at least a weekend to fully explore the park. Here’s a quick guide to tips and things I’d recommend checking out while visiting.

Things to Know About Mammoth Cave

  • Mammoth Cave national park is FREE to enter, there are no entrance fees required to access the park.
  • Cave tours are the most popular thing to do while visiting the park, tours vary in length and difficulty level.
  • I’d recommend booking a cave tour in advance. You have the option to buy a ticket on site at the visitor’s center, but even in February, certain cave tours were sold out!
  • After exiting any cave tour, the park requires you to walk across a station with soap to clean the bottom of your shoes. This is to prevent the spread of White Nose Syndrome which is a fungal disease that has been impacting bat populations across the country.
  • The park has great lodging options if you desire to stay within the park:
    • Sunset Terrance hotel
    • Historic Cottages (closed in the winter)
    • Woodland Cottages (closed in the winter, these cottages don’t have A/C or heat)
    • Camping
      • Mammoth Cave campground
      • Maple Springs campground (10 minutes from visitor’s center)
      • Houchin Ferry campground (20 minutes from visitors center, tent only).
    • Airbnb’s and hotels in surrounding areas (Brownsville, KY + Cave City, KY).

Things to Do

  • Cave tour. When visiting Mammoth Cave, you have to take a cave tour! It’s an incredible experience having the opportunity to explore the caves. The national parks system has done an amazing job making the tours enjoyable and informative. There are several cave tour options that you can learn more about on the park’s website.
    • We decided to take the Frozen Niagara cave tour and it was incredible! This tour was an hour and 15 minutes. It’s the shortest cave tour in time and distance, we only walked about .25 mile on this tour.
    • Other popular tours many visitors choose include:
      • Historic Tour (2 hours, $20 per adult)
      • Domes and Dripstones tour (2 hours, $21 per adult)
      • Gothic Avenue tour (2 hours, $19 per adult)
    • *Starting March 1st, 2024, the park will be increasing the prices of cave tour tickets, learn more on the park’s website.
  • Visit the visitor’s center. We were surprised with how big the visitor’s center was! For a smaller national park, this was great to see. The visitor’s center had a small museum like feel inside giving visitors information and history on the cave.
  • Go for a hike. There were surprisingly lots of different hikes within the park. Our favorites were:
    • Sunset point trail
    • Cedar sink trail
    • Floyd Collins trail
    • Green river bluff, echo river springs, sinkhole, and heritage trail (combined is 4.3mi round trip)
  • Stop by the historic entrance. This is an iconic spot in the park to stop by. It is the largest natural opening of the cave and it was originally the first entrance to the cave when it was discovered.
  • Take a picture at the entrance sign.There are two entrance signs for the park, one if you’re entering from Cave City and one if entering from Brownsville.
  • Stop by Cave City. We didn’t explore too much here but we’ve heard there are great restaurants and shops in this area.
Entering Mammoth Cave
View of Crystal Lake during Frozen Niagara tour
Historic Entrance
Details within cave
Visitor’s Center
History facts at the visitor’s center
Views on the trails
Views along hiking trails

My Favorite New Zealand Adventures

New Zealand was full of adventure!! Collectively, throughout the three weeks I did more adventurous activities than I ever have! I wanted to share my favorites to keep in mind if you are ever traveling throughout New Zealand:

1. Jumping off the Sky Tower – Auckland, New Zealand

OLYMPUS DIGITAL CAMERA

Jumping off the Sky Tower was an incredible experience! It’s one of Auckland’s favorite activities for tourists. The jump isn’t like a free fall at all, the harness keeps you stable and tight the whole fall…which is only 10 seconds. The view of the city is breathtaking from this high up!

2. Snorkeling at Poor Knights Island- Tutukaka, New Zealand 

FullSizeRender

I didn’t expect to enjoy snorkeling but it was a great experience! The fish are amazing at the Poor Knights Island. I was able to swim through multiple school of fish and touch jellyfish!

3. Tongariro Alpine Crossing Hike- Tongariro Crossing, New Zealand

IMG_9847

FullSizeRender

I know I’ve talked about this hike in a previous post but this was definitely my favorite memory/experience from the whole trip!

4. Hooker Valley Track- Mount Cook, New Zealand

IMG_0270IMG_0308

This hike was shorter and less intense than the Tongariro Alpine Crossing but just as beautiful! This hike was on the South Island which allowed me to experience the amazing Southern alps New Zealand offers.

5. Ziplining through the Ancient Forest- Rotorua, New Zealand 

IMG_1119FullSizeRender

Ziplining through the Ancient Forest was such an experience. It felt so freeing to be gliding above huge trees. My friends and I wanted to zipline all day, it wasn’t long enough!

6. Horseback Riding- Rotorua, New Zealand 

IMG_0678IMG_0658

I have never rode a horse before so this was a new exciting experience for me and one that I loved! The views from the trek felt unreal and being on horseback made the afternoon truly feel like a fairytale.