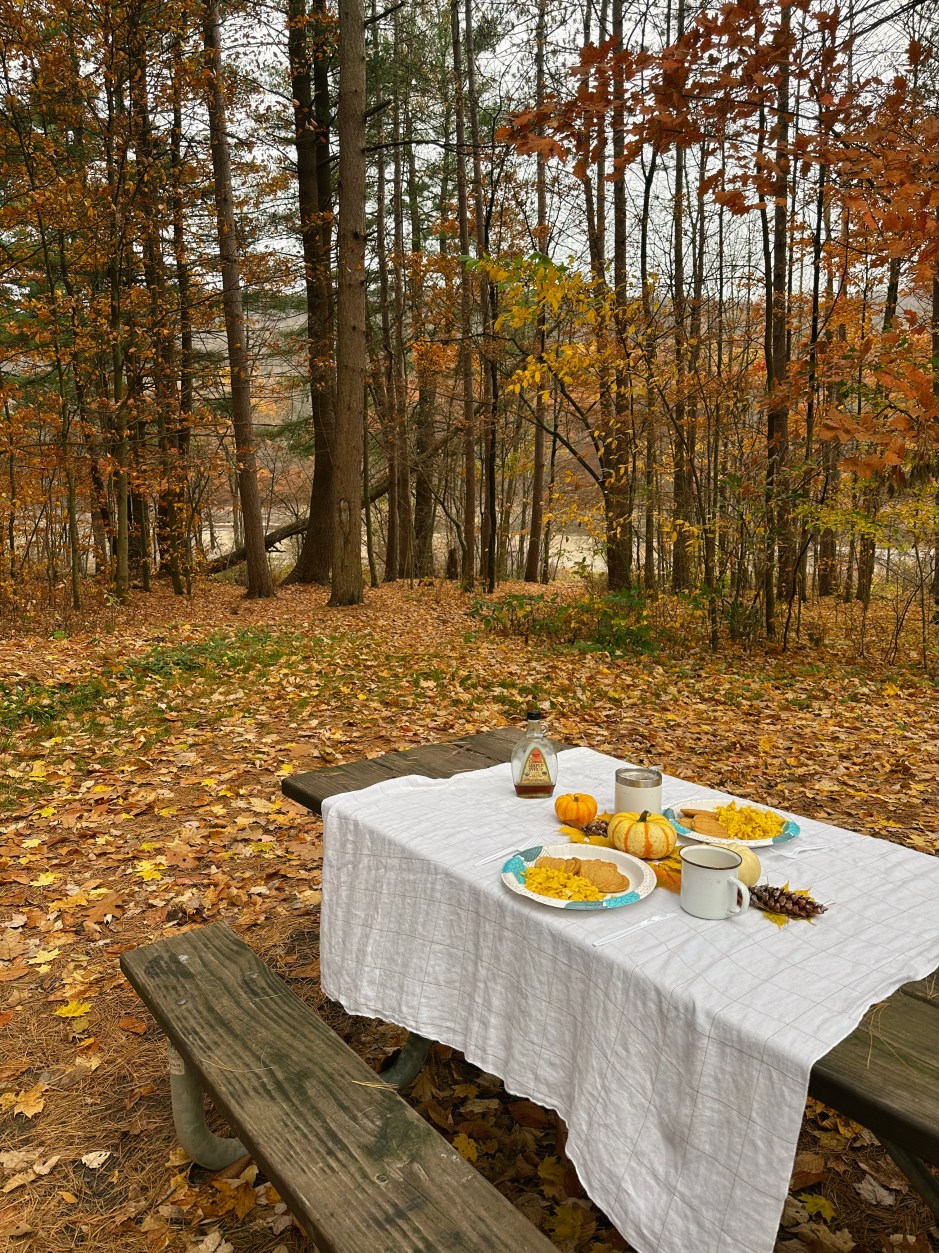
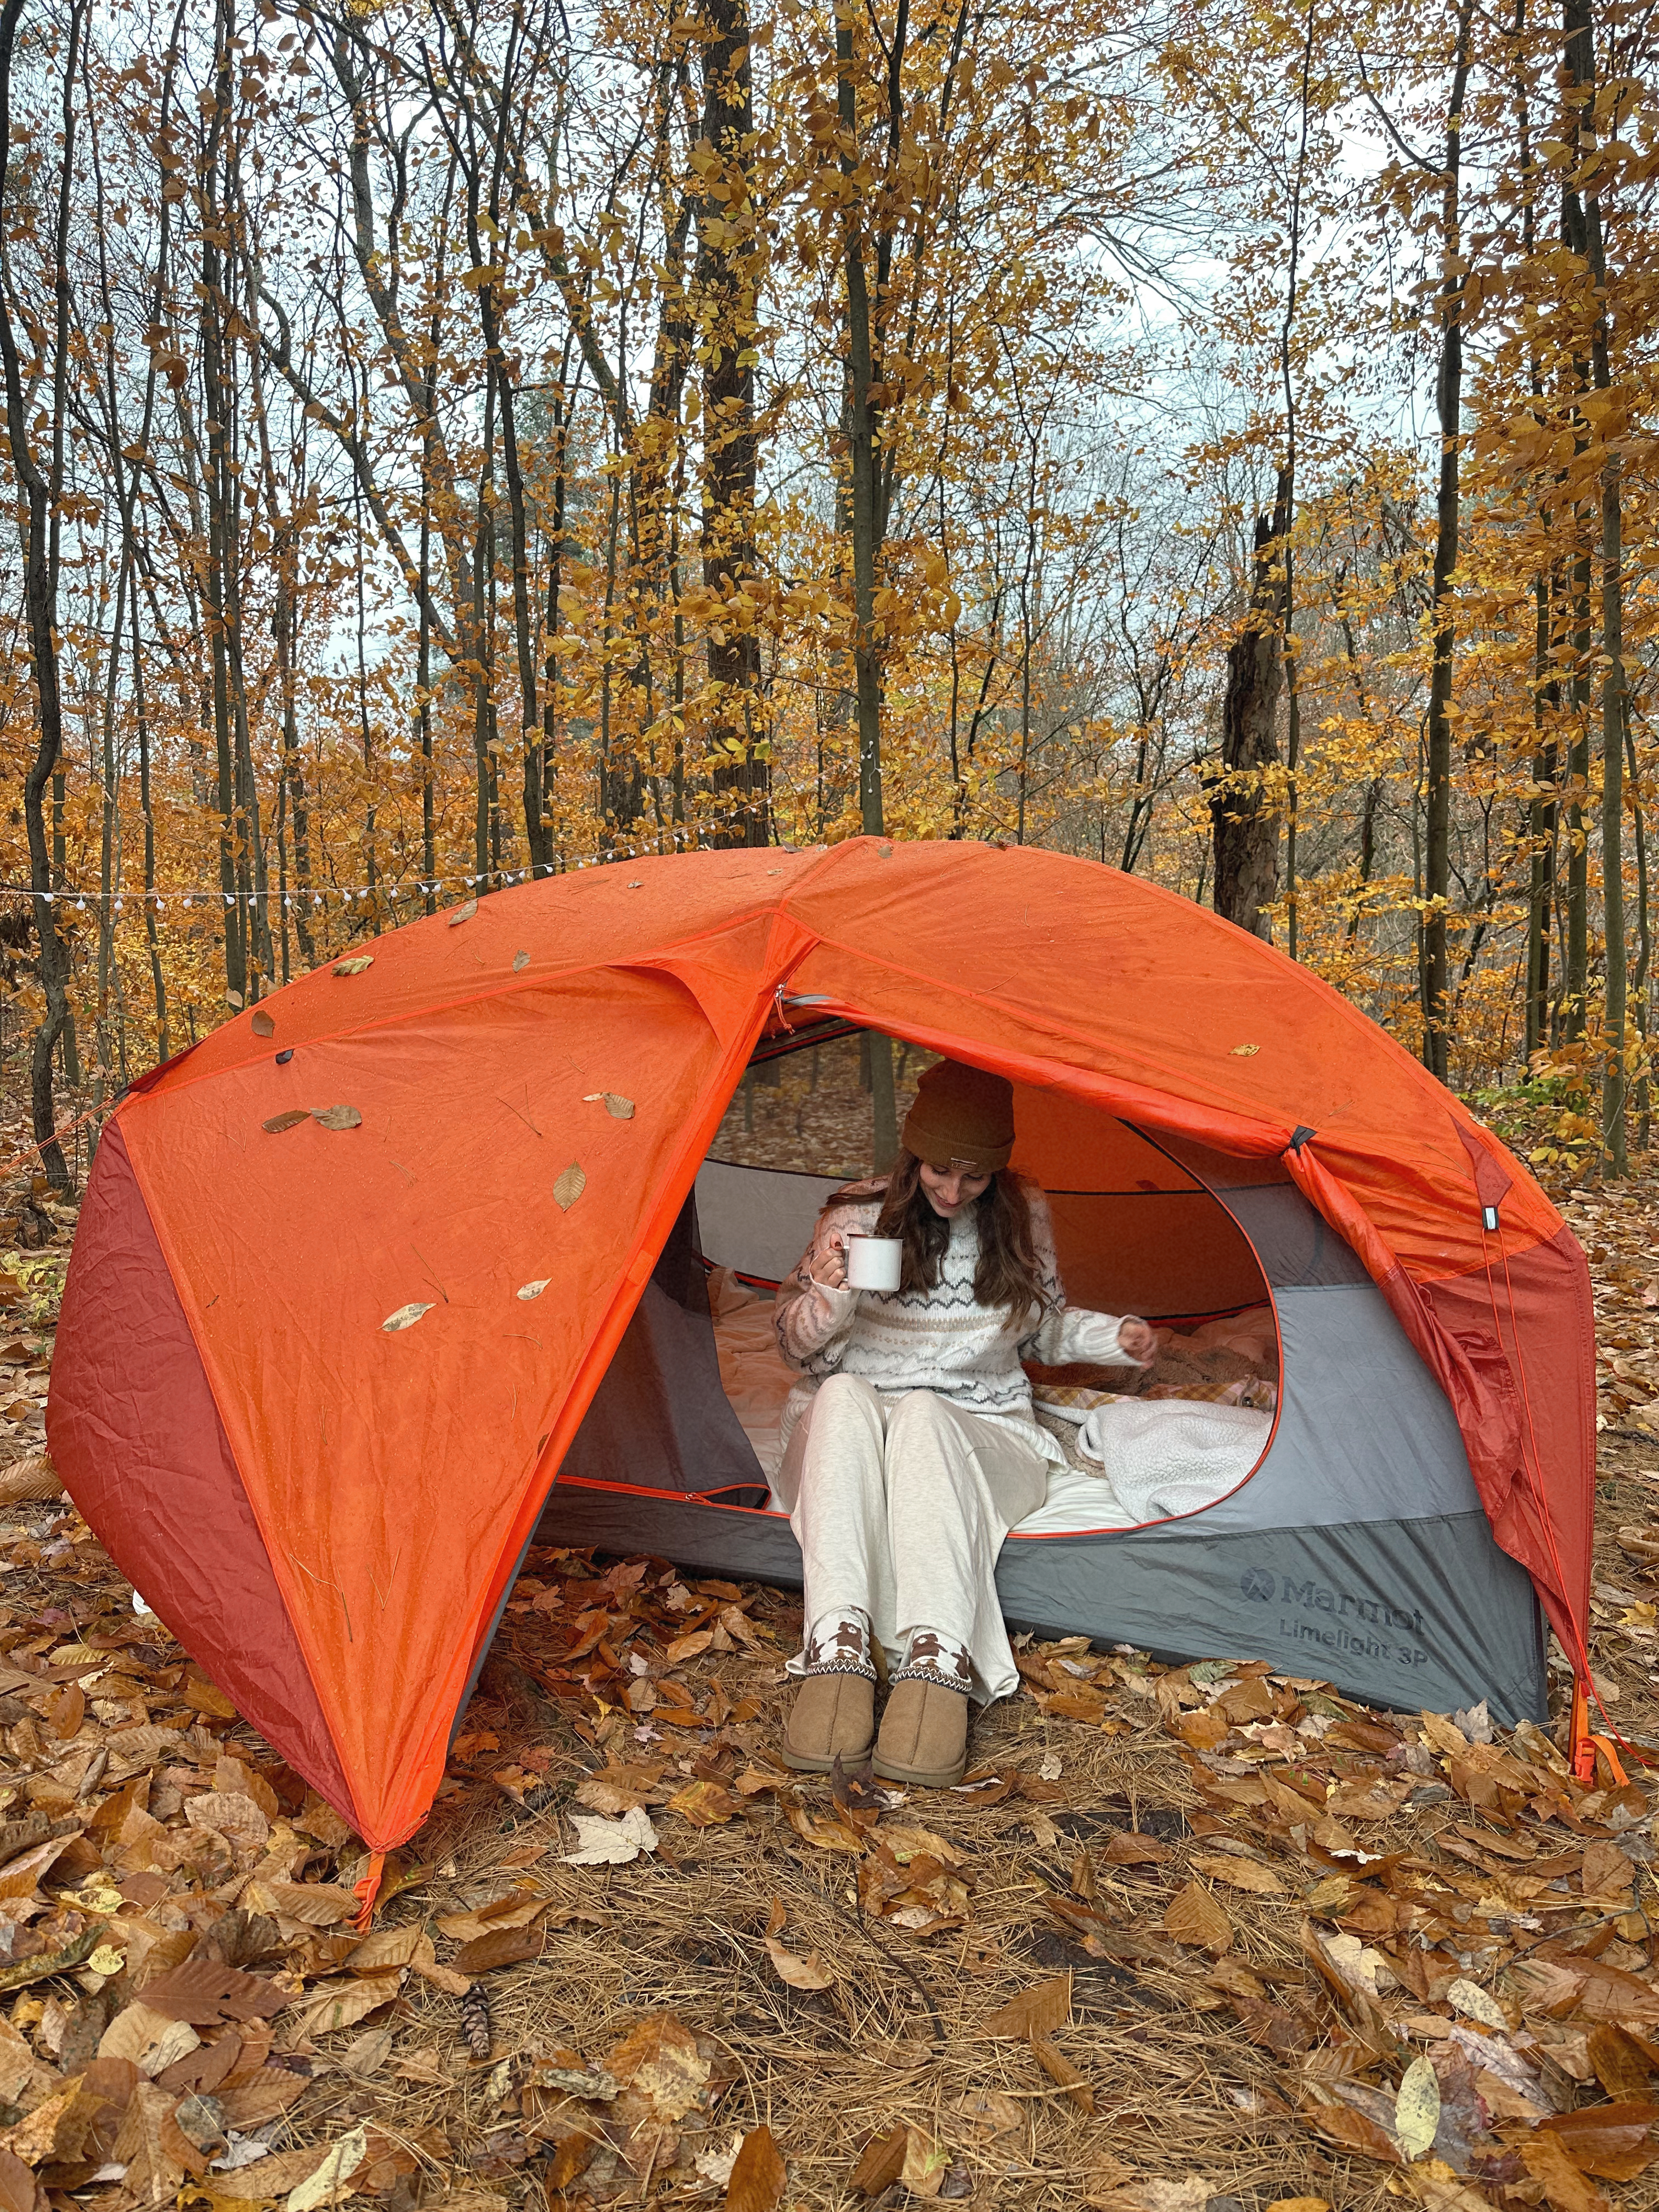
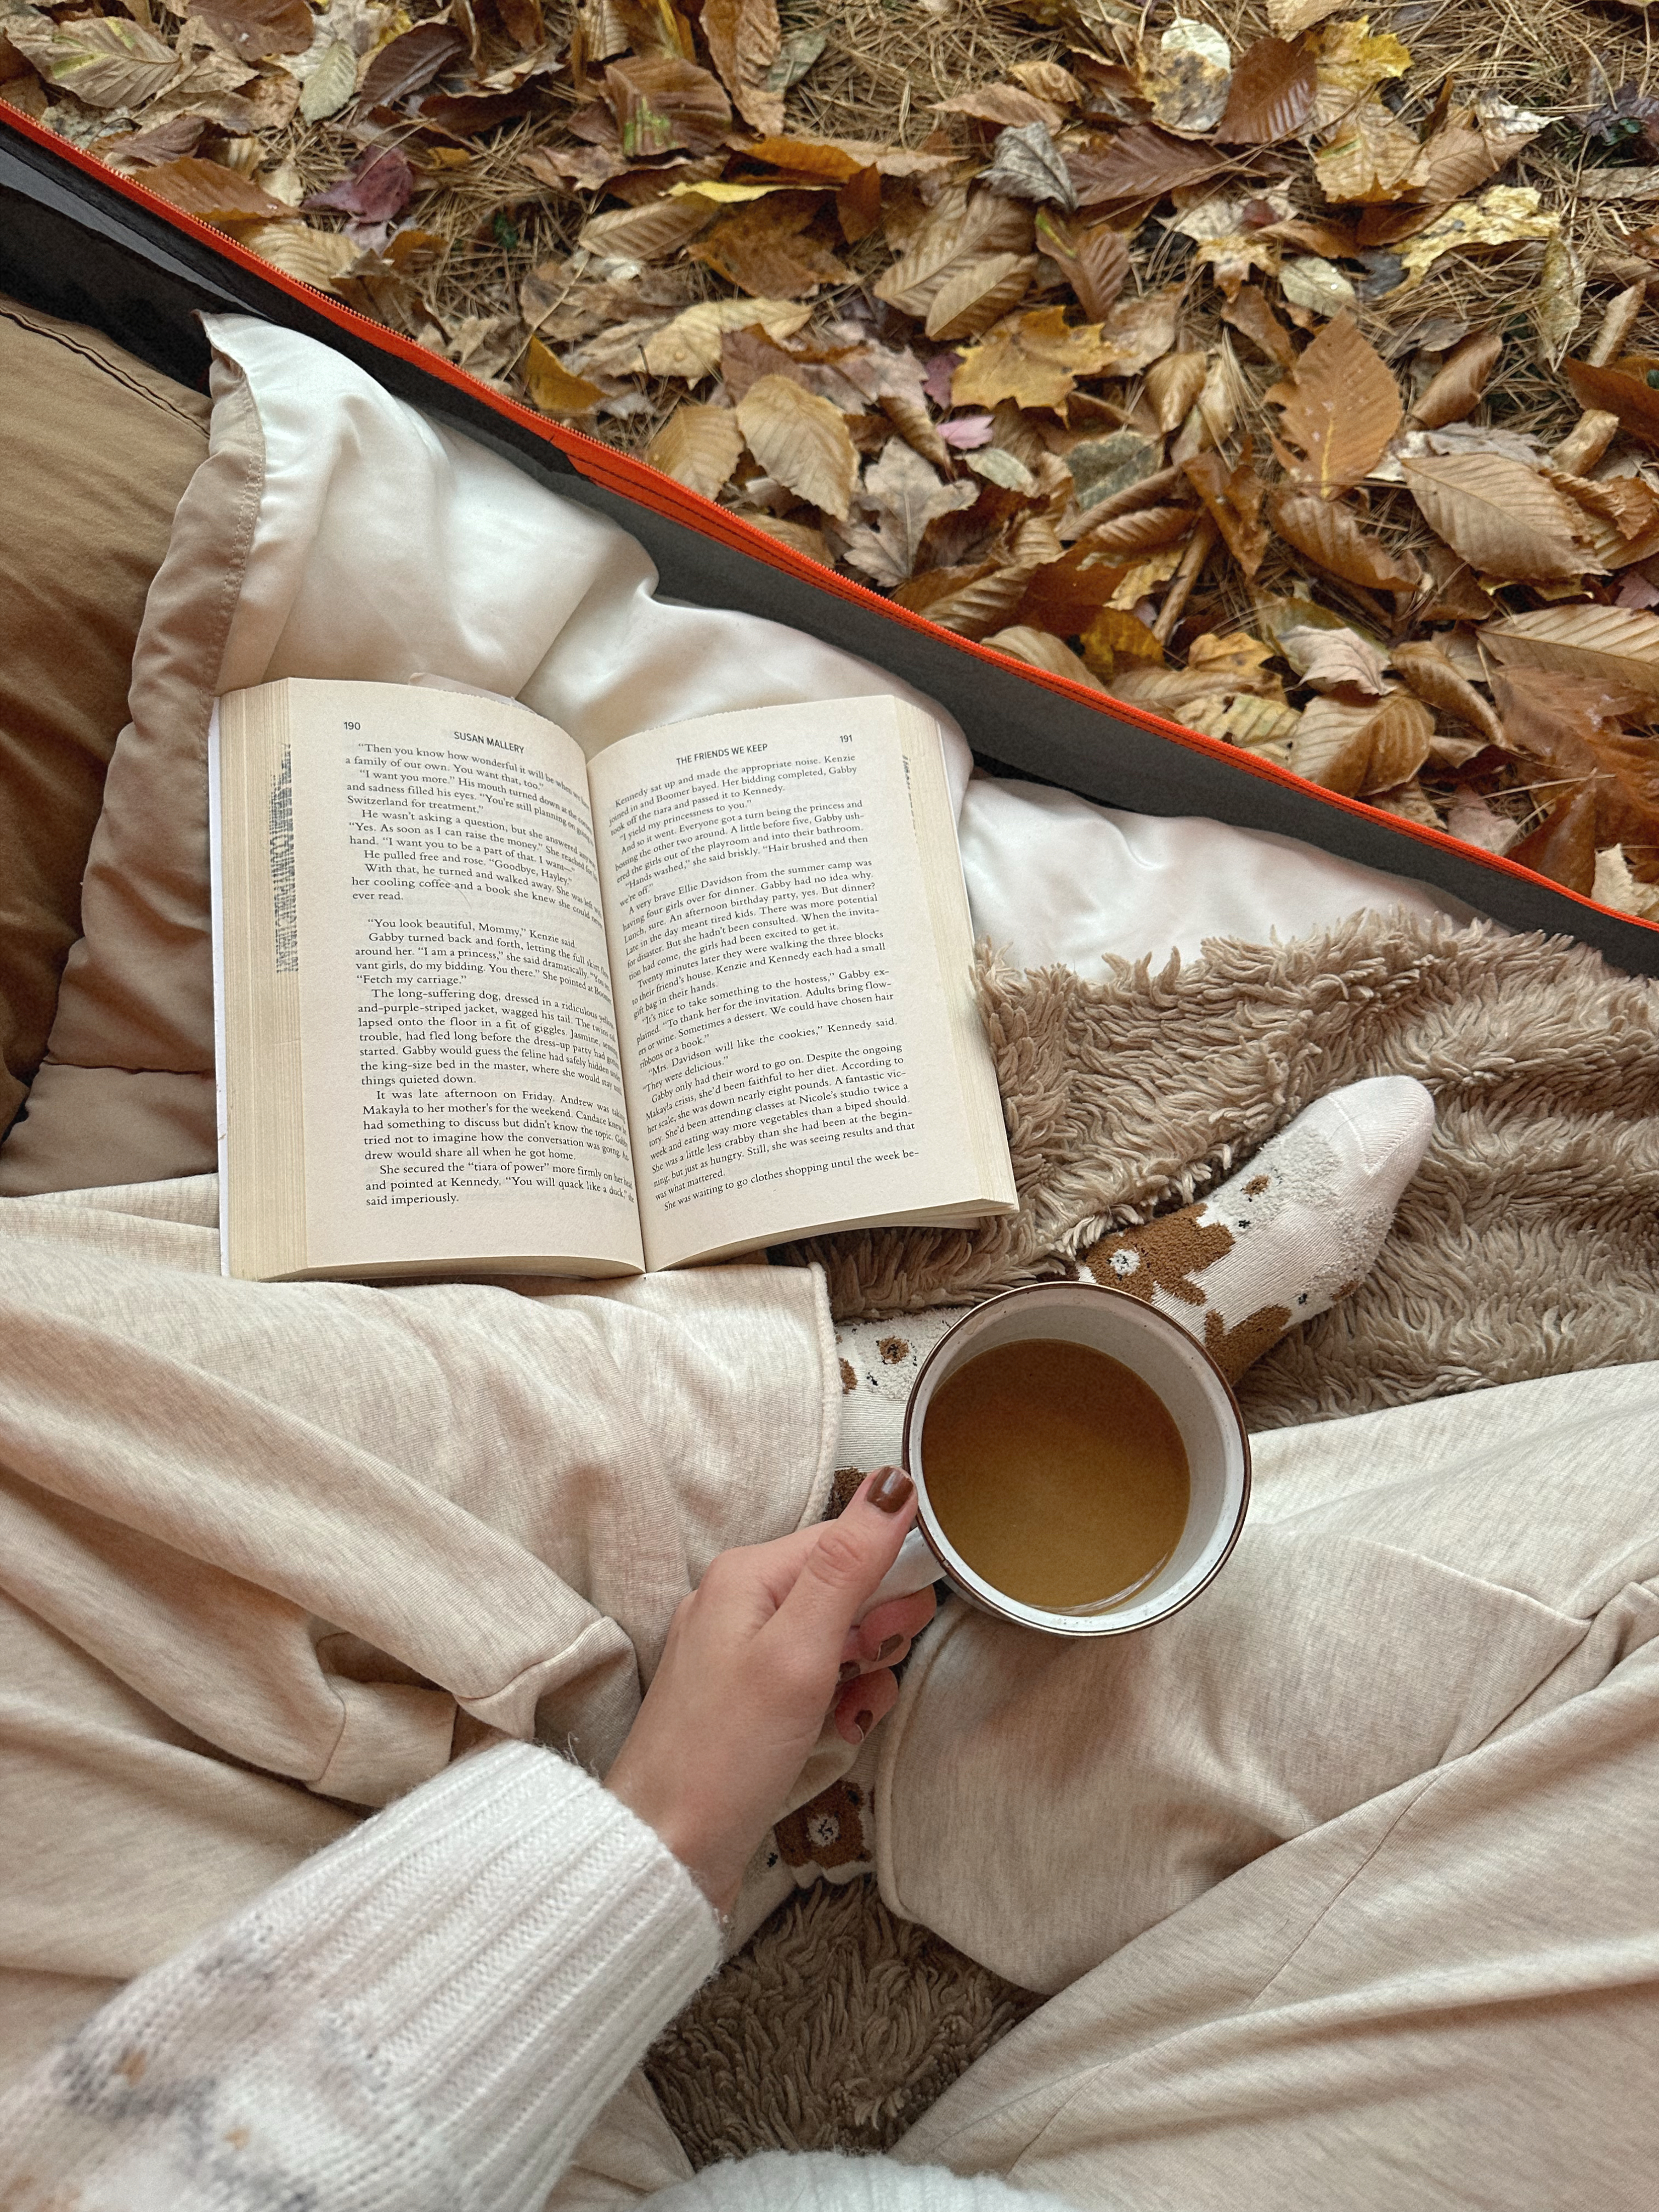
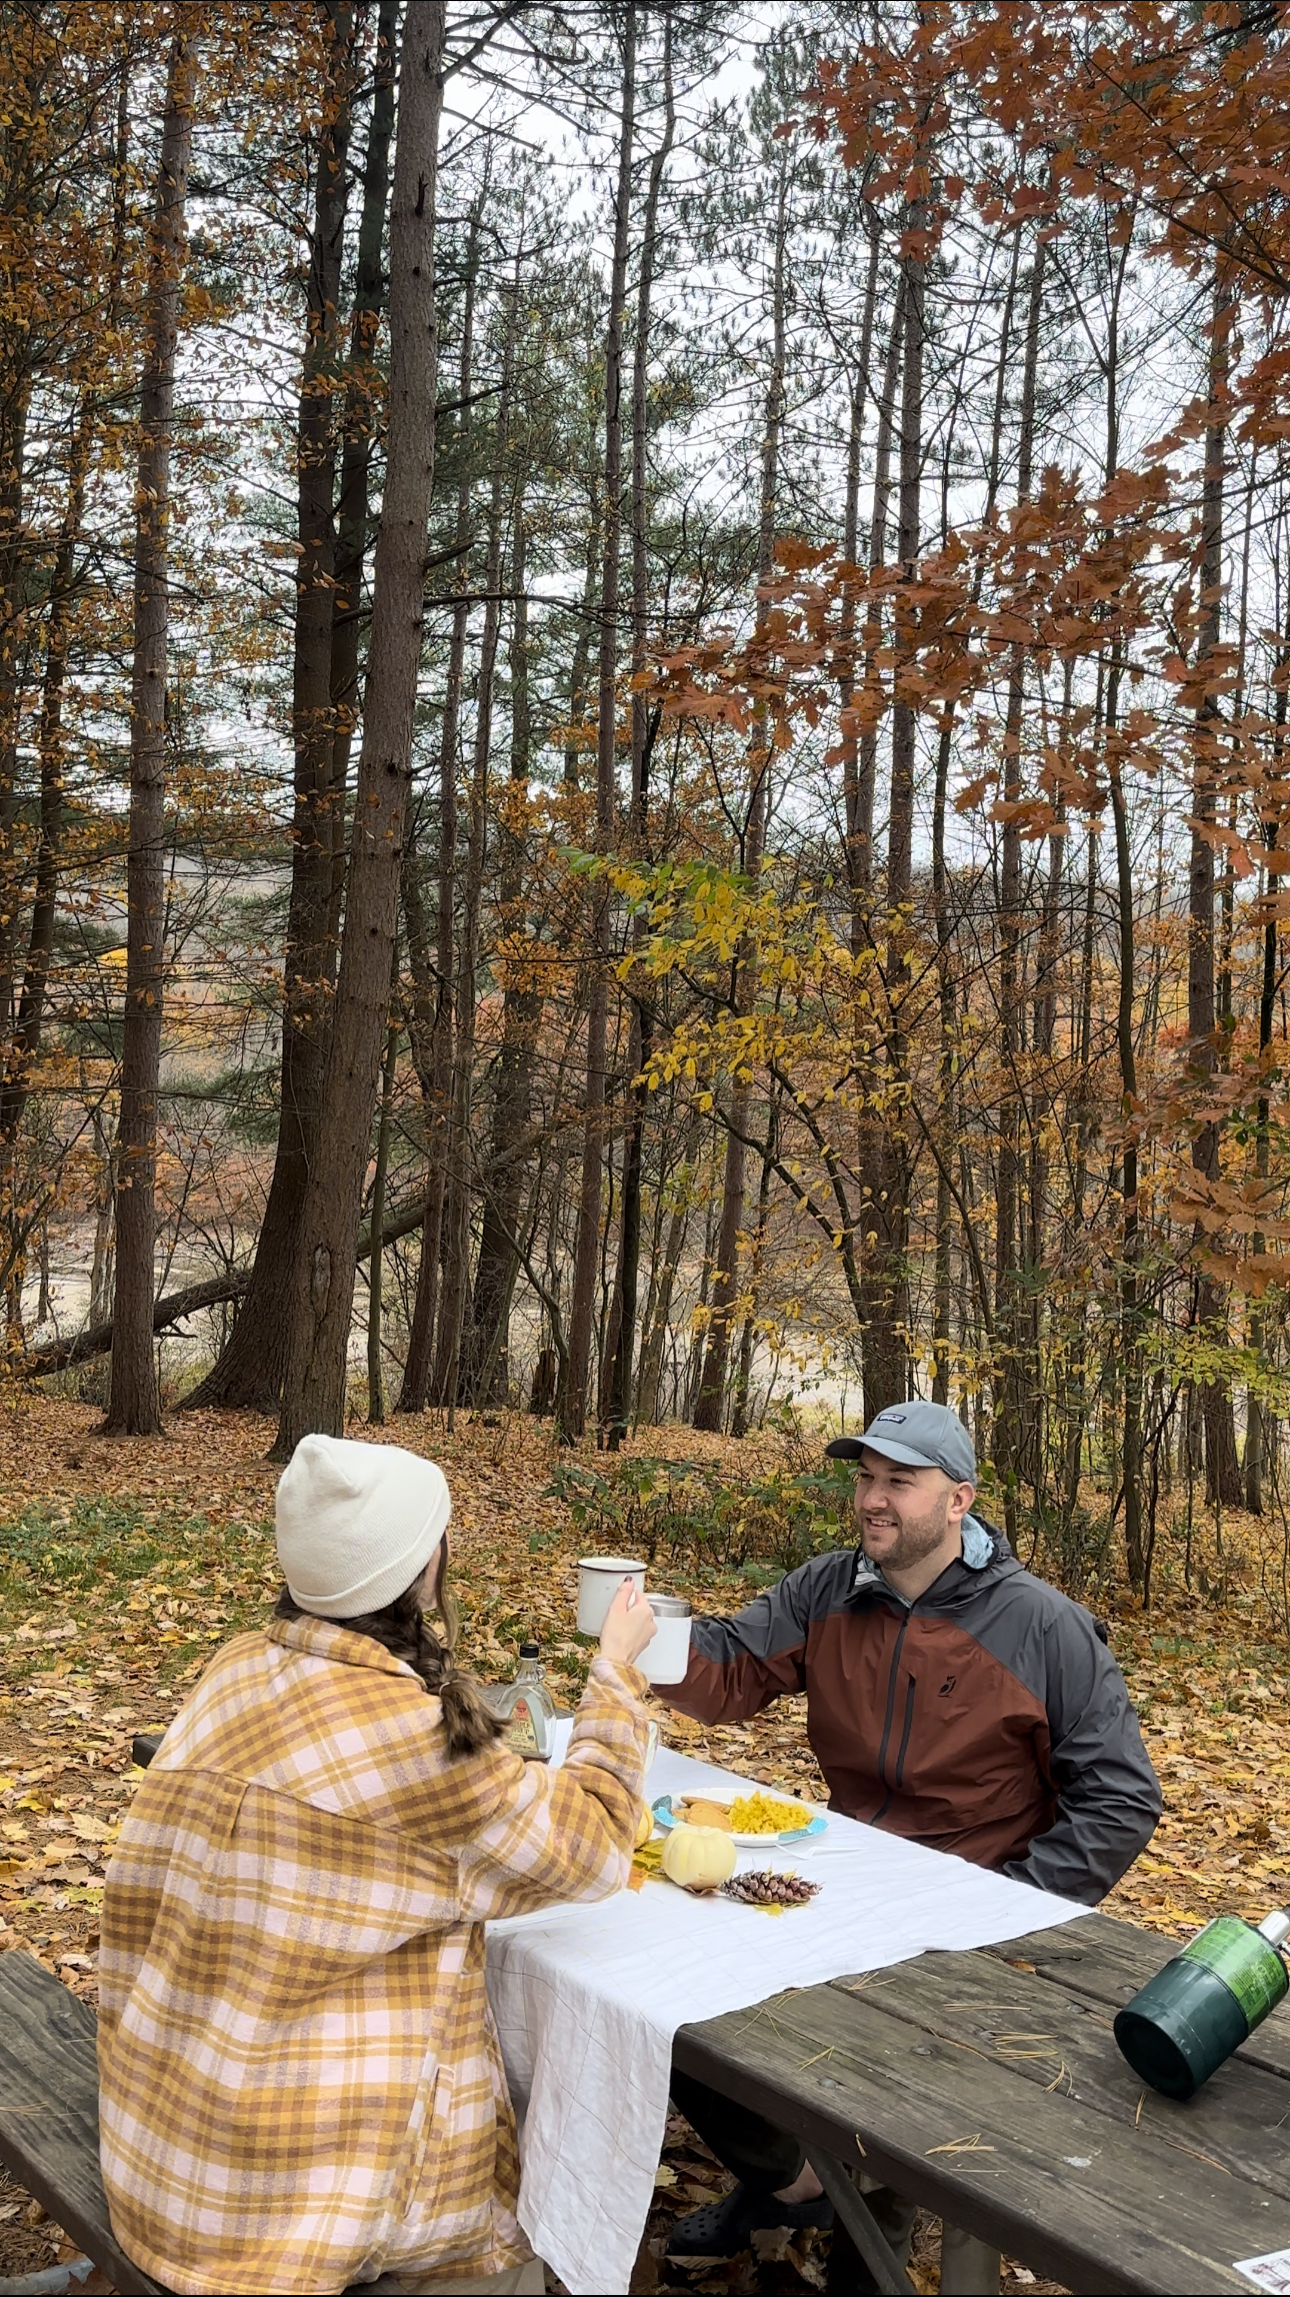
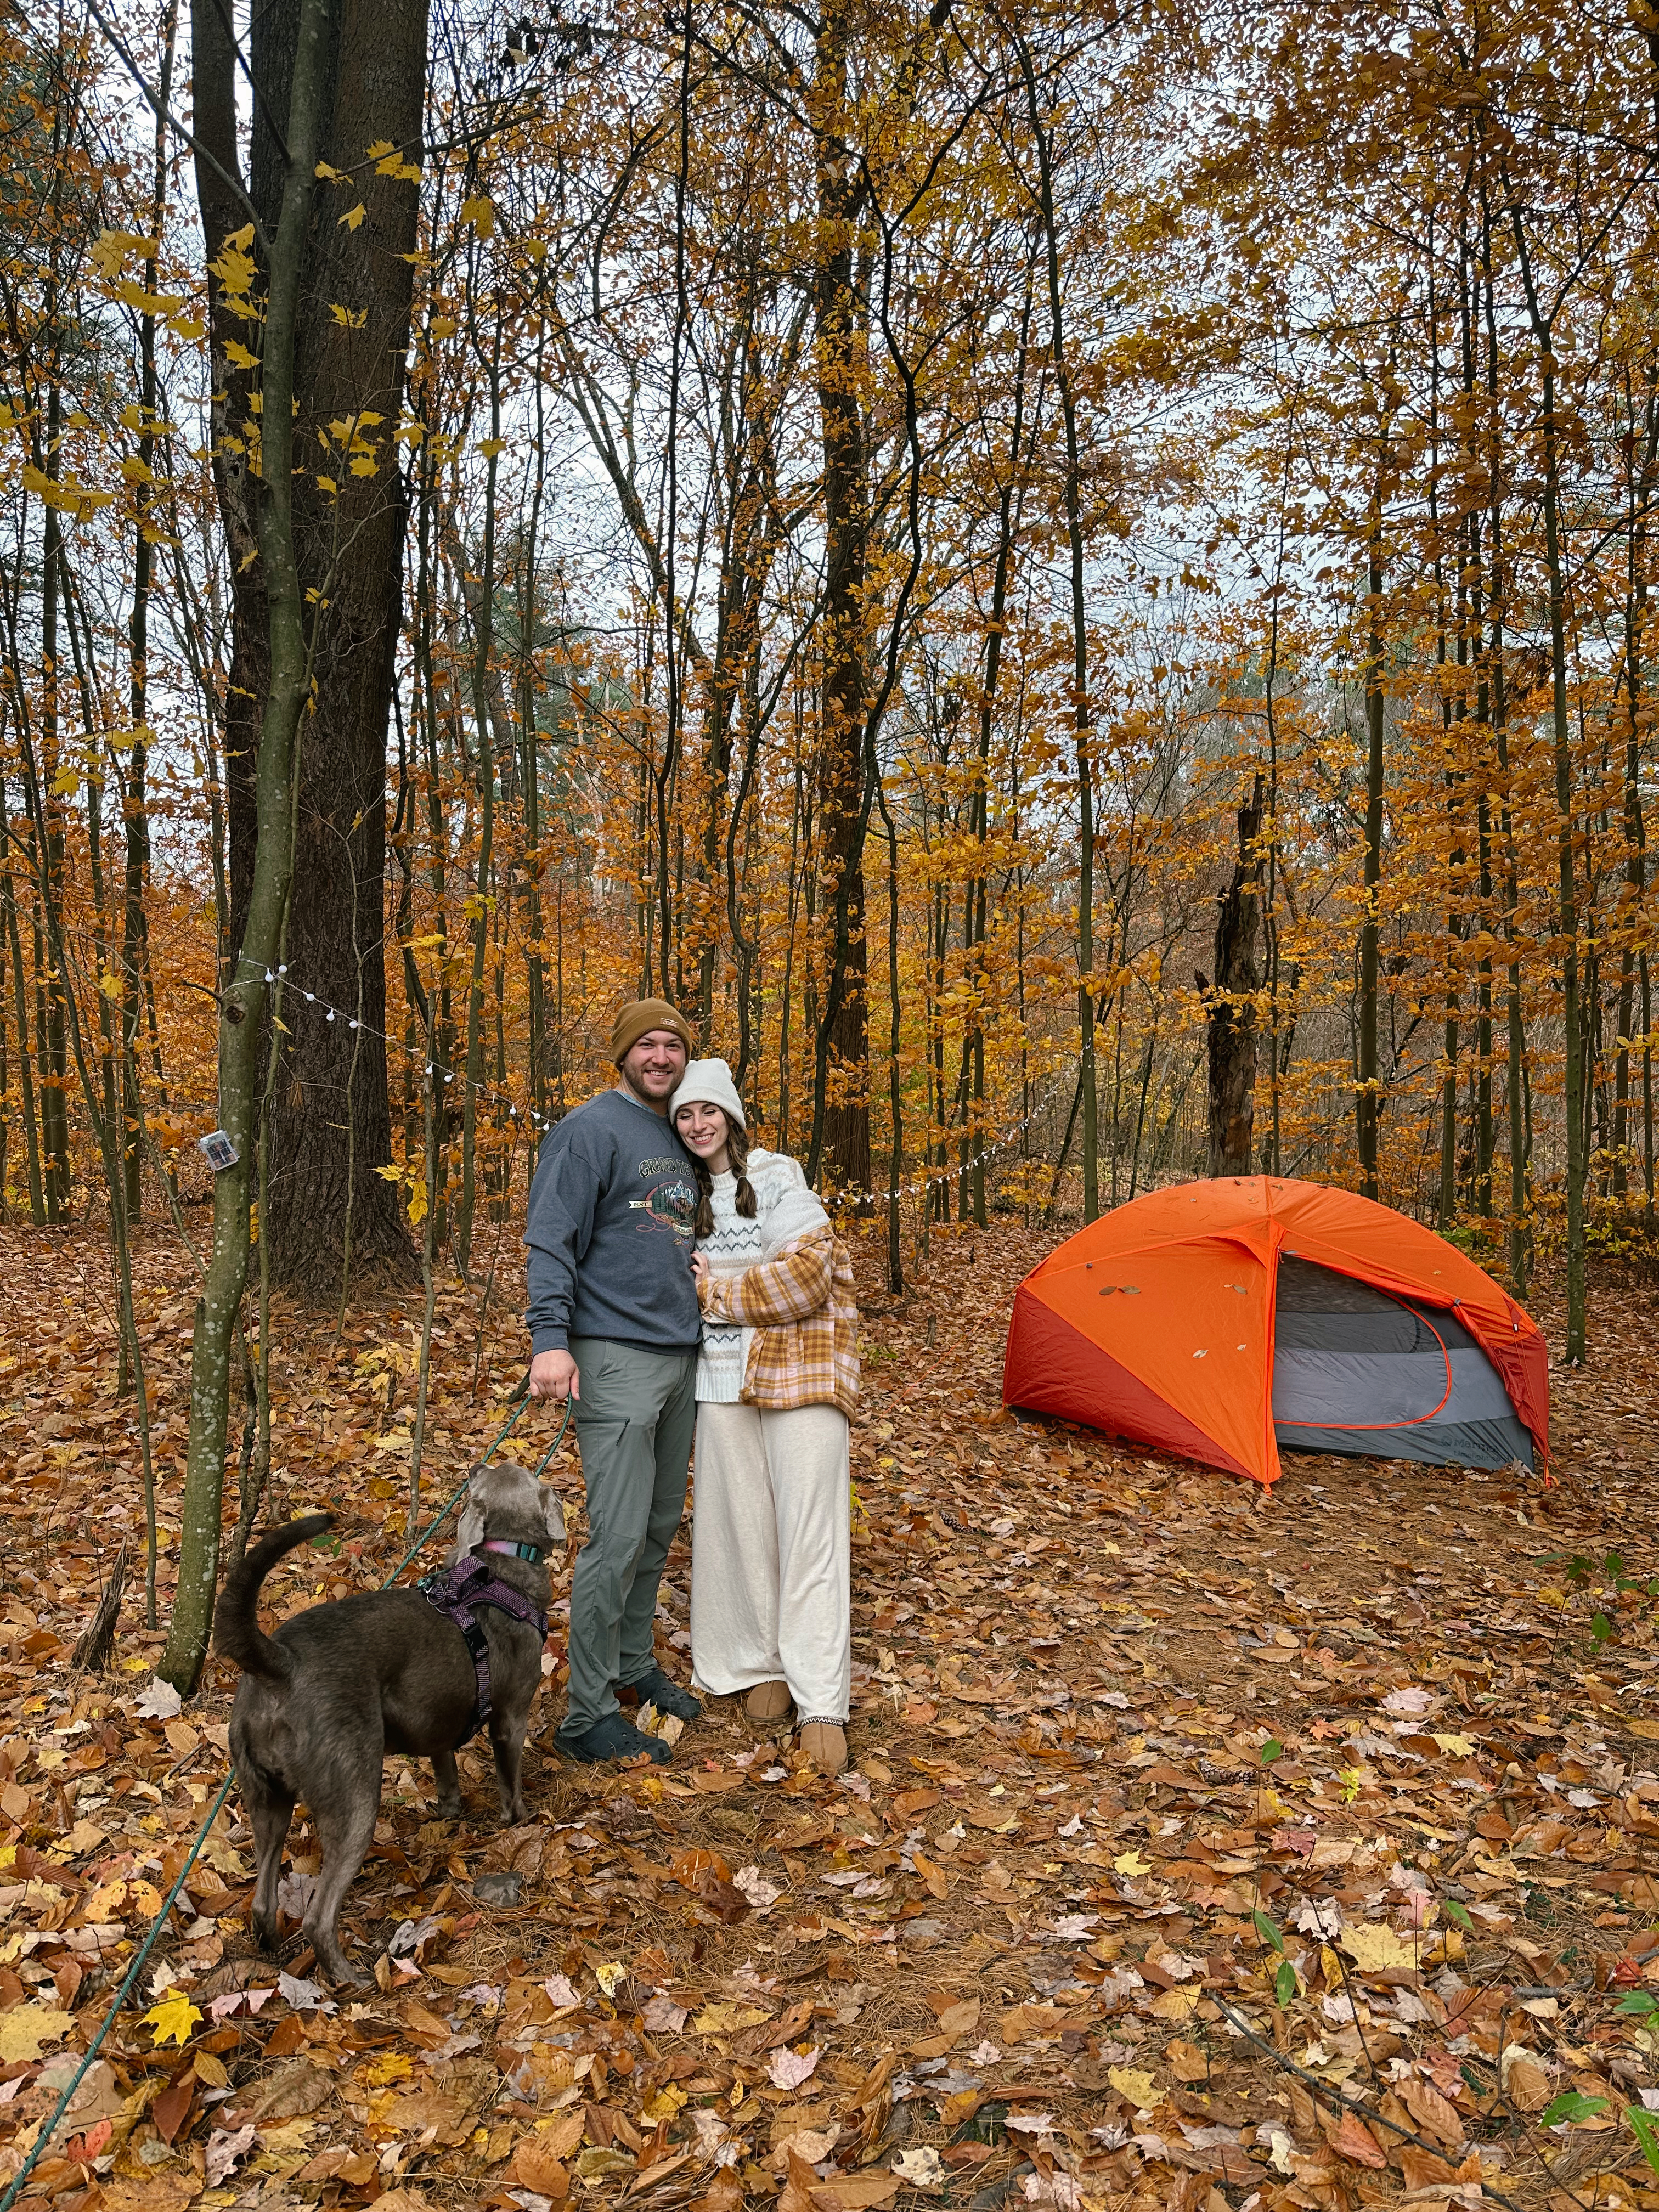
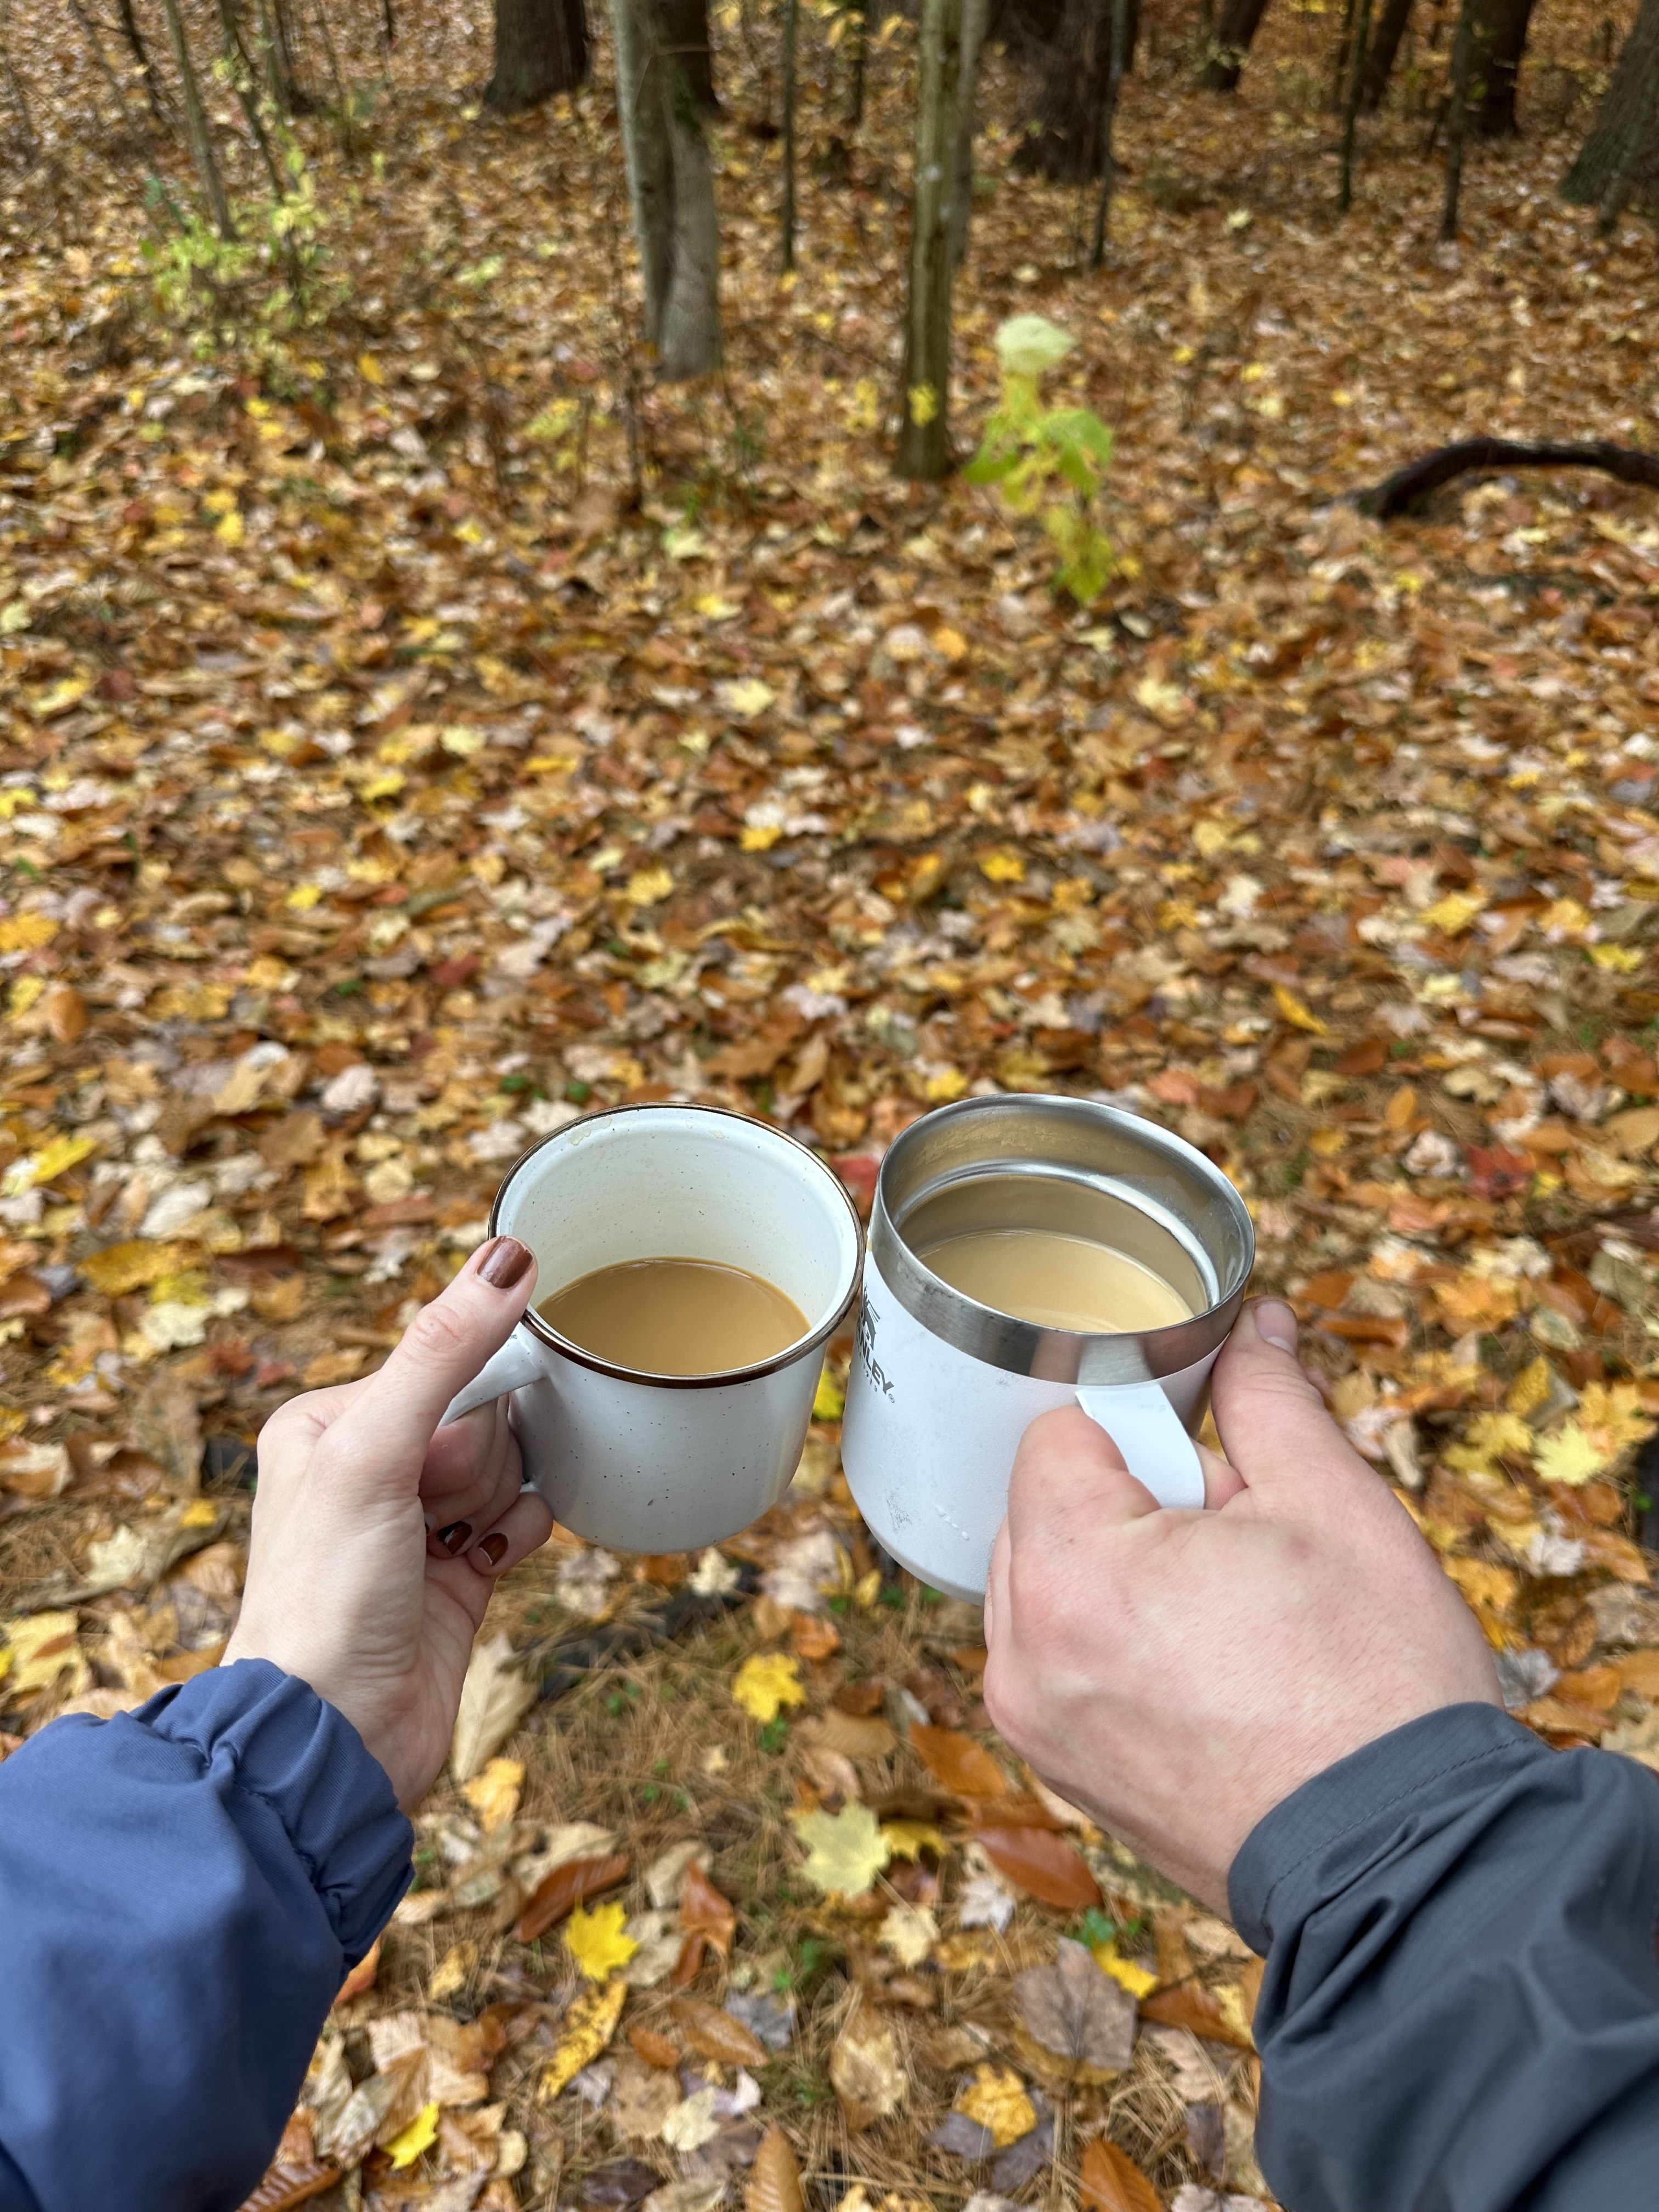
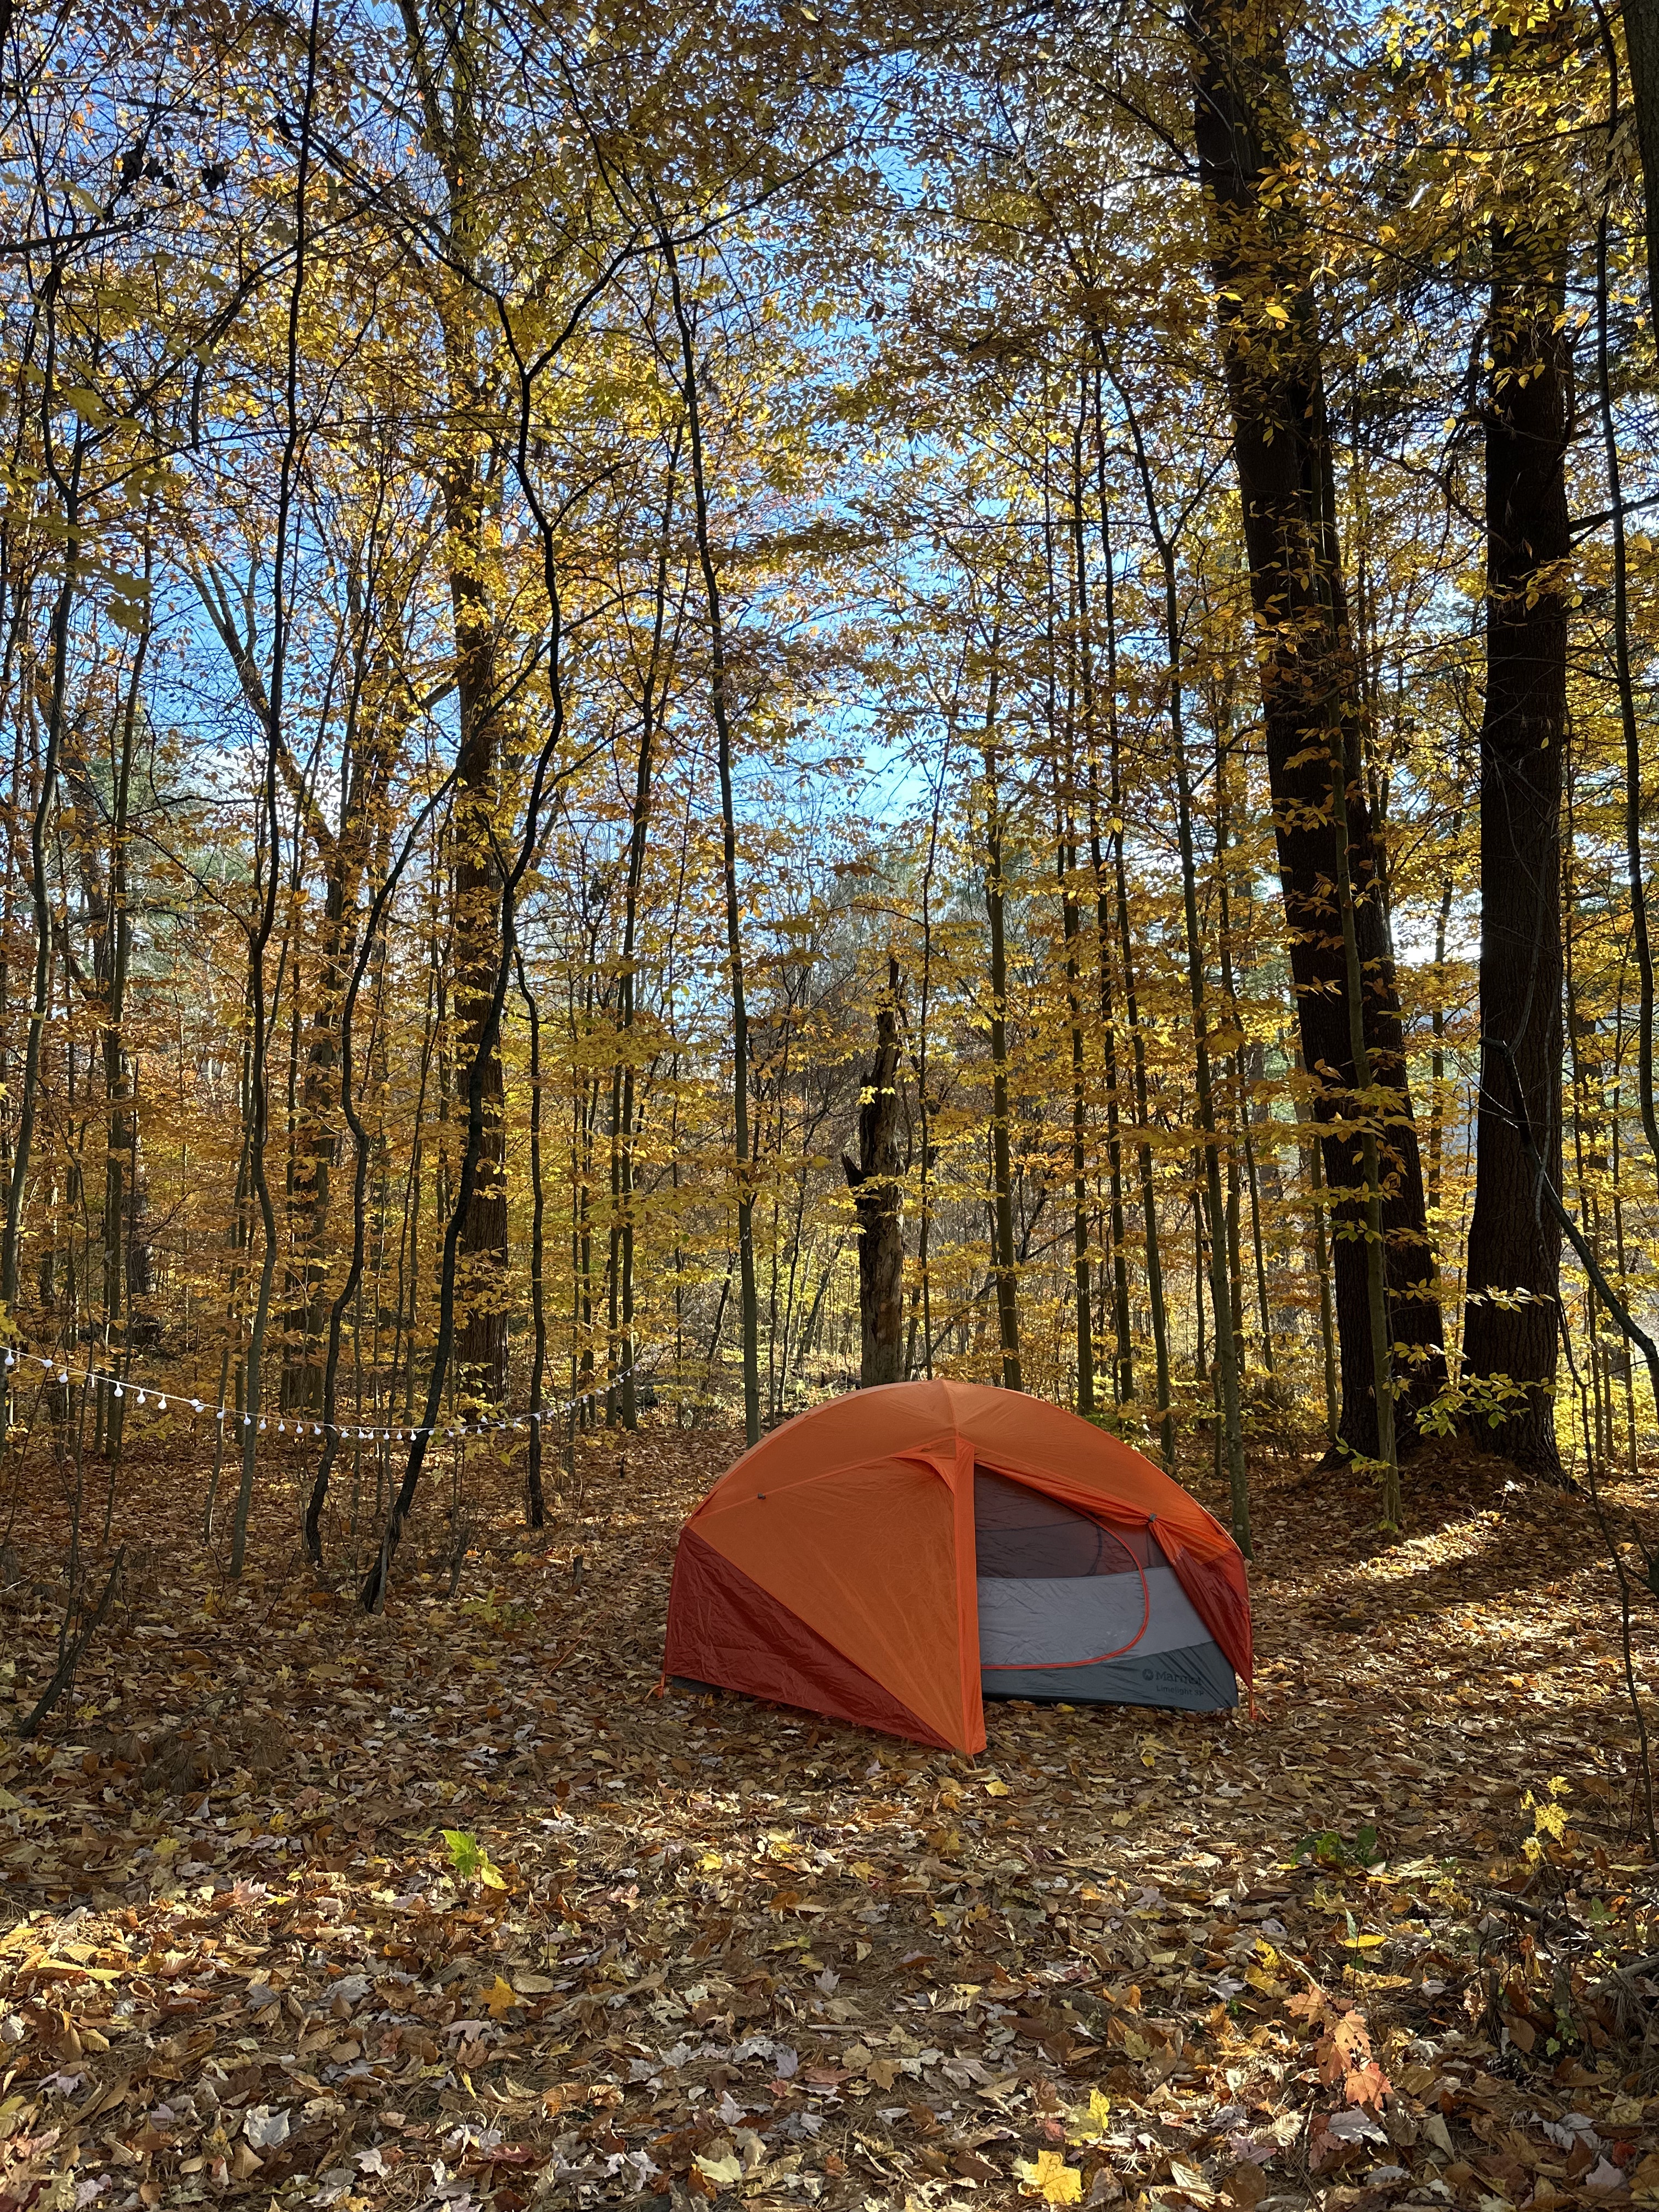
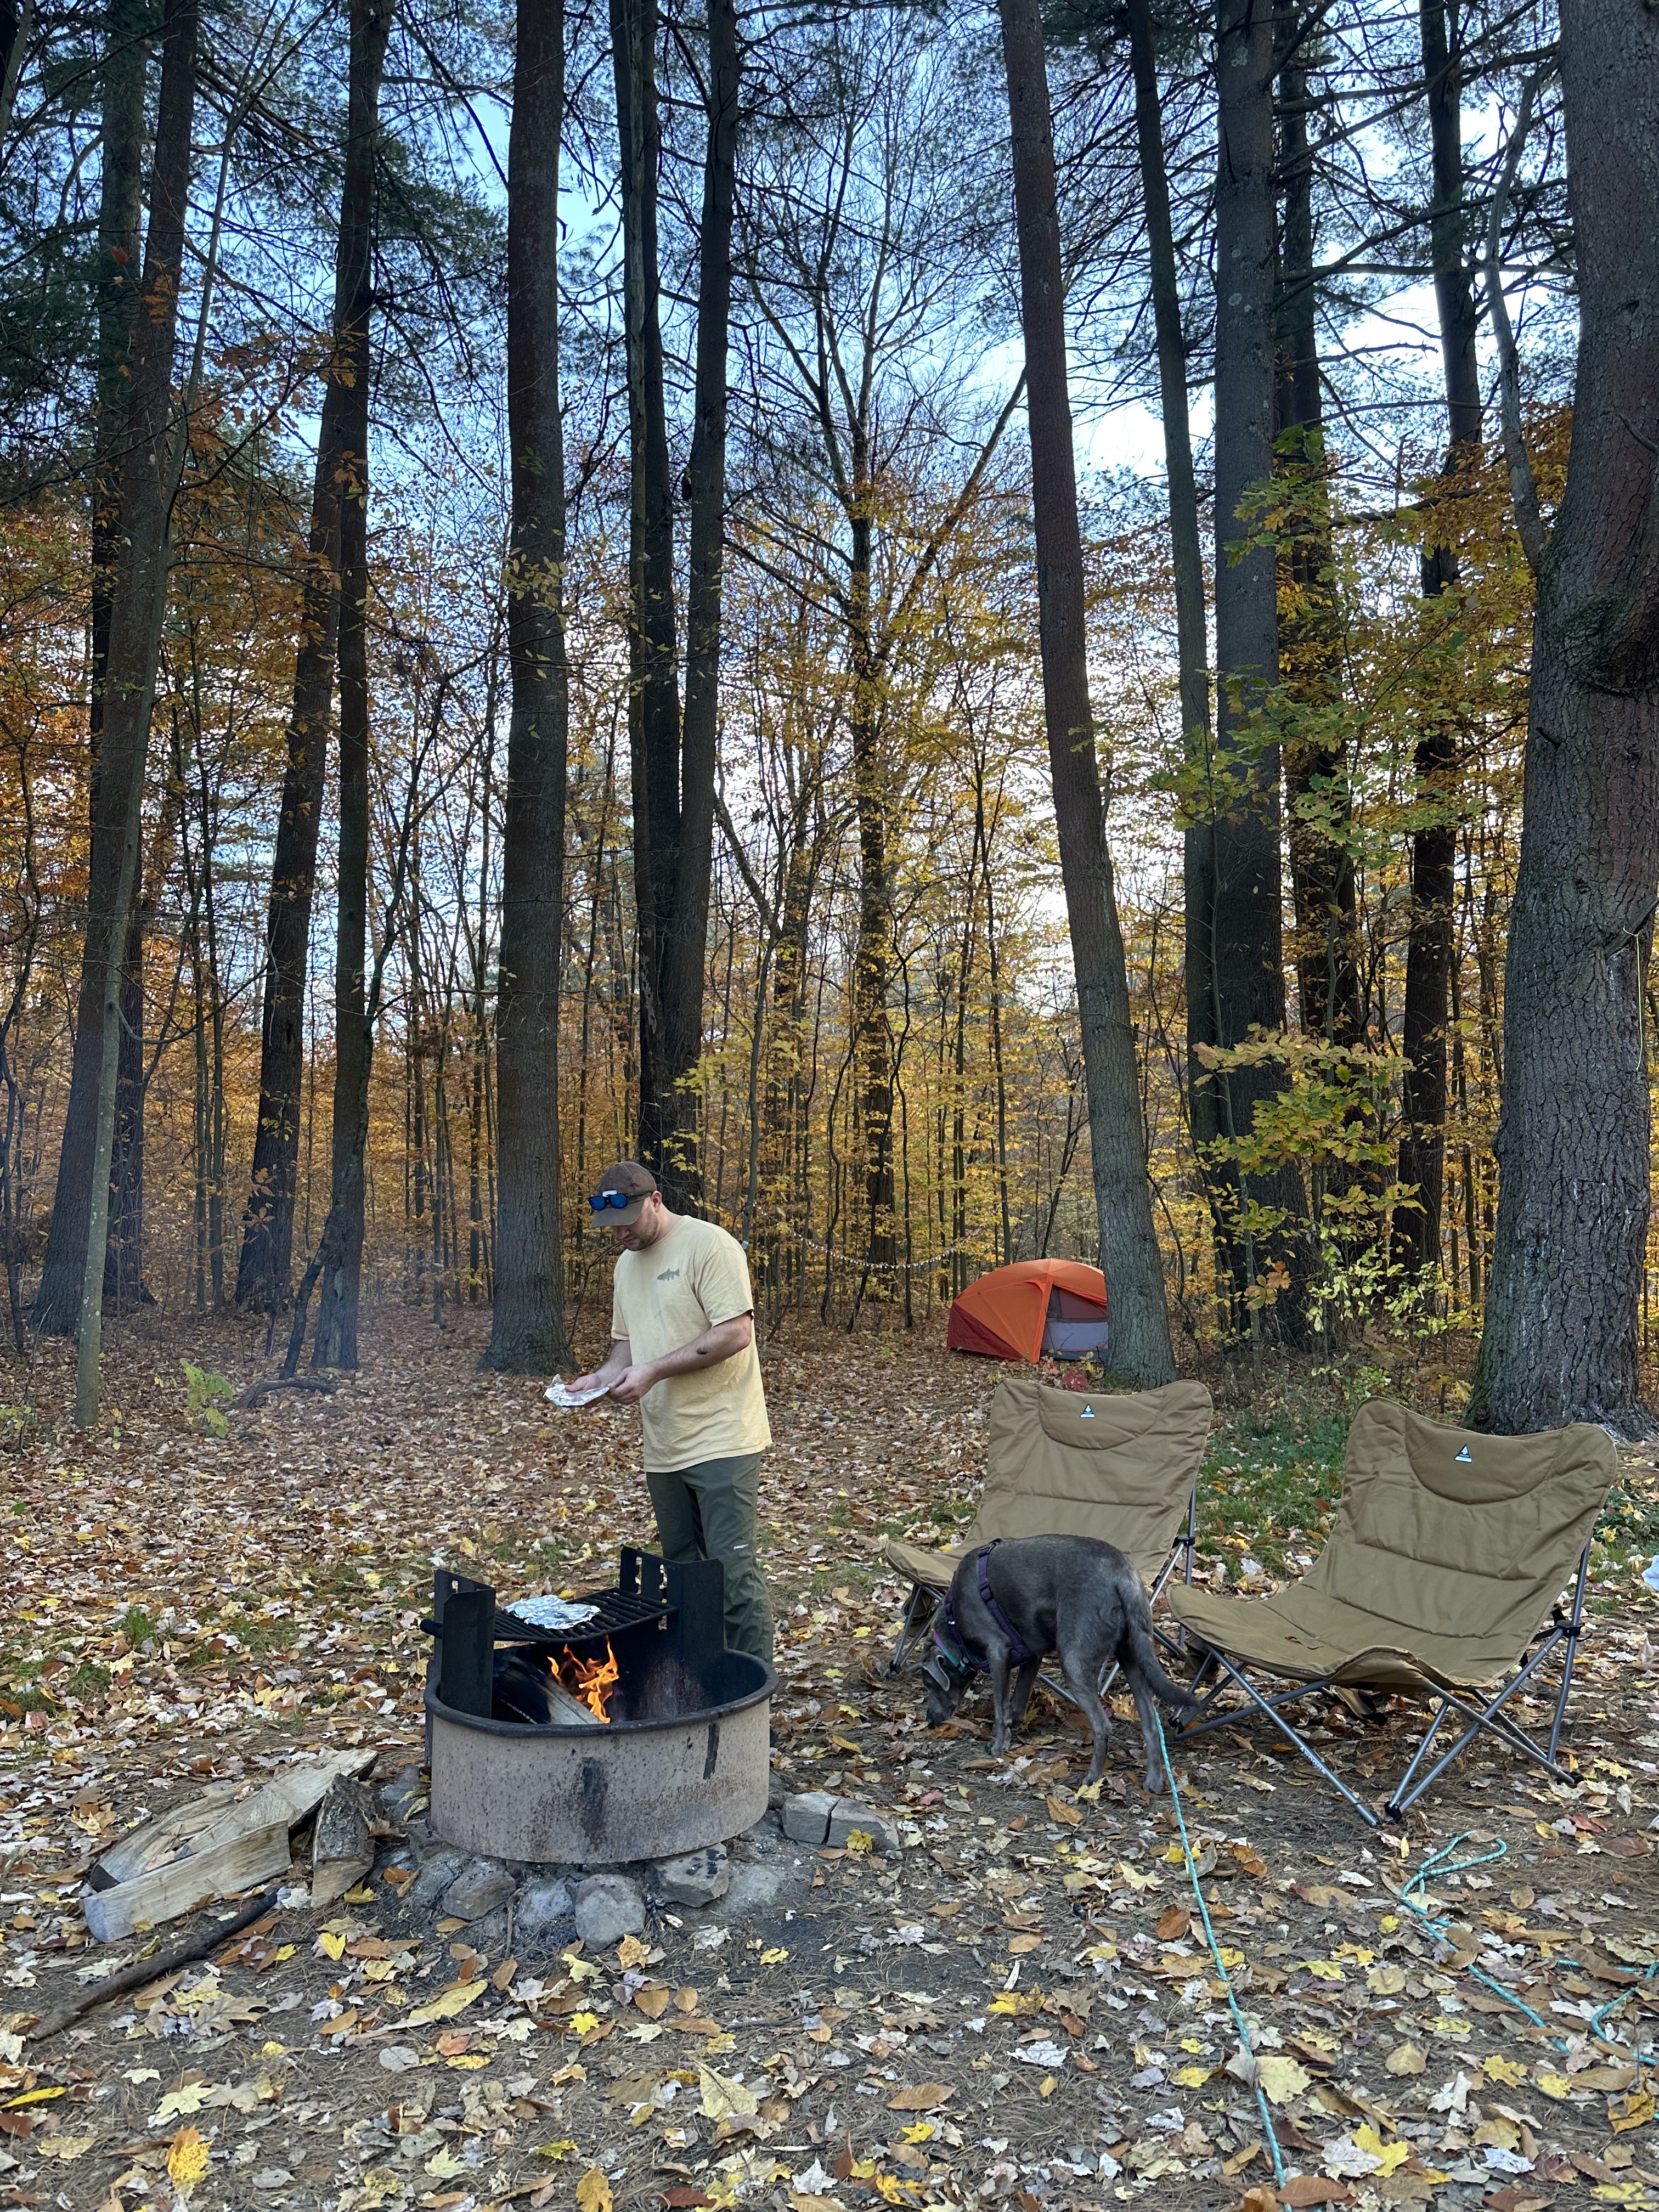
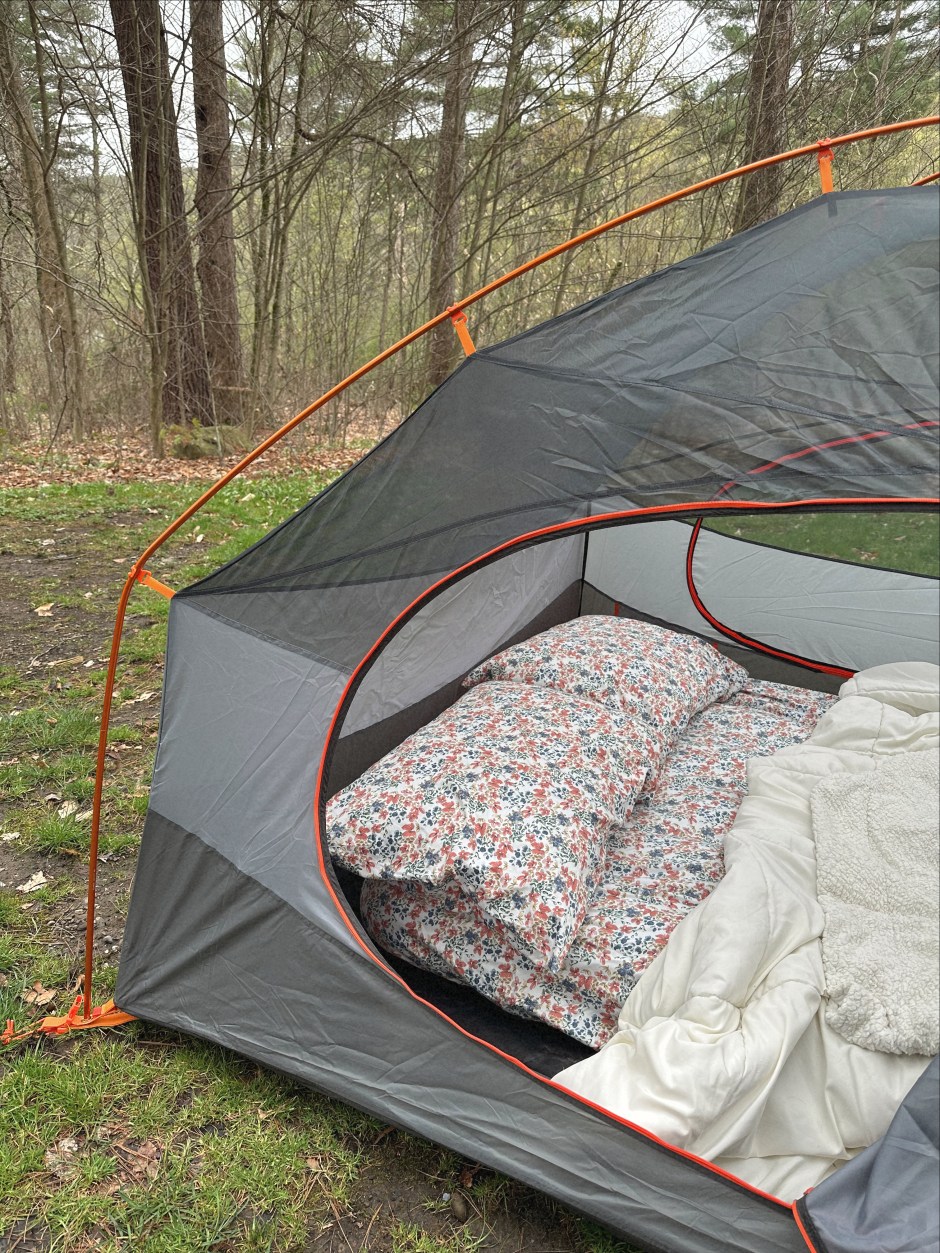
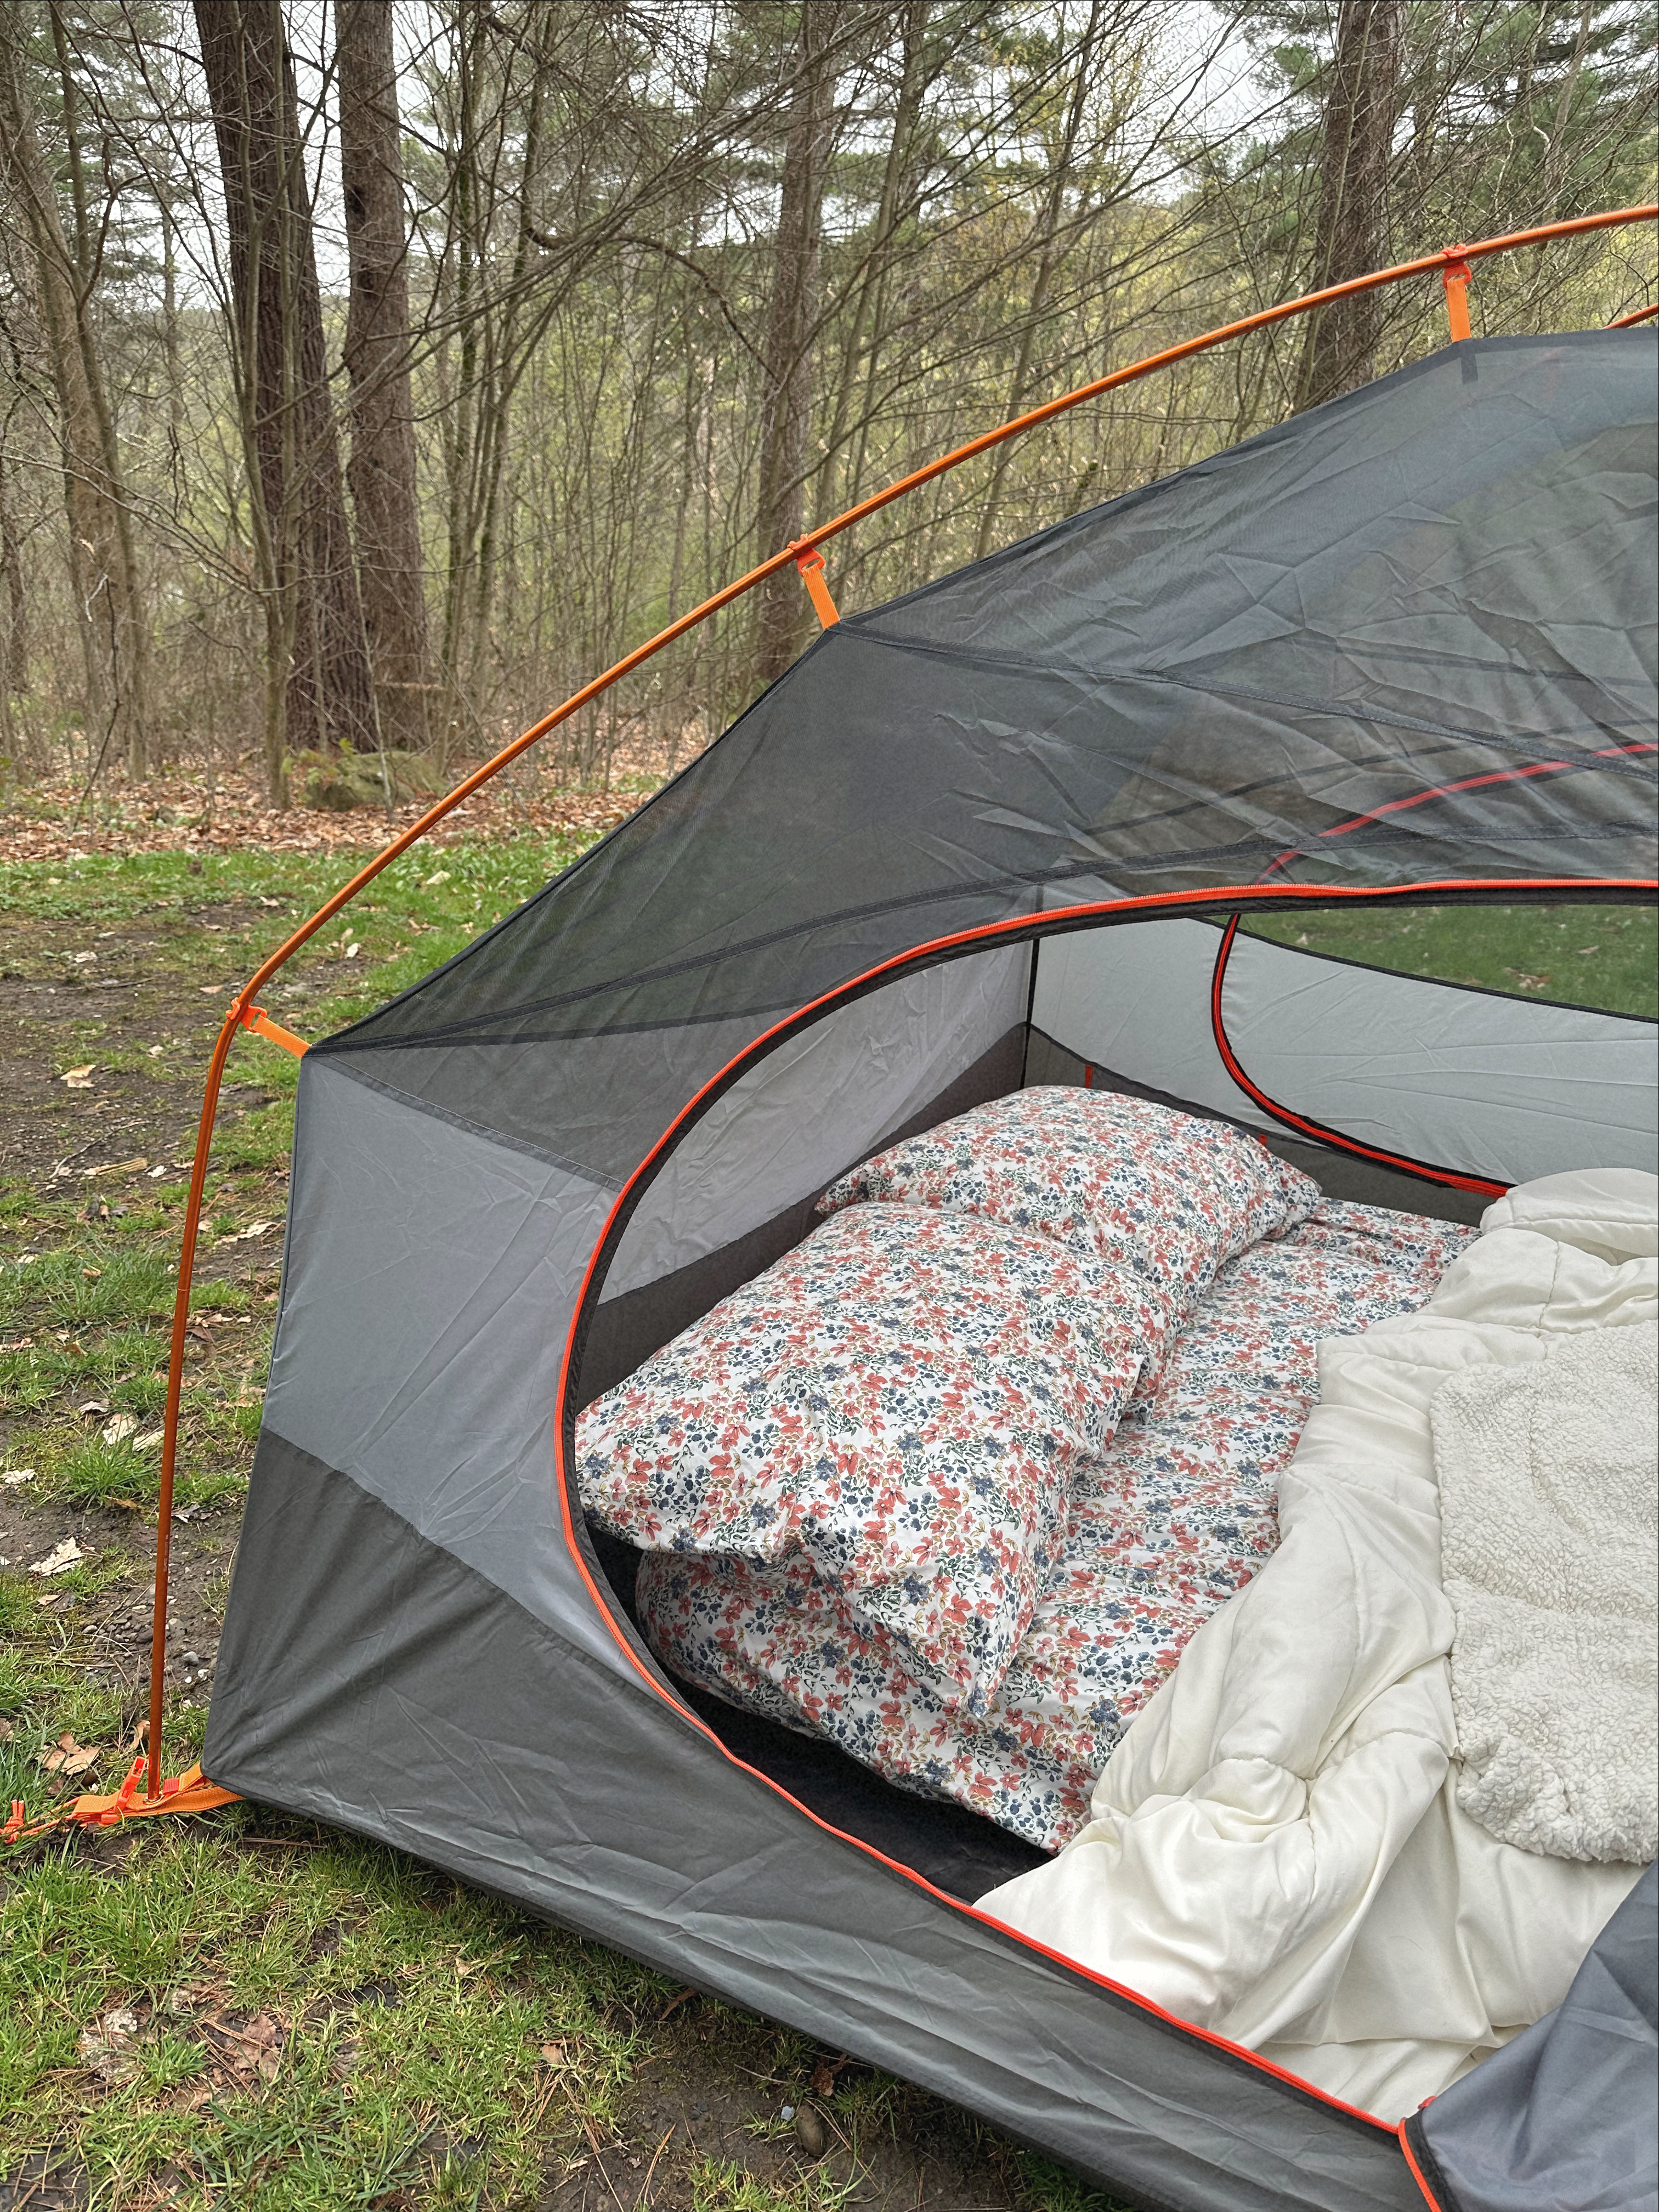
This past weekend, I was able to spend time camping in one of my favorite places, Allegheny National Forest. Patrick and I first visited Allegheny last spring and enjoyed it so much we wanted to experience the forest during the fall season. We stayed at Red Bridge campground again, one of our favorite campgrounds we’ve ever stayed at. This time we were able to reserve a campsite in advance and choose a beautiful spacious spot surrounded by stunning fall foliage. Here’s a list of extra supplies we brought this time to prep for the chillier weather in the fall and to make the experience more cozy:
Fall Camping Tips & Cozy Supply to Pack
Tips:
Check the weather. Fall camping usually brings cooler temps at night and rain depending on where you’re located. While we were in Allegheny it did rain for most of the trip.
Pack lots of layers. There’s nothing worse then being cold and wet. Packing extra layers will provide options and extra warmth on the chilly nights.
Be flexible with plans. During our camp visit, it rained majority of the time which was challenging! Being able to make the most of the trip despite the weather is a must.
Reserve a camping spot in advance. If possible, it’s always reassuring to have a camp site reserved, especially in the fall season. Most seasonal campgrounds are only open through October so it’s usually more popular during the fall months depending on the location.
Supplies to pack for fall camping & for a cozy vibe while camping:
Tent with rain cover
Awning or area to cover from rain so cooking is accessible
Lights (string or lanterns) to help when it gets darker earlier
Comforter or extra blankets for sleeping
Supplies for hot beverages
Layers of clothing
Comfy camp chairs
Table cloth for picnic table
Cozy shoes and socks to wear around camp
Waffle maker for breakfast
Although some of these supplies aren’t necessary, it definitely made for a cozier experience while camping in the fall season.
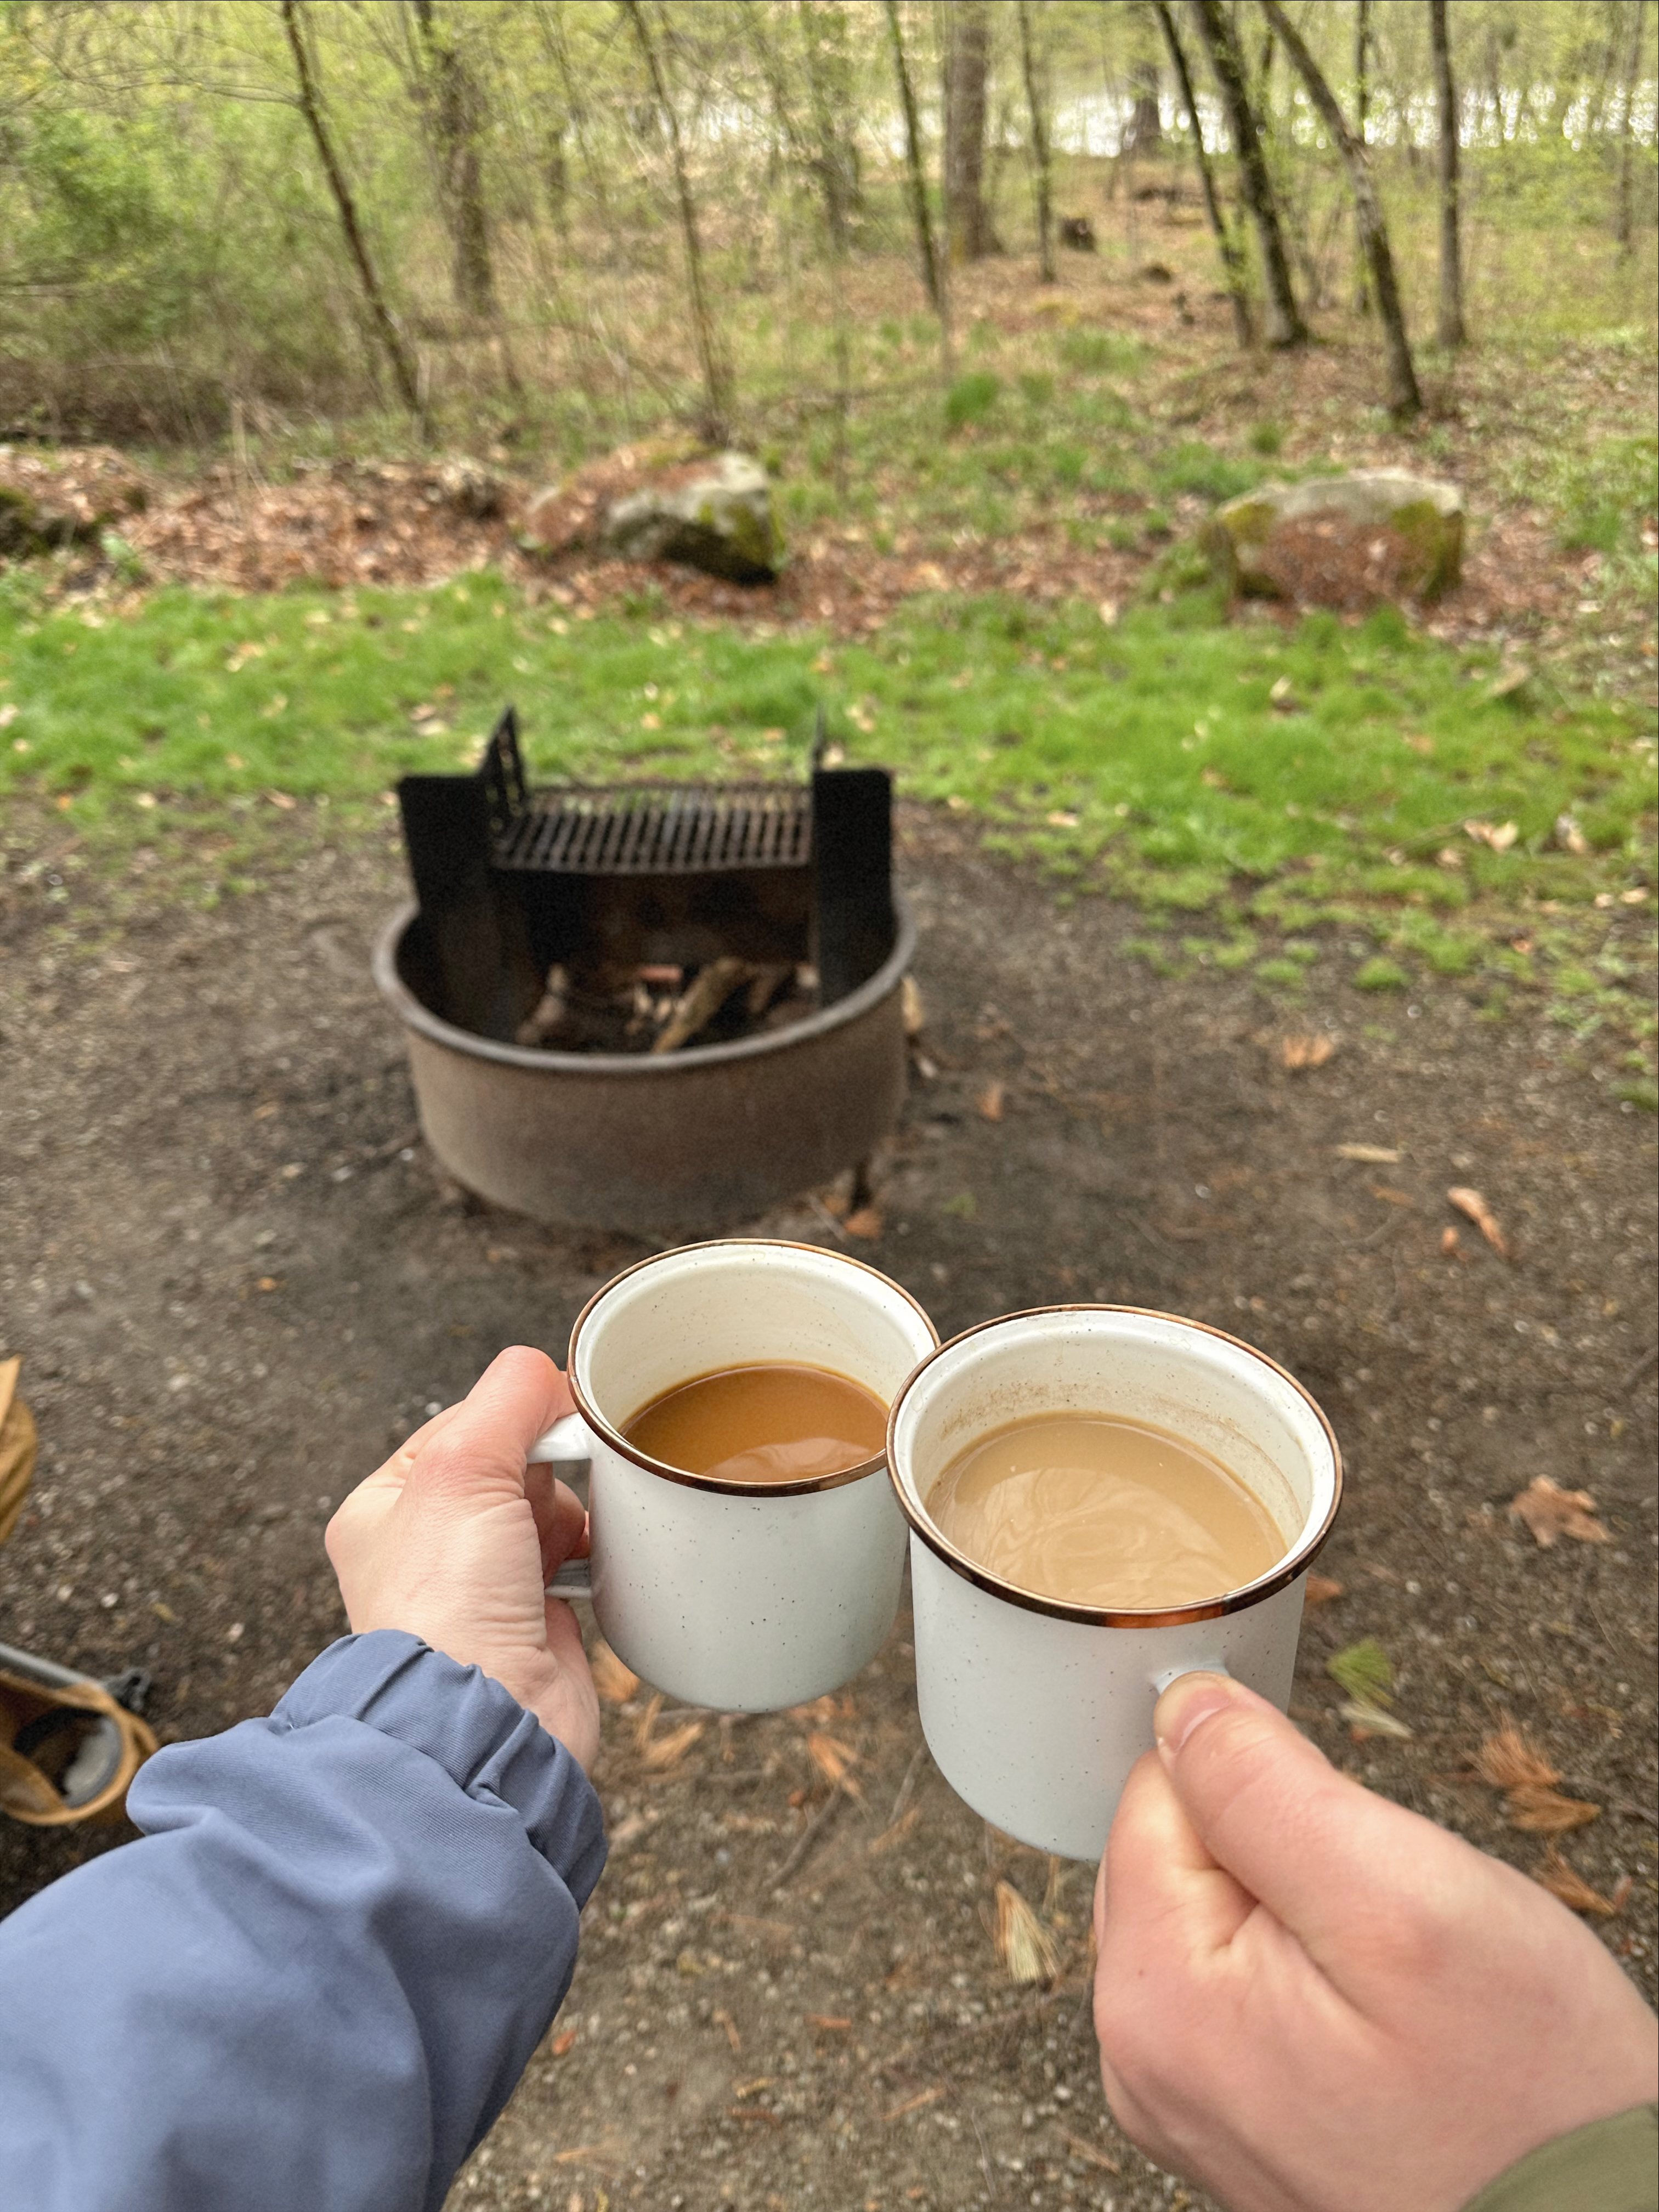
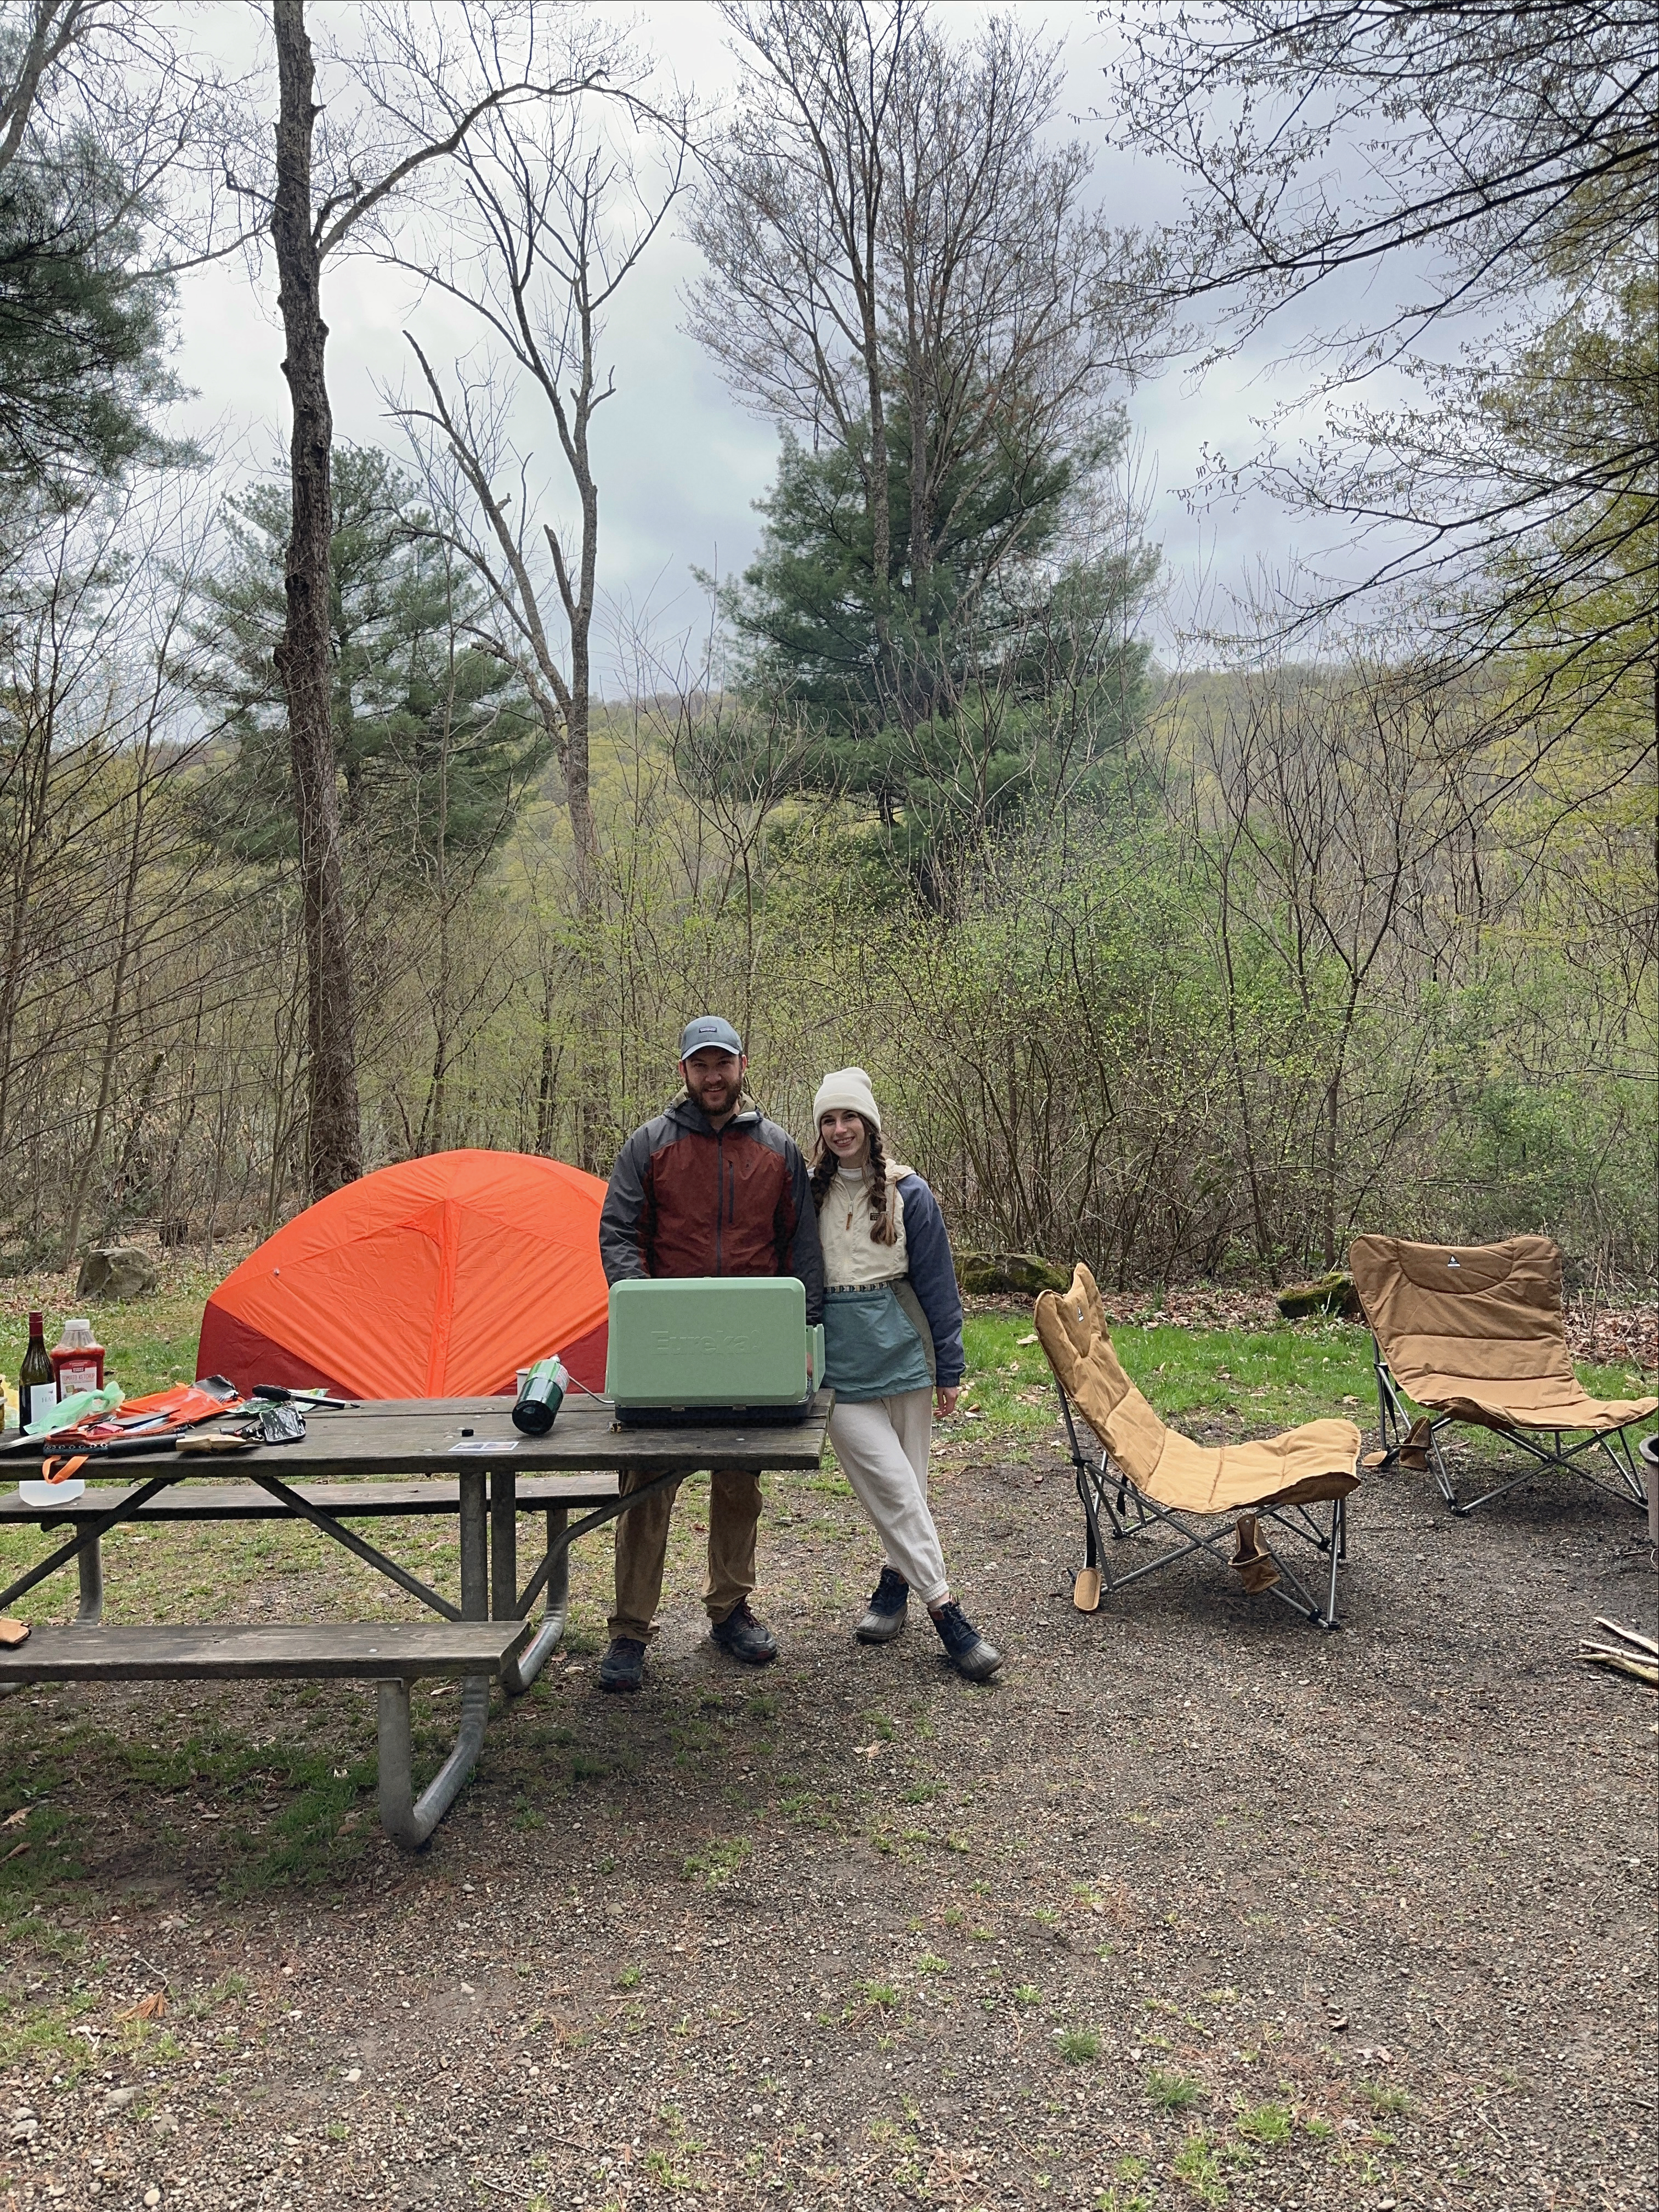
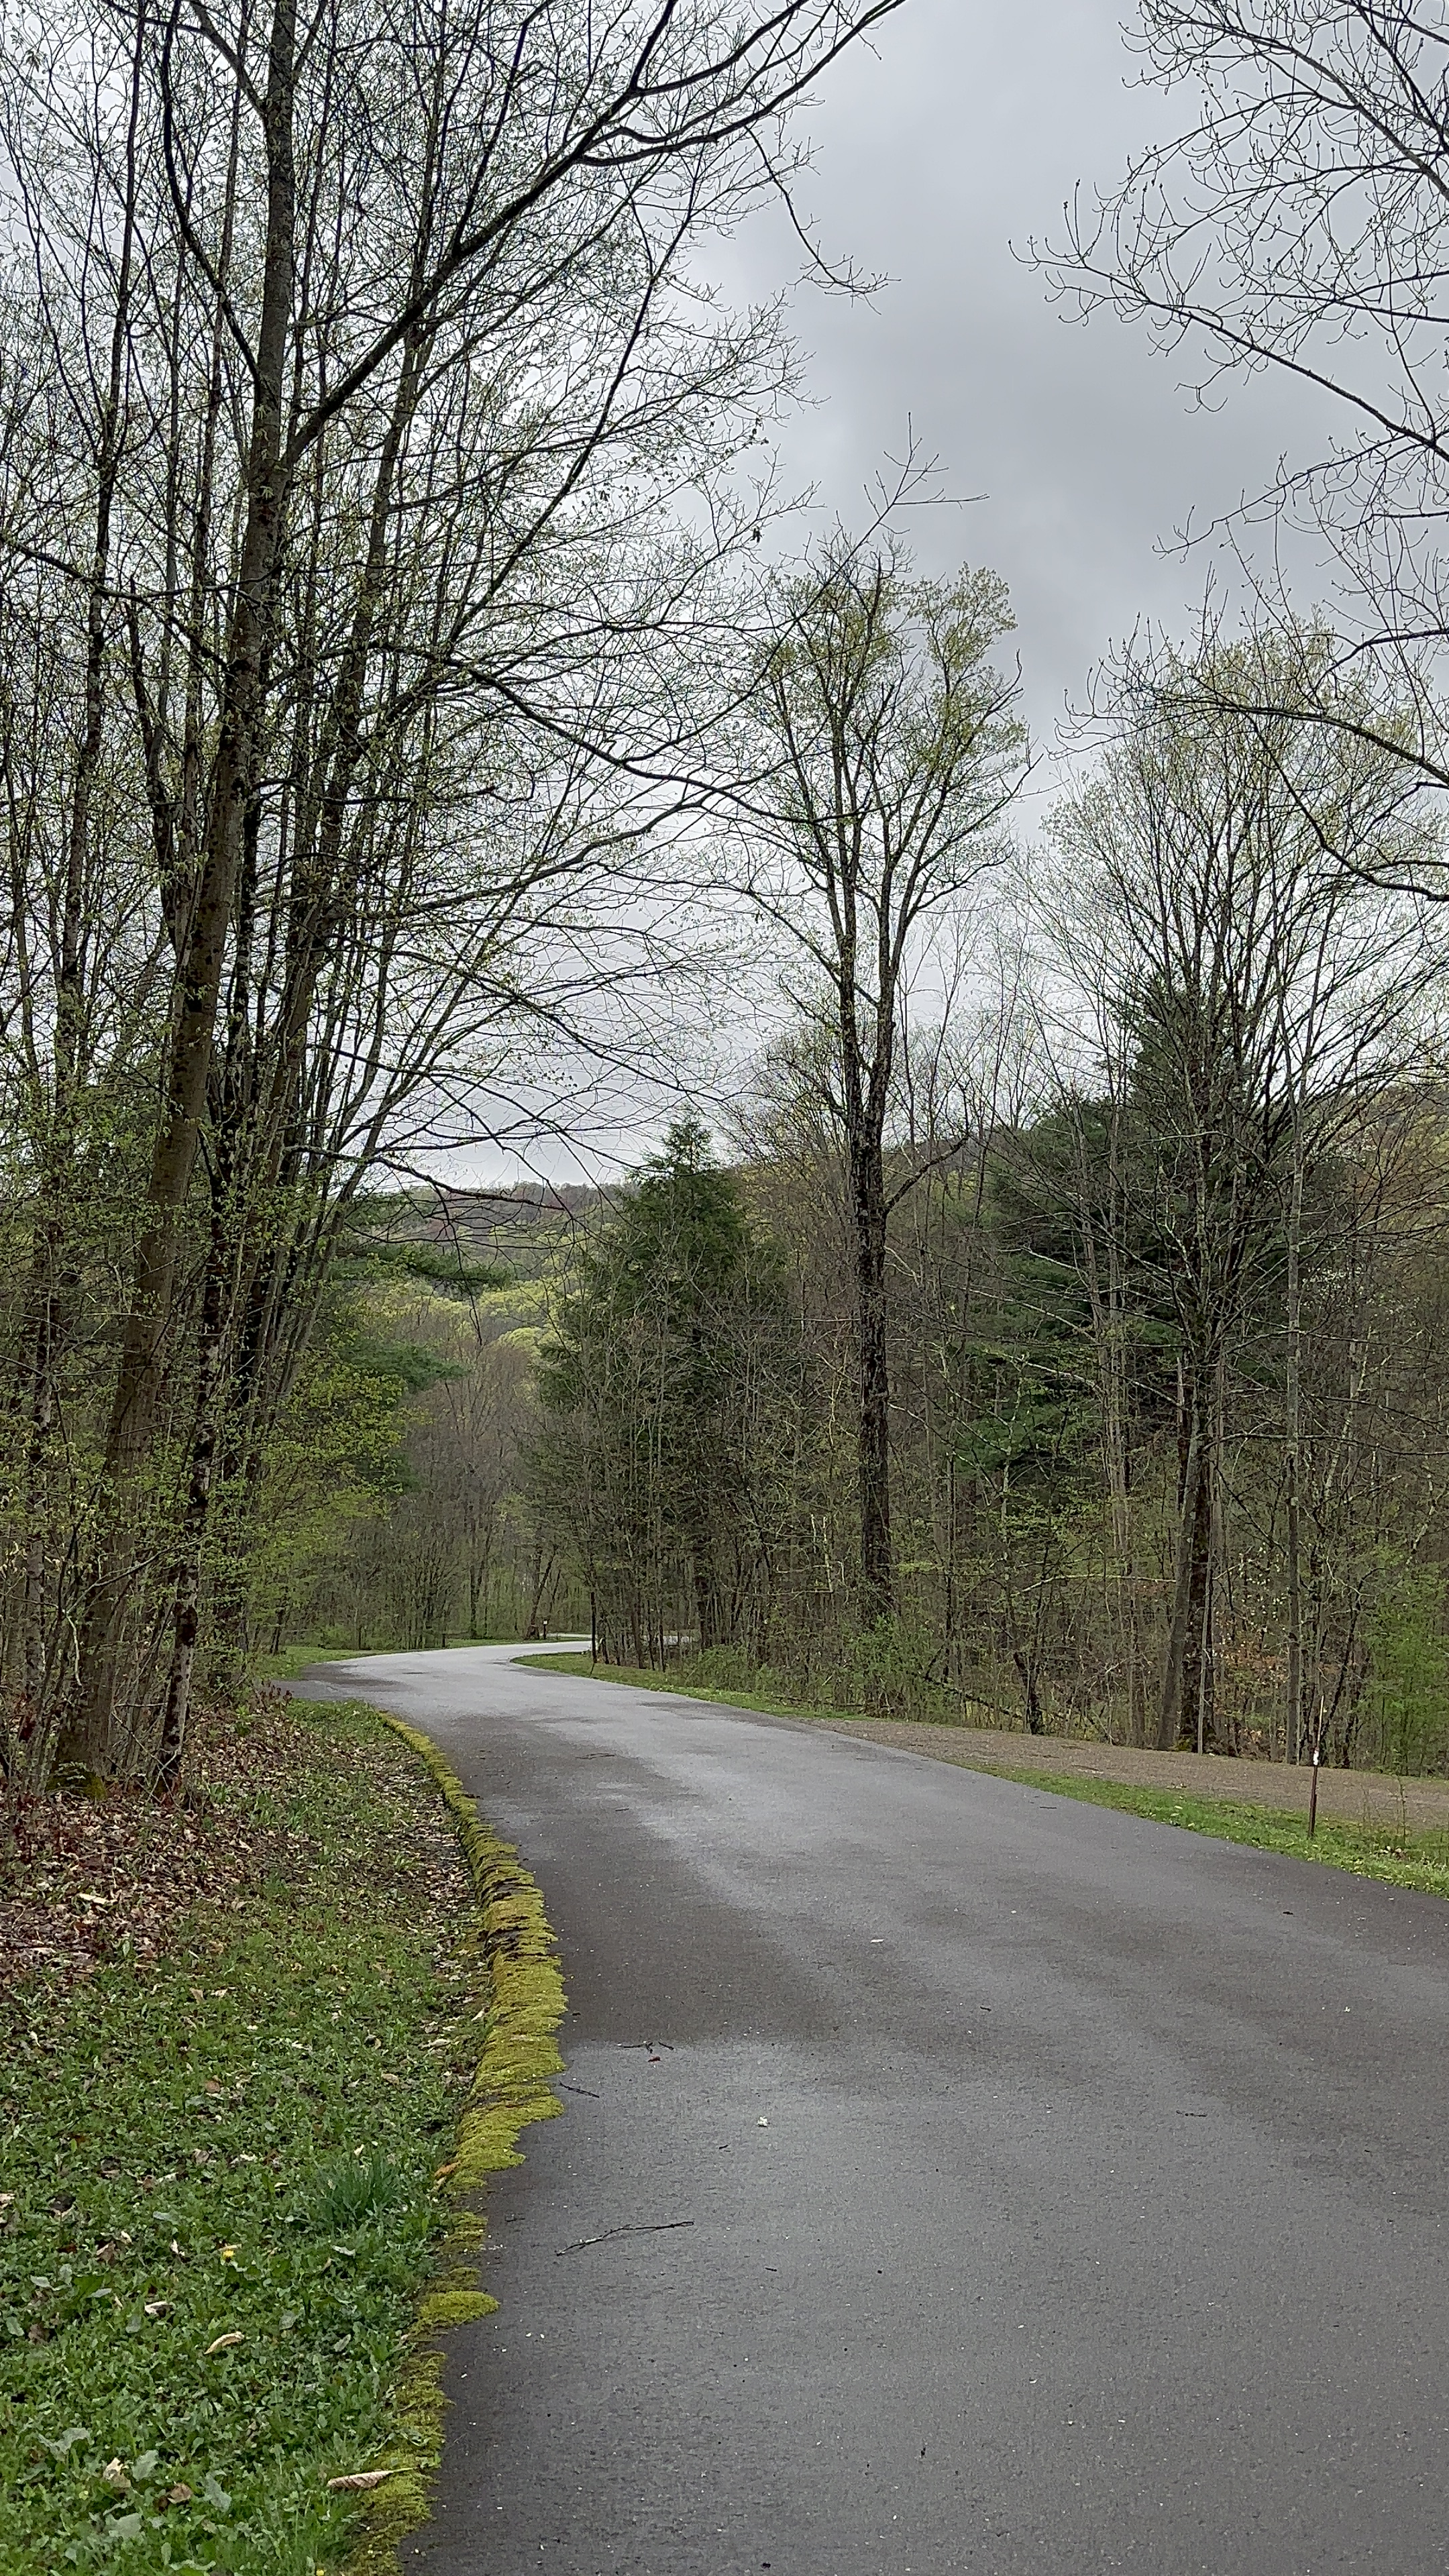
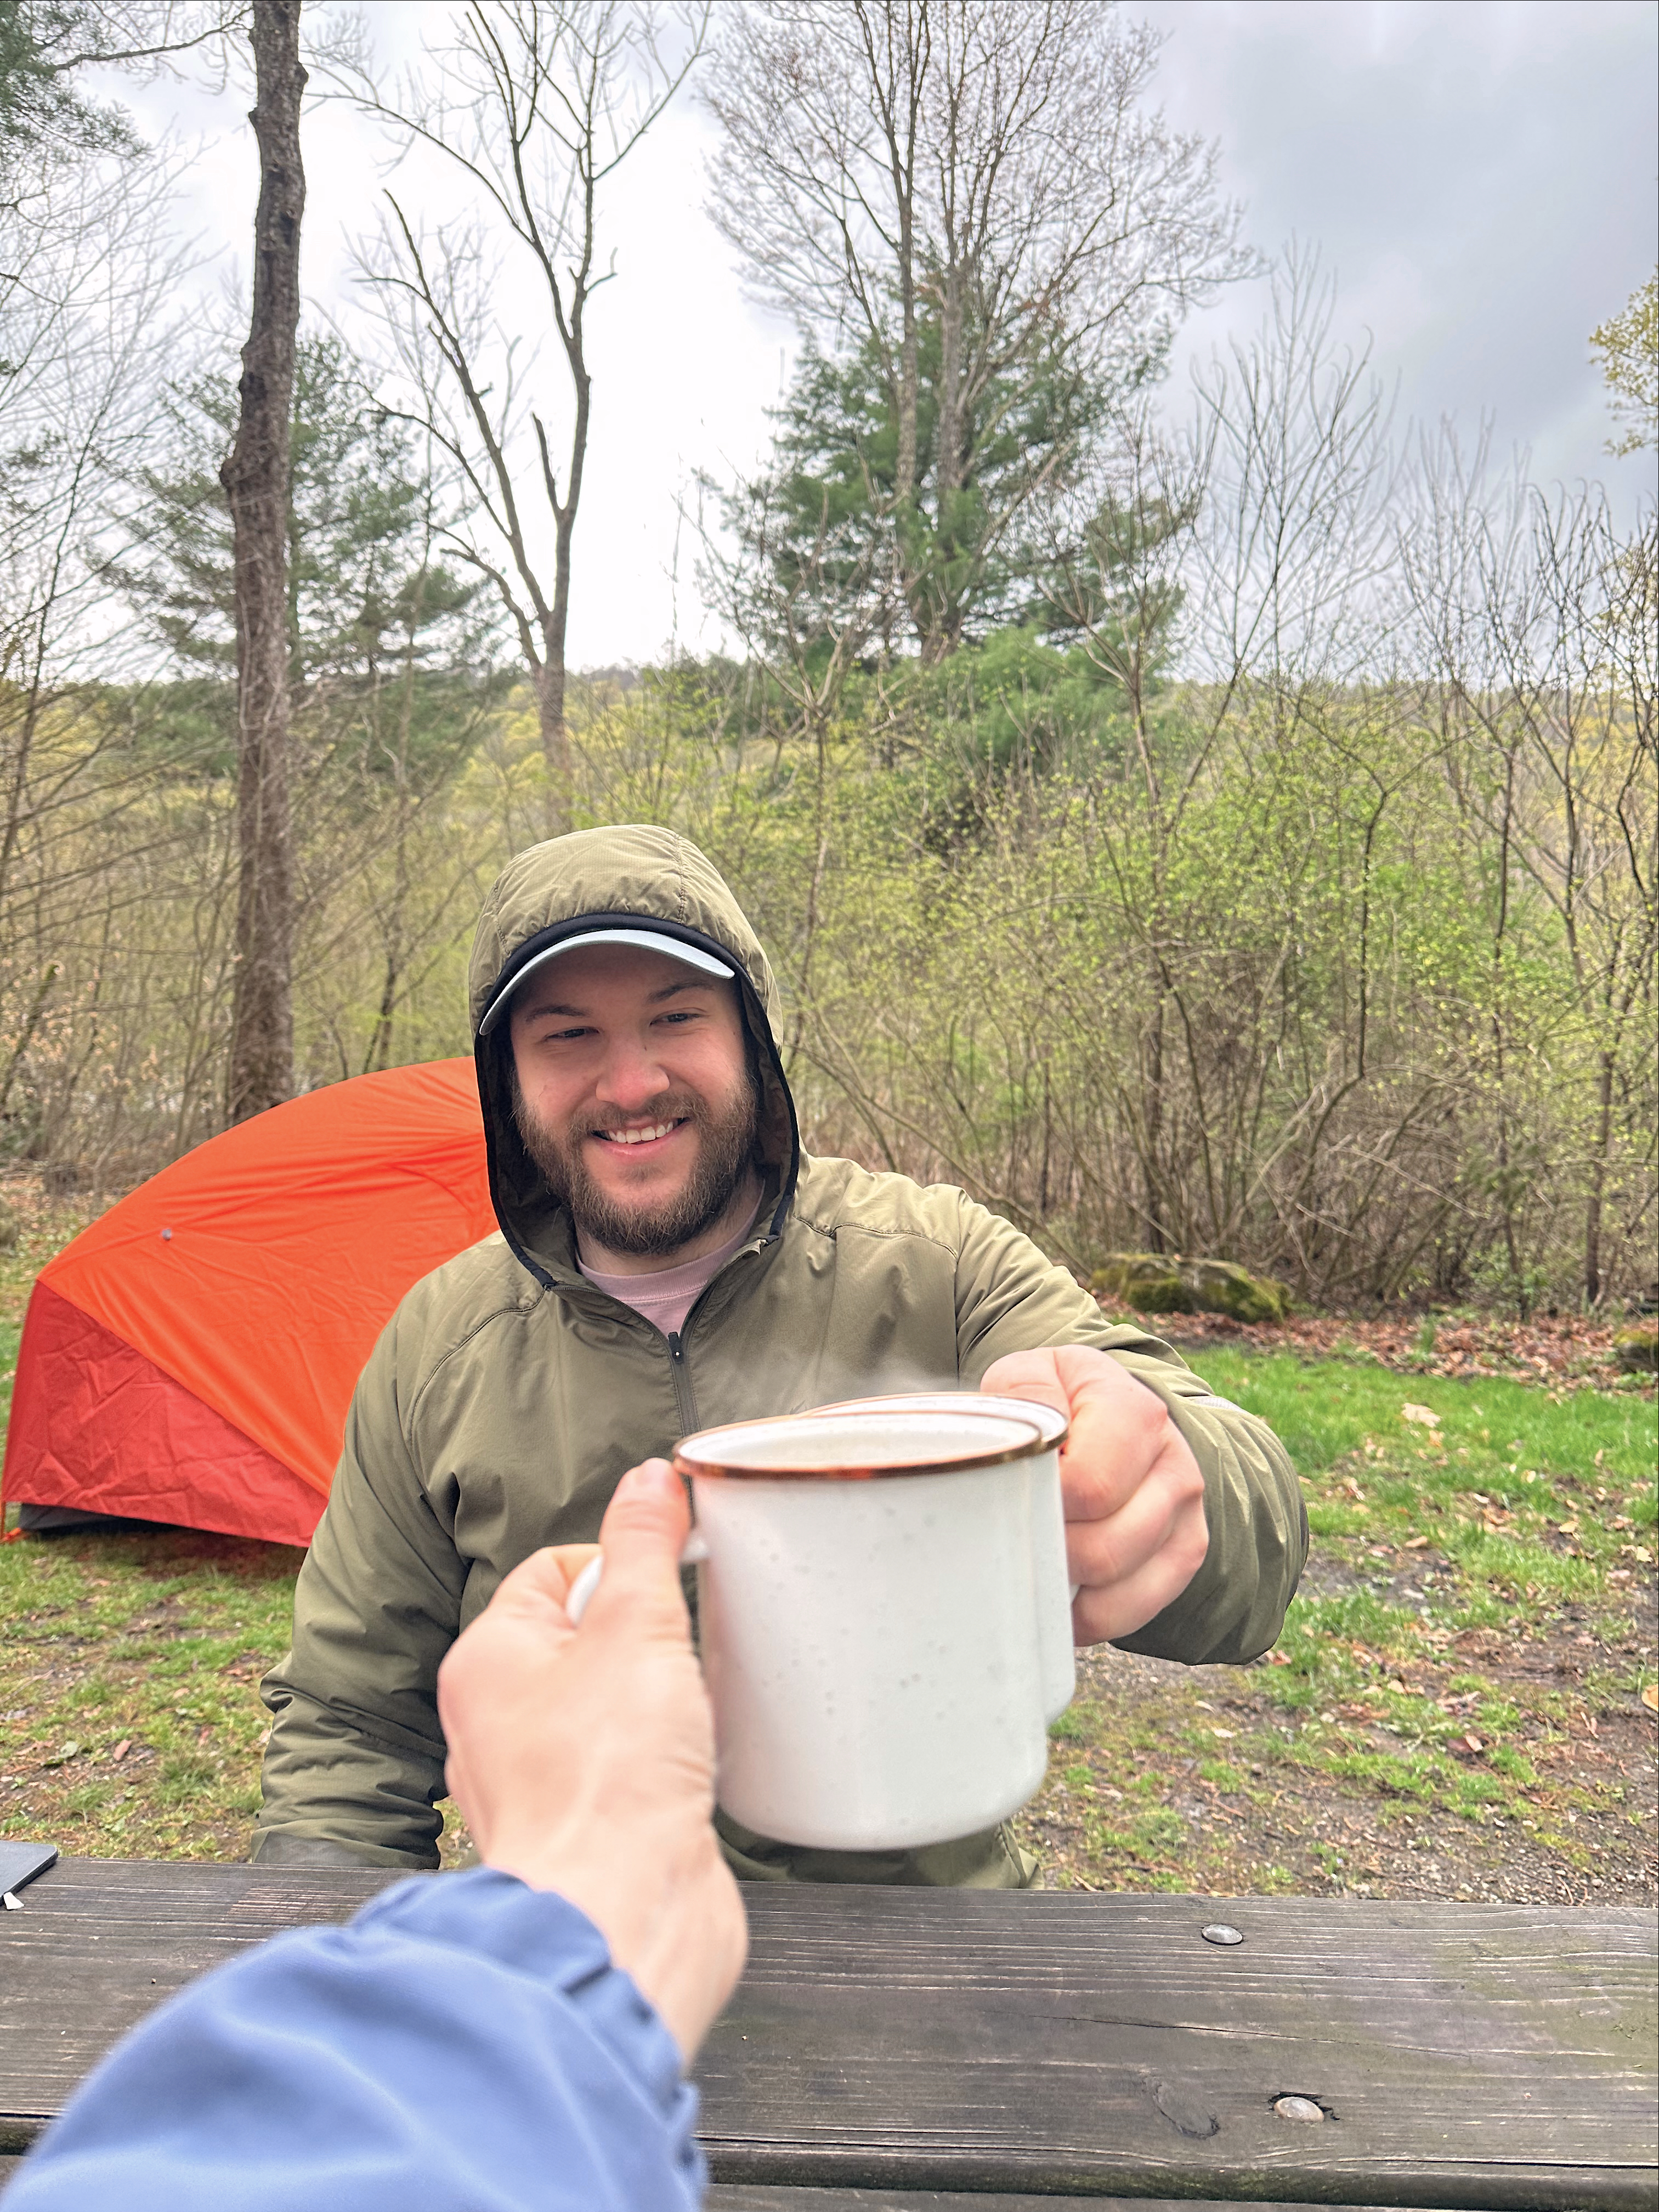
breakfast at campmorning coffee from the tentour attempt at a family picturebreakfast spreadcozy tentmorning coffeered bridge campgroundtent at nightcozy layerspumpkin waffles for breakfastmorning views from the tenttent set up prepping dinner
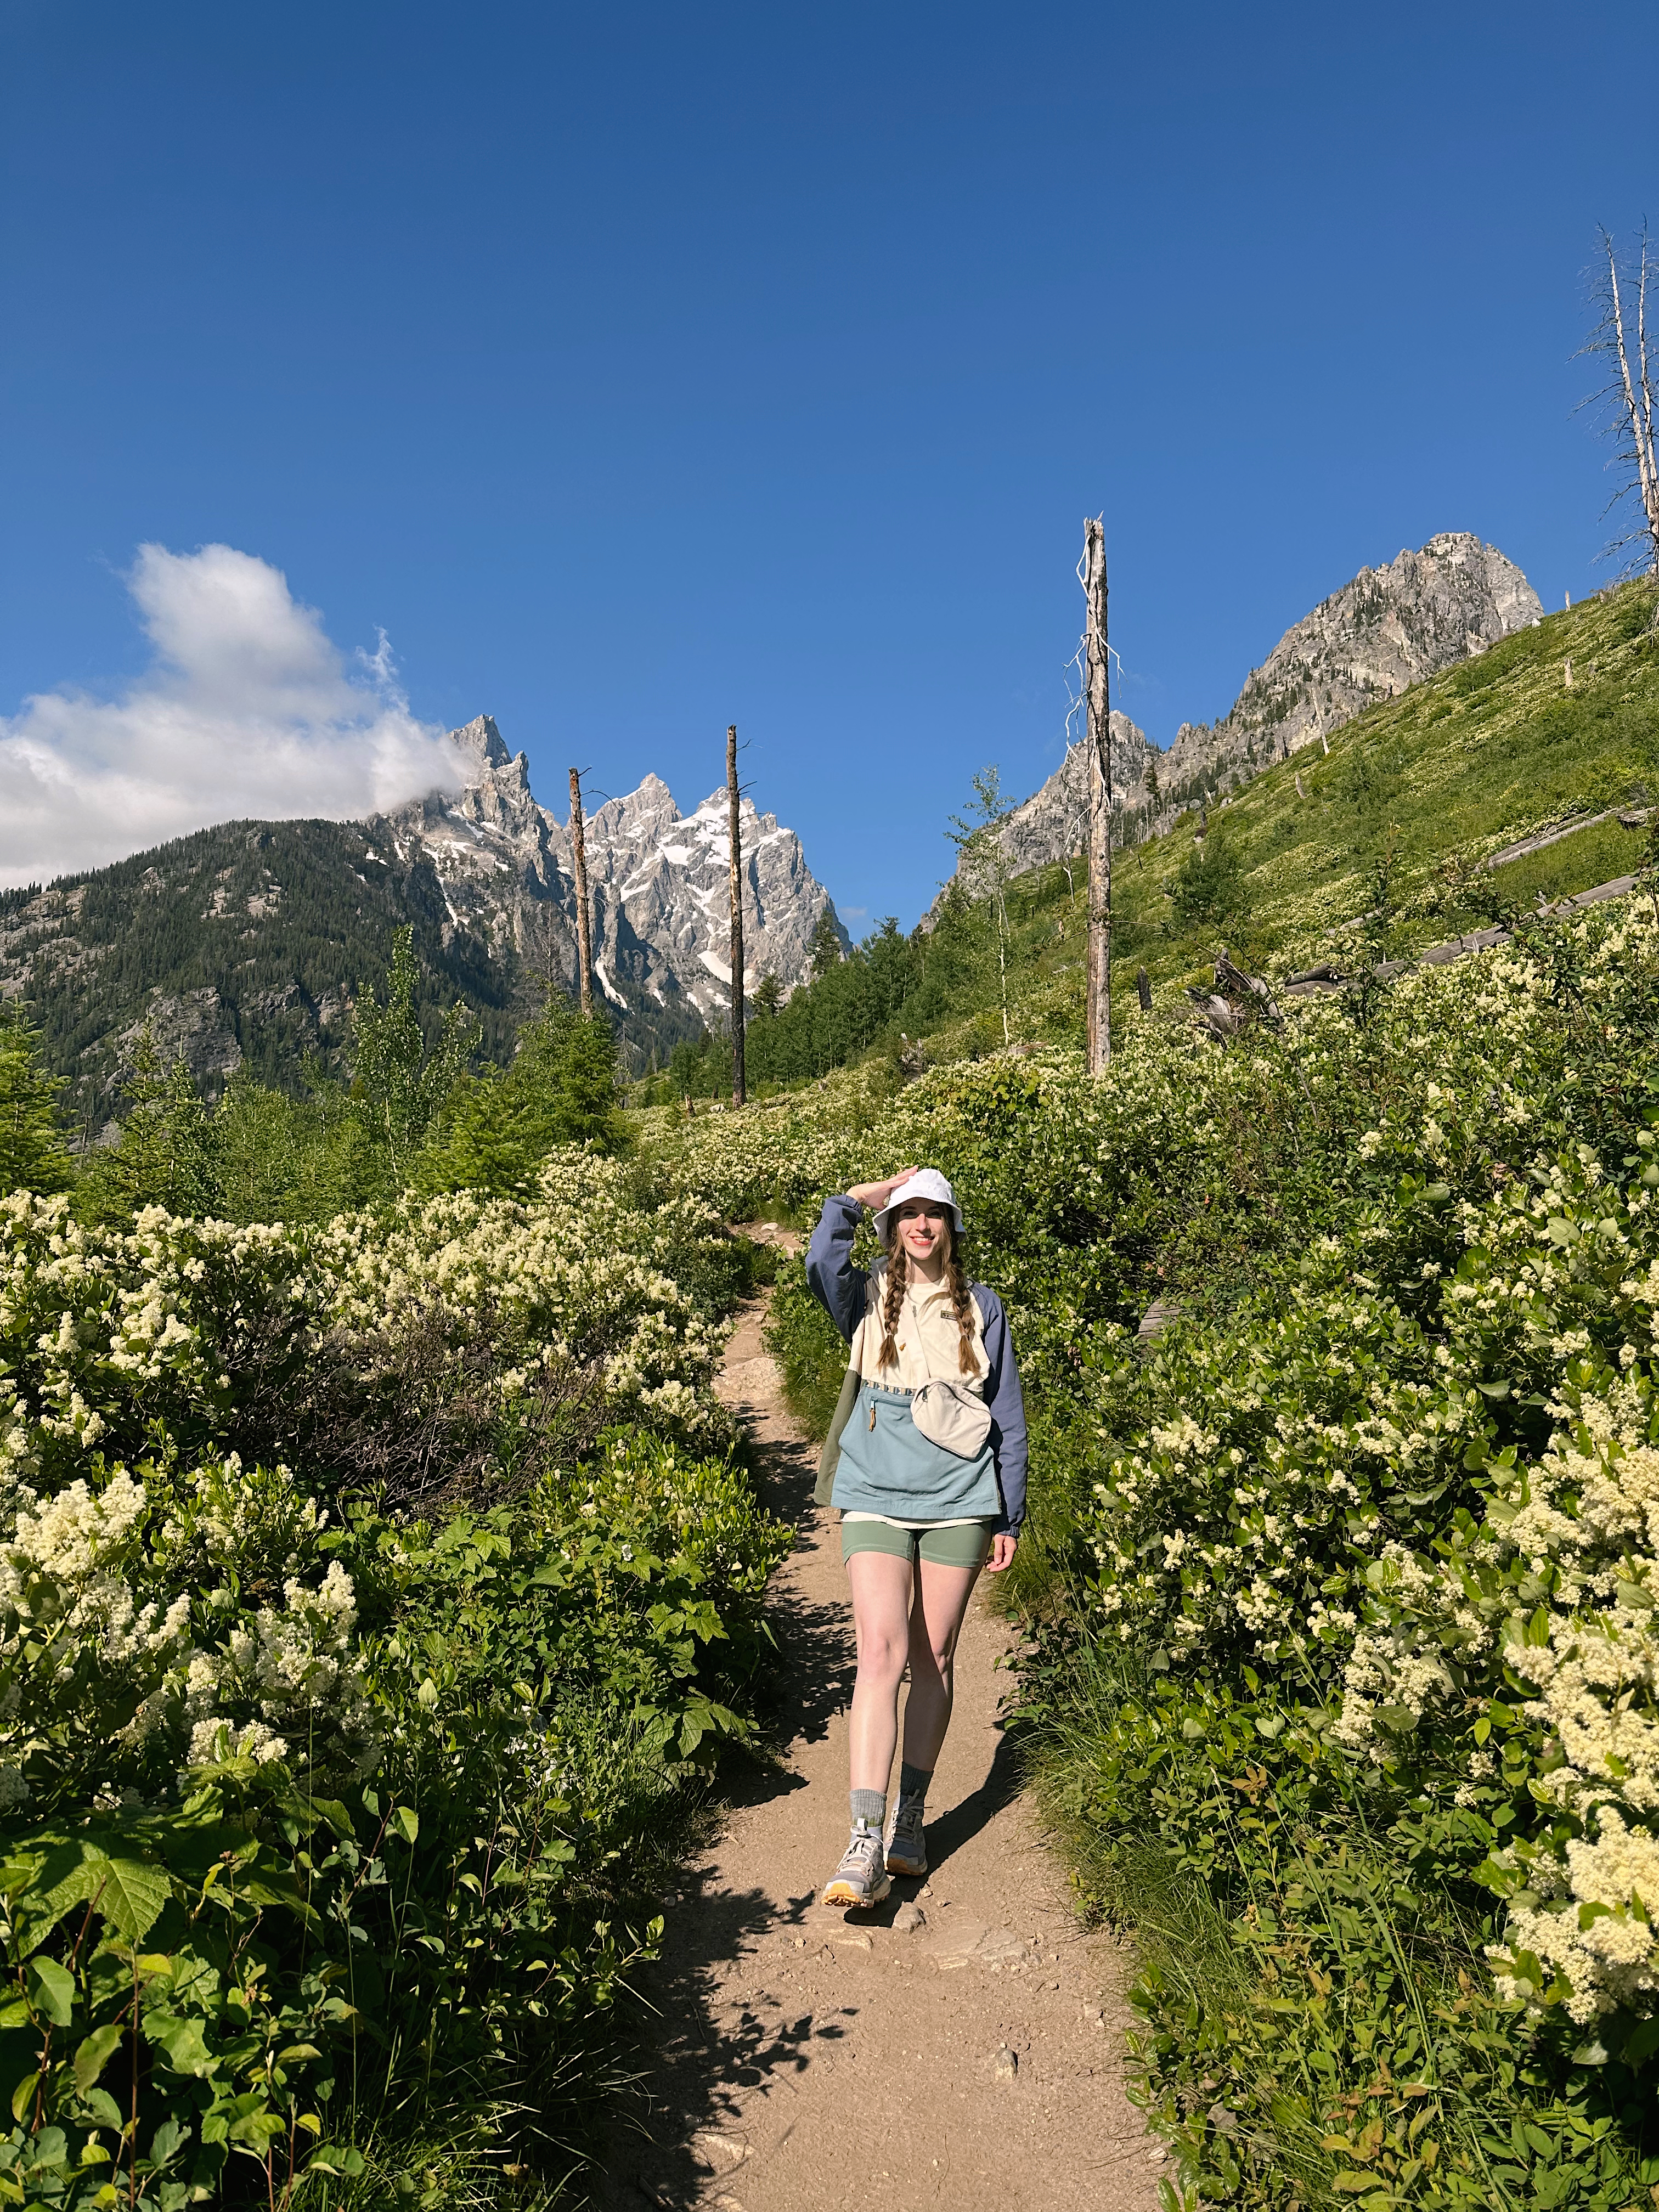
The Grand Teton national park will hold a top spot on my favorite national parks lists. I finally had the chance to visit this incredible park and I was in awe with its beauty. We spent a few days in the park and we were able to see most of the highlights. Here’s an overview of what we did and some tips I learned from after our experience.
Things to Know About the Grand Teton National Park
The park requires an entrance fee. It’s $35 for a 7 day period. I’d highly recommend purchasing the America the Beautiful pass if you plan to visit multiple national parks at once (like combining the Tetons and Yellowstone into one trip). The annual pass is $80 and gets you into any national park for a year!
The Grand Teton’s closet town is Jackson Hole, Wyoming. I would recommend spending time in Jackson, it’s about 30-40 minutes outside of the park, depending on the area you’re staying in. There’s plenty of restaurants, stores, and accommodations if you’re unable to stay inside the park.
The Grand Teton is about an hour and a half from the southern part of Yellowstone national park, which is why many people travel to both these parks in the same trip!
There are six established campgrounds within the GTNP which are all conveniently located throughout the park. As always, I’d suggest making a reservation well in advance if you plan to camp. We stayed at Jenny Lake campground which is tent only and this was a very central location. Be sure to research on where in the park you’d like to be, the campgrounds are spread across the entire park.
Other than campgrounds, there were a decent amount of free camp spots which was a nice surprise! We stayed at a free spot for three nights before moving to our campground. These free camp spots were definitely more crowded then others we’ve stayed at but it was nice to have a free sleep!
There are camp showers available for $6 at Signal Mountain and Colter Bay campgrounds. We went to Signal Mountain every day until we checked into Jenny Lake campground, which also has showers. Signal Mountain and Colter Bay areas also have laundry services available for use.
The Grand Teton is a relatively small national park and there’s two sides to it, one is highway 191 (outer road) and the other is the scenic drive (inner road) which includes many beautiful look out points and access to popular trails. Interestingly, if you stay on the side of highway 191, you don’t have to pay an entrance fee even though you’re technically in the park!
Things to Do in GTNP:
Day One
Overview:
Sunrise at Mormon Row
Stop at Cowboy Coffee
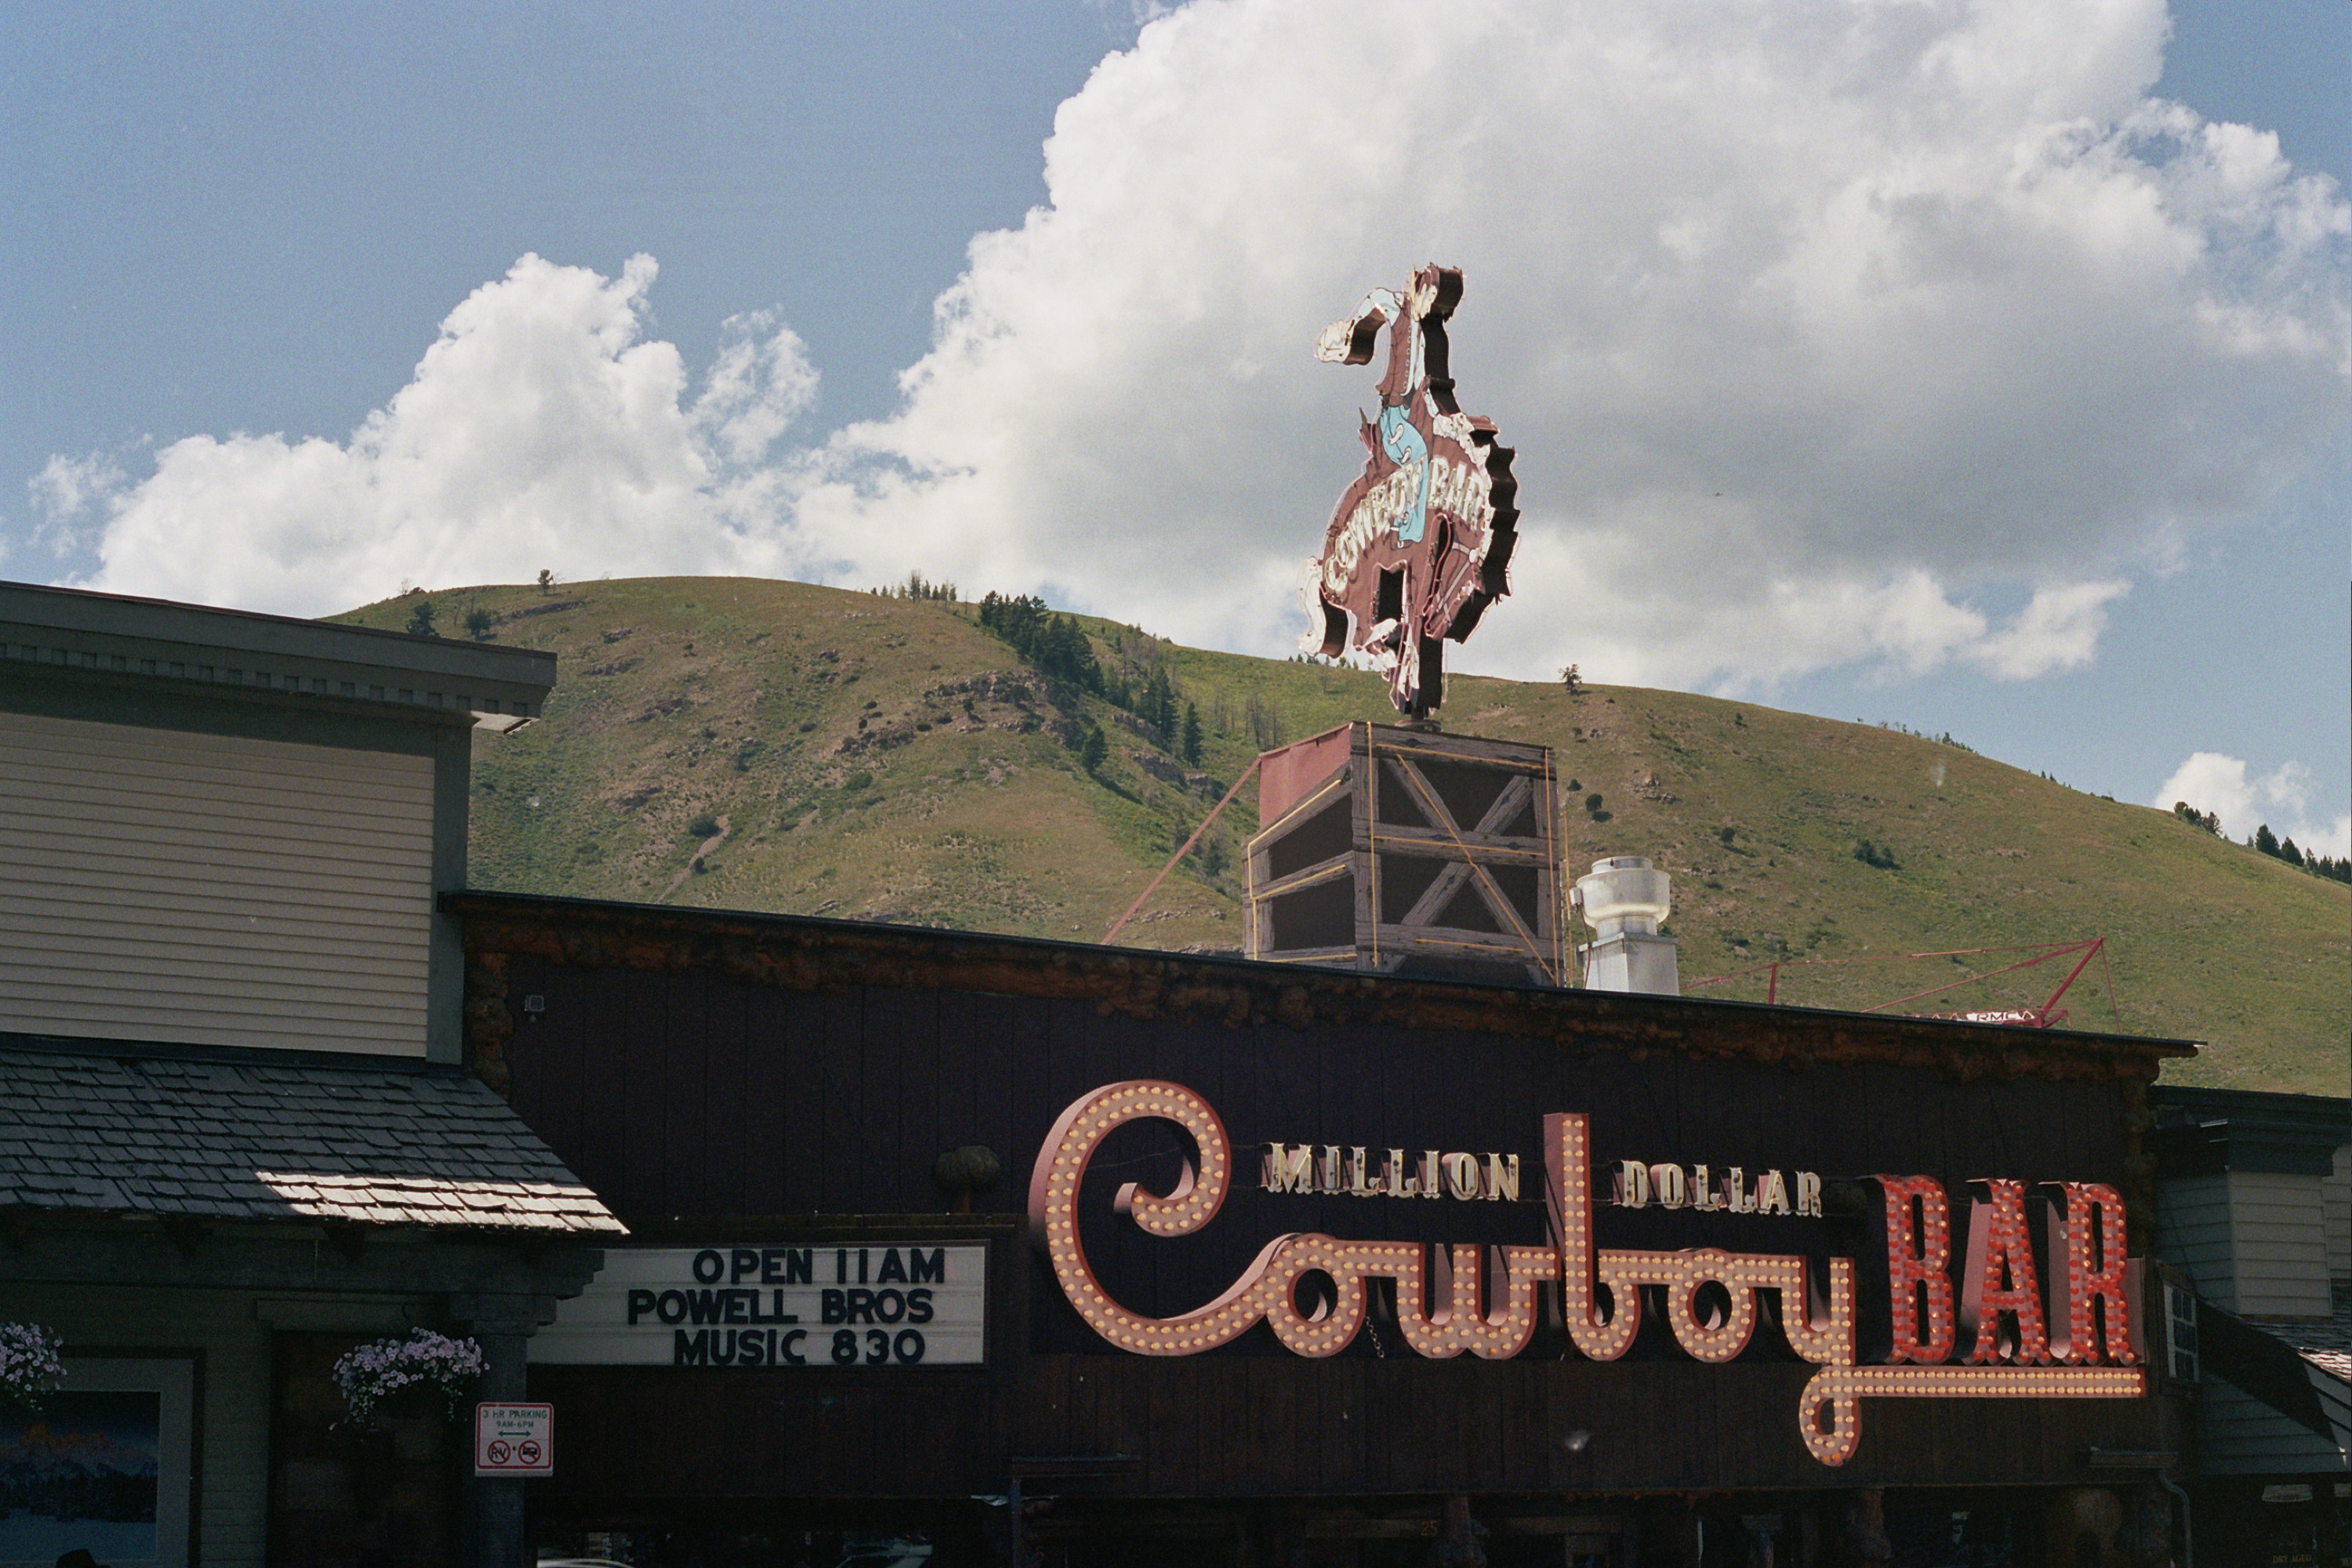
Explore Jackson
Fishing stop at Pacific creek
Drive along Teton park road
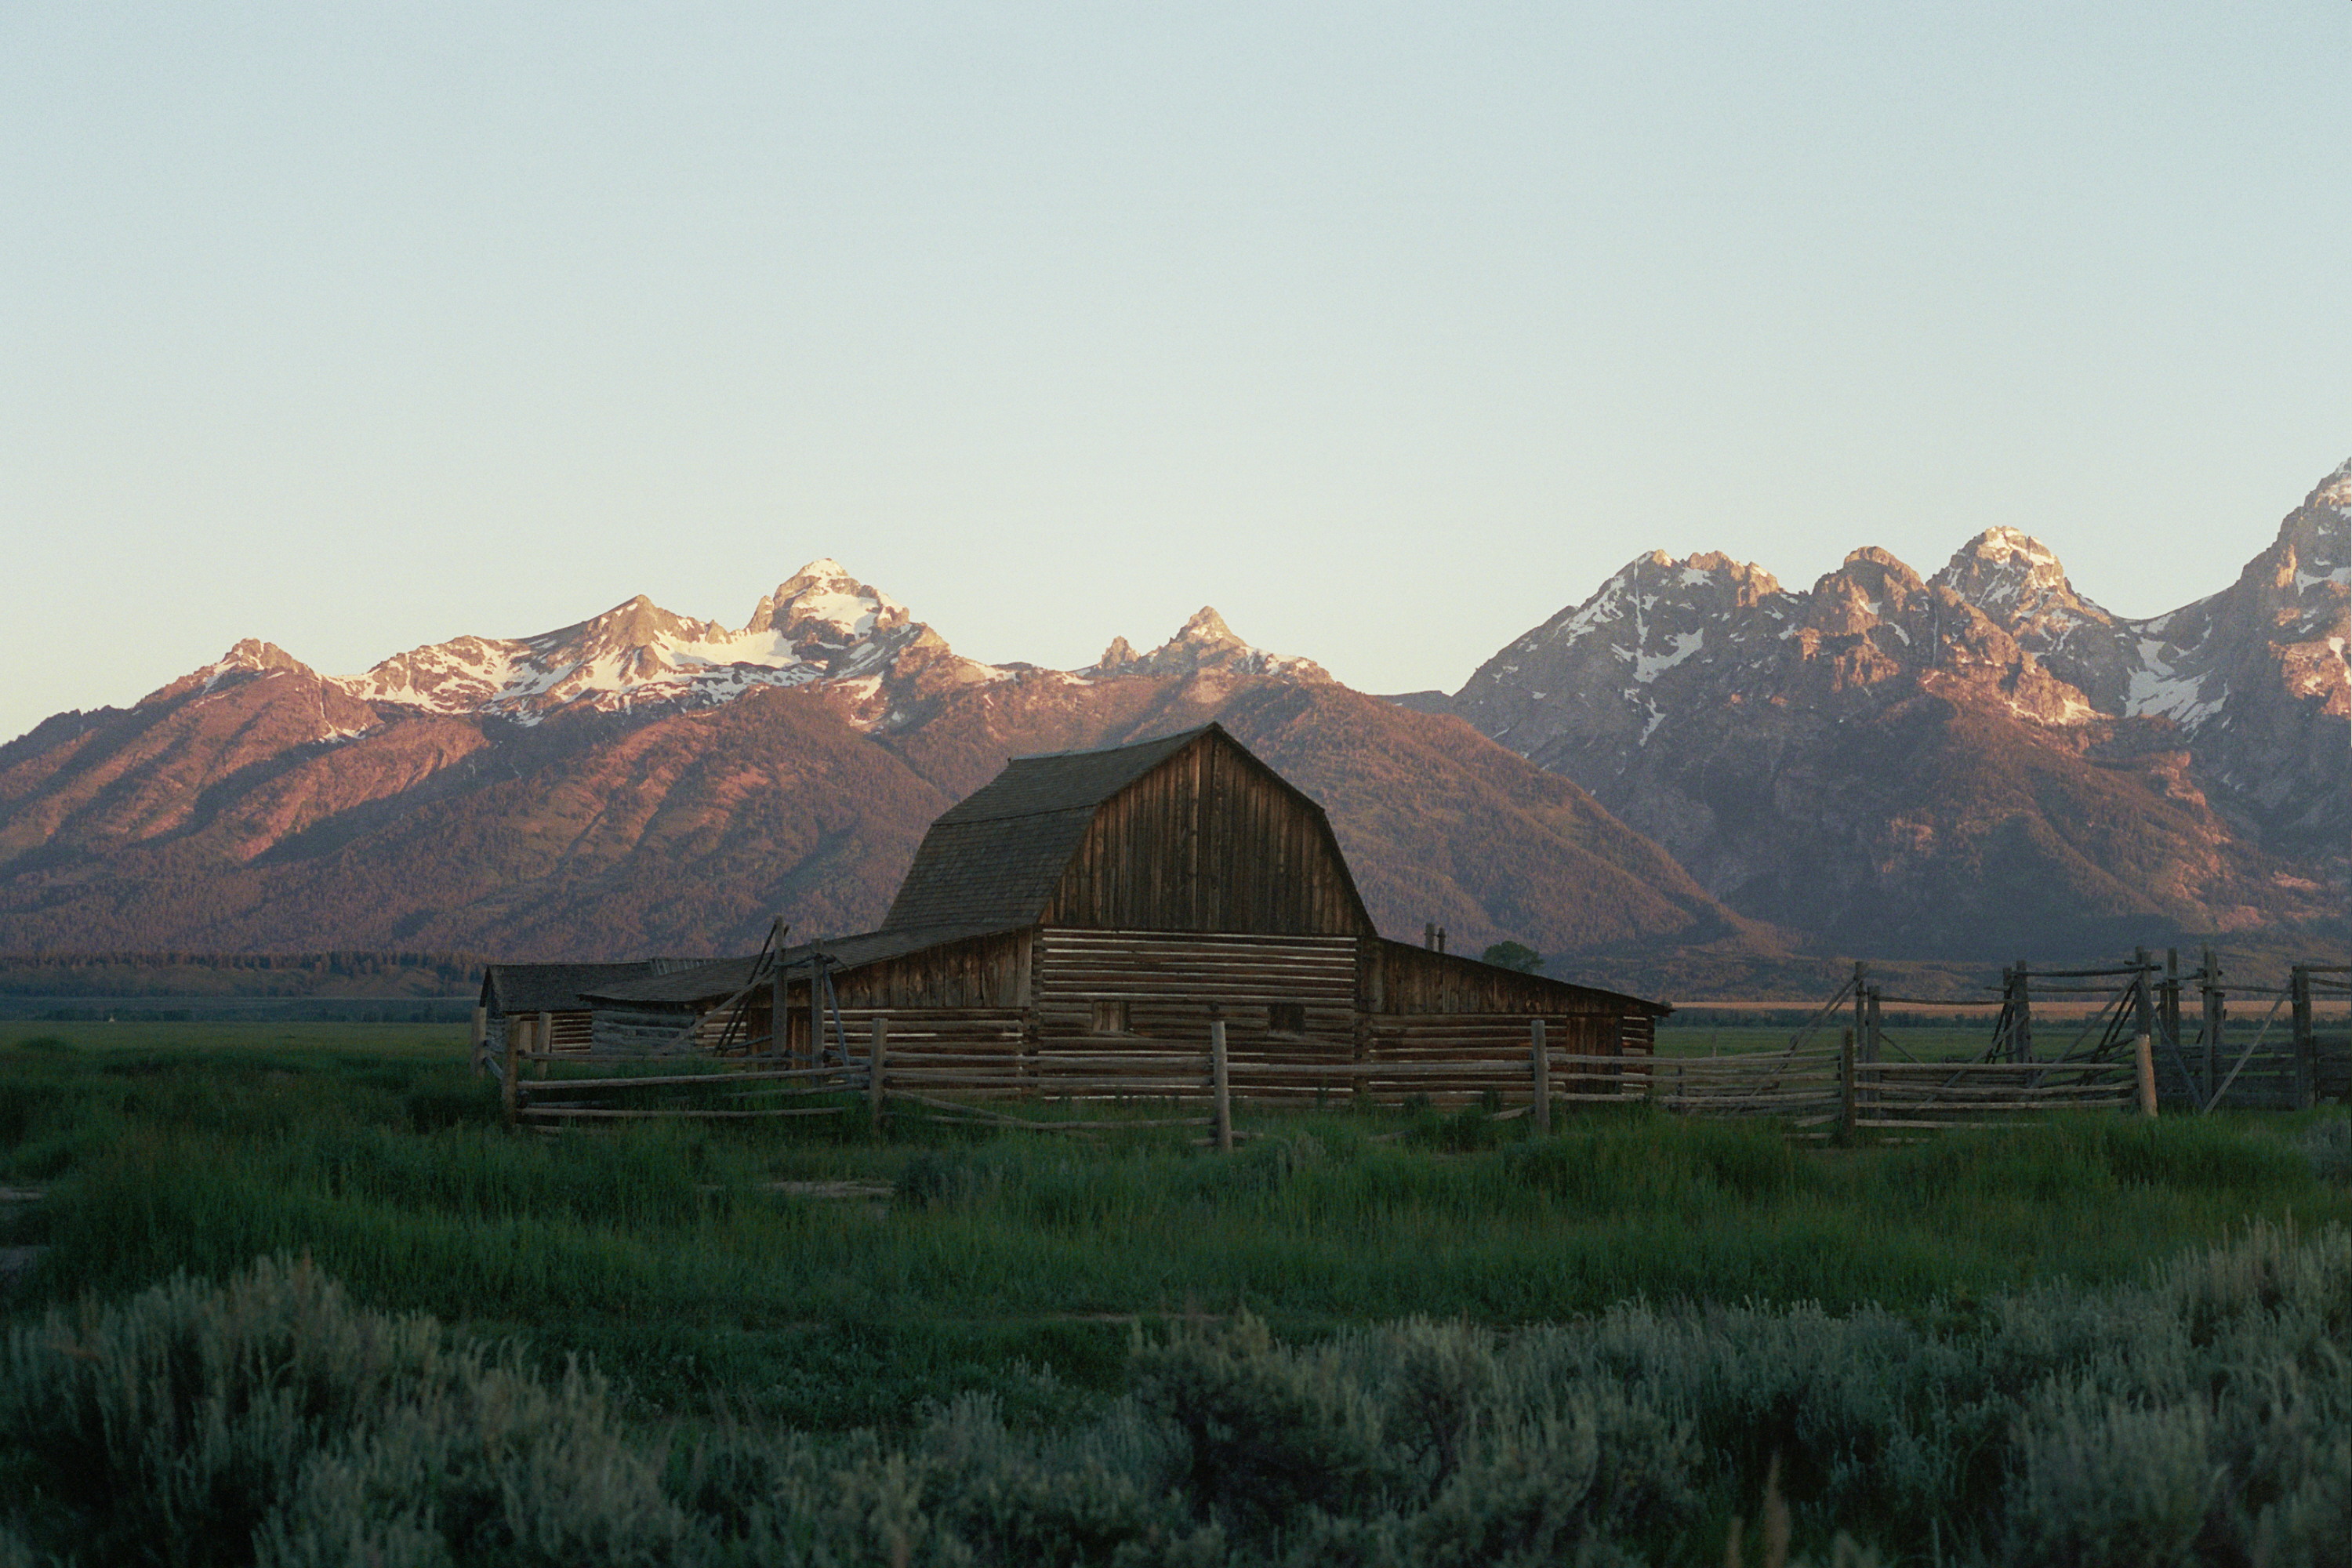
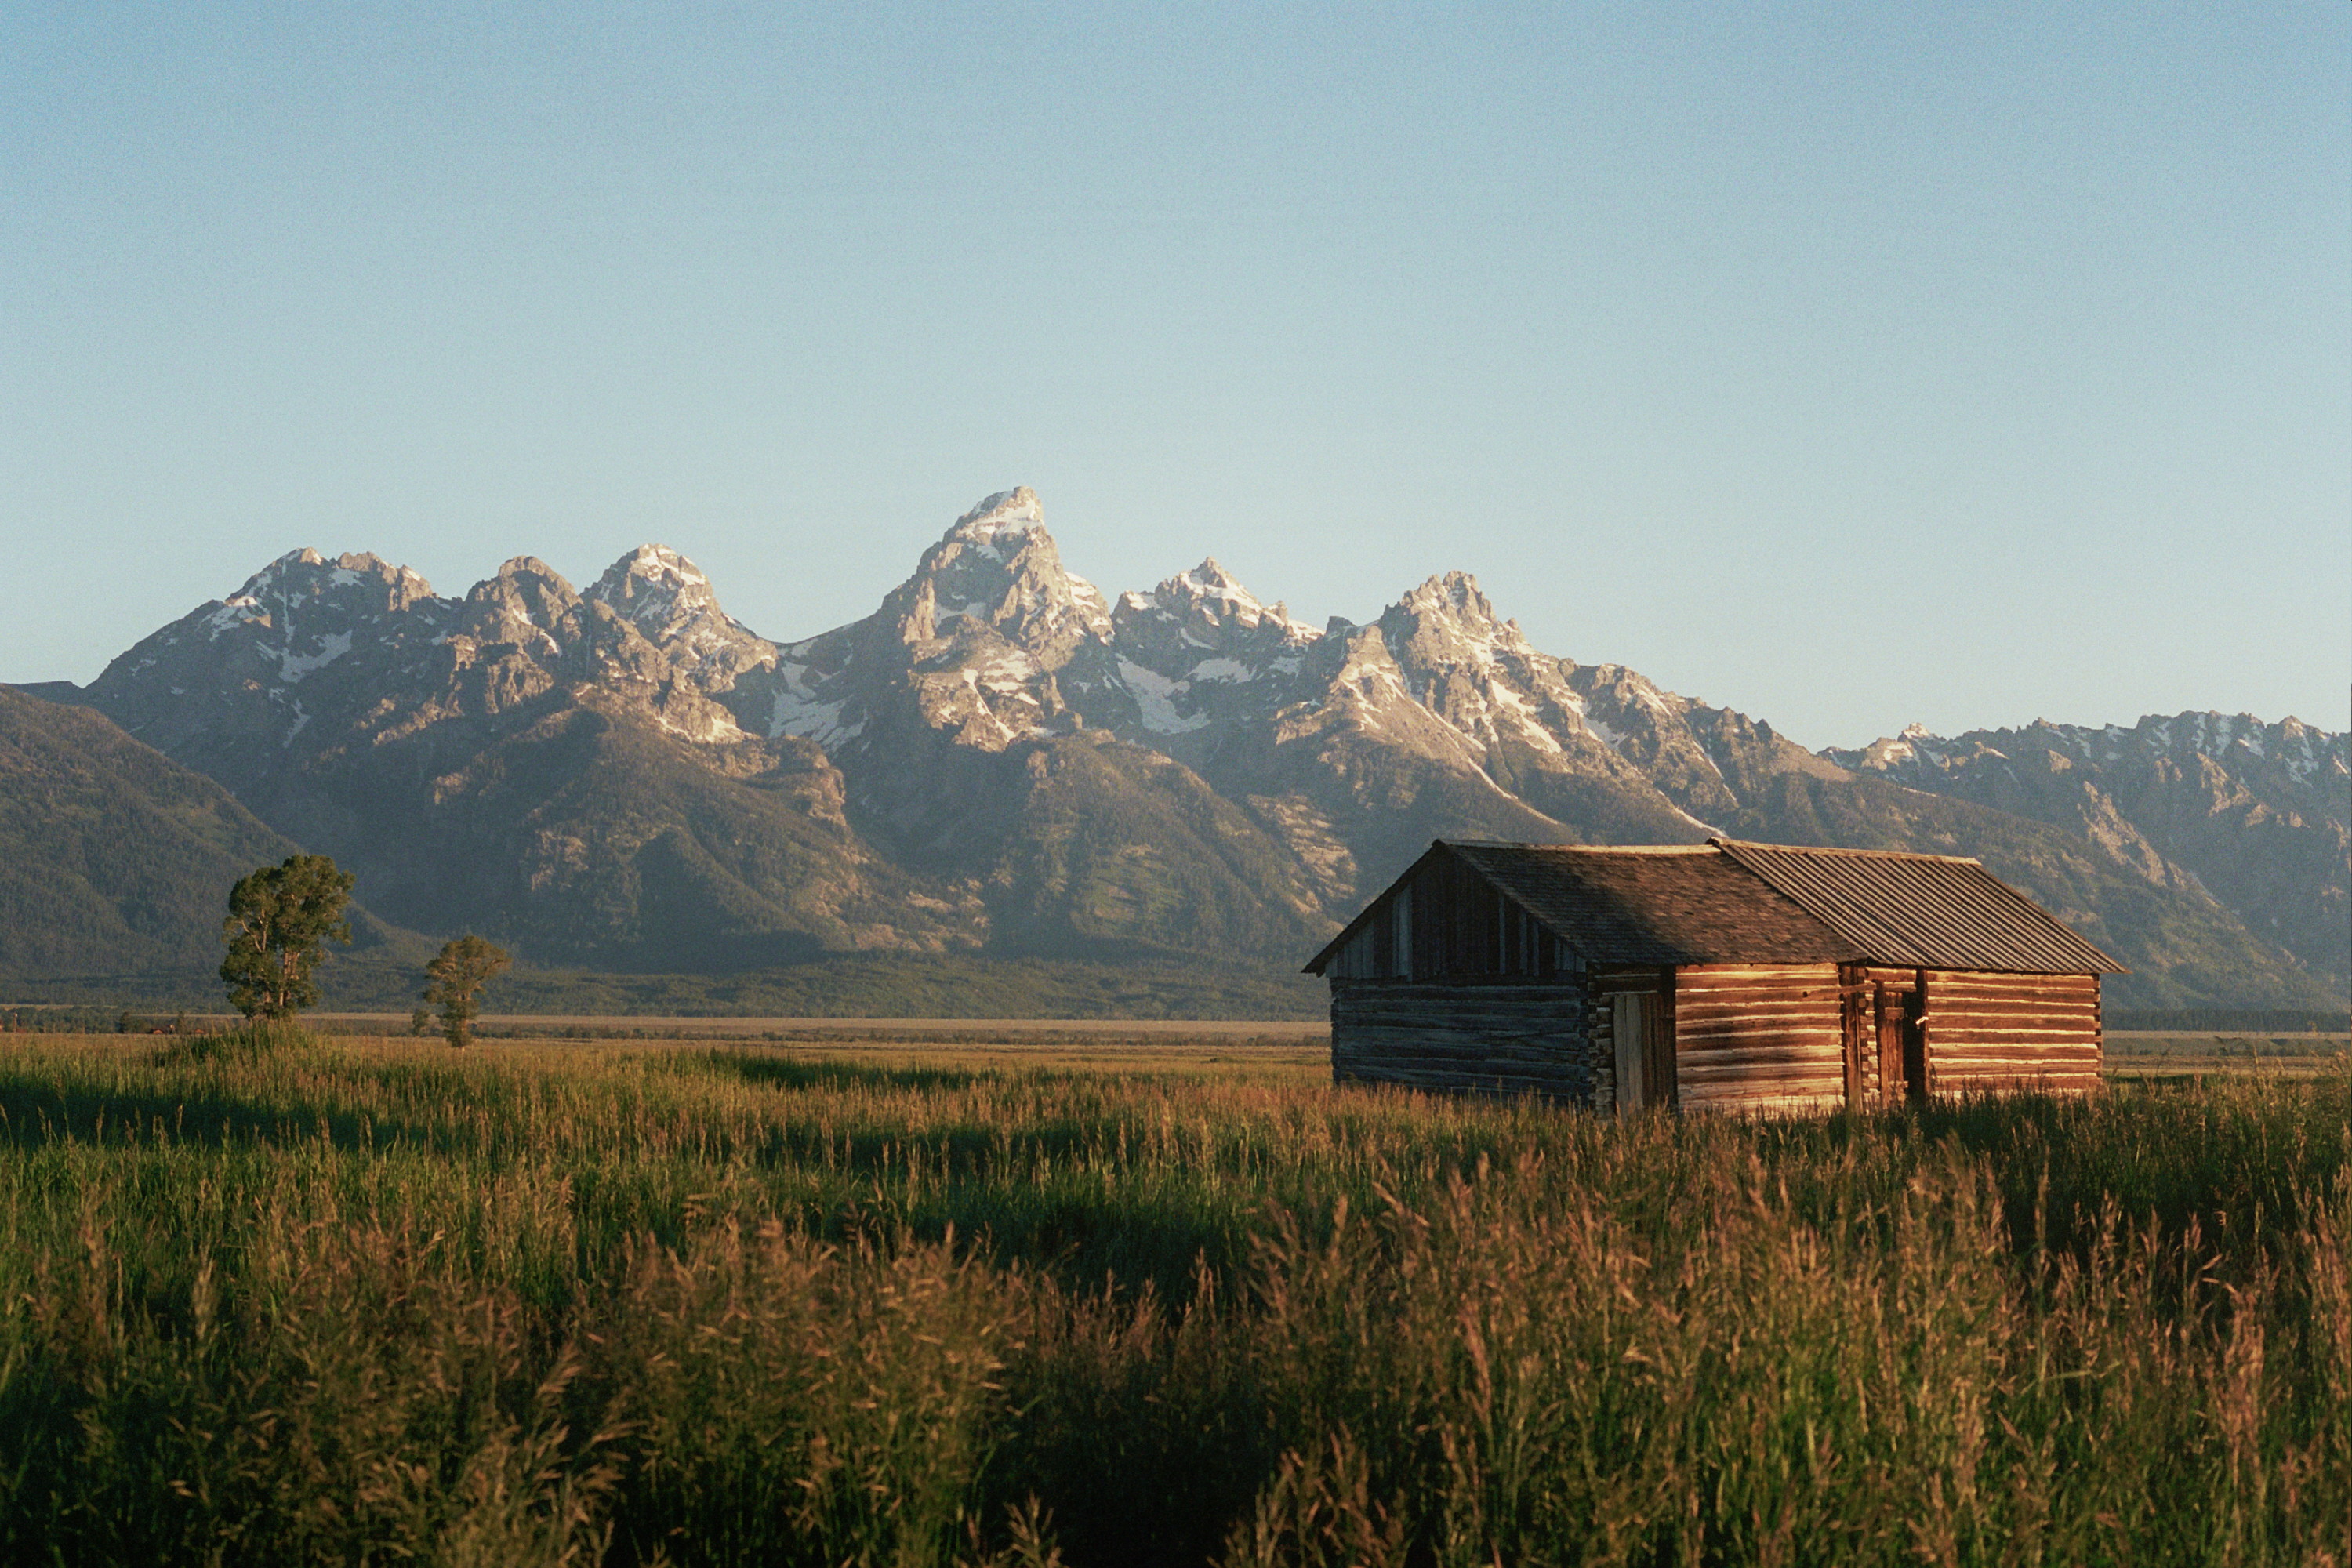
On our first full day in the park, we started the morning bright and early for sunrise at Mormon Row. This was by far one of the most beautiful sunrises I’ve ever seen. The one take away I had from our time in the Tetons was to never miss a sunrise. Mormon row was full of other people even at 5am waiting to watch the sun come over the Tetons. The lighting in the morning changed so fast here, the pink sky only lasted for a few minutes which made the experience even more magical. After sunrise, we drove into Jackson for coffee and breakfast. One of our favorite spots in Jackson was Cowboy Coffee. It’s a popular place for good reason!
After breakfast we walked around Jackson before driving back into the park. Most of the afternoon we spent time at Pacific Creek because Patrick wanted to fly fish. There were some great spots for fly fishing if that’s your thing too! While Patrick fished, I spent time exploring nearby areas and taking photos. We ended our first day driving along the Teton park road (the “inner” road of the park). After a beautiful first day, we went to our free camp spot for the night, which I found using the campendium app.
Sunrise at Mormon RowExploring JacksonCowboy CoffeeExploring JacksonSunrise view of the Tetons at Mormon Row
Day Two
Overview:
Sunrise at schwabacher landing
Hike part of Cascade Canyon
Spend the afternoon in Jackson souvenir shopping
Dinner at Hand Fire Pizza
Day two was on of our favorite days in the park! We started the morning at another well known sunrise spot, Schwabacher landing. This spot is on the “outer” road of the park, along highway 191. There were a lot of other people here for sunrise, but we still managed to have a great view to watch the sun rise over the Tetons. We spent a couple hours here before heading back to the car to make breakfast and coffee. After some fuel, we headed to the String Lake area to access the Cascade Canyon trail. There are a few different ways to access this trial. We started at String Lake and walked along Jenny lake before connecting to the Cascade Canyon trail head. We didn’t plan to hike the entirety of cascade canyon but total we hiked about 8 miles. This was a stunning hike and we were able to see some famous spots in the park along this trail such as:
Inspiration point
Hidden Falls
Jenny Lake loop
After a full afternoon hiking, we stopped by signal mountain camp area to shower. Showers here are available for $6 and it gives you 7 minutes to shower. The showers here were extremely clean and lots of room which was a luxury compared to other public showers we’ve used. We then drove into Jackson for dinner and souvenir shopping. We decided to have dinner at Hand Fire Pizza which was amazing! After dinner we headed back into the park to set up camp for our first night at Jenny Lake campground.
Sunrise at Schwabacher landingMorning coffeeSunrise at Schwabacher landingView along Cascade Canyon trailViews along Cascade Canyon trailViews along Cascade Canyon trailViews along Cascade Canyon trailHidden Falls
Day Three
Overview:
Sunrise exploring scenic highway
Breakfast at Jenny Lake visitor’s center
Taggart Lake
Jenny Lake scenic drive
On our last full day in the tetons, we woke up bright and early. Patrick wanted to fish again so I dropped him off at Pacific Creek. For the rest of the morning I explored parts of the scenic drive, pulling over for photos as the sun rose over the tetons. I made my way back to camp and walked around the Jenny Lake visitor’s center area. Inside one of the general store’s in this area, they serve coffee and breakfast sandwiches. It started for campers but is now available for anyone stopping by the area in the morning. The breakfast sandwich was delicious and just what I need after an early morning. Once Patrick was done fishing, we went for a short hike at Taggart Lake. This is a brief loop trail that takes you around Taggart Lake. It’s a fairly moderate hike that can be completed in a couple of hours or less. We took showers at our campground, Jenny Lake, and it was $5 for 6 minutes.
For our last night in the Grand Teton national park, we drove along the Jenny Lake scenic drive. This drive is so beautiful and perfectly hidden from the main road, we were one of the only ones there exploring. Along the drive there’s some pull off areas for hikes accessed from this road and parking for the Jenny Lake lodge. Our favorite part of this scenic drive was the look out point for Jenny lake. There’s a path where you can walk along the water and take in the views of Jenny lake. It’s such a sweet spot, I would definitely add this to your itinerary while visiting the park. We spent our last night at camp cooking dinner before heading to bed.
Stop along scenic highwayStop along scenic drive, Oxbow BendPath along Jenny Lake accessed from scenic drivePath along Jenny lakeViews along tagart lake trail
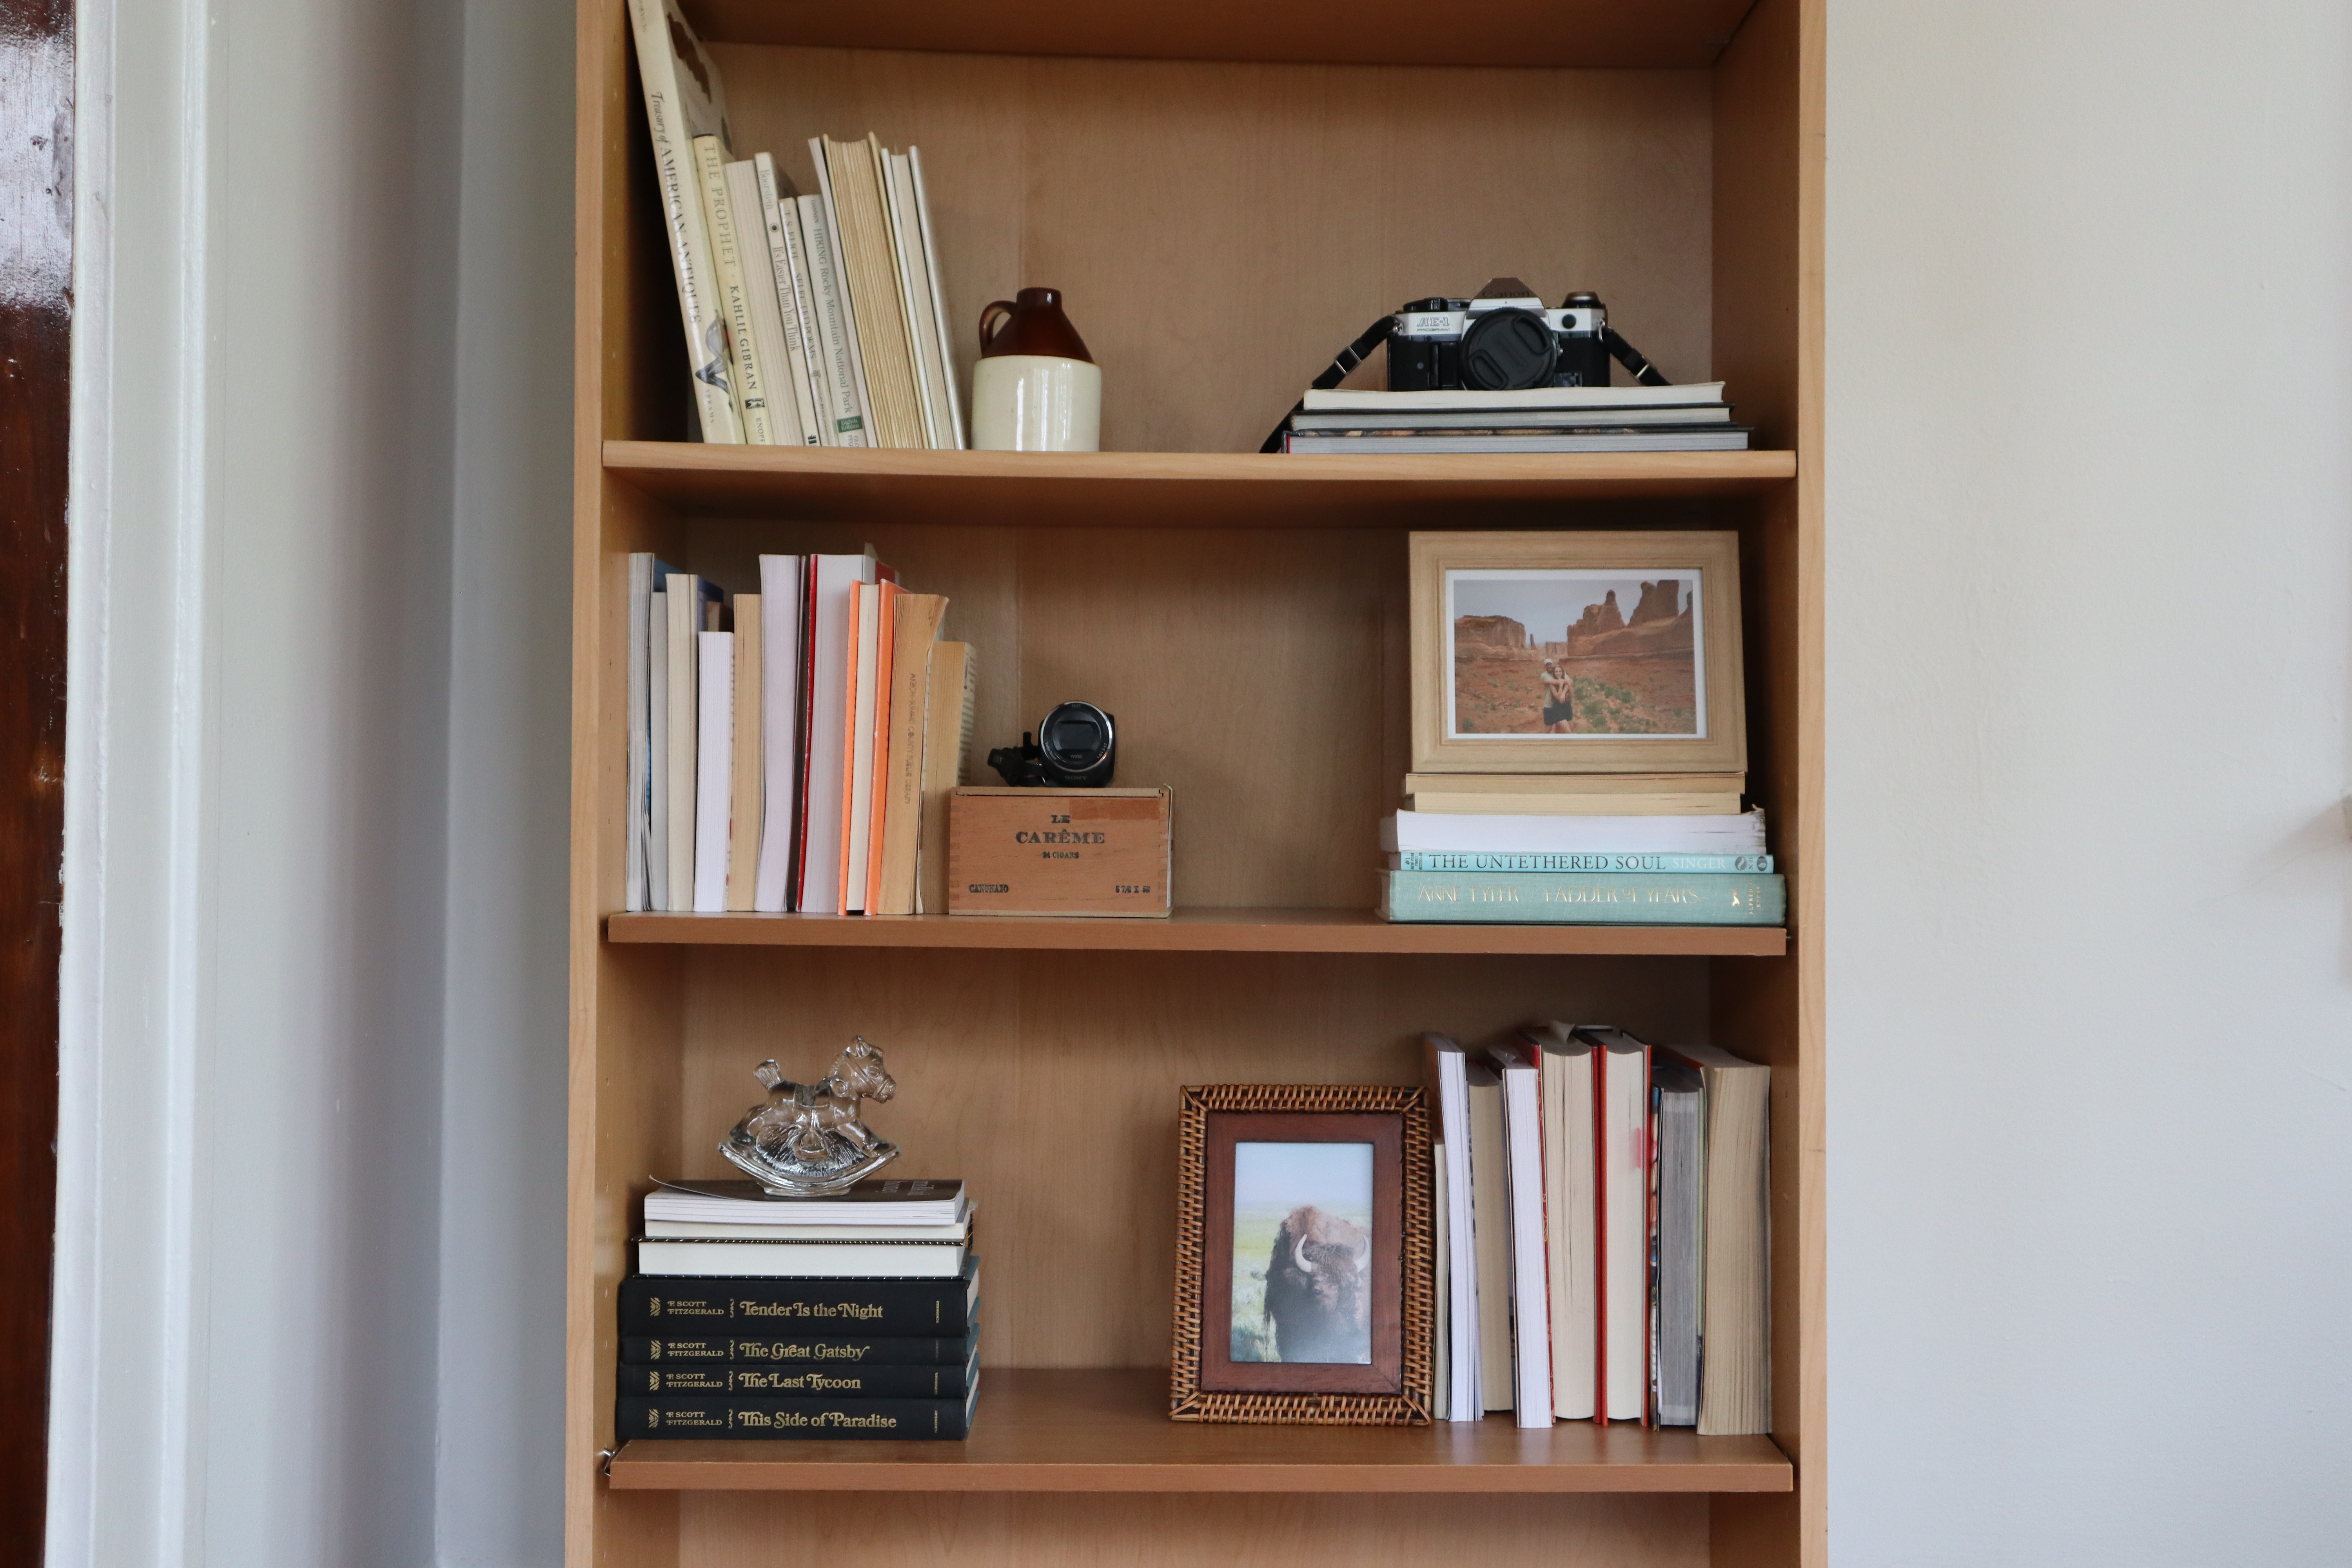
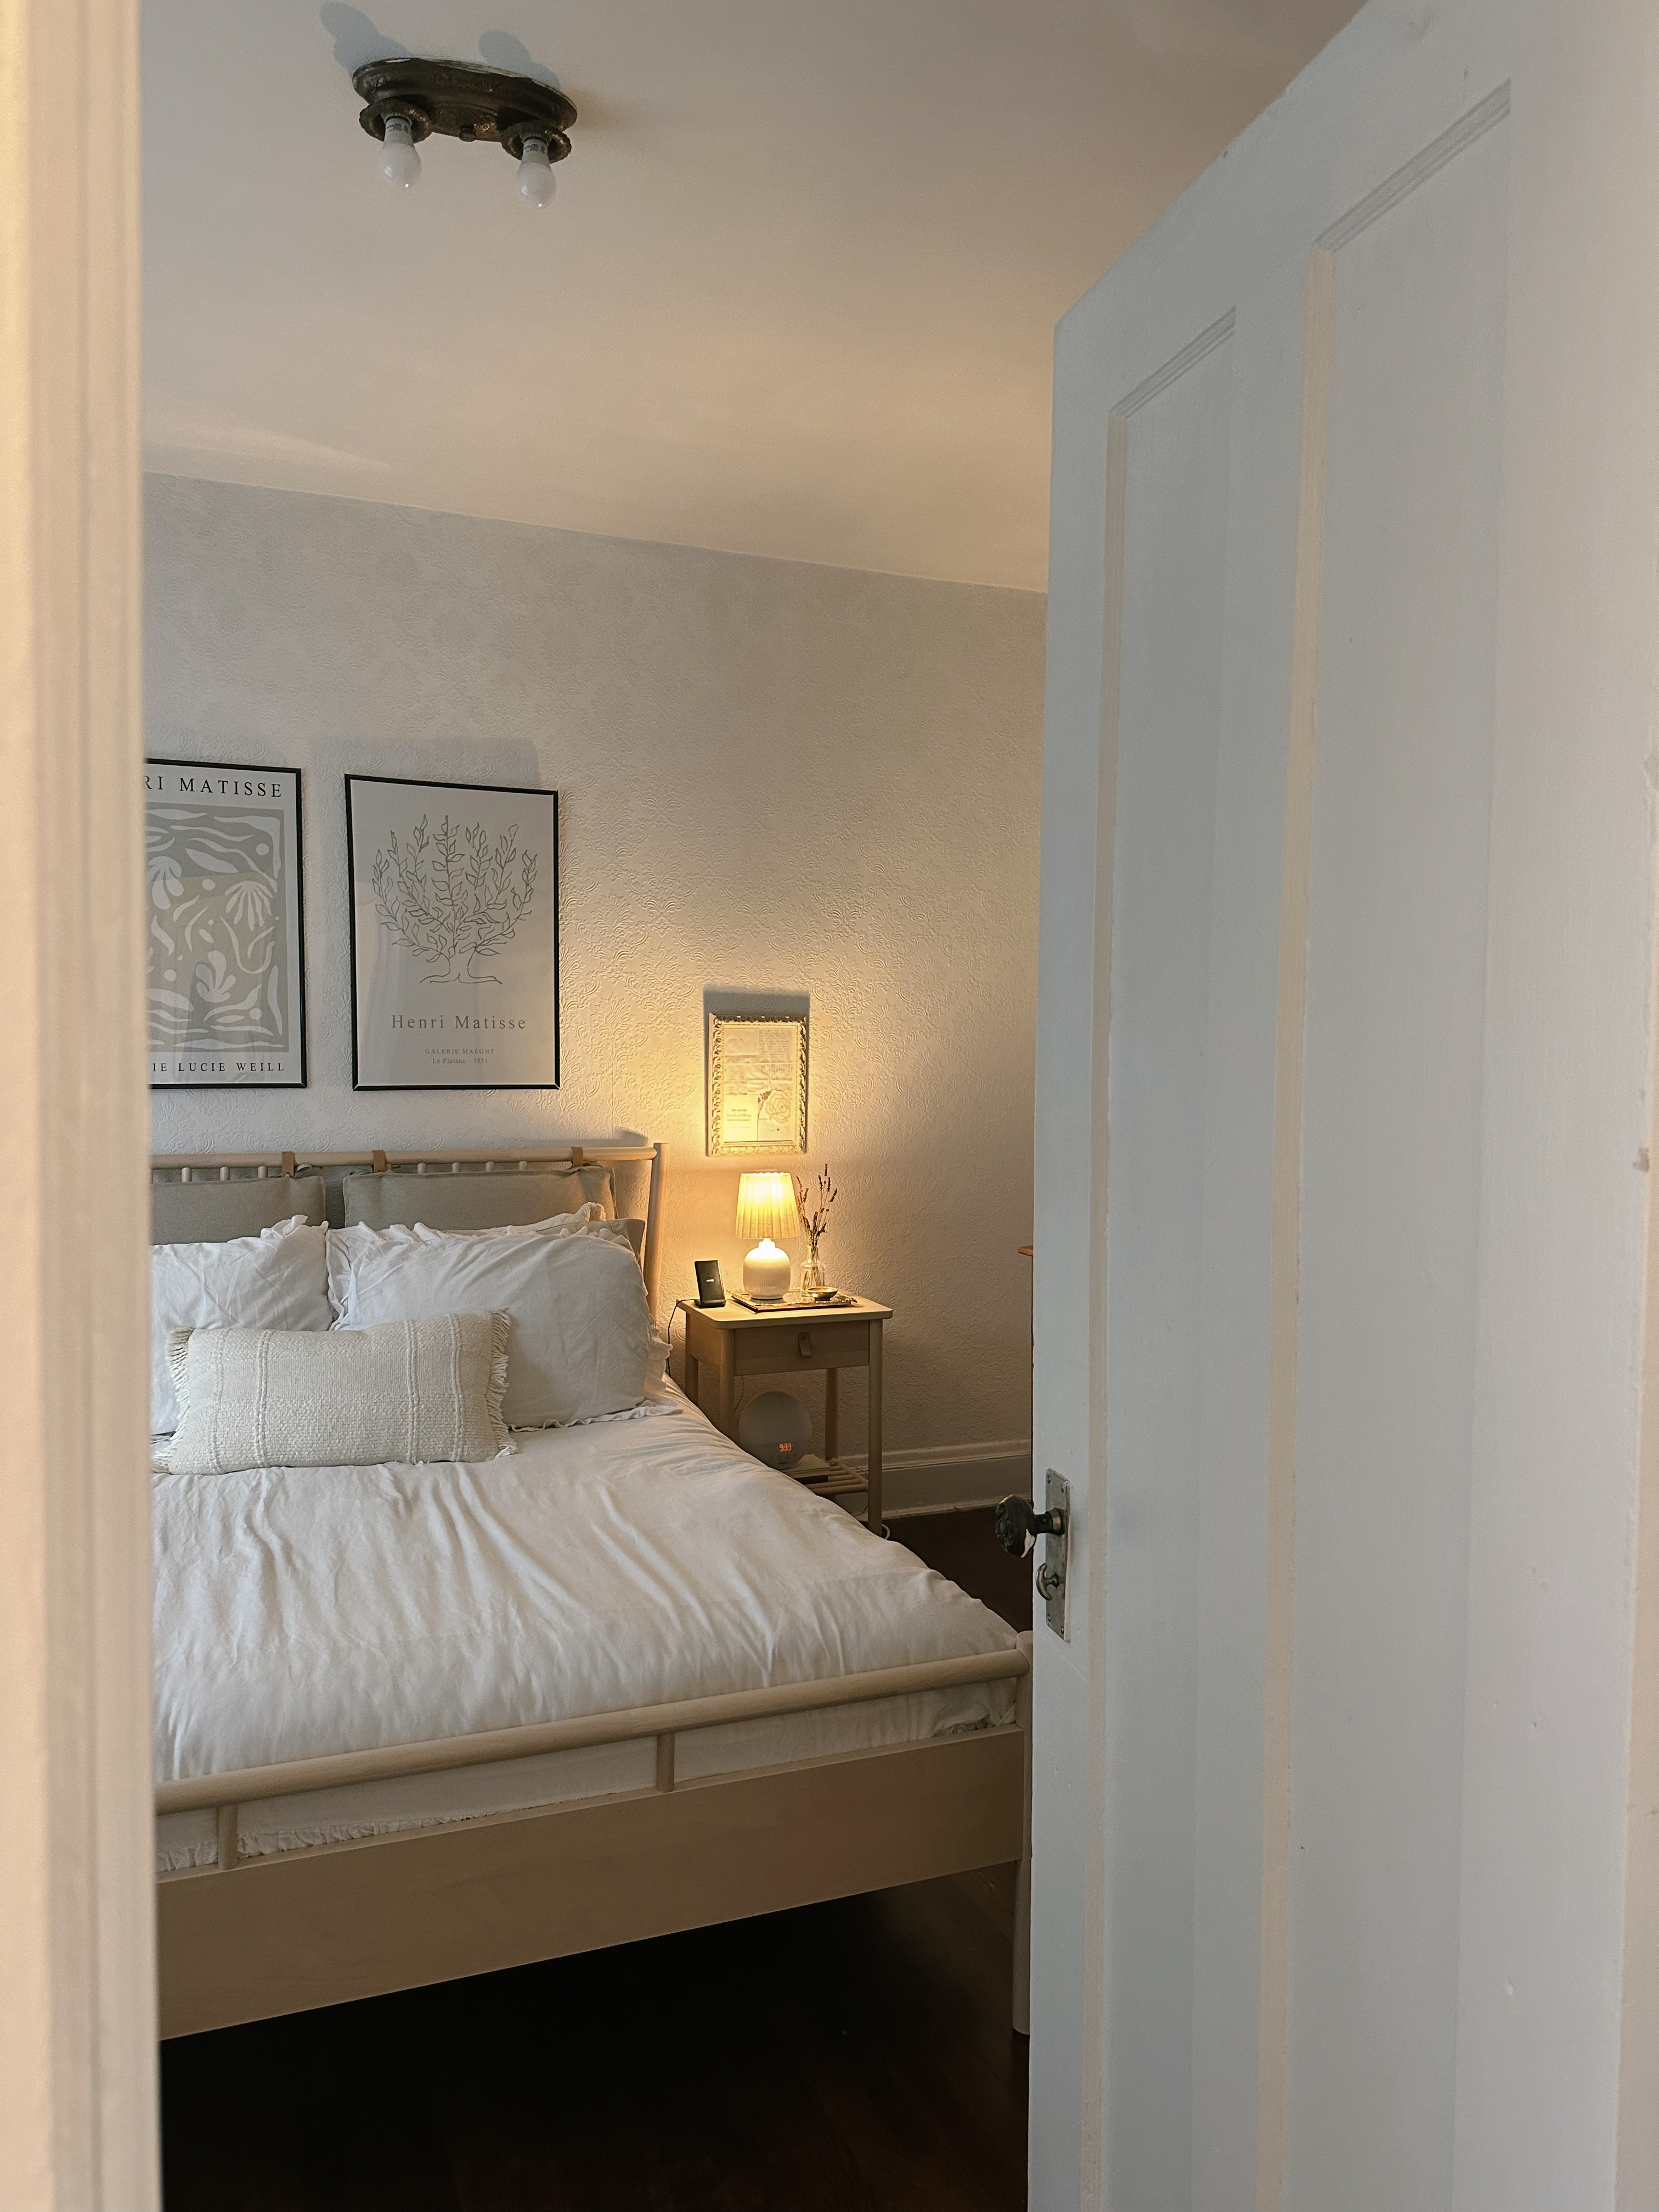
I’m starting a new category on the blog dedicated to my love for design and creating cozy spaces. For as long as I can remember I’ve been rearranging and designing spaces. It started with my bedroom as a child. I enjoyed switching the art on my wall, moving the furniture around, and adding different accessories regularly. I’d become excited to show my parents, siblings, and friends the changes I had made. These habits shifted to my first apartment when I moved to Italy, back to my attic space when I moved back home with my parents, and now to my apartment I currently have on my own. I’ve always been highly influenced by the spaces I’m in. It impacts my mood, productivity, motivation, and inspiration. I feel so much joy from creating a space that feels warm, inviting, and peaceful. It creates a safe place for me to return home to. It’s what makes a house a home.
My design style and aesthetic has definitely evolved over the years and will most likely continue to do so. For now, these are the spaces that make up my home. The spaces that fill my heart, mind, and soul with clarity and fulfillment. The spaces that feel like me.
Along Lake Erie, just past Sandusky, you’ll find the charming quaint town of Lakeside. Lakeside is a special place for me, as my family used to visit regularly in the summertime when I was a child. I haven’t been back in years so Patrick and I decided to revisit during labor day weekend! I had such a great time reminiscing on childhood memories and relaxing in this timeless town, it truly has the same charm I remember from years ago. Lakeside is the perfect spot for a small town getaway! Here is some tips and things to keep in mind before visiting Lakeside.
Things to know about Lakeside
During the summer months (Memorial Day through Labor Day) Lakeside requires visitors to purchase day passes and auto passes. These gate fees can be purchased online before hand or when you first arrive at the gate. Lakeside is open all year and the gate fees are only during the summer season.
There are several hotels and bed and breakfasts and cottages available. This trip we booked our stay at Hotel Lakeside and loved it! All accommodations can be found on the website.
During the summer months we noticed most restaurants were open in the mornings until 3pm and closed and reopened at 5pm for the dinner crowds.
The town has a newspaper published with events happening each week, be sure to grab one when arriving to stay up to date.
Parking is limited and confusing. There aren’t many designated spots for those who aren’t staying in a cottage. You may have to do several loops around the area to find a parking spot.
We spent two days at Lakeside and this was the perfect amount of time for a short getaway. During our stay, we booked a room at the Hotel Lakeside which is an iconic landmark in the park. The hotel was built in 1875 and the charm is still alive today! If you visit for longer than a weekend, I’d recommend renting a cottage.
Things to do in Lakeside
Wake up early for donuts at The Patio. They have the best cake donuts! They still taste the same as they did when I was a kid.
Grab a cup of coffee at Coffee and Cream or Oh La La. Both cafe’s are nice options with a variety of coffee choices as well as breakfast and lunch bites.
Play mini golf. The course is unique and with 15 holes, it will make for a fun day or night activity!
Stop by the t-shirt shop under the dock awning! It’s a small little shop with some of the coolest apparel to take as souvenirs.
Have lunch at Blue Bird cafe. Located just near the dock in the center of town, Blue Bird has delicious sandwiches and salads with a great outdoor seating area right near the water.
Rent a bike or golf cart at Sypherd Cycle. One of my favorite parts about Lakeside is that almost everyone bikes or rides golf carts around the town. We rented bikes and it was so fun to feel like a local for the weekend.
Have dinner at Lakeside pizzeria, former known as Sloopy’s pizza. This is a town favorite for pizza!
Go for a swim in Lake Erie! There’s access from the “beach” area or from the dock.
See a concert or speaker at the Hoover Auditorium. Lakeside does a nice job finding entertainment for visitors and access to the auditorium is included in the gate fee.
Trail along beachRoom at Hotel LakesideDetails in hotel roomFlorals along hotelScreened porch view at the hotelScreened porch at hotelKey for hotel roomEnjoying donuts by the beachIce cream from the patioView of Lake Erie from the dockBiking riding around townSunrise at the beachMorning donuts from the patioIconic Lakeside dock awning
Patrick and I recently returned home from another out west national park trip! One of the most memorable national parks we visited on this trip was Yellowstone. Yellowstone national park is the first national park in the country, established in 1872 and the charm and western feel of the park is still alive today. We had two full days in the park and we focused on seeing the major highlights. Here is an overview of how we spent our time in Yellowstone.
Things to know about Yellowstone
Yellowstone is huge! It’s separated into two loops, the northern and the southern. In hindsight, it would make sense to spend part of the trip in the north loop and part in the south loop to reduce drive time during the day. We ended up driving back and forth between the loops throughout the two days which is doable but plan to spend lots of time driving!
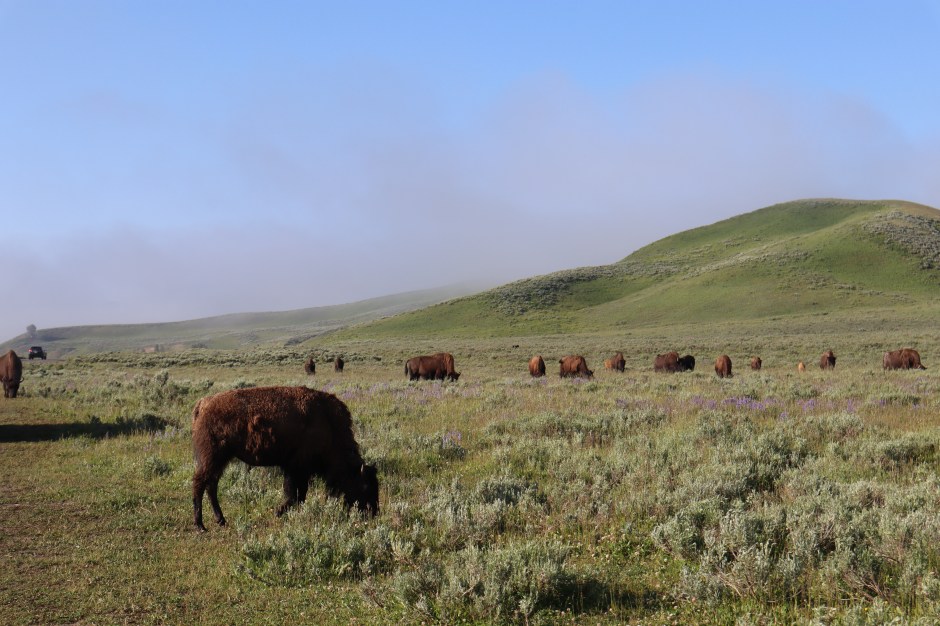
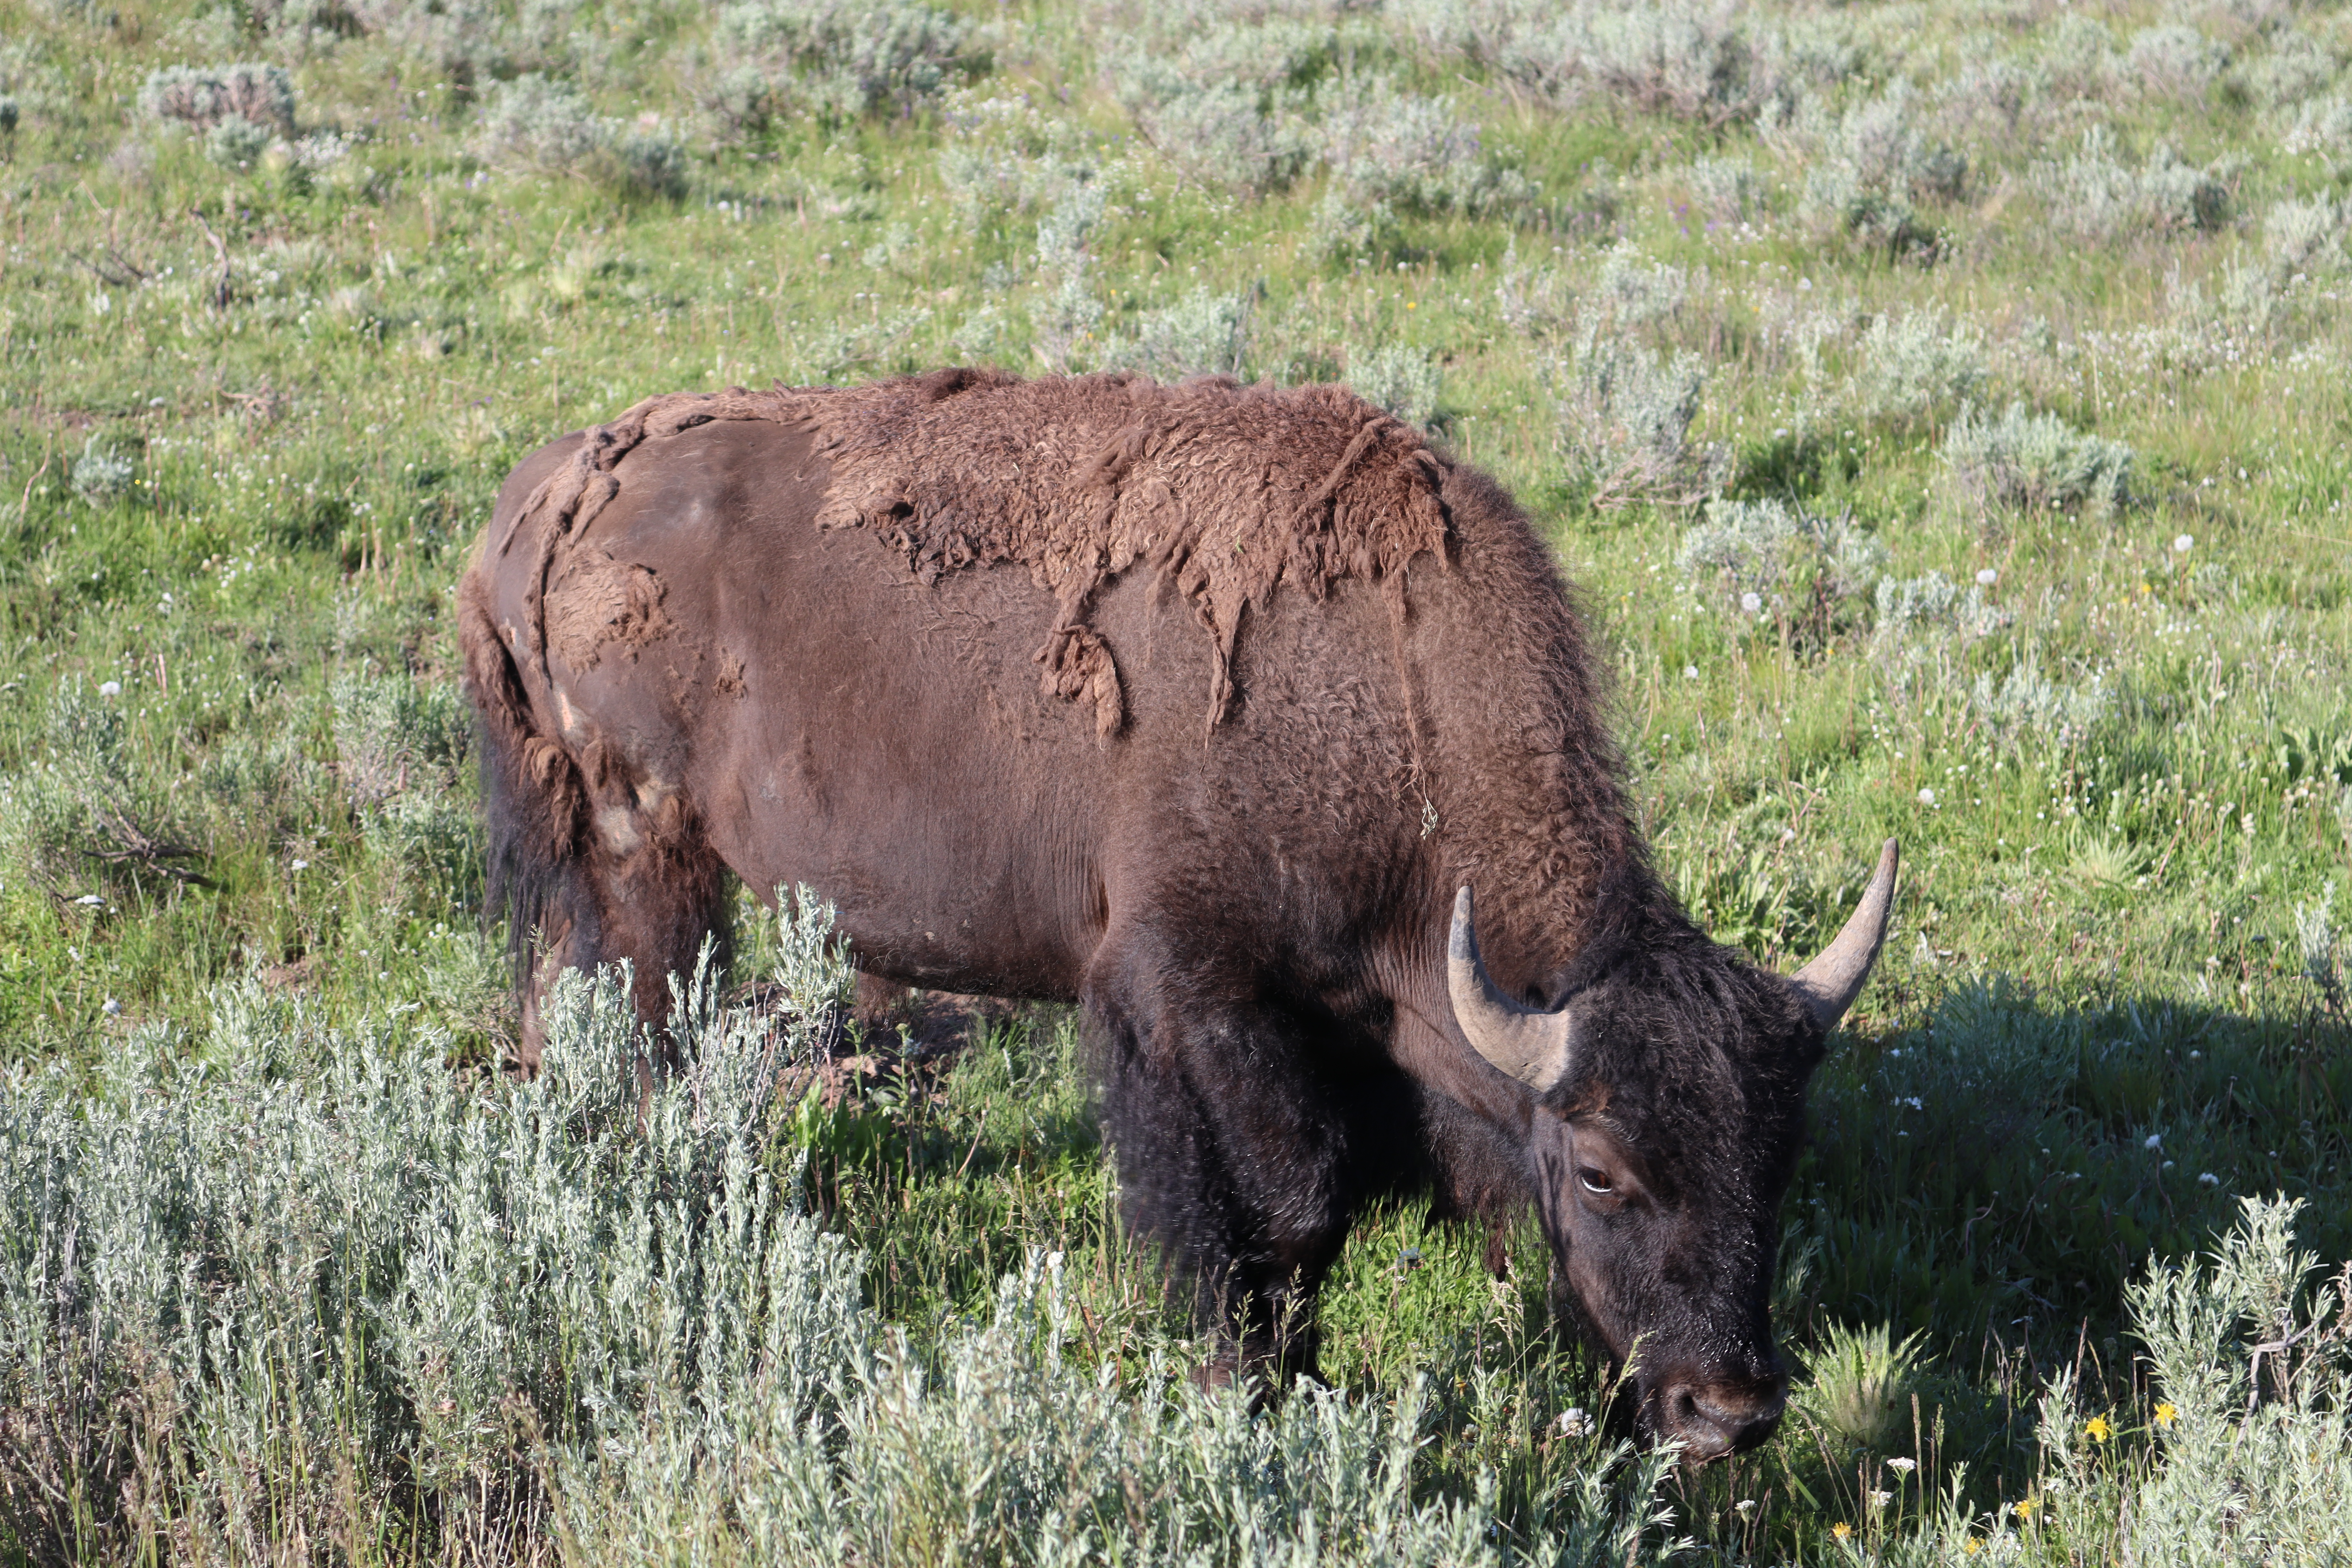
There are so many bisons! We were so surprised with how comfortable the bison are within the park. There were bison on the sides of the road throughout most of the park!
Yellowstone national park requires a fee for entrance into the park. It’s $35 for a 7 day period. As always, I’d highly recommend purchasing the America the Beautiful pass. It’s $80 and gets you into national parks for a year!
Day One
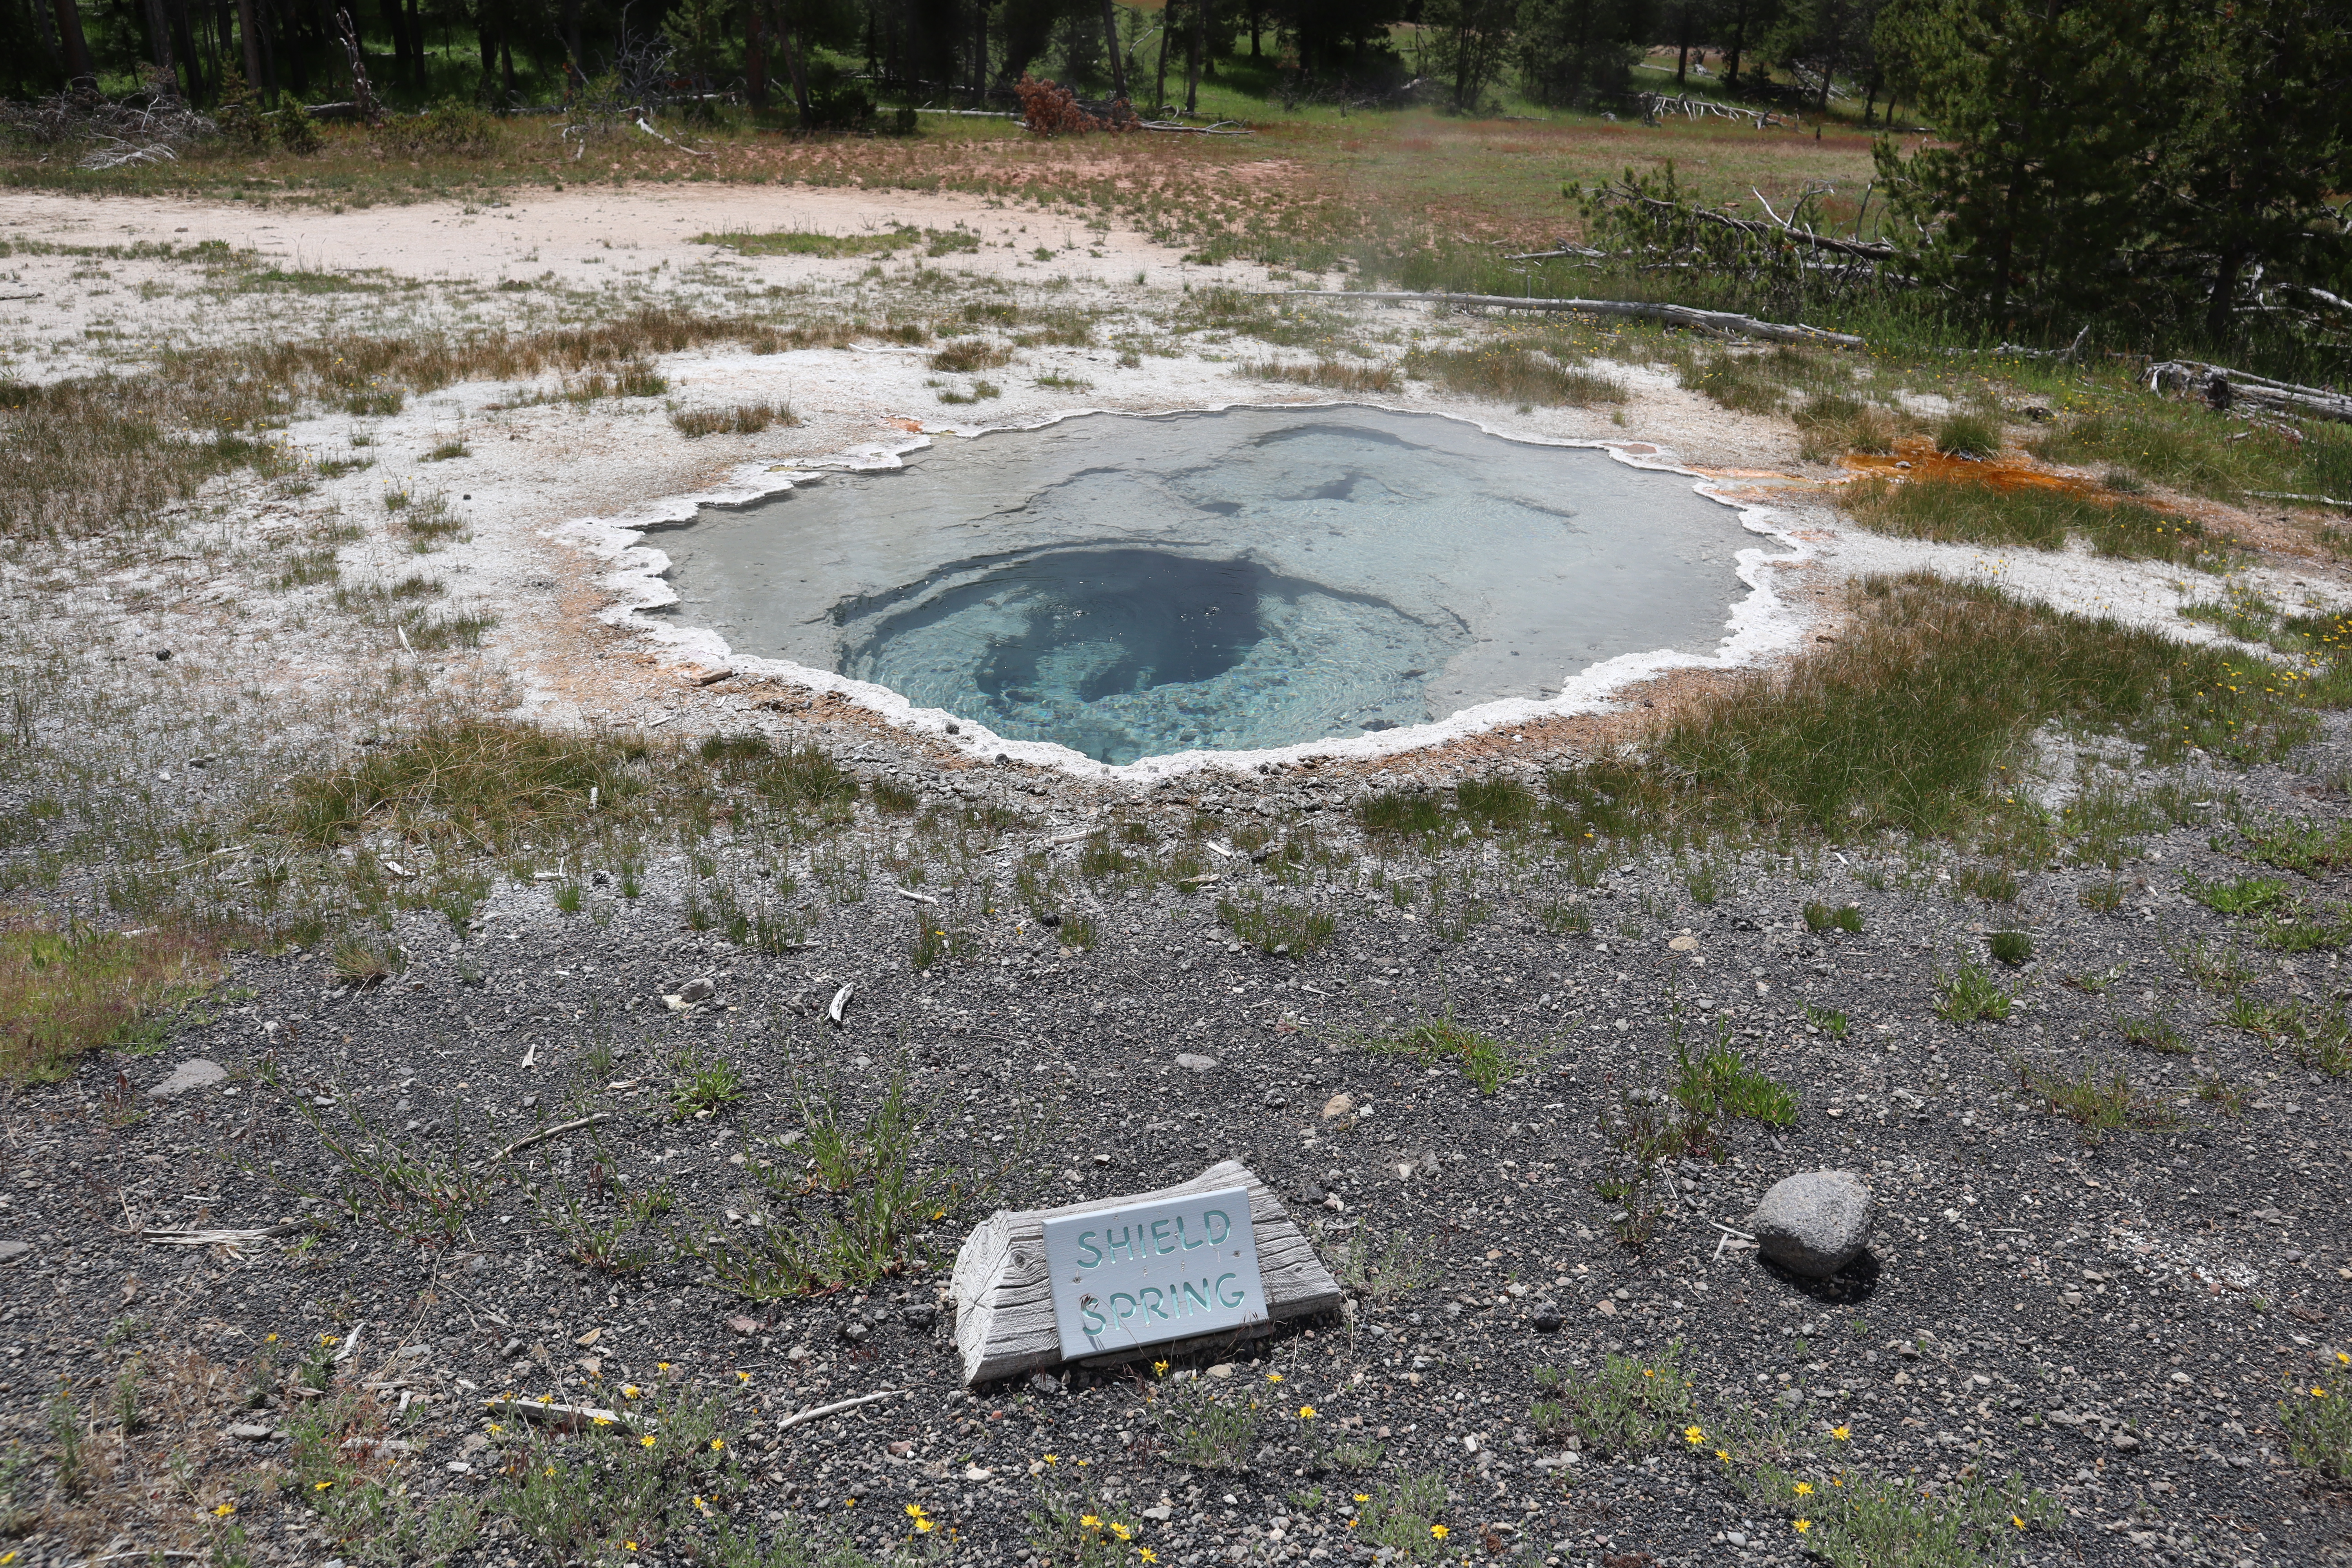
On our first day in the park, we decided to start at the most famous geyser, Old Faithful. Old Faithful is one of the oldest erupting geysers in the park and it erupts consistently every hour to hour and a half. We used a website called geyser times to check in on the old faithful’s next predicted eruption before showing up. This was helpful to have a gauge on how much time we would have to wait. After watching Old Faithful, we walked along the boardwalk (upper geyser trail) that takes you to many other geysers and pools in the park. This was a pleasant walk and we went all the way to morning glory pool and back which was about 3 miles total. There is so much to see in this part of the park so make it your own! Some geysers or pools I’d recommend are:
Old Faithful
Castle geyser
Daisy geyser
Spa geyser
Morning Glory pool
Grotto geyser
Grand geyser
Beauty pool
After exploring this part of the park, we took a 15 minute drive to the fairy falls trailhead to hike to the overlook of Grand Prismatic spring. This is an iconic spring because it’s colors are so vibrant. There is access to see this spring up close but we preferred the overlook to see the spring from above. The hike to the overlook is about 1.5mile and a bit steep at times, but the view is definitely worth it!
We stayed at Canyon Campground while visiting Yellowstone and it was wonderful! The reservation here covered a shower a day for each camper and they had laundry facilities for campground guests.
Exploring geysersSpring from along the boardwalk trailCanyon CampgroundGeyser along upper geyser trailMorning Glory poolGrand Prismatic spring via fairy falls overlook trailCrowds at Old FaithfulGeyser along upper geyser trail
Day Two
Day two in Yellowstone started at Hayden valley to watch bison! Hayden valley is a well known spot in the park to capture an up close view of bison. I was hopeful we’d see some bison but I was in awe of how many bison we did see and how comfortable they all were walking near the road! Please respect the bisons home and space, we were able to see these incredible animals up close from the safety of our car, it’s not necessary to get out of the car. It’s also not safe to do so, these are wild animals after all.
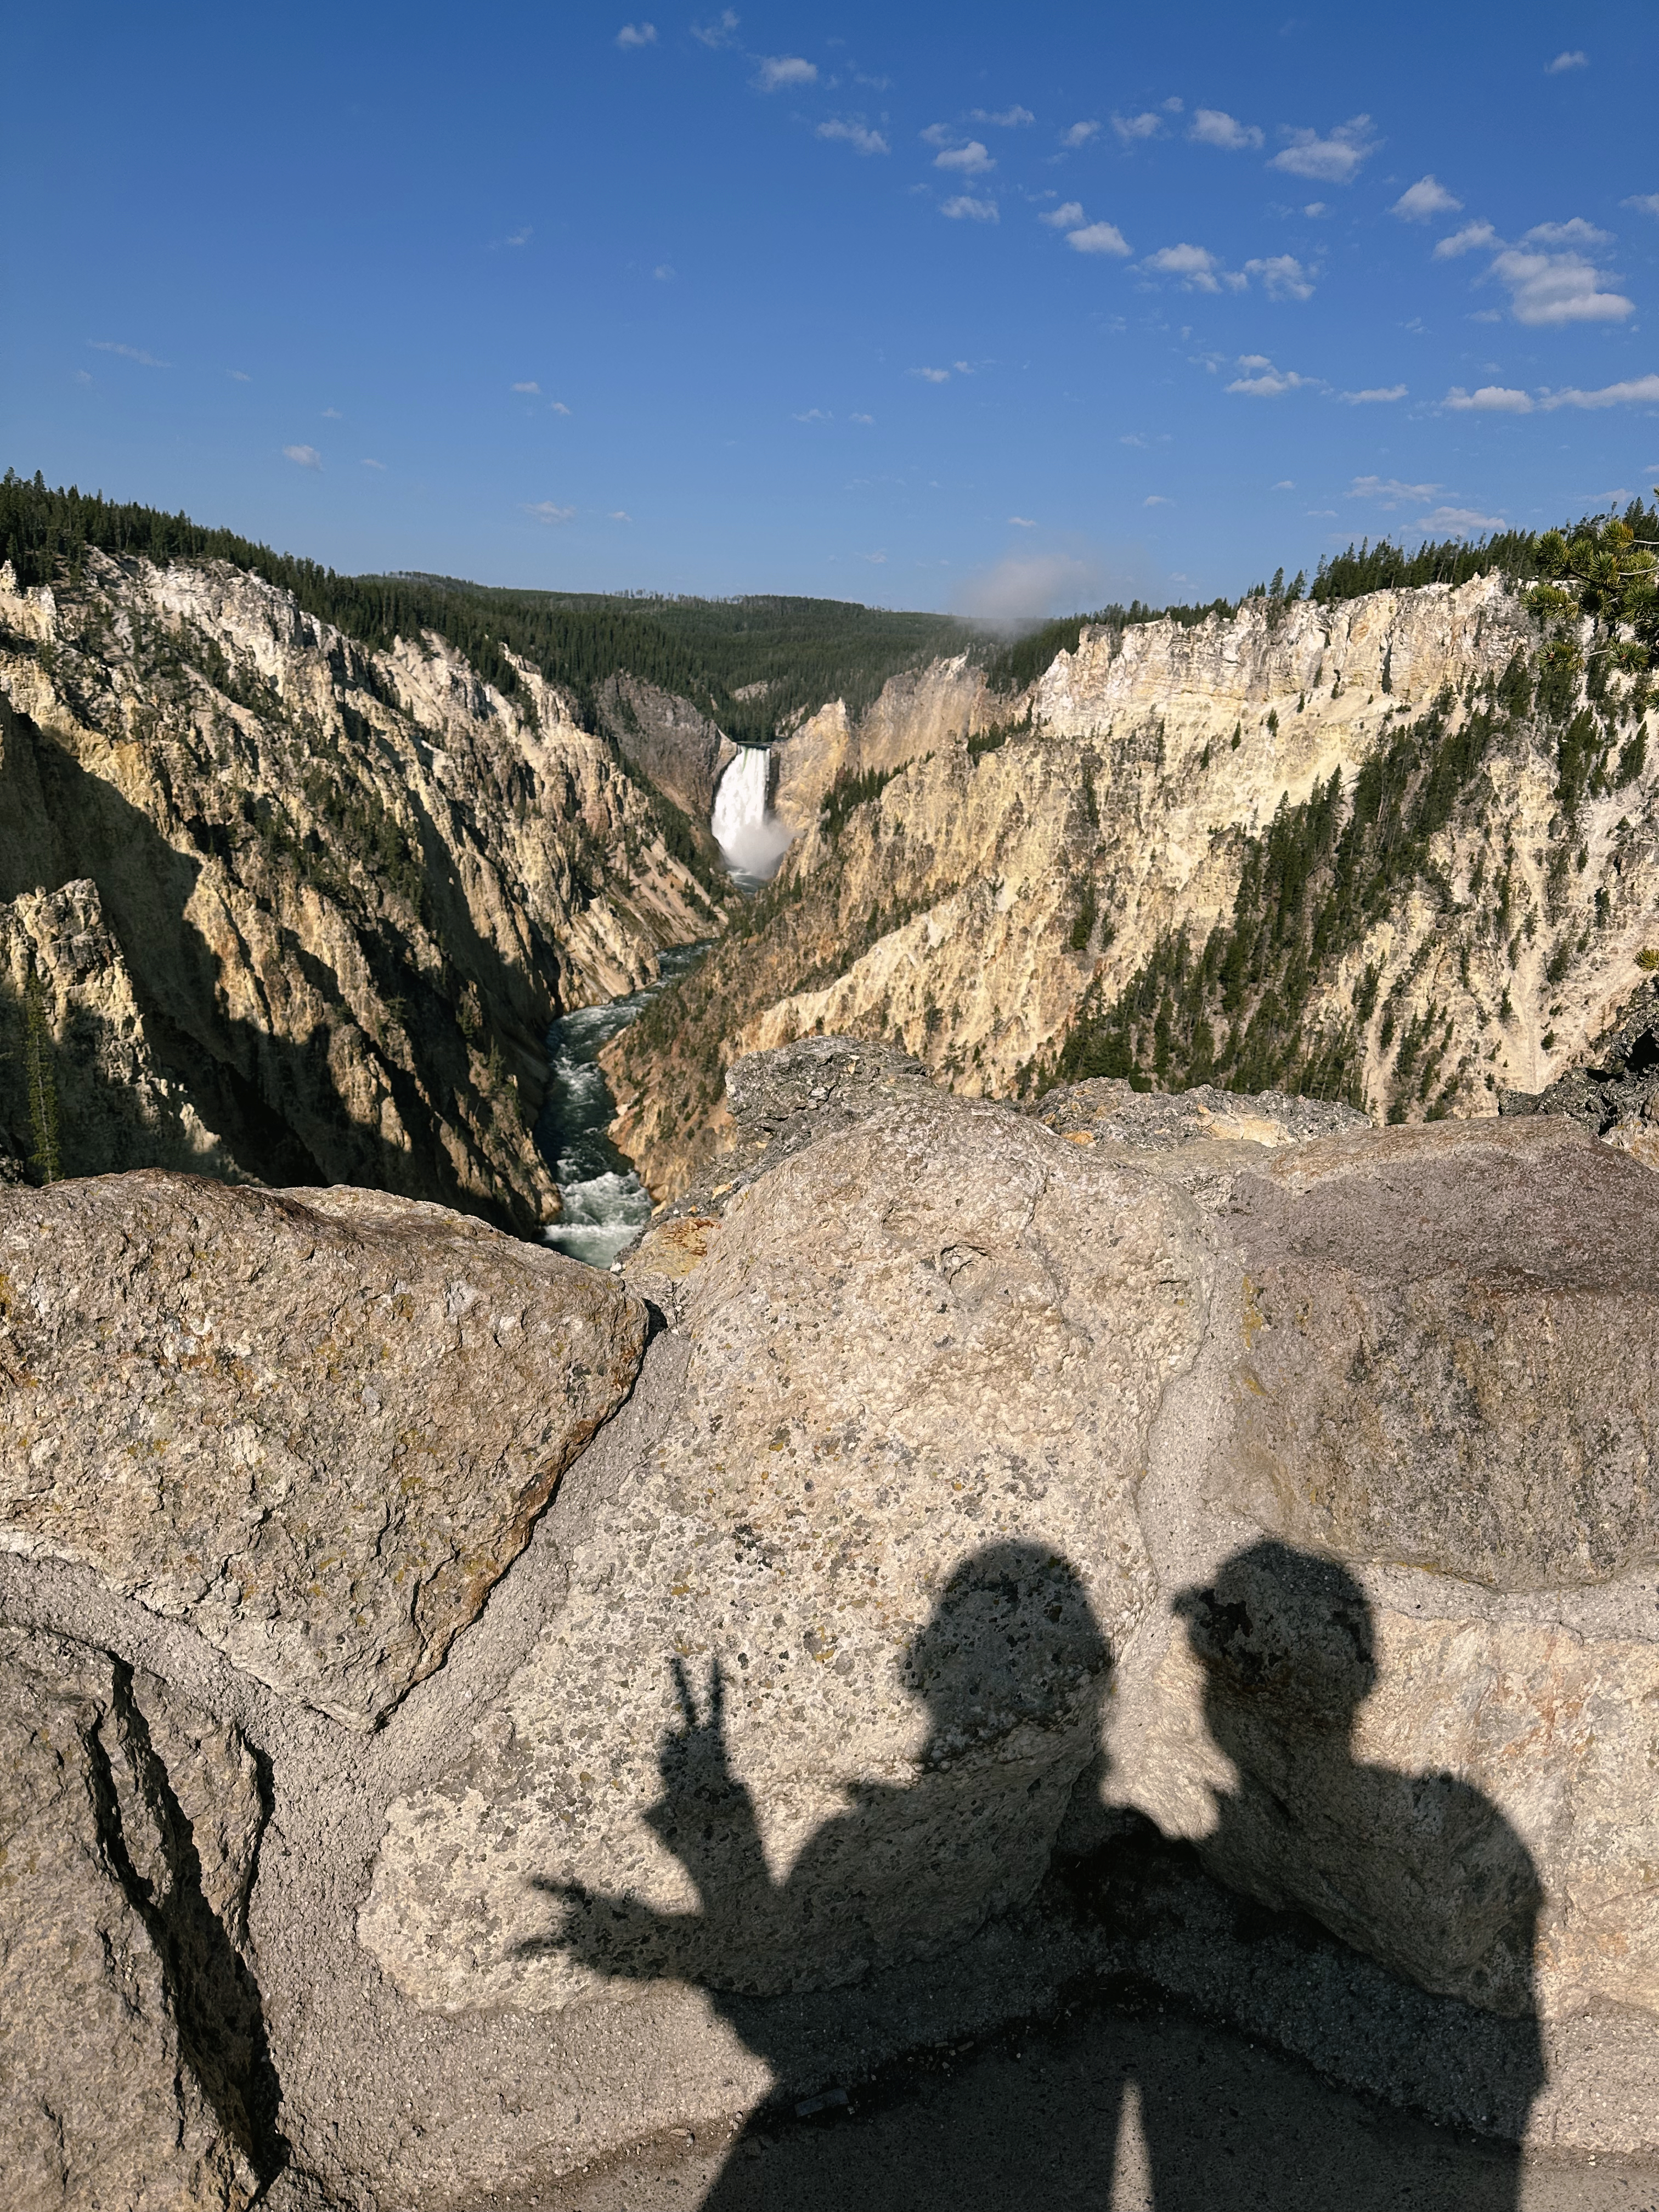
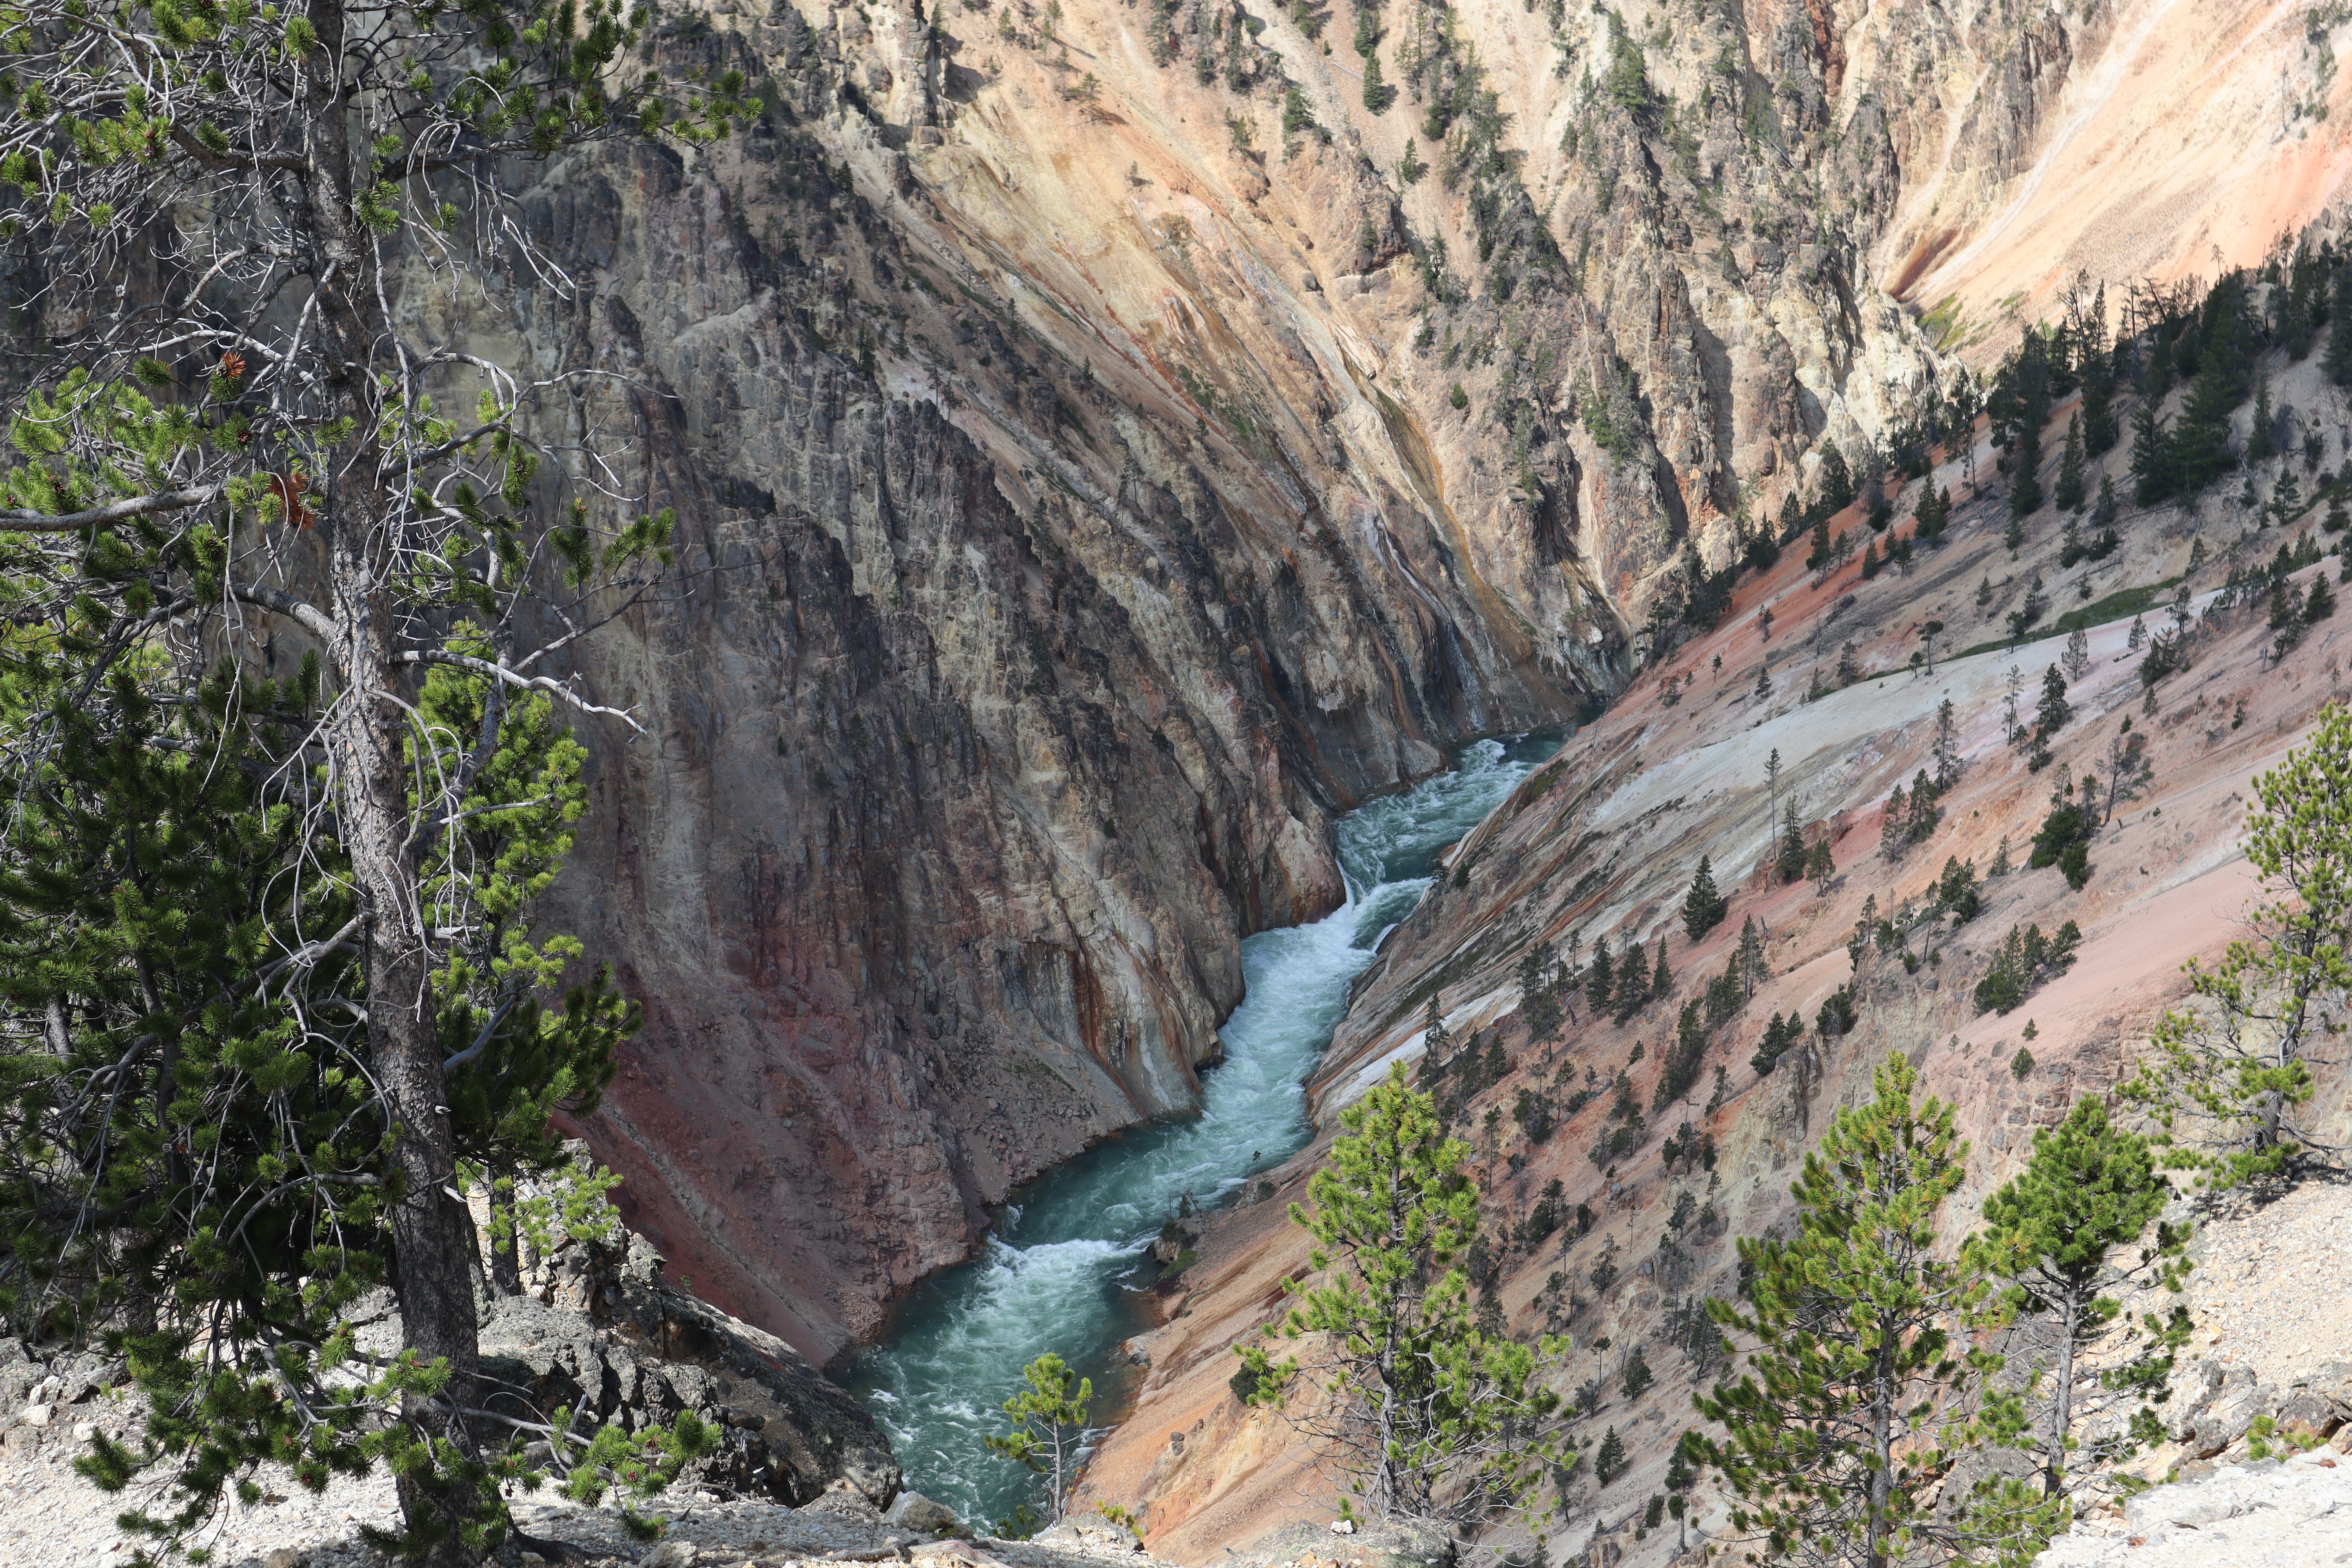
After a beautiful morning in Hayden valley, we headed to the Grand Canyon of Yellowstone. The Grand Canyon of Yellowstone is such an underrated spot in my opinion! This was a stunning canyon different than others I’ve seen before. I appreciated that the park had several different viewpoints of the canyon and waterfall that are all well marked while driving through this area. We started along the south rim drive at Artist’s point which was beautiful and probably my favorite of all the view points. I’d also recommend:
South Rim drive: Artist’s point and upper falls lookout point.
North Rim drive: brink of lower falls, inspiration point, grand view point, and lookout point
After spending time exploring the various view points of the grand canyon, we headed towards the northern loop of the park to drive through Lamar valley, another famous valley where bison are known to graze. The drive to this part of the park was beautiful, there were so many scenic pull off areas with mountain views. Unfortunately when we reached Lamar valley, there weren’t many bison at all which we believed was due to the construction going on. Regardless, it was still a beautiful drive.
From here, we continued driving to another famous spot in the park, Mammoth Hot springs. This was a crowded spot for good reason! The lower terrace of the hot springs was so unique and stunning we were in shock. This is a fairly quick stop but I’d say it’s a must see while visiting Yellowstone. From here, we continued around the northern loop and stopped at the Norris Geyser Basin area to see more beautiful geysers and springs. This area is similar to the old faithful area, with boardwalks that lead you to view points of the various geysers and springs.
After a busy second day, we ended our last night in Yellowstone by cooking dinner at camp before heading back to Hayden valley for sunset. One of our favorite parts of the park was watching the bison! When we went back to Hayden valley after dinner, there were herds of bison moving together. It was so magical to watch the animals in their natural habit settle for the night. We parked the car on the side of the road and had a front row seat!
Bison!Grand canyon of YellowstoneArtist’s view lookoutupper falls look outNorris Geyser basin Bison in Hayden ValleyMammoth hot springs
Yellowstone Tips
Book a campground early if you plan to camp! There are several campgrounds within the park, all of which seem to fill up pretty quickly. I can’t speak for the other campgrounds in the park but we were very impressed with canyon campground! I’d recommended picking a campground close to sites you’d like to see since the park is so large.
You will do a lot of driving! Regardless of where you stay within the park, if you plan to see many of the park’s highlights, be prepared to drive a lot during the day.
Look up Old Faithful’s eruption times prior to stopping by
Pack your own food. There are several restaurants and “general stores” at major sites in Yellowstone, but the food wasn’t the best and it was pretty expensive.
Check out the park’s website for closures and construction zones. When we visited, there were several spots under construction which caused delays.
Our road trip this summer started with some time in South Dakota. As someone who has never visited South Dakota, I was surprised by it’s beauty and unique features throughout the state. We planned to spend our short time in South Dakota stopping by Badlands National Park, the iconic Wall Drug store and Mount Rushmore before moving on to Wyoming. Combining these three destinations within two days worked out well for us before moving on to other parks. Here’s an overview of how we spent time in South Dakota.
Badlands National Park
Badlands is a park that truly surprised me! From the highway, this area of South Dakota seems pretty rural and green but as soon as you enter the park, there are desert like features and stunning badlands. Badlands is a small park but it did offer a lot of activity and sites to see in our short visit.
Things to do:
Check out the visitor’s center.
Hike the Notch trail. This trail is beautiful and offers a fun ladder to climb partially through the hike. Unfortunately we didn’t get to hike the entirety of this trail due to crowds. We made the mistake of trying to hike this mid day and once we reached the ladder, there was a huge line.
Hike the Window and Door trails. These are short trails along boardwalks that take you to a beautiful opening of more badlands.
Drive along the scenic road within the road. The road that takes you through the park is the scenic road and there are several pull off areas to stop to enjoy more badlands views.
Badlands overlookDriving along the scenic roadBadlands overlookBadlands overlookThe notch trailEntering the park
Wall Drug store
I didn’t know about Wall Drug until I started researching things to do in South Dakota. This is a huge tourist attraction about 15 minutes from Badlands National Park. The day we drove into South Dakota, we started seeing signs and billboards for Wall Drug 3 hours out! Although it’s a tourist stop, it was definitely a fun experience and I’d recommend stopping. The whole place feels western and old fashion which is part of the charm. Wall Drug is famous for it’s 5 cent coffee and free ice water which was historic years ago for travelers passing through.
After exploring Badlands and Wall Drug, we drove about an hour and a half to a campground in Custer State park, Center Lake campground, to be closer to our next destination. This was a wonderful campground for the night and the best part was we were only 30 minutes from Mount Rushmore!
Wall Drug5 cent coffeeFree ice waterThe original drug store frontMenu at cafe Souvenir shopping
Mount Rushmore
We woke up bright and early to visit Mount Rushmore before the crowds. If you can, I’d highly recommend this. We arrived around 5:30am and were one of the only ones visiting the monument. It was so peaceful and relaxing to experience this iconic monument without having to fight crowds. We spent a lot of time taking photos before walking the presidential trial. This trail is a little less then a mile and well paved with boardwalks and steps that give you an up close view of the monument. There’s also the sculptor’s studio along this trail that gives more information about the building process, practice sculptures that were built and the overall history of the monument. Since we were there so early this was closed (opens at 8am) but I would have loved to explore this part as well. Keep in mind, the monument itself is free to visit, however, it does cost $10 to park.
Mount Rushmore after sunriseOne of the only ones there this earlyPolaroid shot of monumentSculptor’s studioUp close view along Presidential trailPresidential trail
There is so much to see throughout South Dakota and I wish we would’ve had more time. Wind Caves National Park is also extremely close to this area too if you want to add another stop along the way. If you’re short on time like us or just passing through, these three stops are must sees!
One of my favorite ways to capture memories on a trip is through film photography. Last month I went on a two week national park road trip and brought along my Canon ae-1 35mm camera. This is my second film collection shared on the blog, and these are some of my favorite travel photos captured in timeless film. These photos were taken throughout several states and national parks highlighting the beauty of South Dakota, Wyoming, and Montana.
Film Collection 02 / Summer ’23
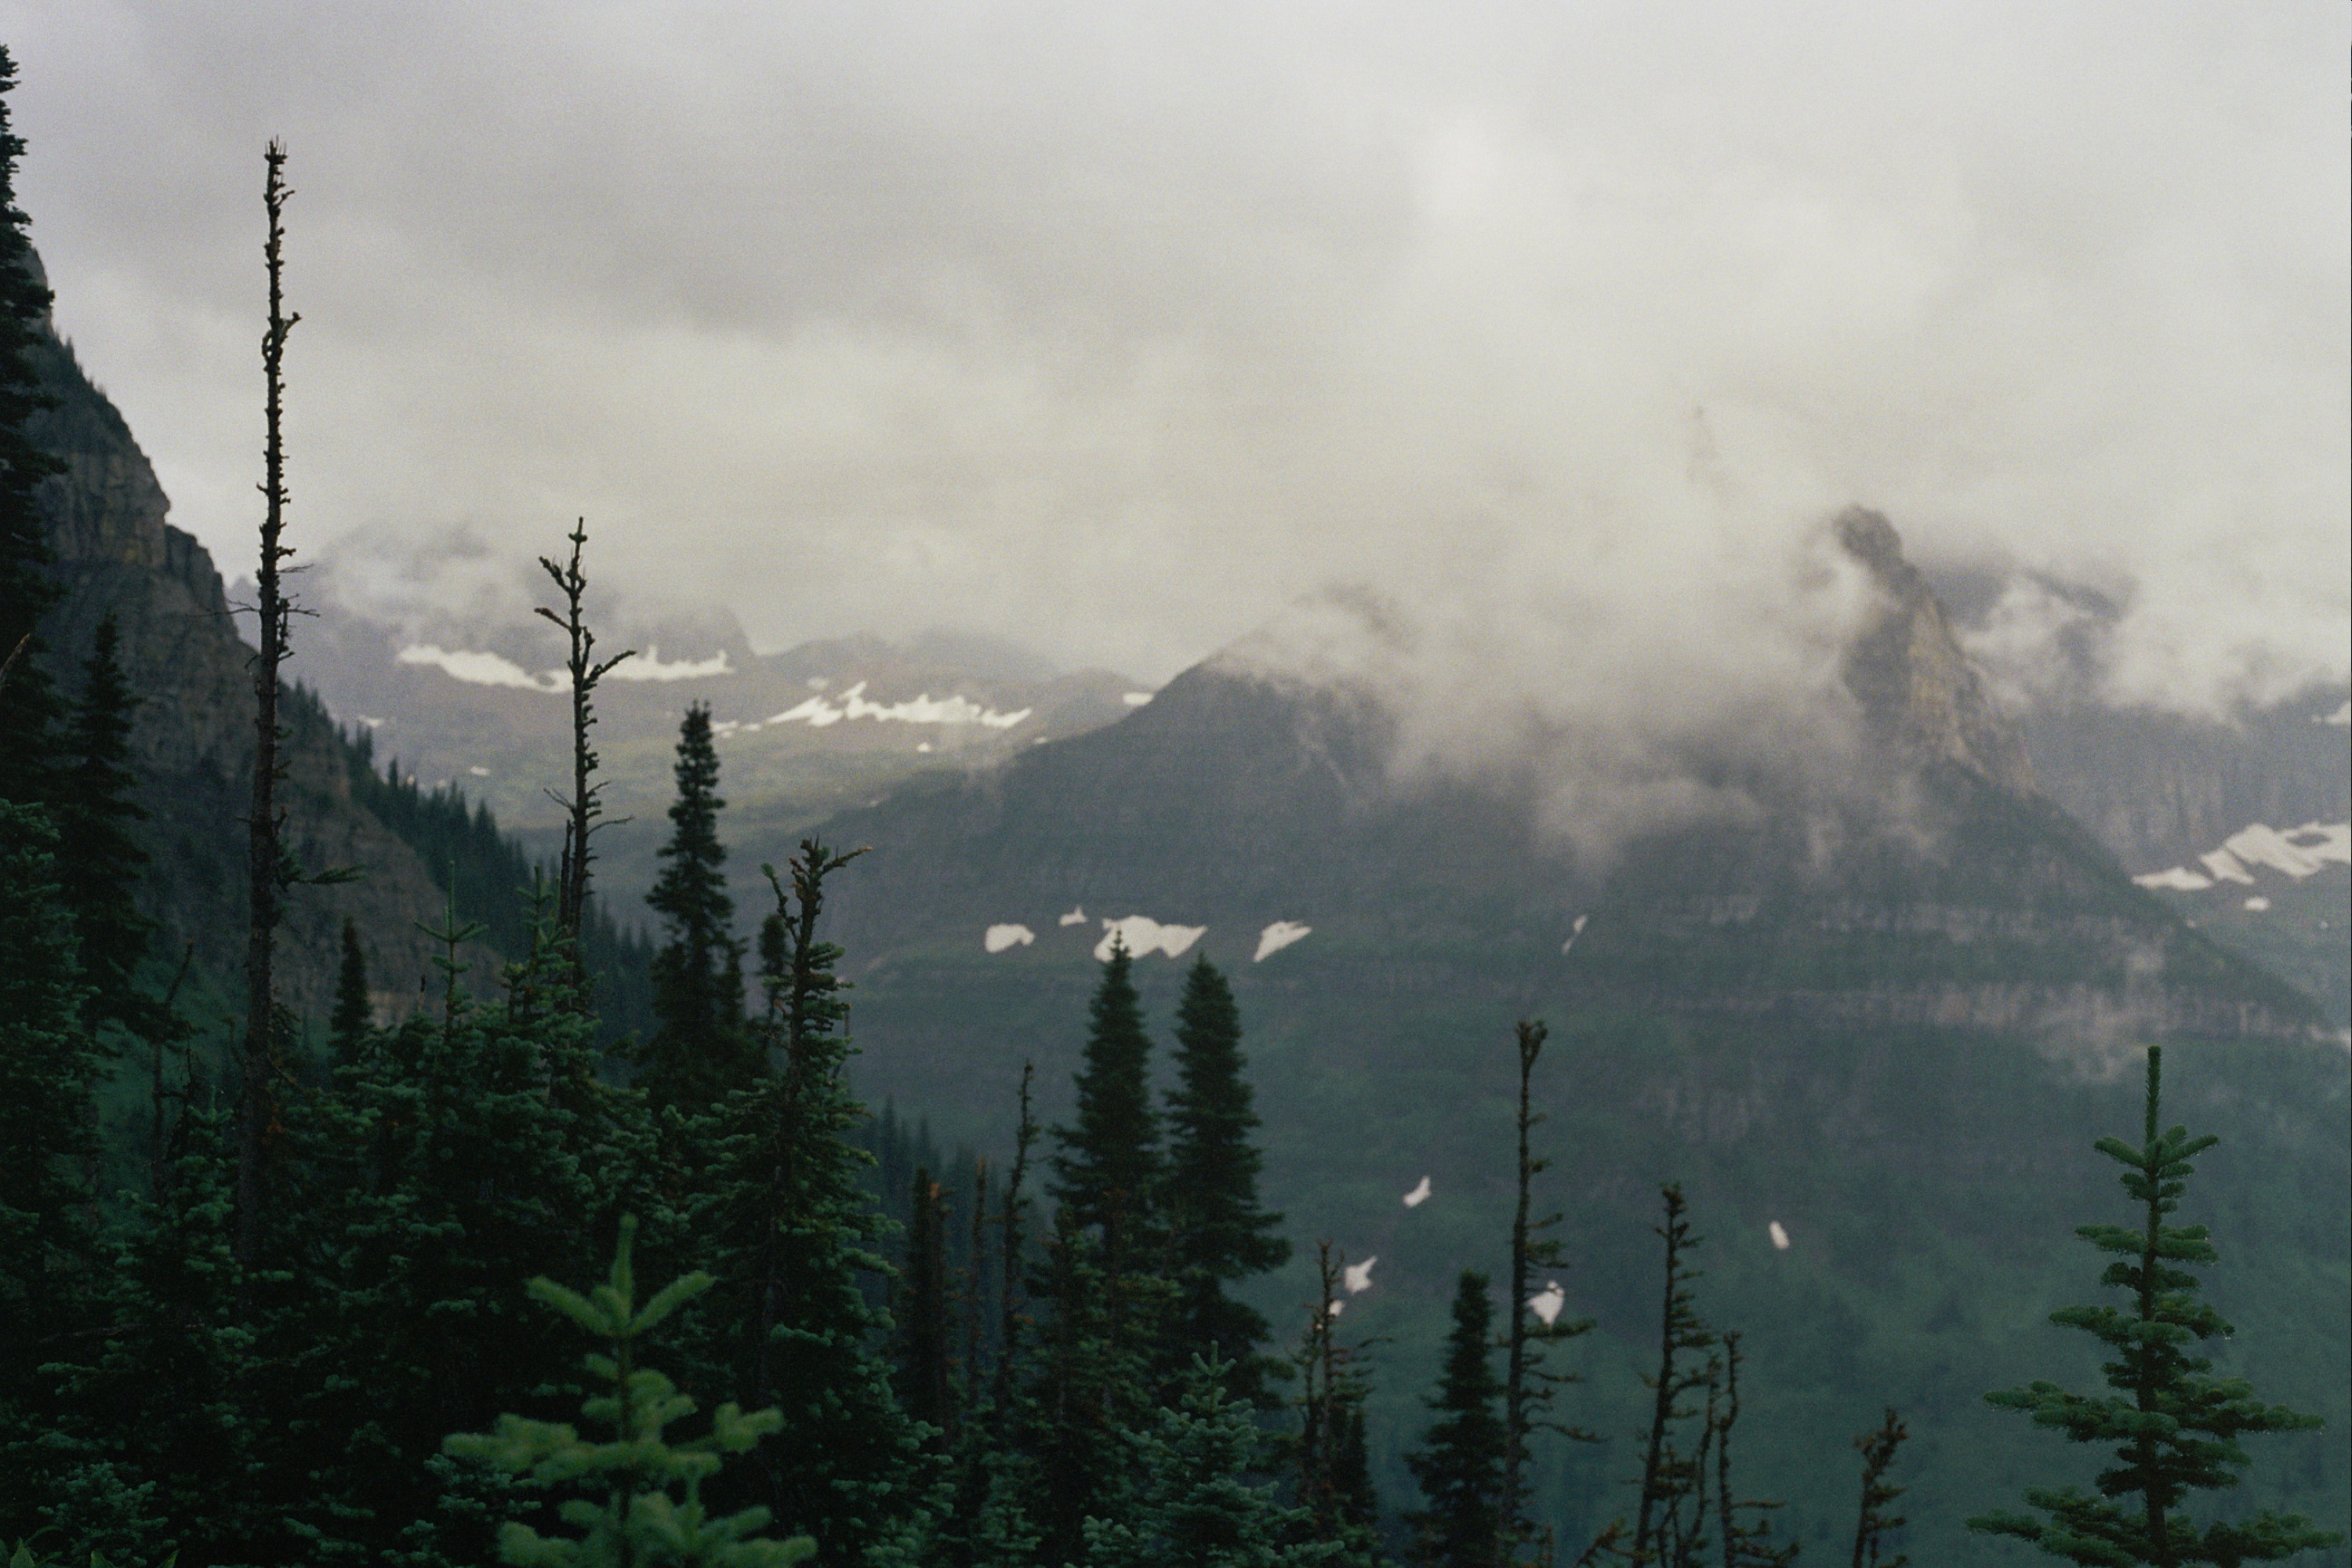
Mormon Row, Grand Tetons National ParkOverlook in Badlands National Park Indiana Dunes National ParkSunrise at Mormon Row, Grand Tetons National ParkViews along the ‘going to the sun road’, Glacier National ParkLake Mcdonald, Glacier National ParkGlacier National Park Mount RushmoreBreakfast at campGrand Tetons National Park Mormon Row, Grand Tetons National Park Badlands National Park The high line trail, Glacier National Park Driving into WyomingOxbow Bend look out, Grand Tetons National Park Breakfast at campBadlands National Park Grand Prismatic Spring, Yellowstone National Park Hayden Valley, Yellowstone National Park Schwabacher Landing, Grand Tetons National Park Car campingWild Goose Island, Glacier National Park Jackson Hole, WyomingGrand Tetons National Park Glacier National Park
Planning a trip to a national park can feel intimidating when there’s so much to plan for! Although a trip to a national park could be planned last minute, from experience I’d recommend planning well in advance to guarantee more options and less stress. Throughout the last two years, most of my trips have been to national parks. I’ve learned so much about the planning process and wanted to share some tips. This summer I’ll be going on another cross country road trip to visit 4 more national parks and these are the tips I followed to help us plan another amazing trip!
My Tips
If you’re planning to stay at a campground, be sure to book at least 6 months in advance for most national parks. This is the number one tip I have. Many people want to guarantee they will have an accommodation well in advance from their trip, especially during busy season which is usually summer. We are going to Glacier National Park this summer and I booked the campground for us in January (!). If planning this far in advance isn’t an option, most national parks do save ‘first come first serve’ spots at campgrounds but it is generally competitive. This tip could also apply to hotels or other accommodations near a national park.
Similar to tip one, if you’re planning to stay at a campground do some research on the area you’d like to be in. The campgrounds in most national parks are spread out and not necessarily close to popular sites and trails. If this is important to you, you’ll want to try and book the most central campground in the park, which no surprise, is usually the campground that fills up the fastest!
Take time to plan out hikes or other activities you’d like to do. Each national park has their own website that highlights the hikes within the park, campgrounds, historic sites, and other activities. If you plan to do a lot of hiking, I’d suggest mapping out the trails you’d like to do. On the website, you’ll find how long each hike is and the difficulty level (which is important to be aware of beforehand).
Research other reservation requirements. Since the pandemic, several national parks have been requiring additional vehicle timed entry reservations or reservation passes for popular sites to reduce crowds. As of this year, many popular national parks are still enforcing this and it’s important to know in advance because it’s not possible to get a reservation on site. I discuss the vehicle reservation system in some of my national park posts, there are ways around this if you’re unable to get a pass in advance. These requirements will be clearly listed on each park’s website.
Look up trail statuses on the national park’s website. As I mentioned earlier, each national park has their own website and updates are posted daily. This is particularly helpful if you’re going to a park with lots of wildlife, or drastic weather changes. Sometimes trails close if there’s too much wildlife activity or due to weather conditions. Speaking from experience, it’s better to check before hand or else you’ll arrive at the trail feeling disappointed!
If you plan to visit multiple national parks in one trip, I’d recommend investing in the America The Beautiful pass, it’s $80 and gives you access to any national park for one year! Most national parks cost $35 for entry so the pass will definitely pay for itself if you have plans to visit more then one park within a year!
Pack extra layers. This is a tip I learned from experience, even if you’re visiting a national park during the summer months, I found most nights or early mornings were still chilly, especially if you’re hiking in higher elevations! The climate definitely changes the higher up you hike.
Arrive early to trailheads. Popular hikes within a national park become very crowded! I’d suggest arriving to most trailheads before 7am if you’d like to explore without crowds. This is also beneficial for securing a parking lot at a trailhead as these fill up quickly too depending on the popularity.
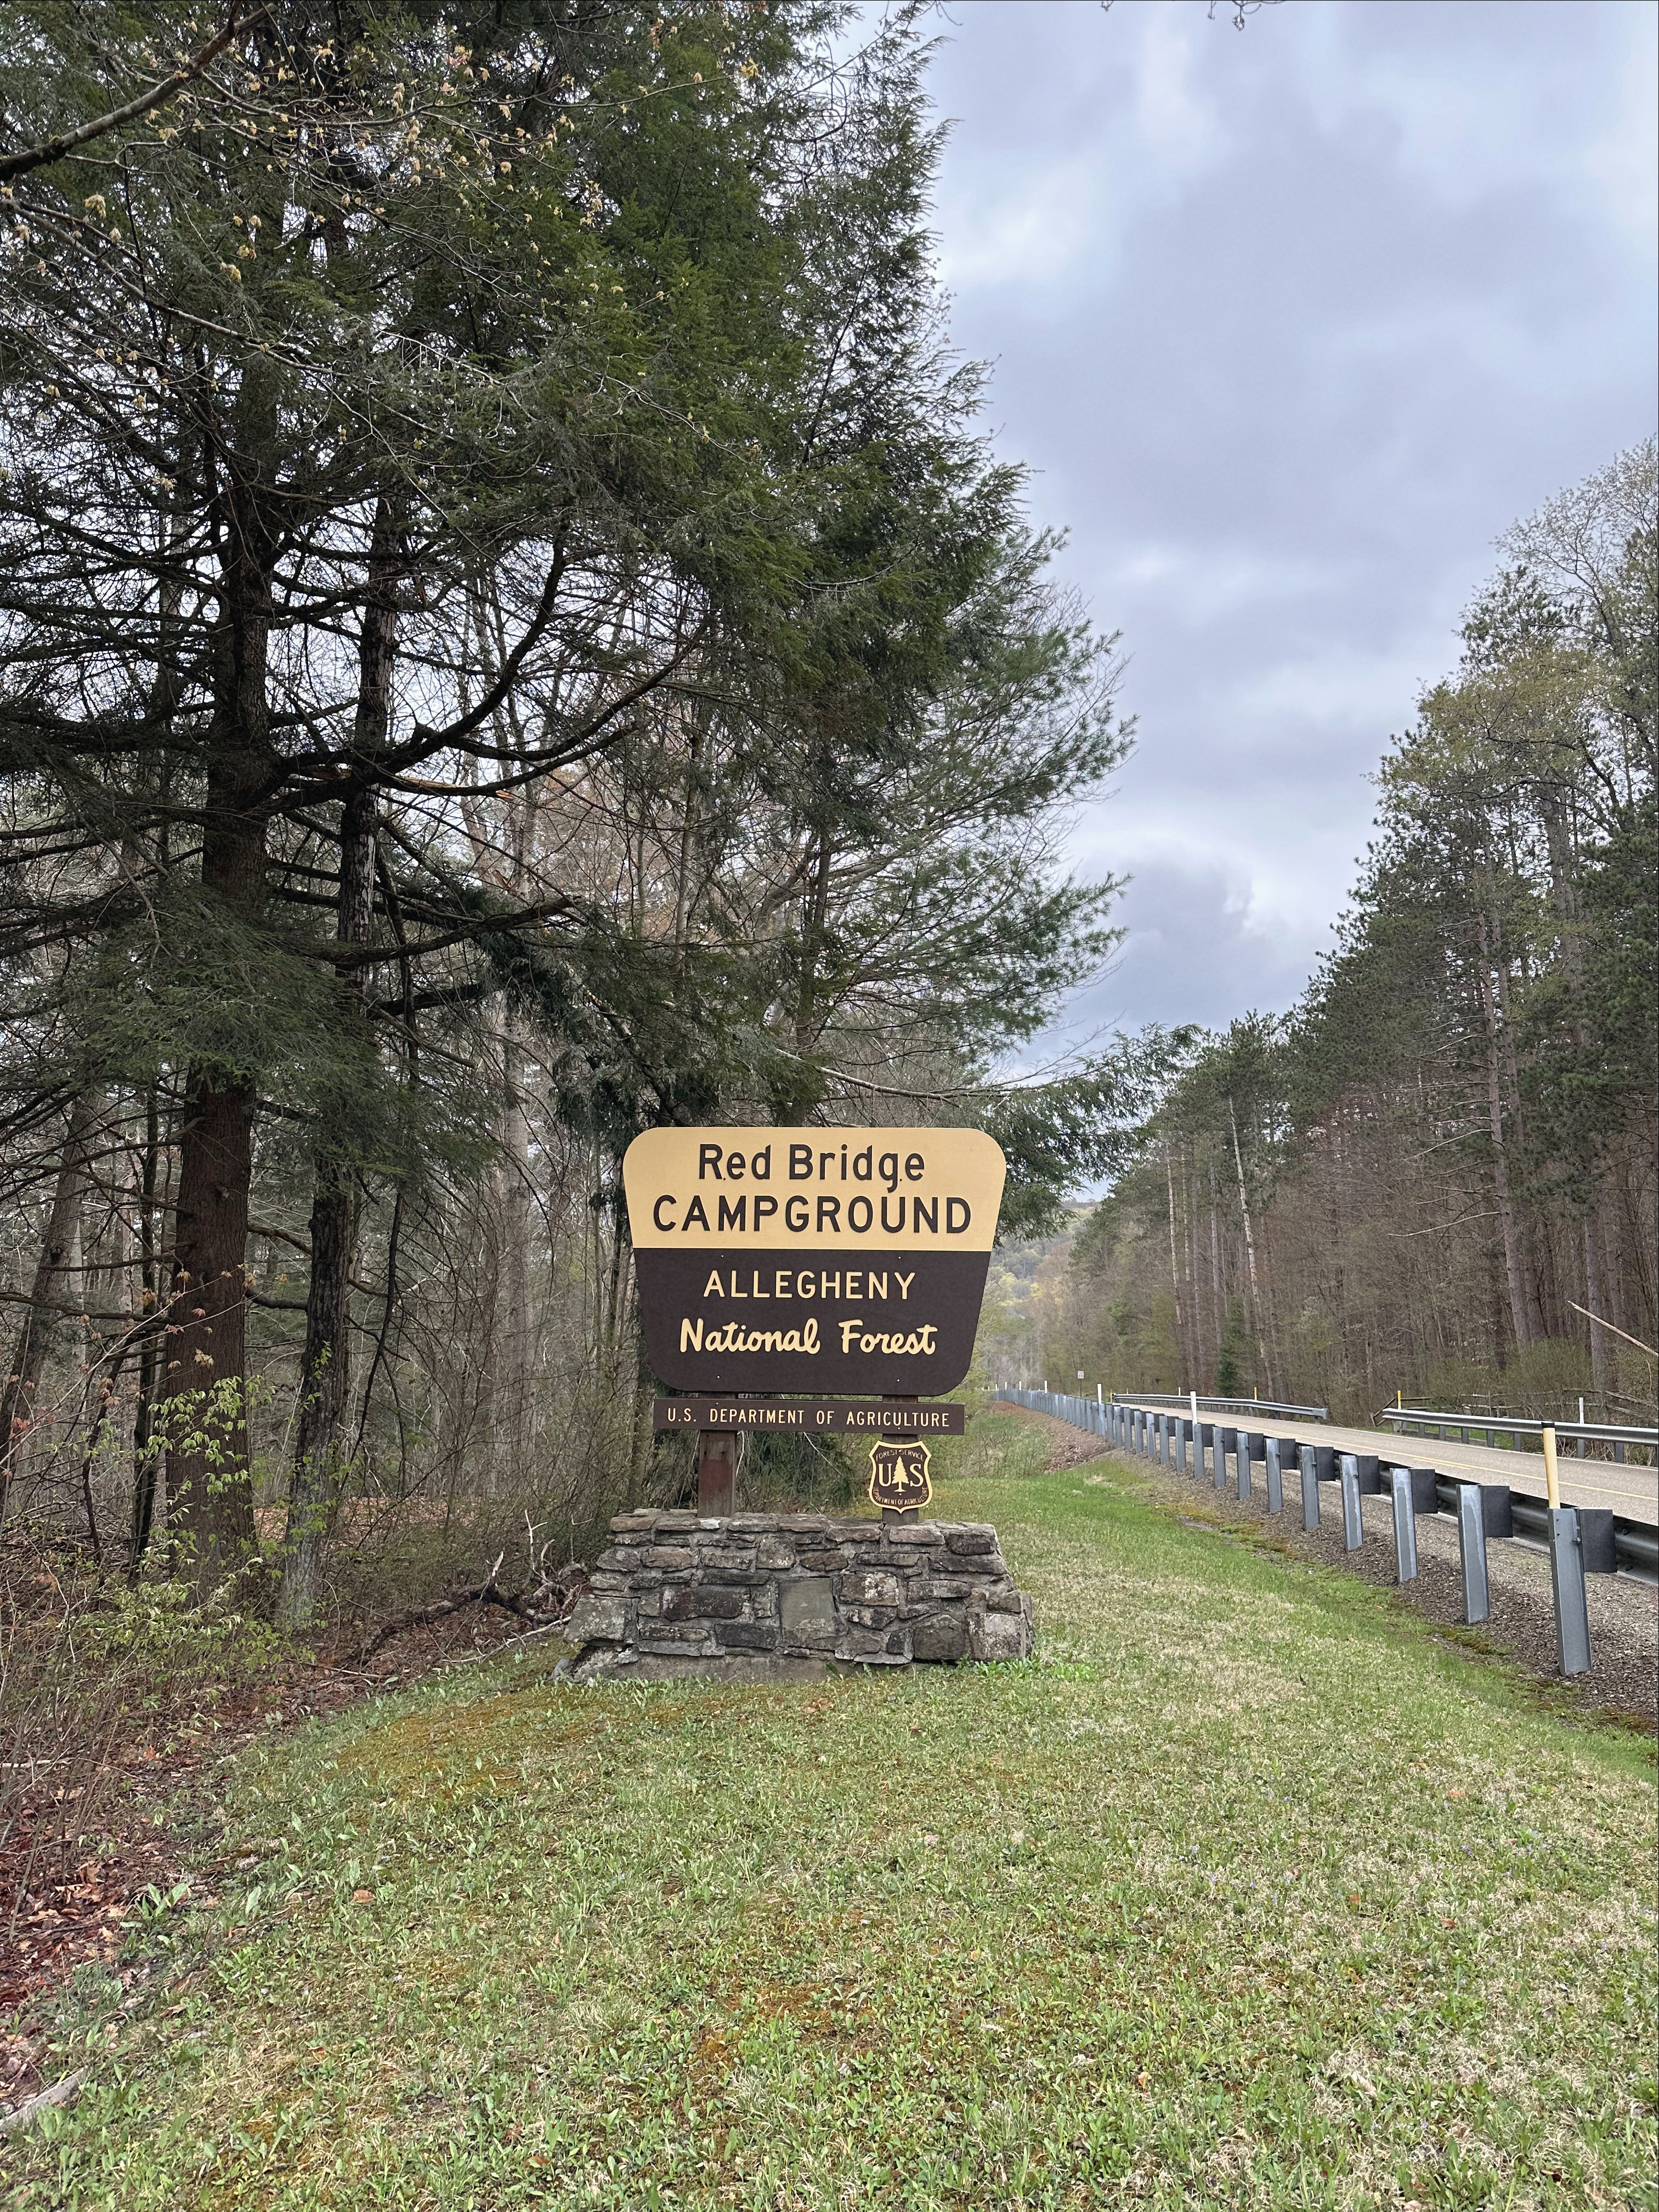
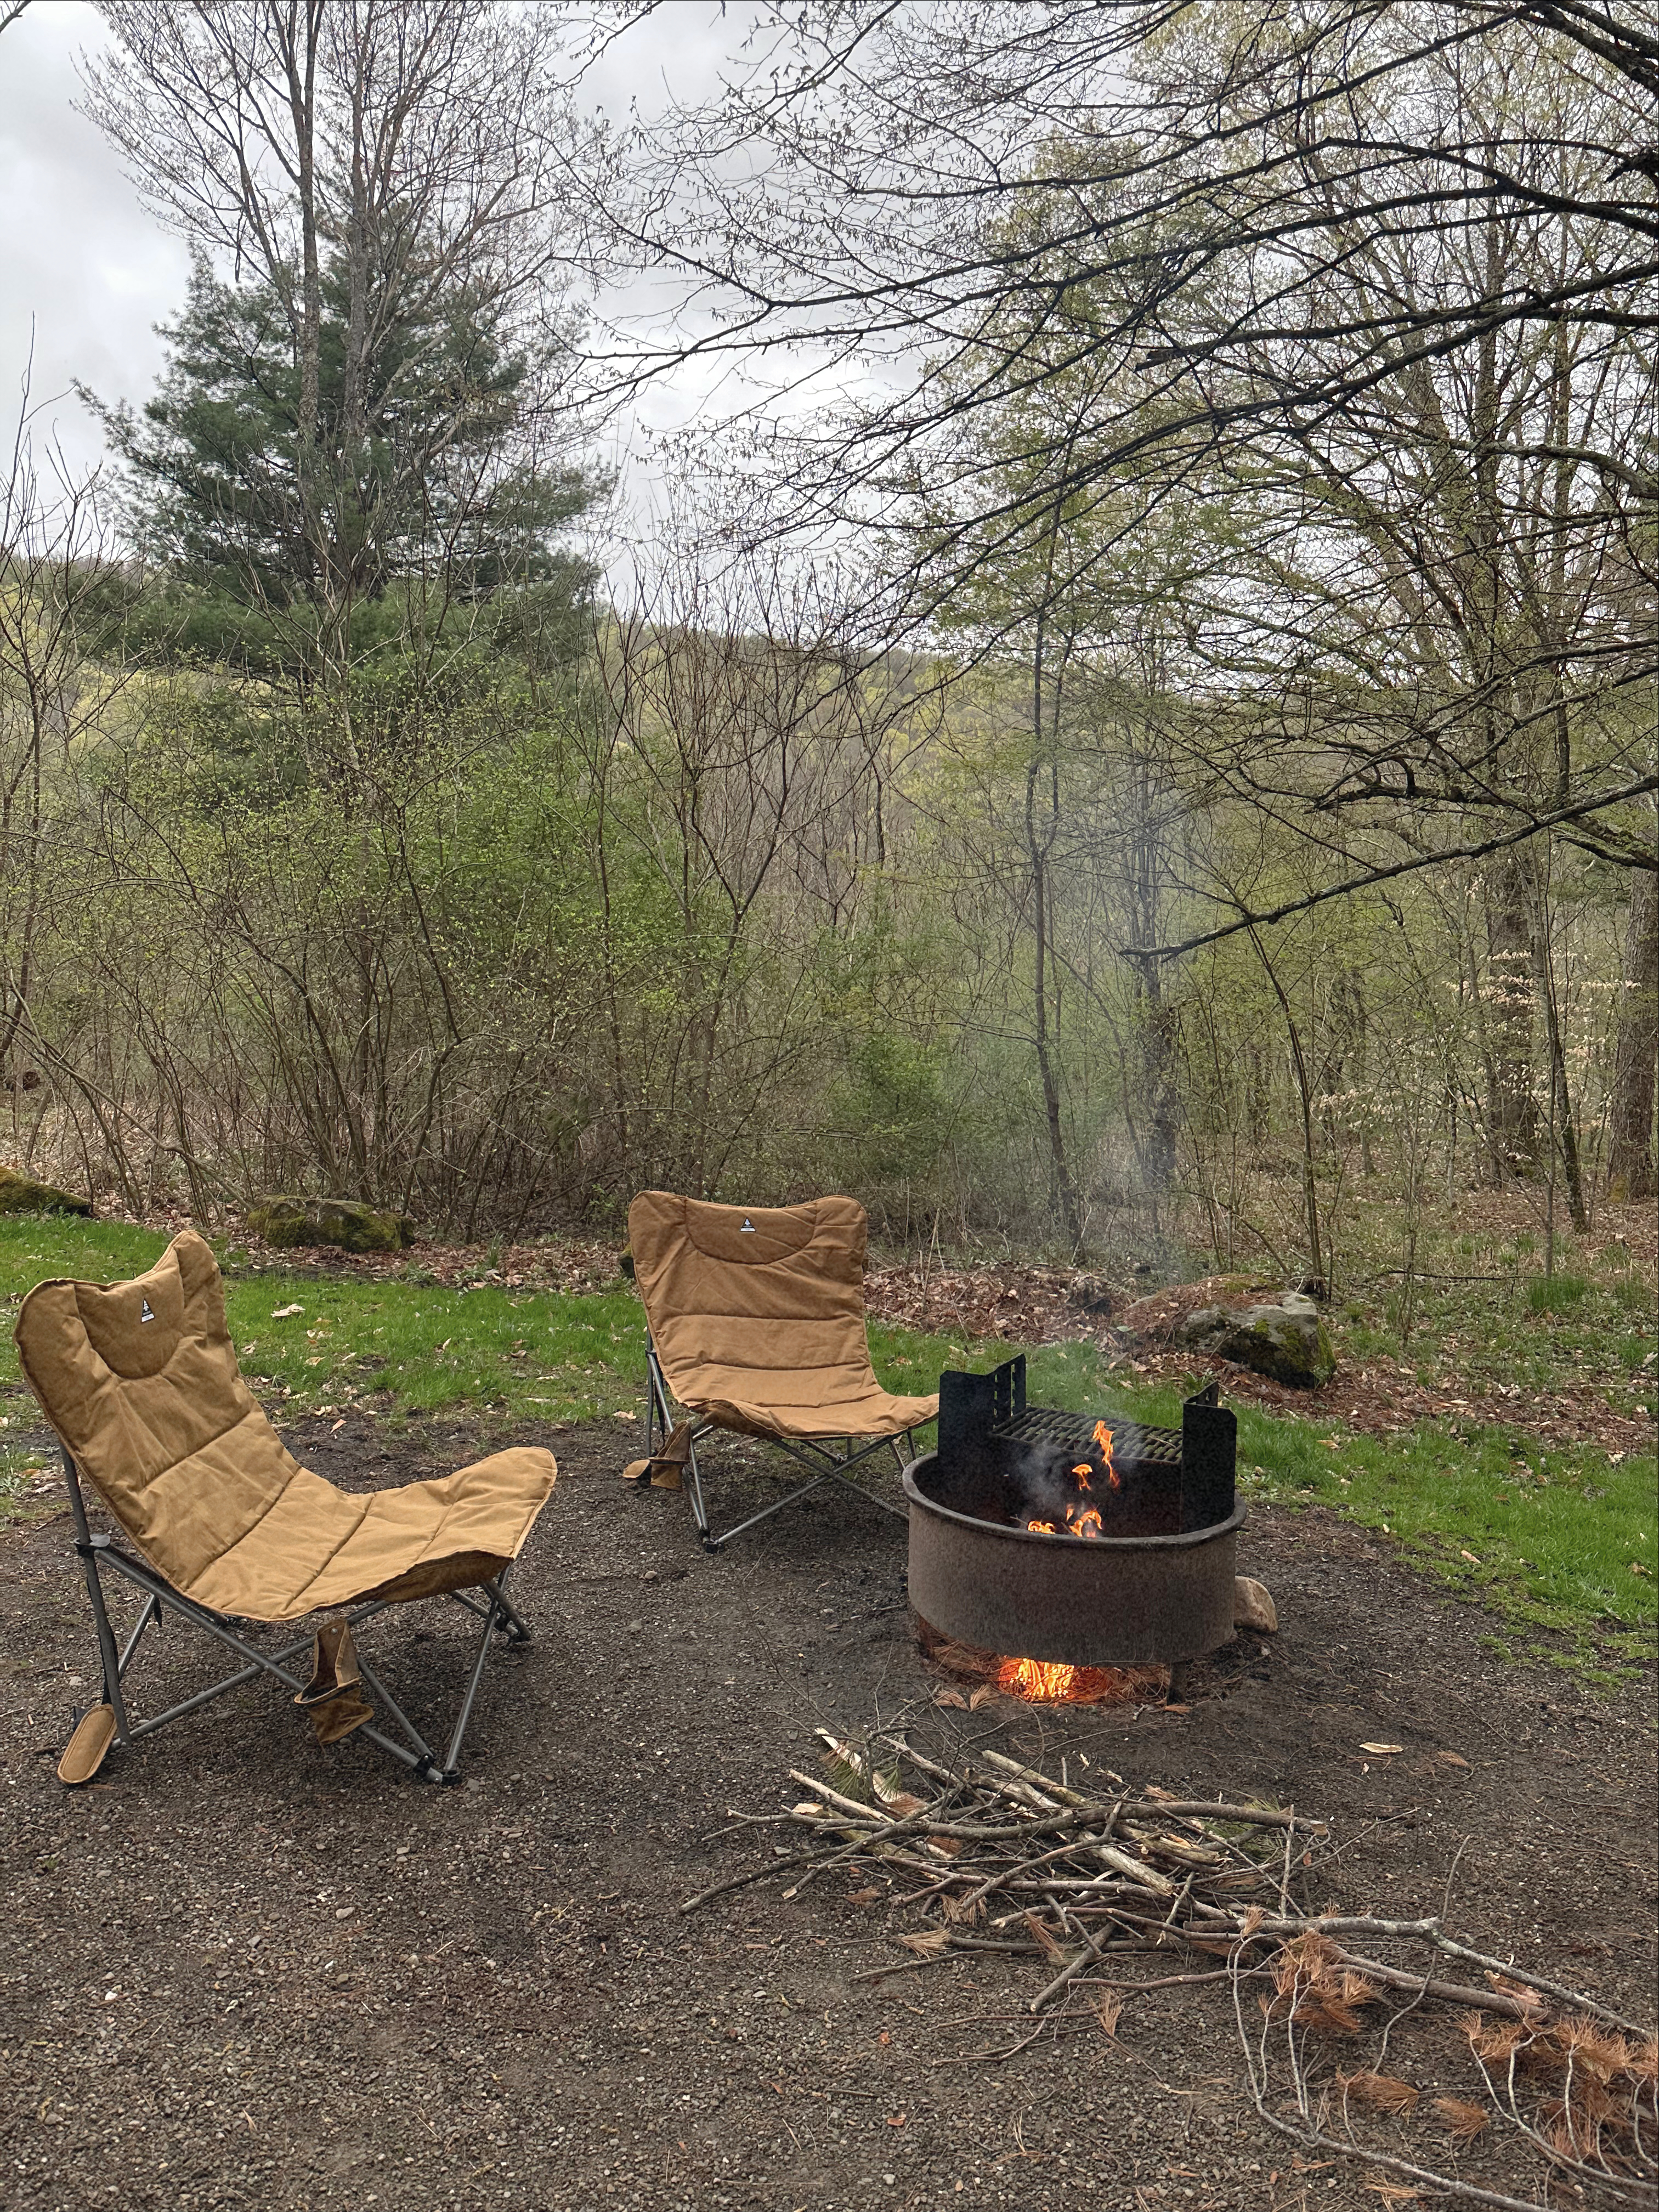
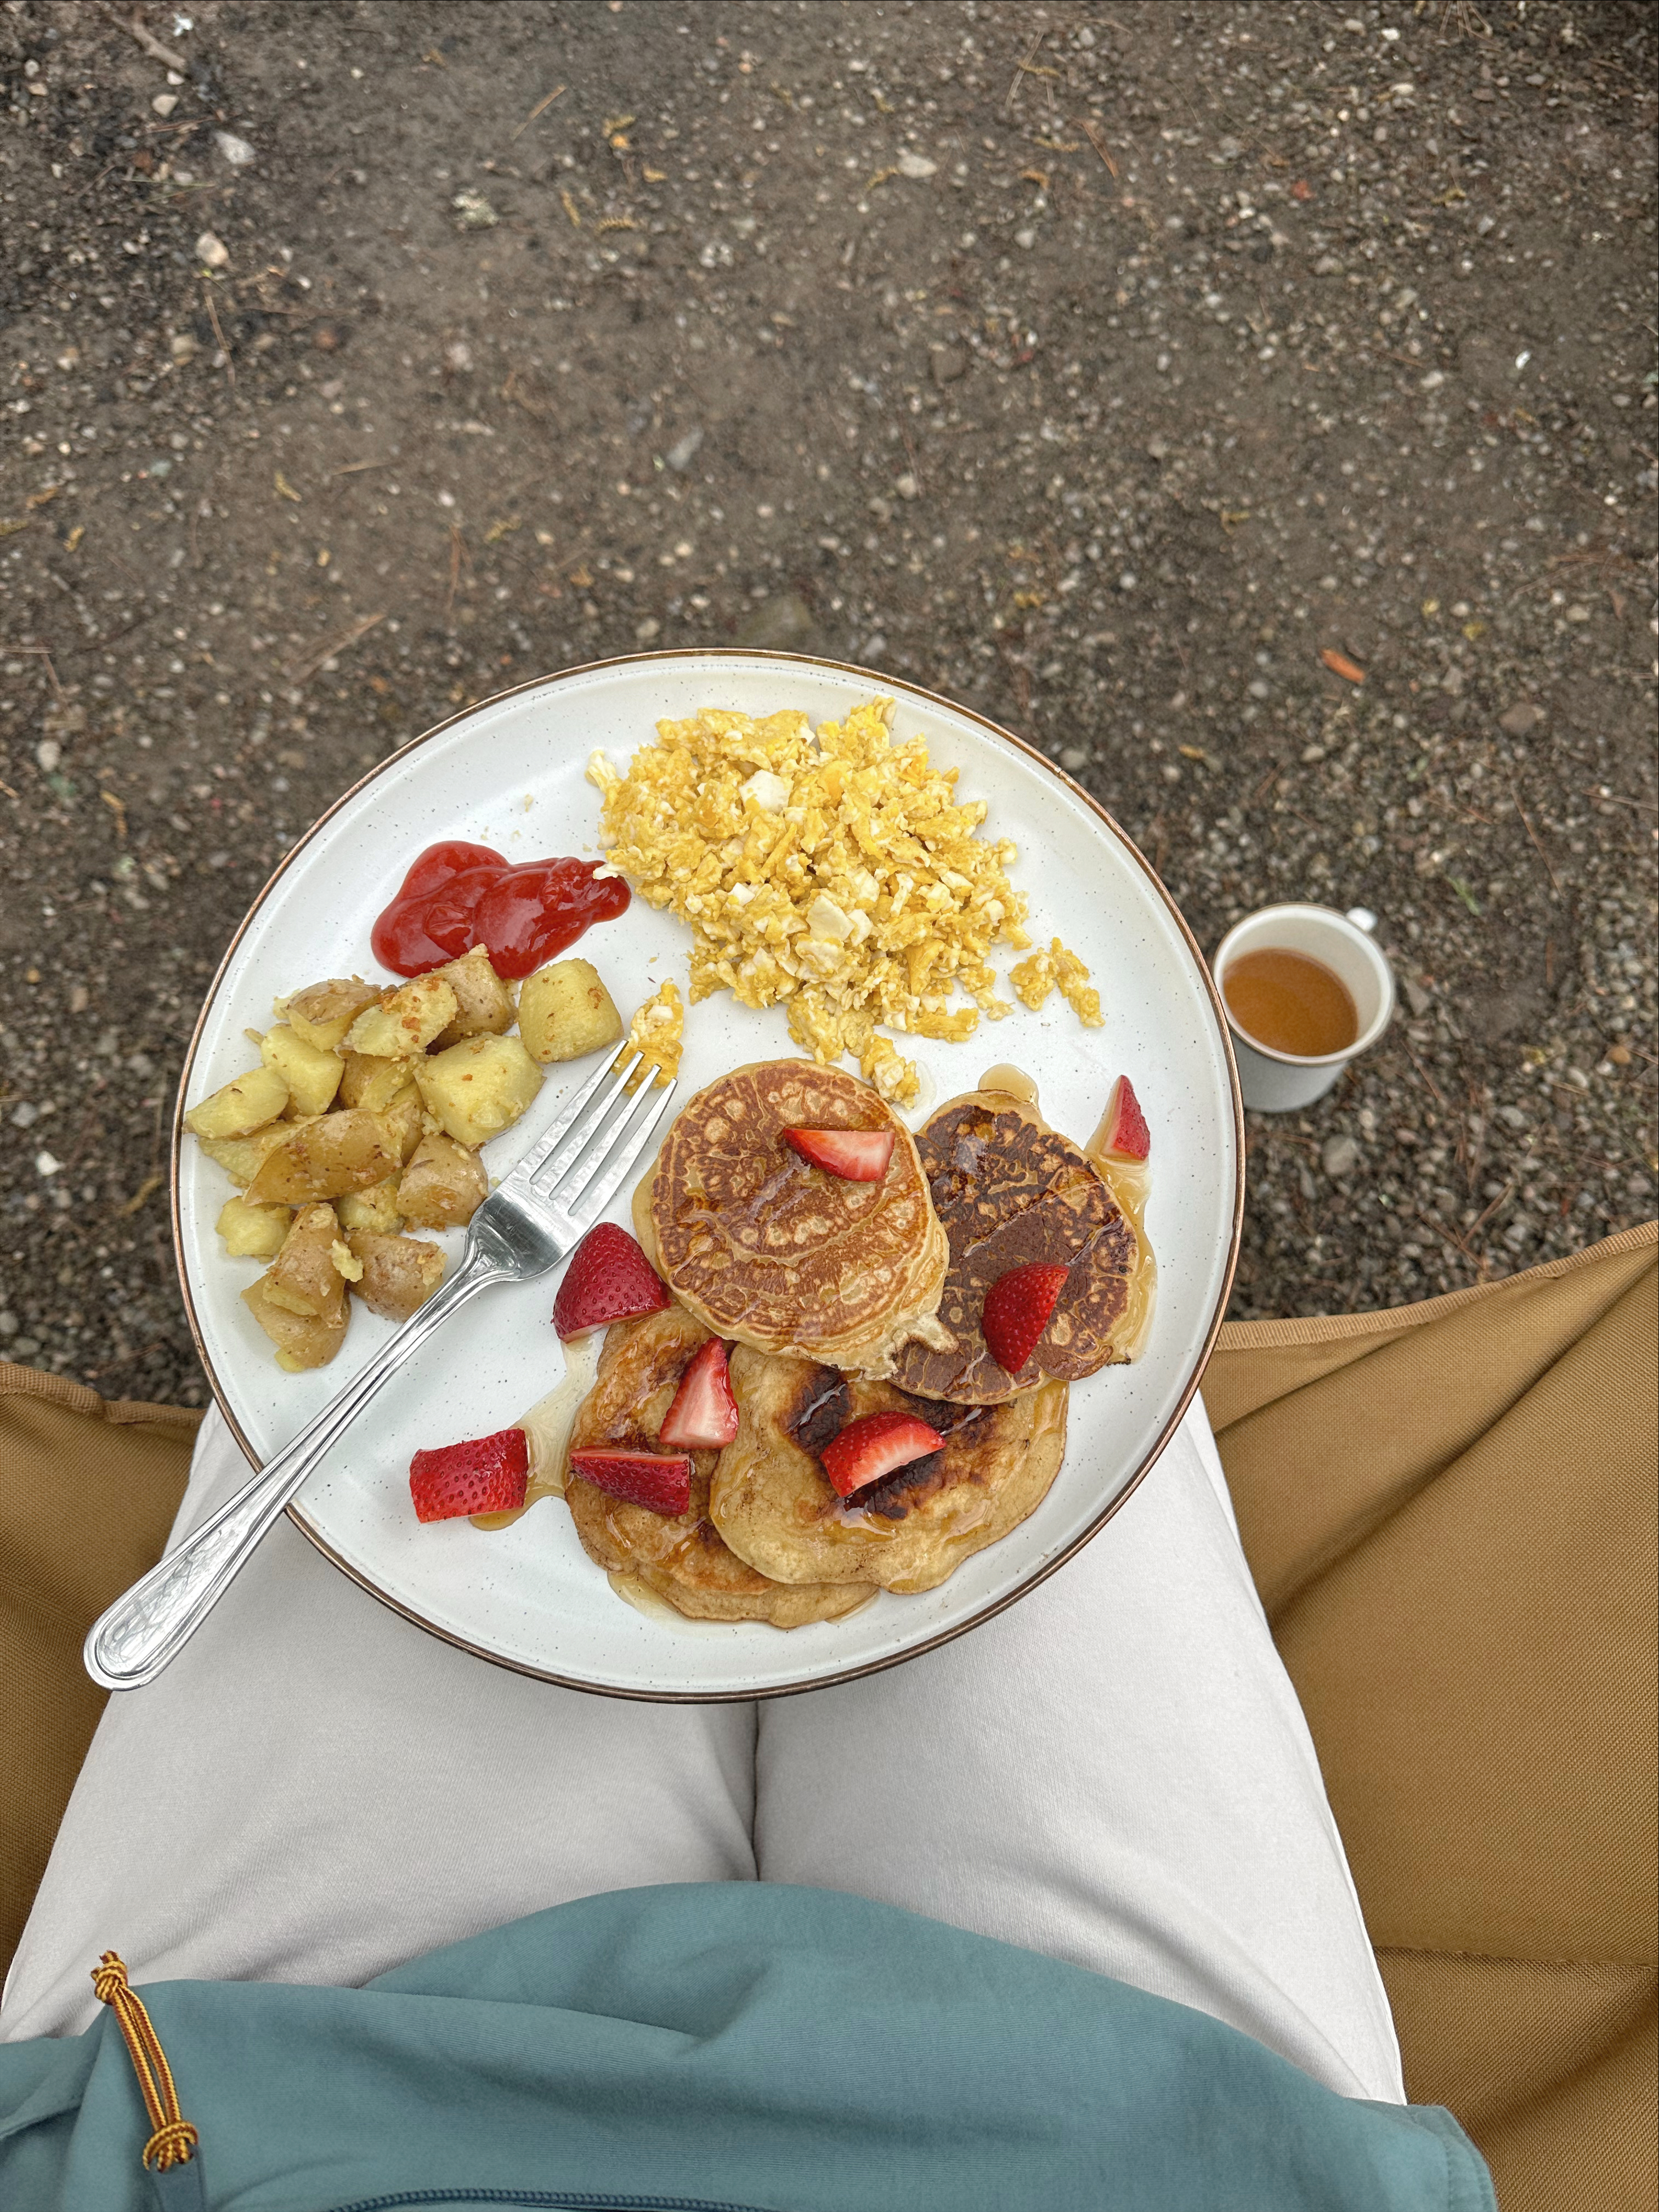
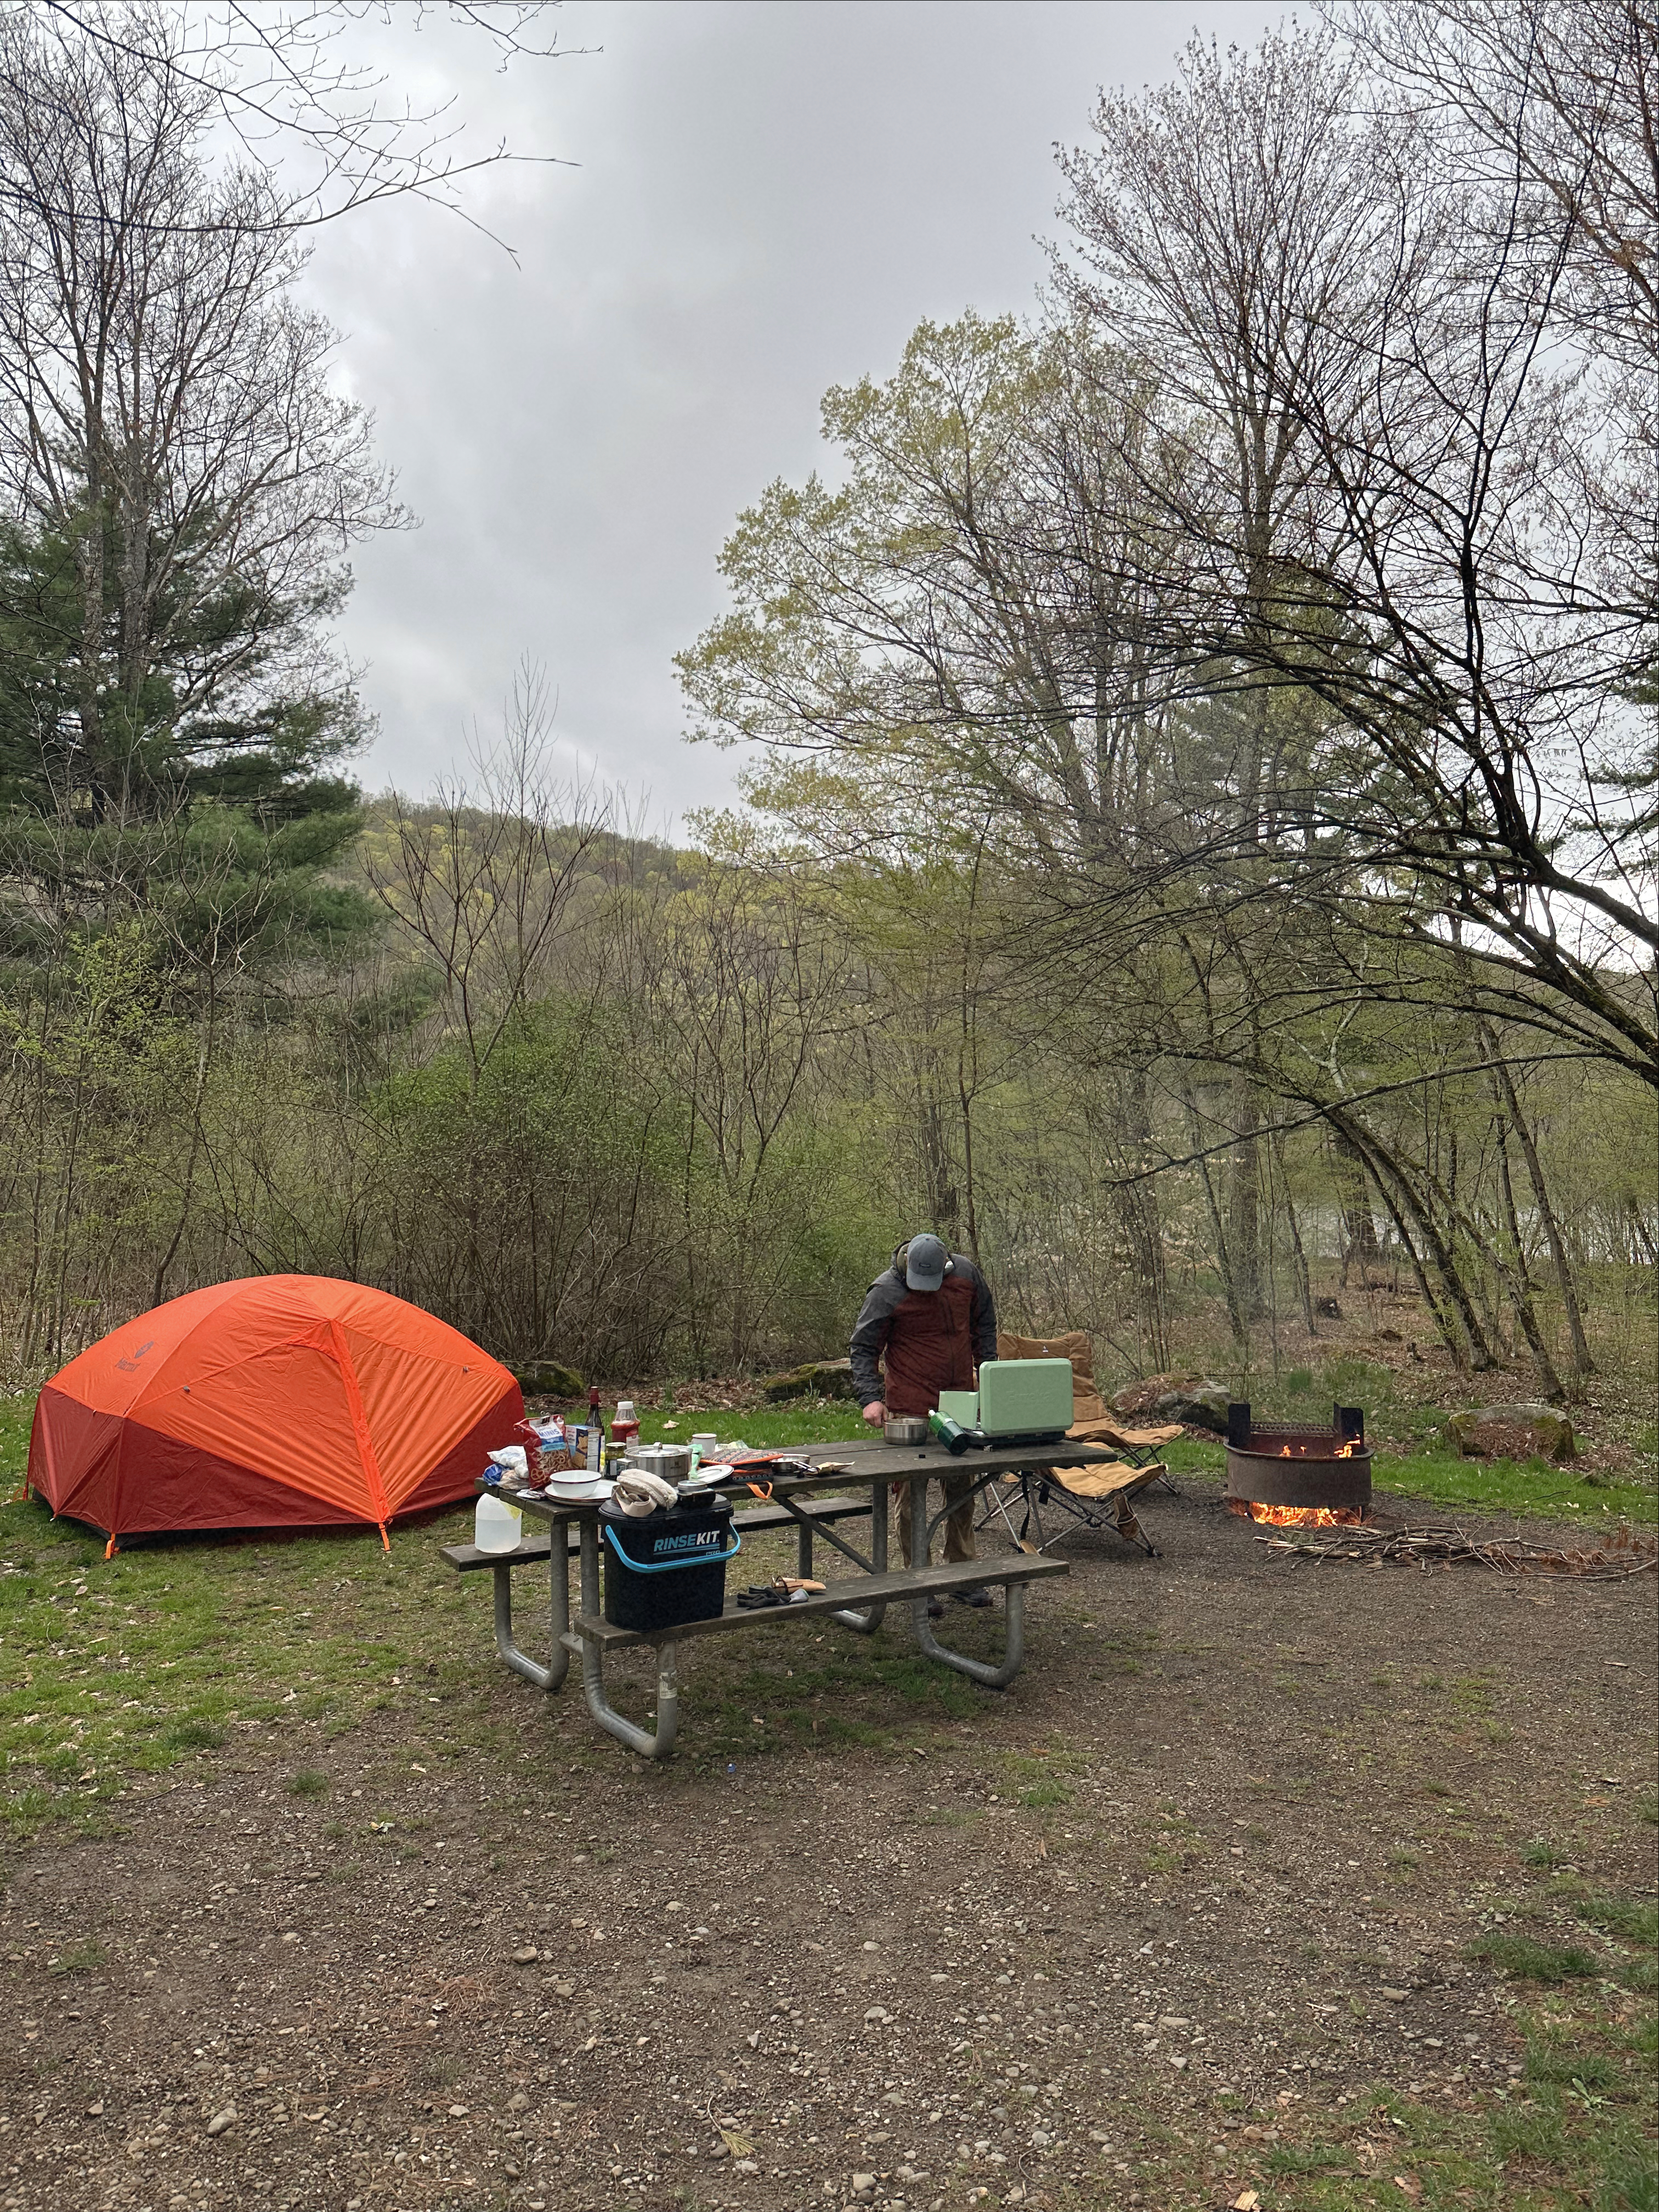
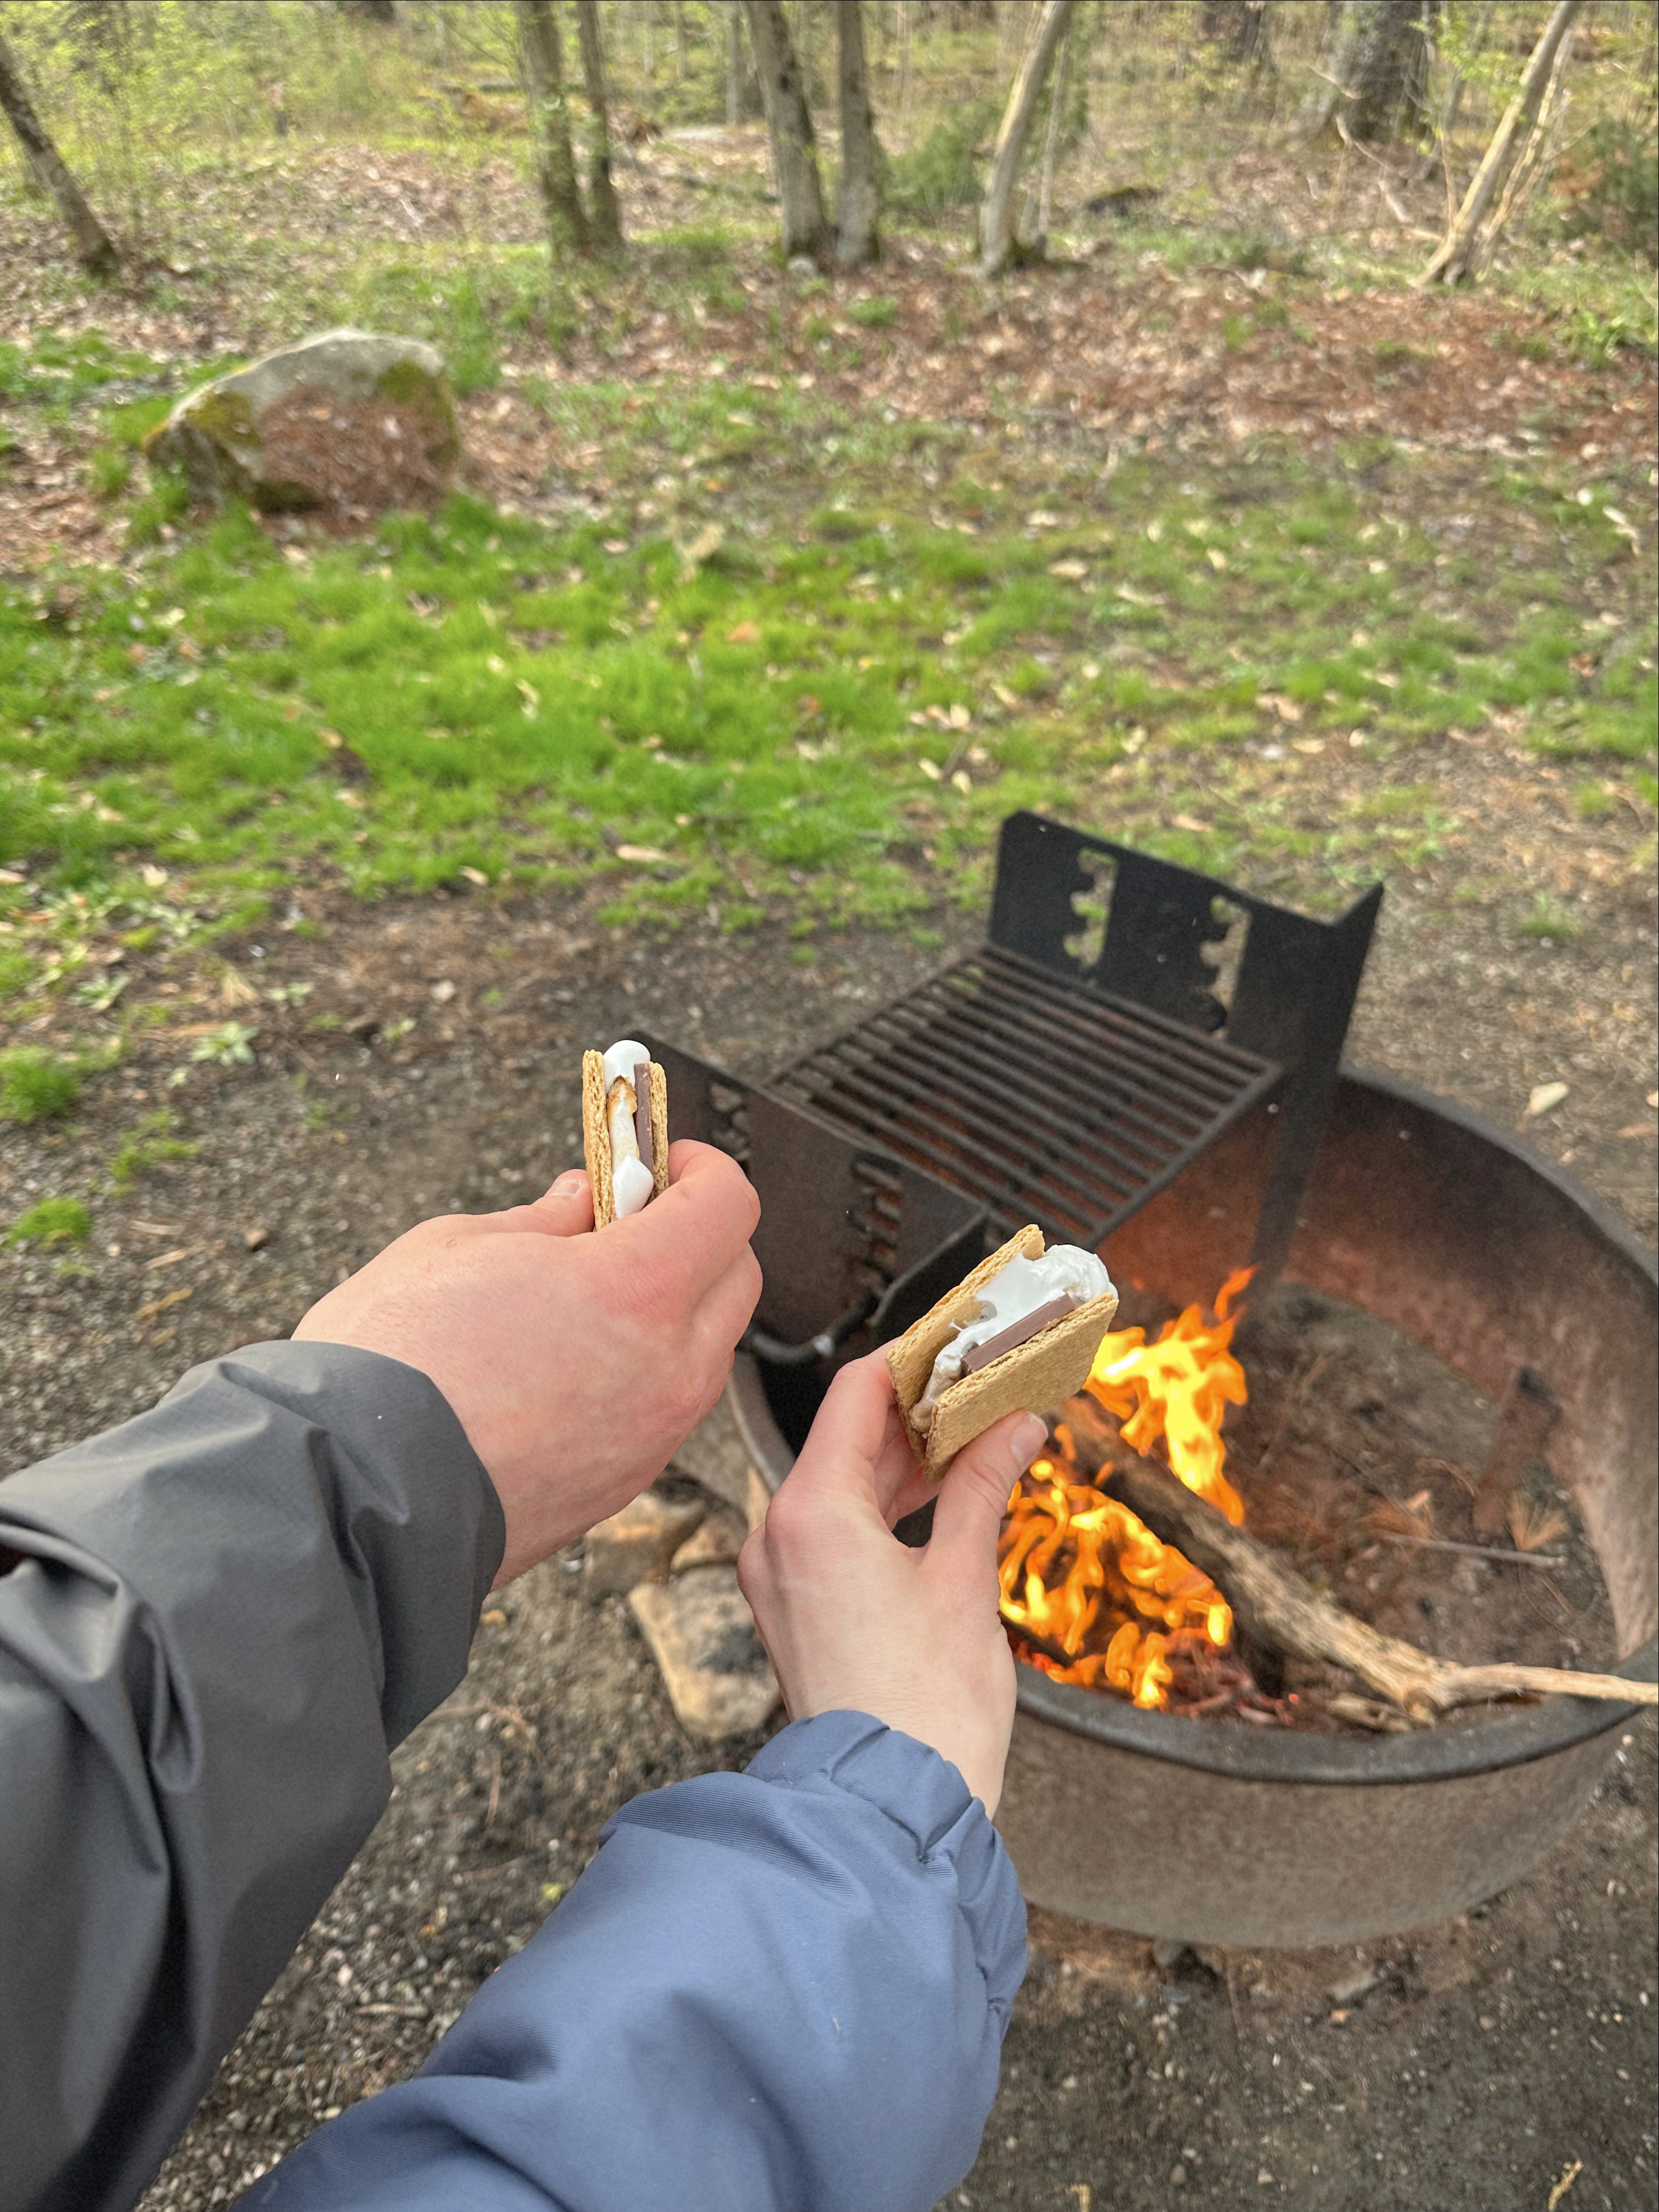
Last weekend, Patrick and I spontaneously decided to go camping in Allegheny National Forest. Camping has always been something that helps ground us and provide the perfect reset when life feels stressful. We’ve always talked about going to Allegheny and we finally made the trip happen! Here’s some photos of our quick trip to Allegheny and the camping list we always use that gives us the most comfort while camping.
Our time in Allegheny was short and sweet but it definitely has me excited to visit again in the future. We found a couple campgrounds in the area that were open already for the season, most were first come first serve, which always makes me a little anxious but luckily we were able to find a great spot. We stayed at Red Bridge Campground and we loved it! This campground felt scenic and secluded but also had plenty of amenities which is always a luxury while camping. I would highly recommend this campground, we plan to stay here again during our next visit.
Our Camp List
This is our camping list that we use when we go on quick weekend trip or a long road trip. Some of these items were investments to ensure we had the most comfort, especially for our longer trips. Most of these items aren’t necessary especially for a quick weekend trip but they definitely make us feel more at ease and comfortable which is our goal while camping or traveling on the road.
Sleep
Tent, with rain cover
Air mattress
Sheets
Blankets
Sleeping bags
Pillows
Hygiene
Travel toilet
Biodegradable waste bags
Toilet paper
Trash bags
Body wash and shampoo
Tooth brush and tooth paste
Cook
Newair refrigerator or cooler
Cooking utensils
Eating utensils
Plates
Bowls
Coffee mugs
Pots and pans
Stove top and propane
Jetboil
Cutting board
Stanley pour over stand
Containers/bags to store leftover food
Water cooler
Collapsible sink
Campsuds dish soap
Sponge to wash dishes
Comfort
Rinse kit (helpful for a quick rinse off or to assist with washing dishes)
Camp chairs
Hammock
Quick dry towels
Jackery generator (we use this to keep our refrigerator powered and other things we need to charge)
Cameras
String lights
Journals/books
Card games
Safety
Medicine kit
Lantern
Garmen inreach mini satellite gps (helpful when there’s no service!)
Quick start car battery charge
Misc.
Fire starter supply
Citronella candle
Small hatchet/shovel
Tent set upMorning coffeeRed Bridge CampgroundPrepping dinnerMorning at campStarting a campfire for the eveningCamp breakfastView of our setupS’mores!Walking around the campground