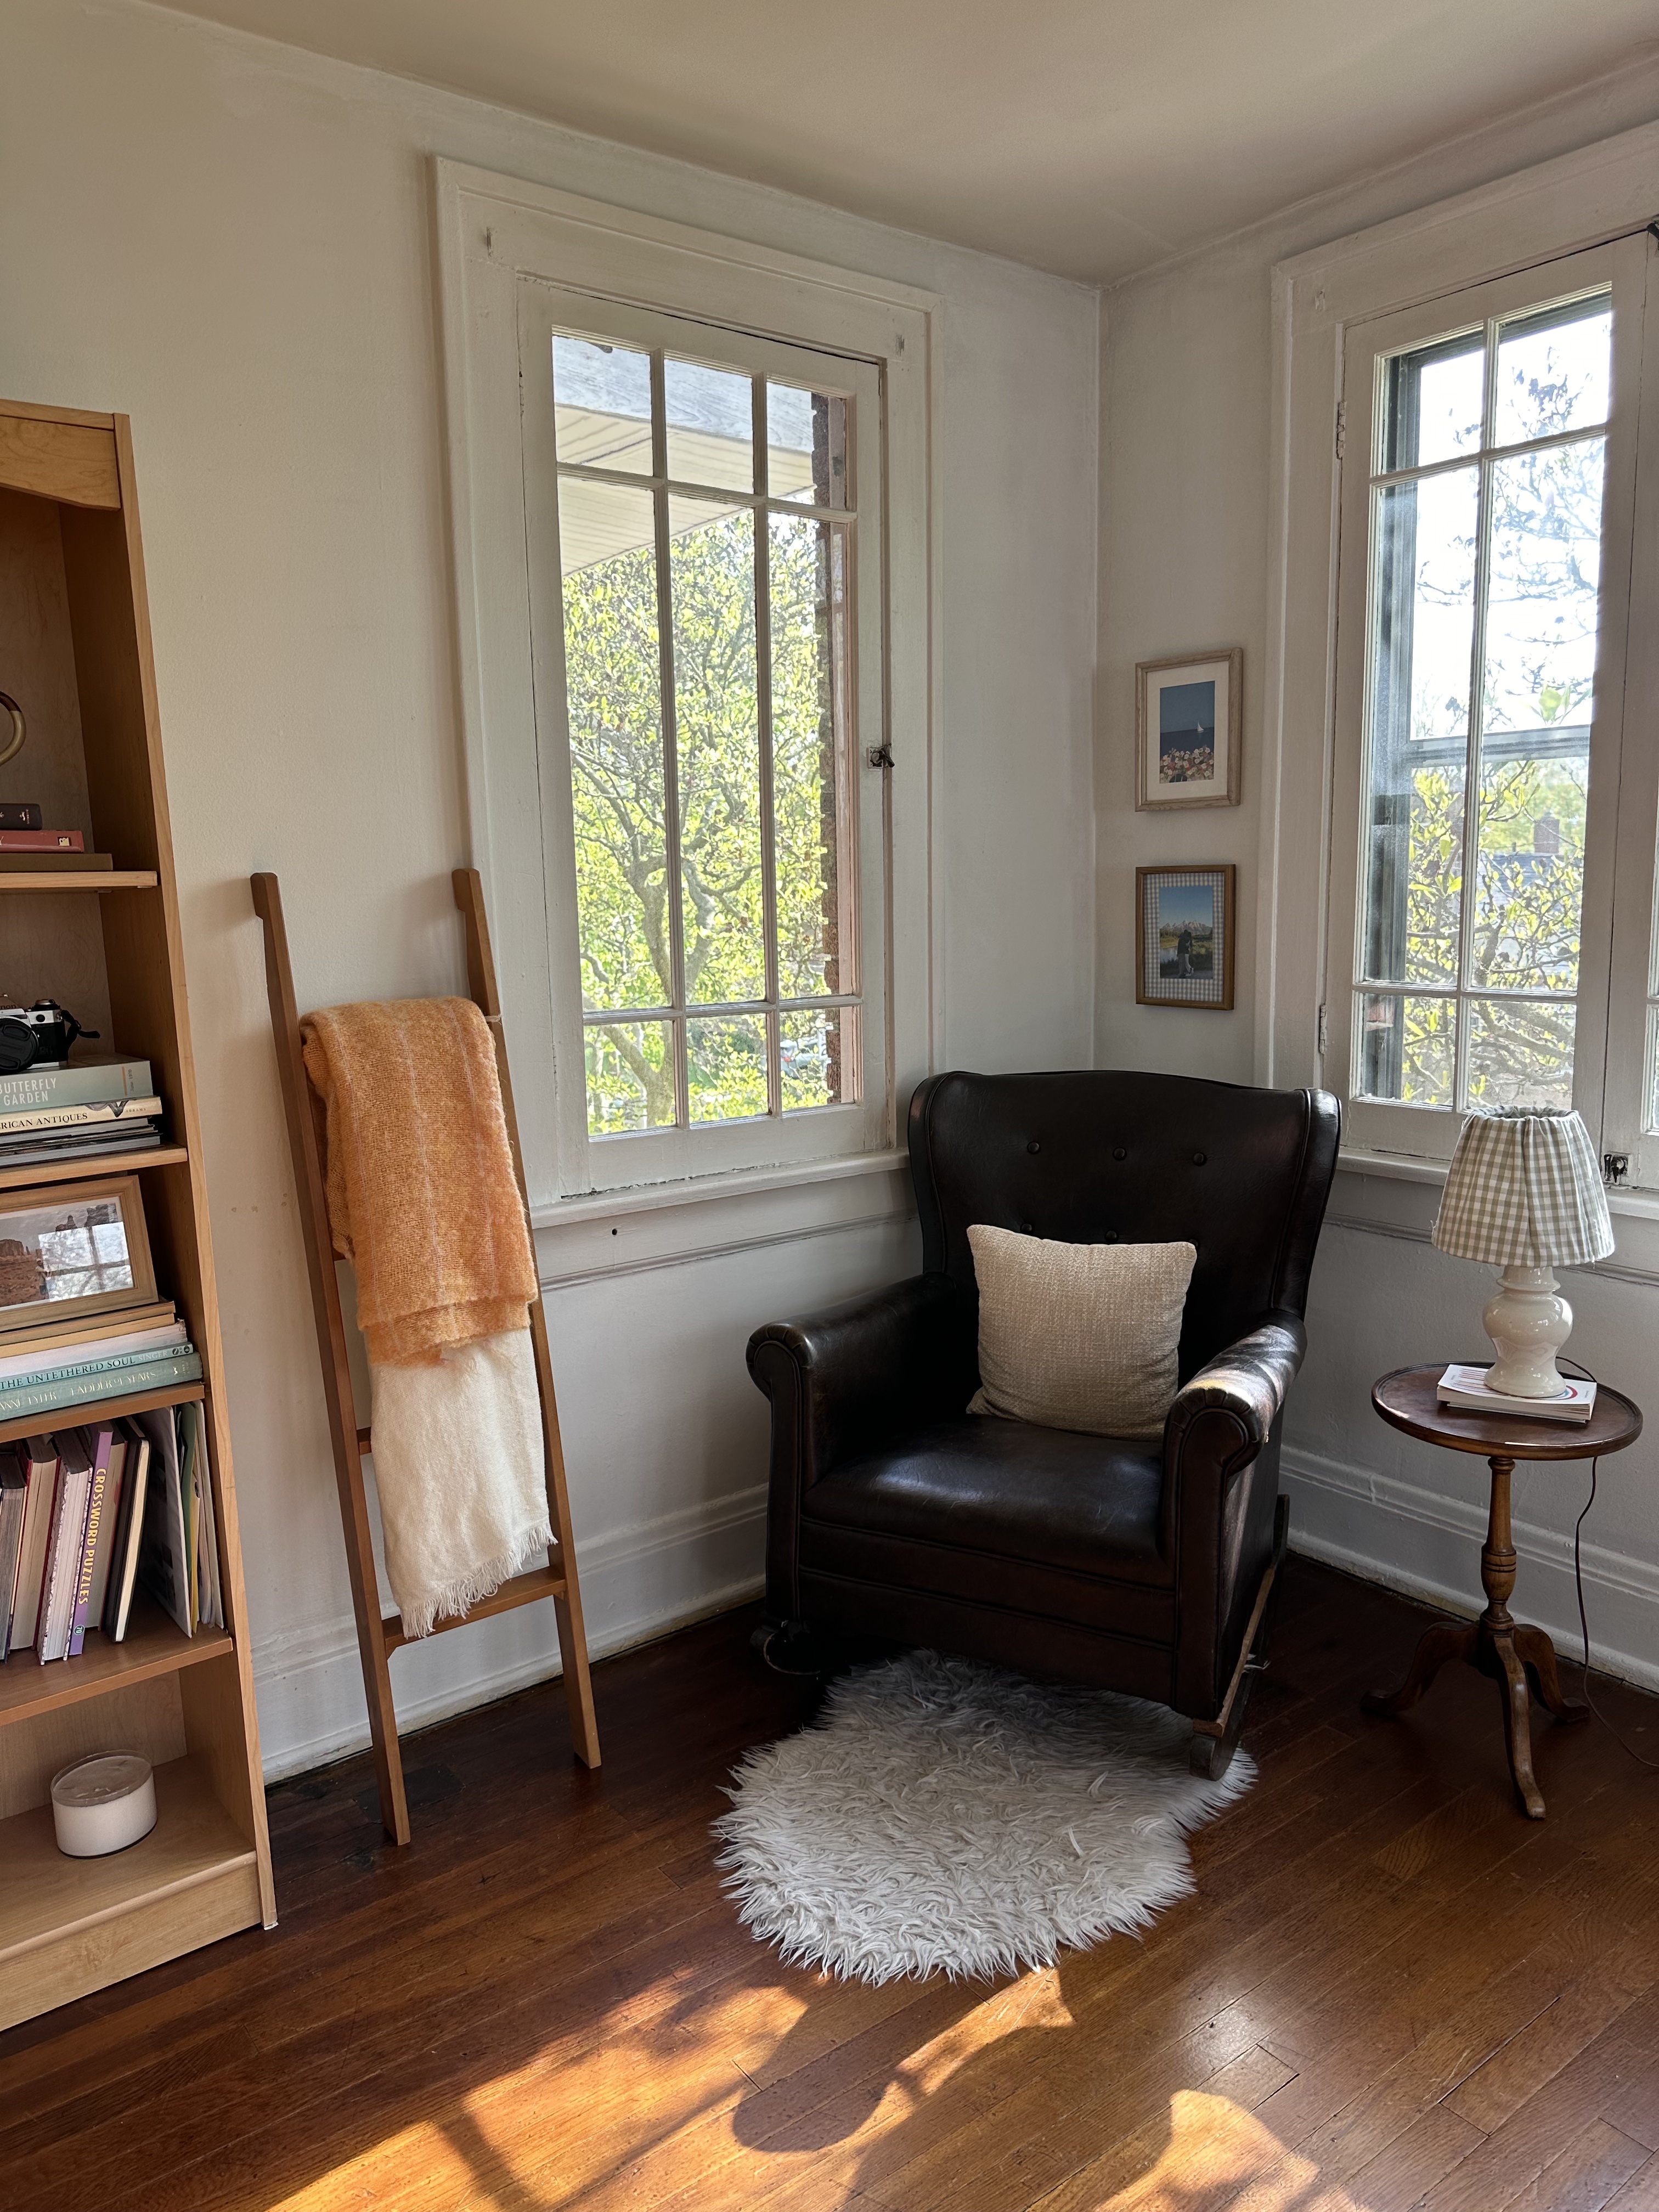
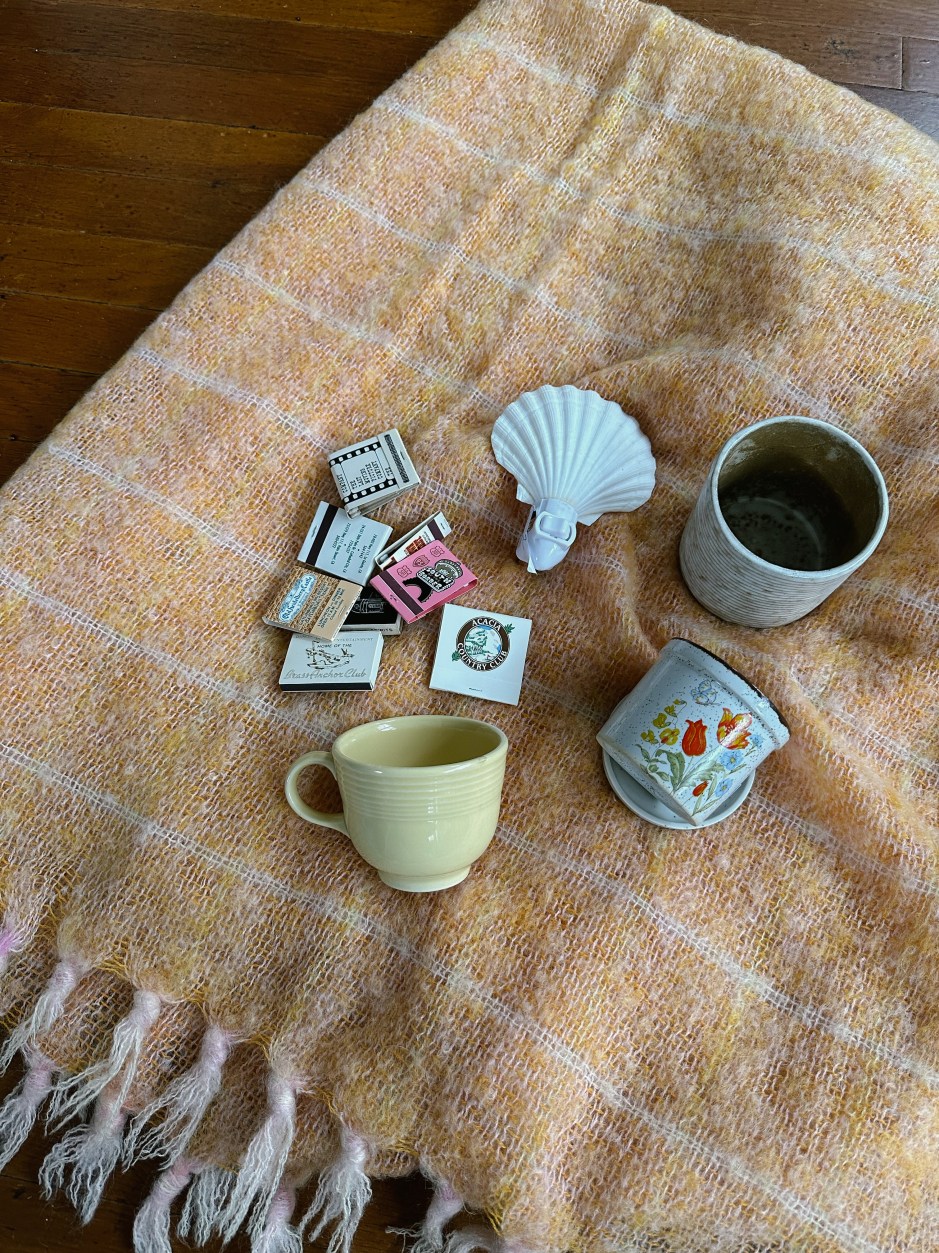
Throughout the winter season, I embraced the danish notion of hygge, which simply means making things more cozy and homey. This is a practice I would like to continue incorporating into other seasons throughout the year. We are already close to the end of Spring and I have enjoyed finding small ways to make my spaces at home and engage in activities that embody hygge. Here are some of my tips and ways I’ll be embracing hygge for the rest of spring.
Hygge Inspiration to Incorporate this Spring
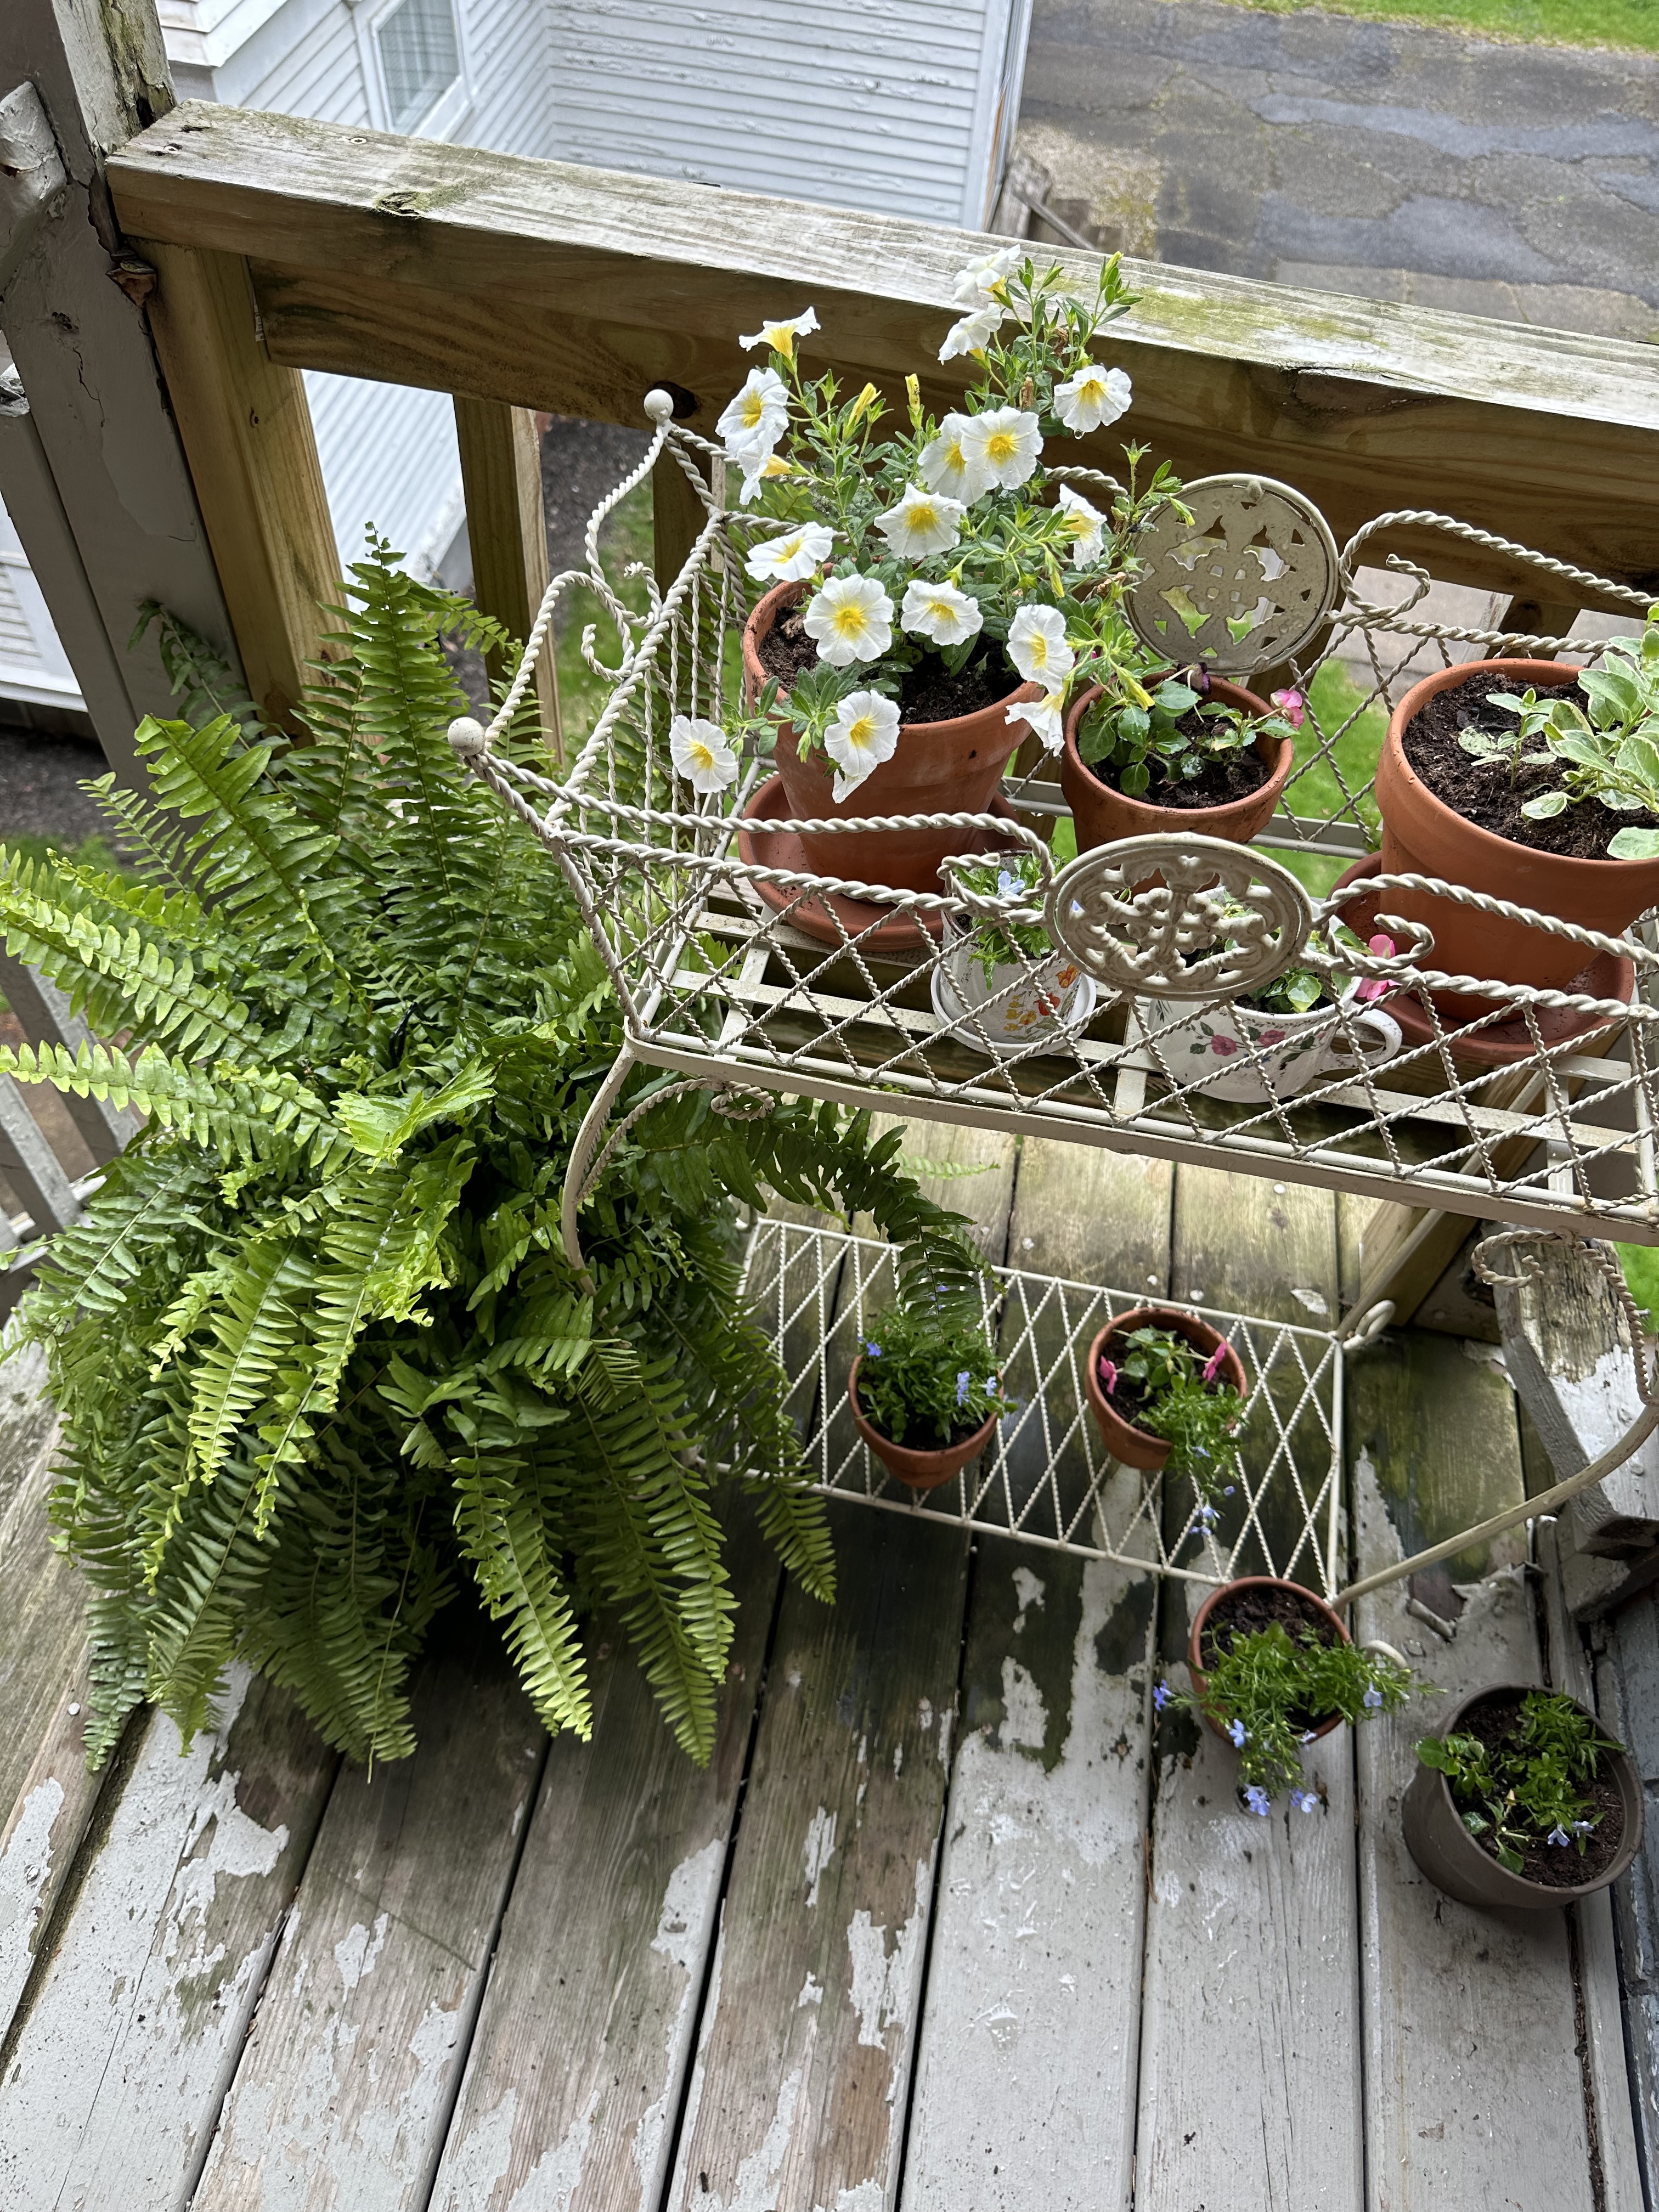
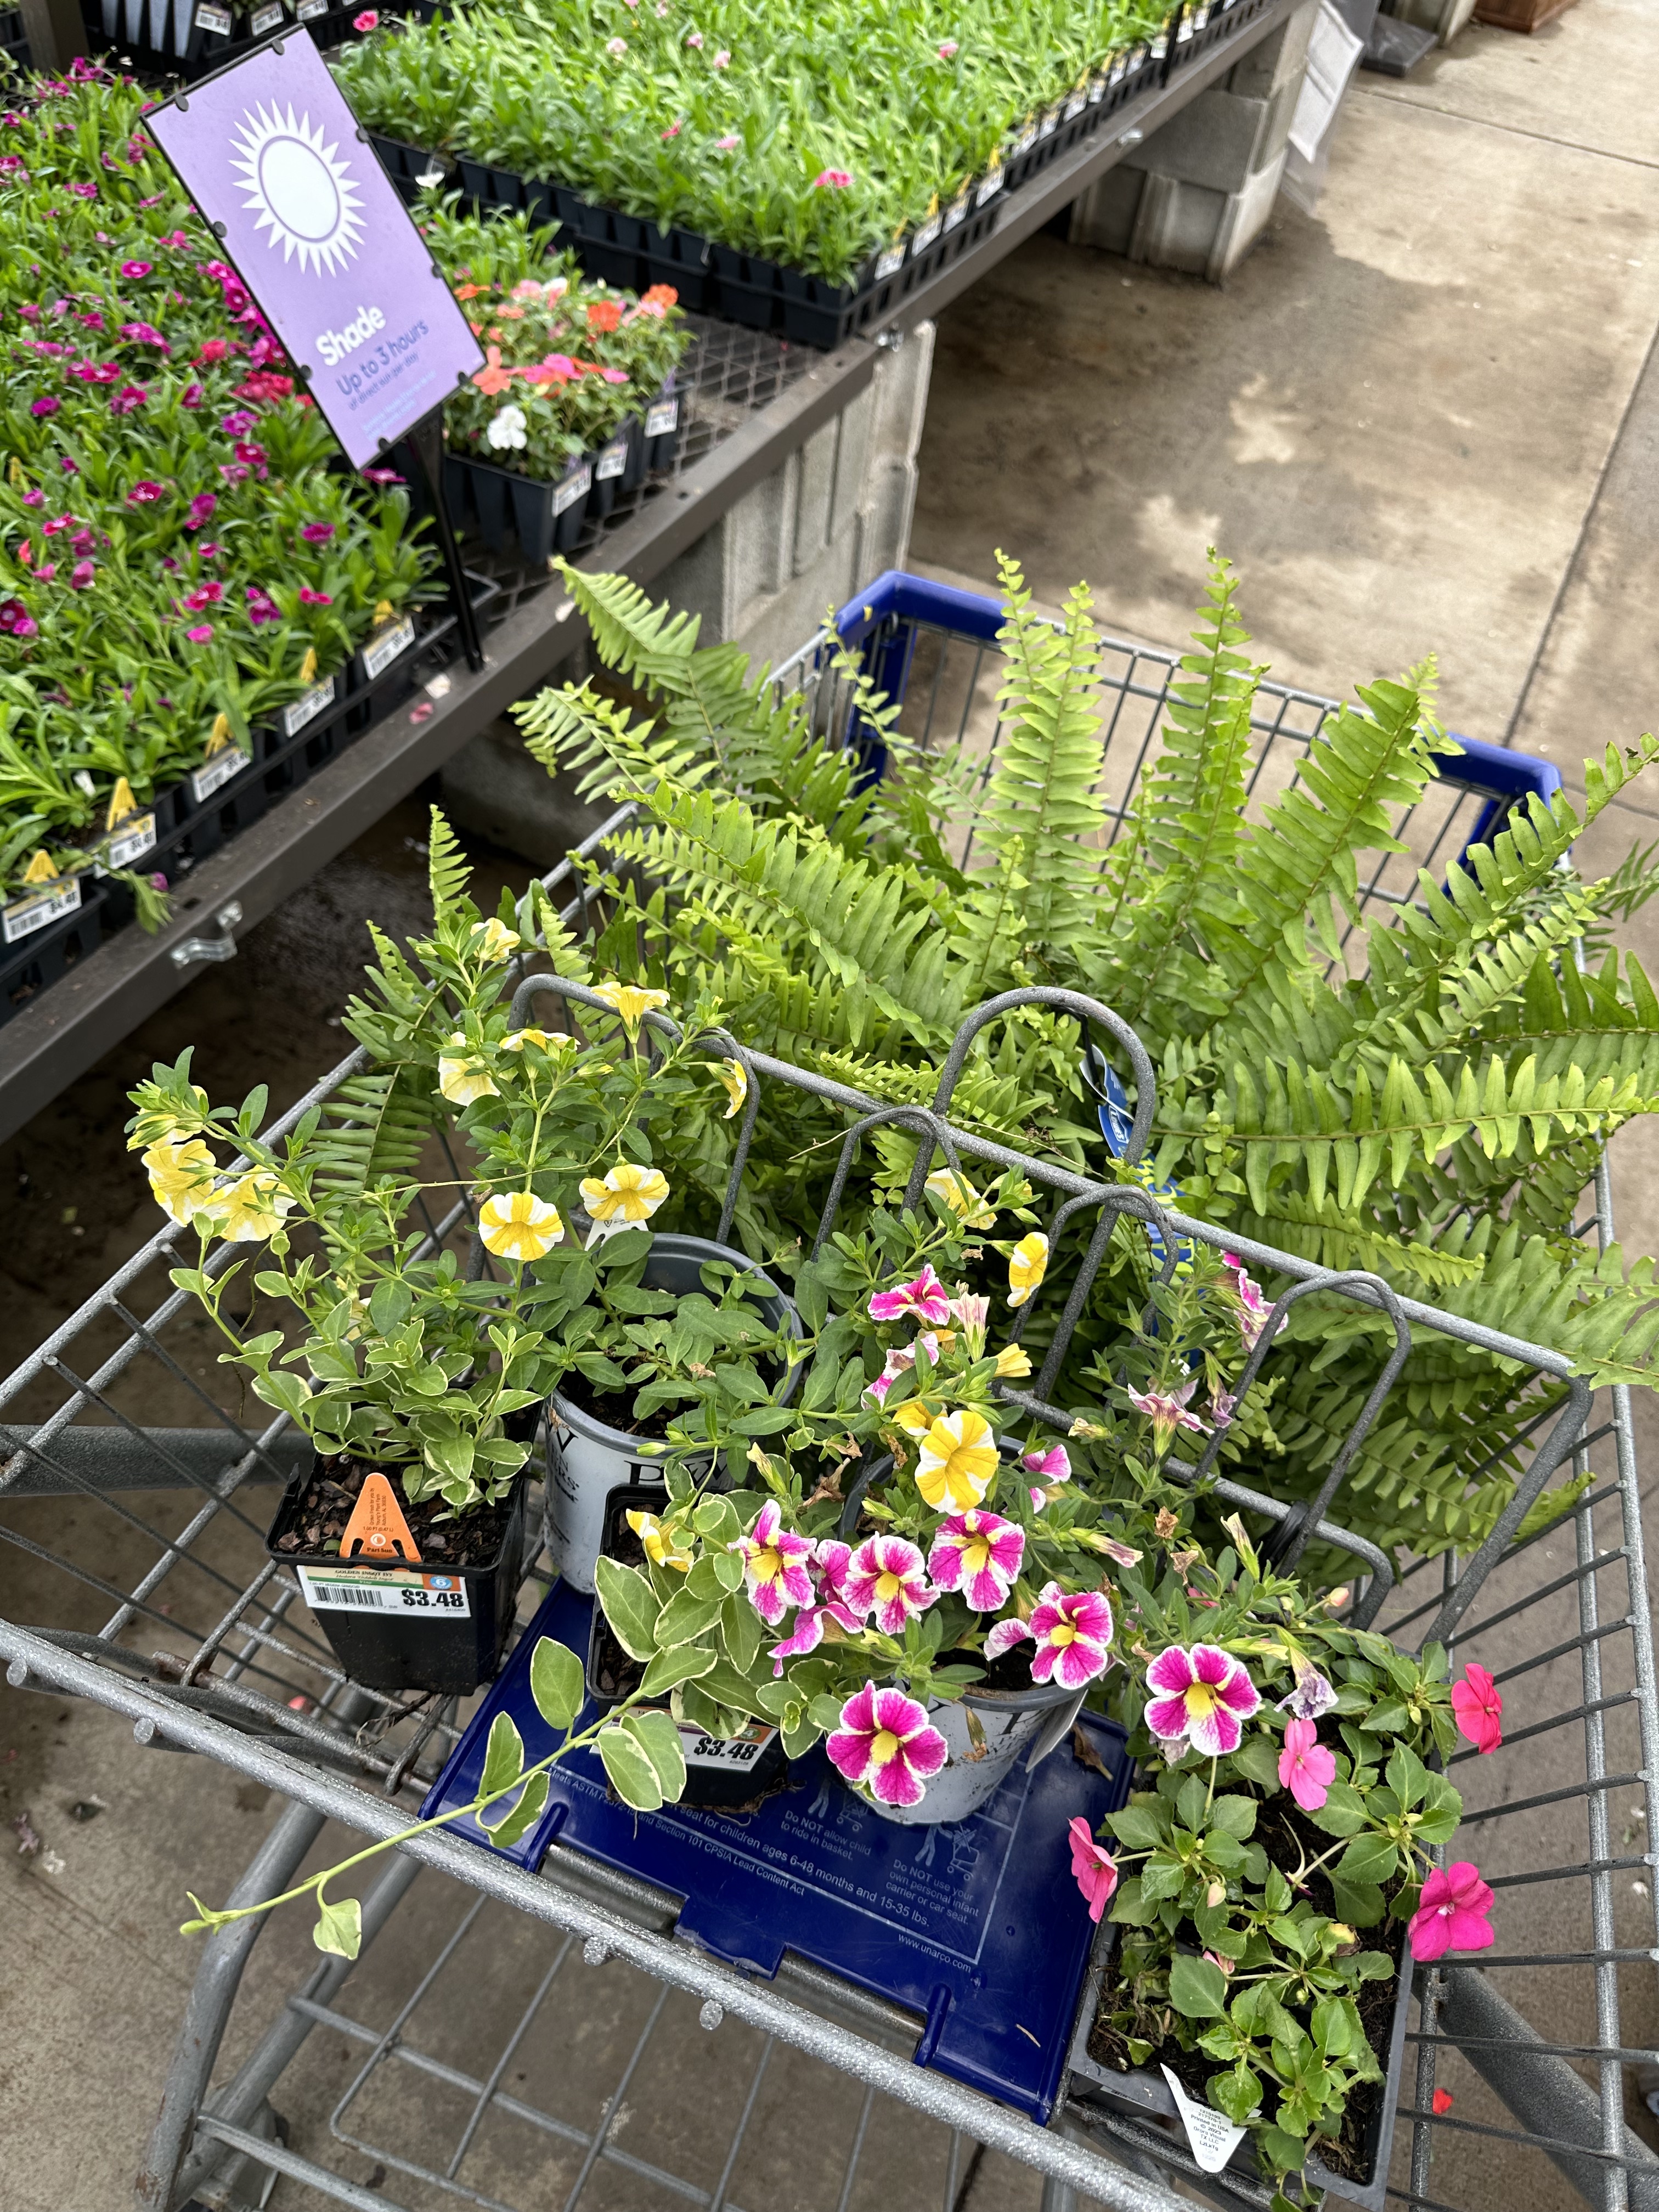
Add greenery or flowers to my indoor and outdoor spaces
Make a spring simmer pot
Spend time outdoors
Bake spring inspired treats
Watch the sunset or sunrise
Have cozy breakfast rituals on the weekends
Add color to my interior spaces through accessories or art
Enjoy morning coffee with new garden space
Have an outdoor picnic with friends
Create a spring bucket list
Plan a weekend trip
balcony gardenSpring inspired simmer potTime outdoorsColorful, cozy layersSpring inspired treatsGarden shoppingSpring sunsetColorful breakfast spreadsAdding more colorful touches to the sunroom spaceCoffee on the balconySpring picnic
Happy Earth Day! Today is such a special day that reminds me how special and blessed we all are to live and explore this beautiful planet we call home. In honor of Earth day, I thought I’d share some of my favorite photos and memories of times I’ve been able to experience the true magic that earth provides. I hope you enjoy today!
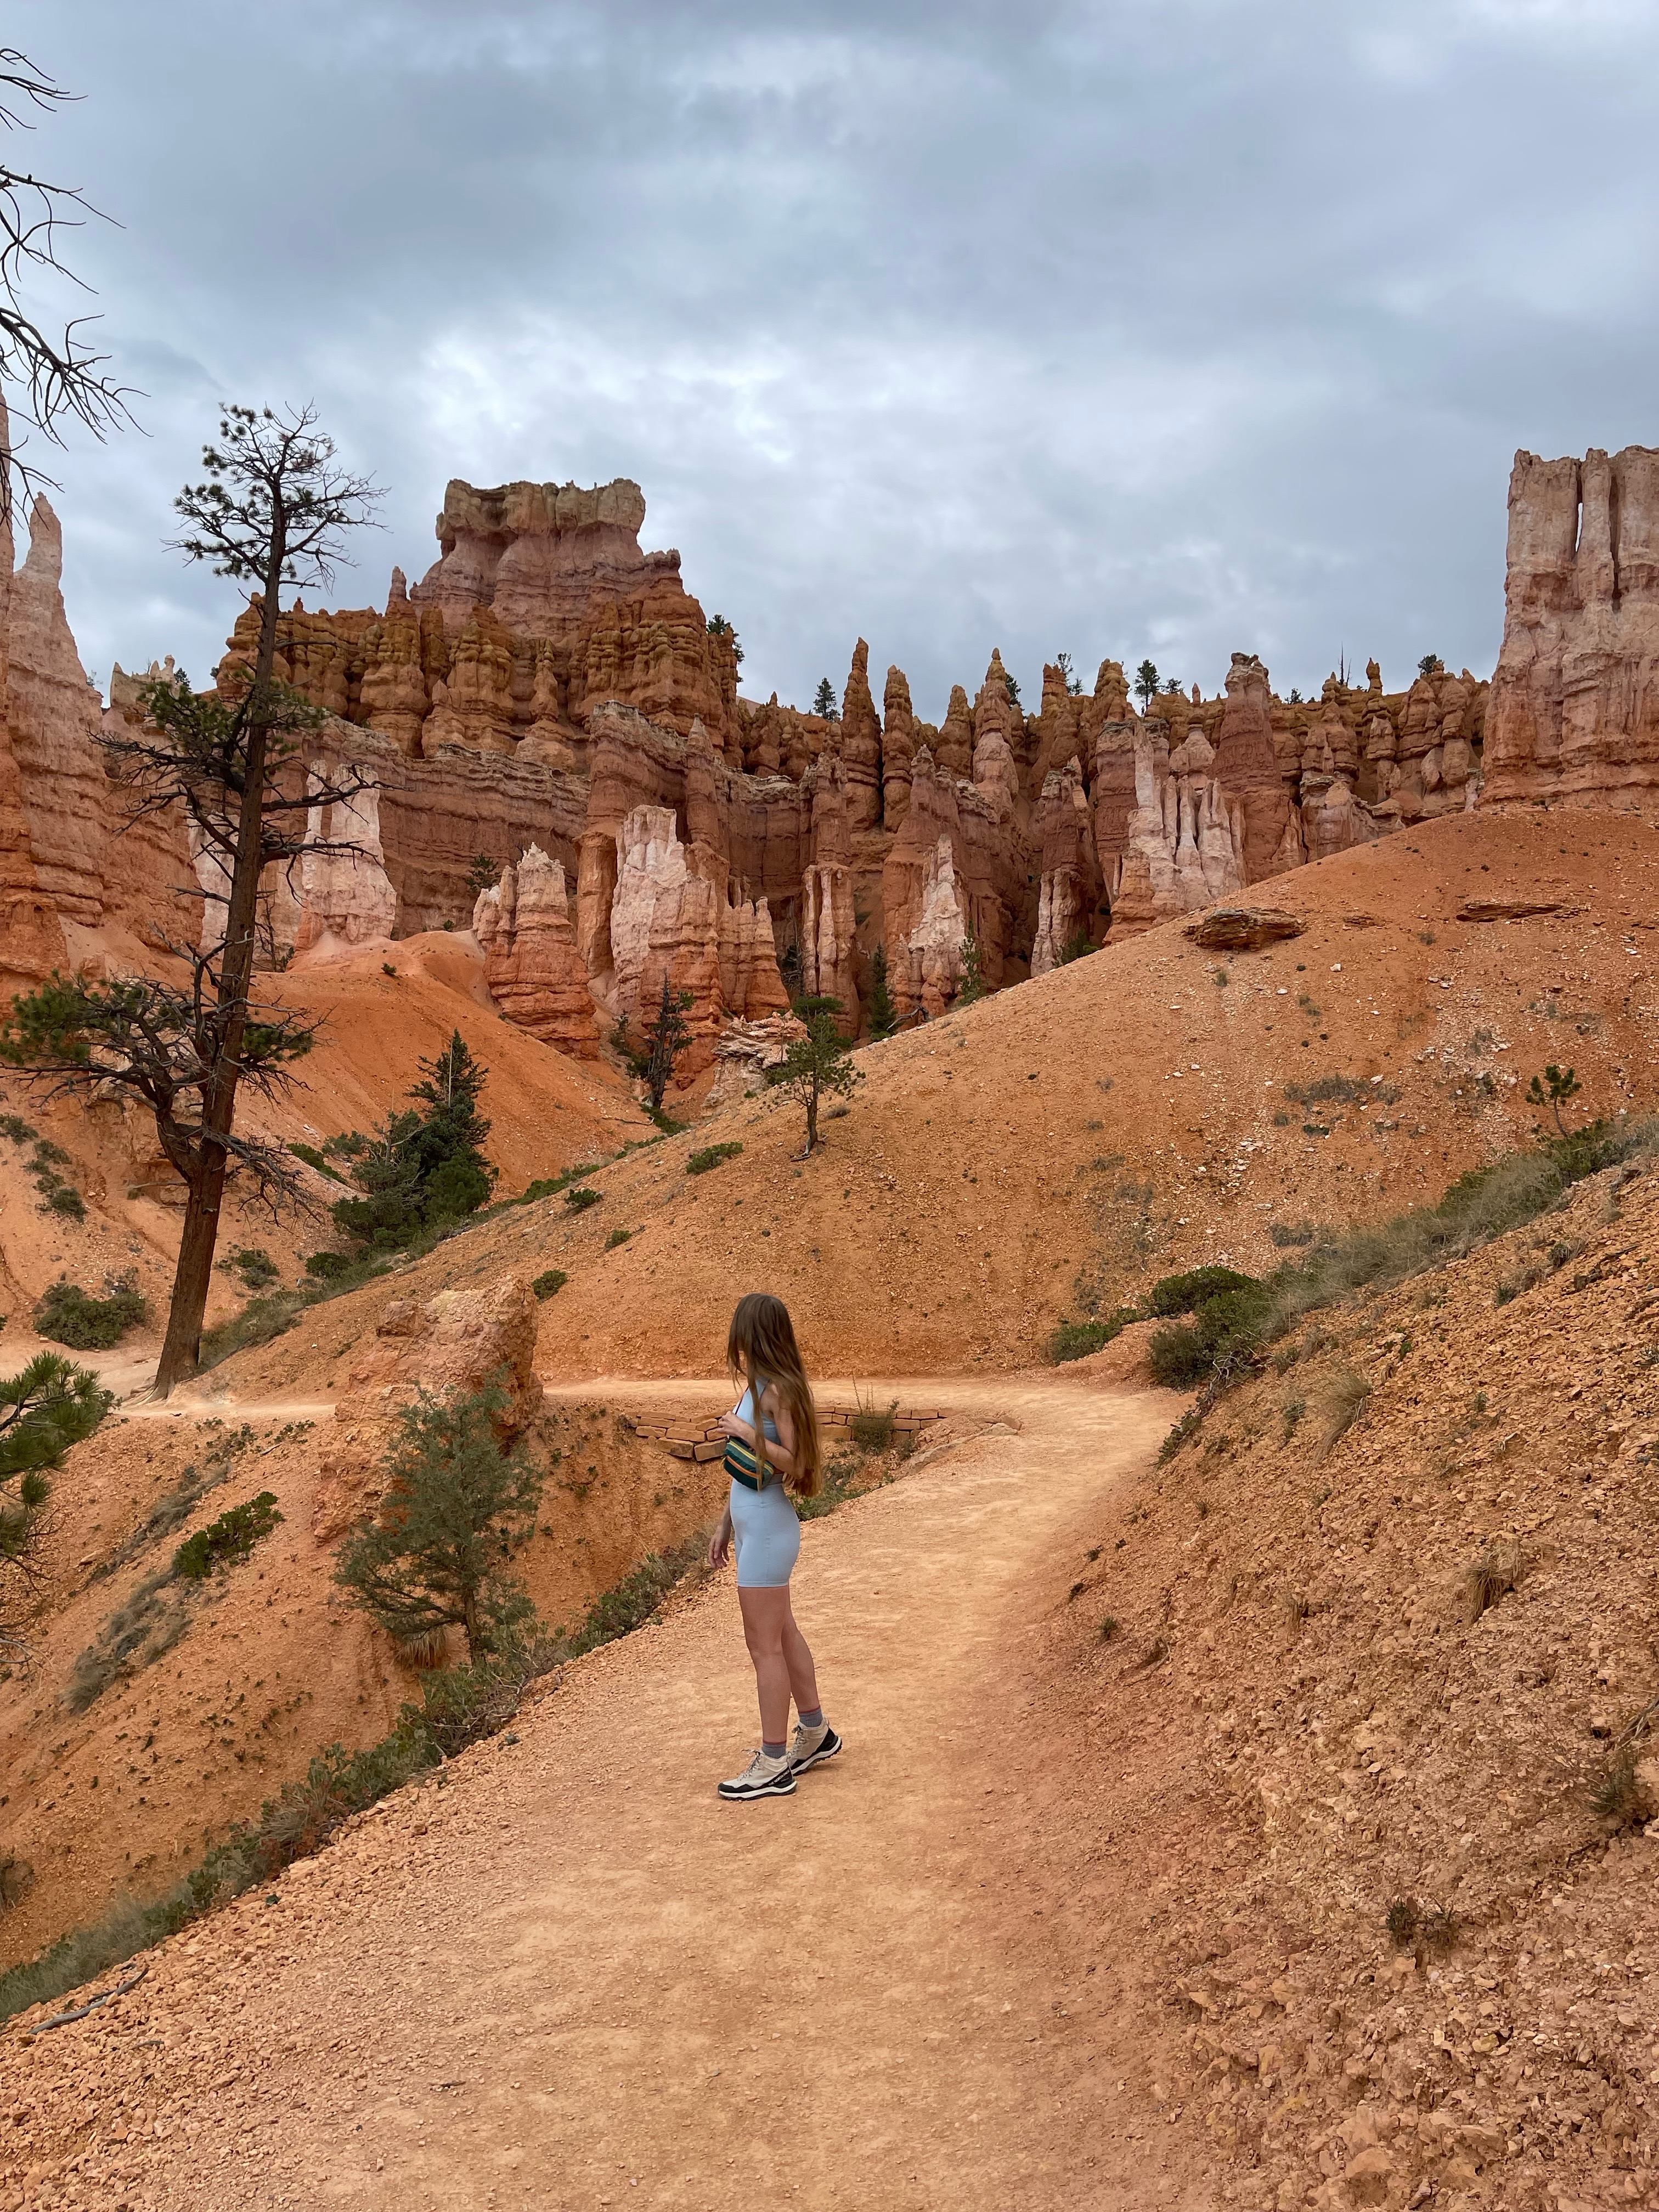
Rocky Mountain National Park, COGrand Teton National Park, WYGlacier National Park, MOYellowstone National Park, WYRocky Mountain National Park, COArches National Park, UTTongariro National Park, New ZealandArnarstapi, IcelandBadlands National Park, SDZion National Park, UTCinque Terre, ItalyBryce Canyon National Park, UTCliffs of Moher, IrelandMammoth Cave National Park, KYYellowstone National Park, WYHocking Hills State Park, OHBoulder, CO
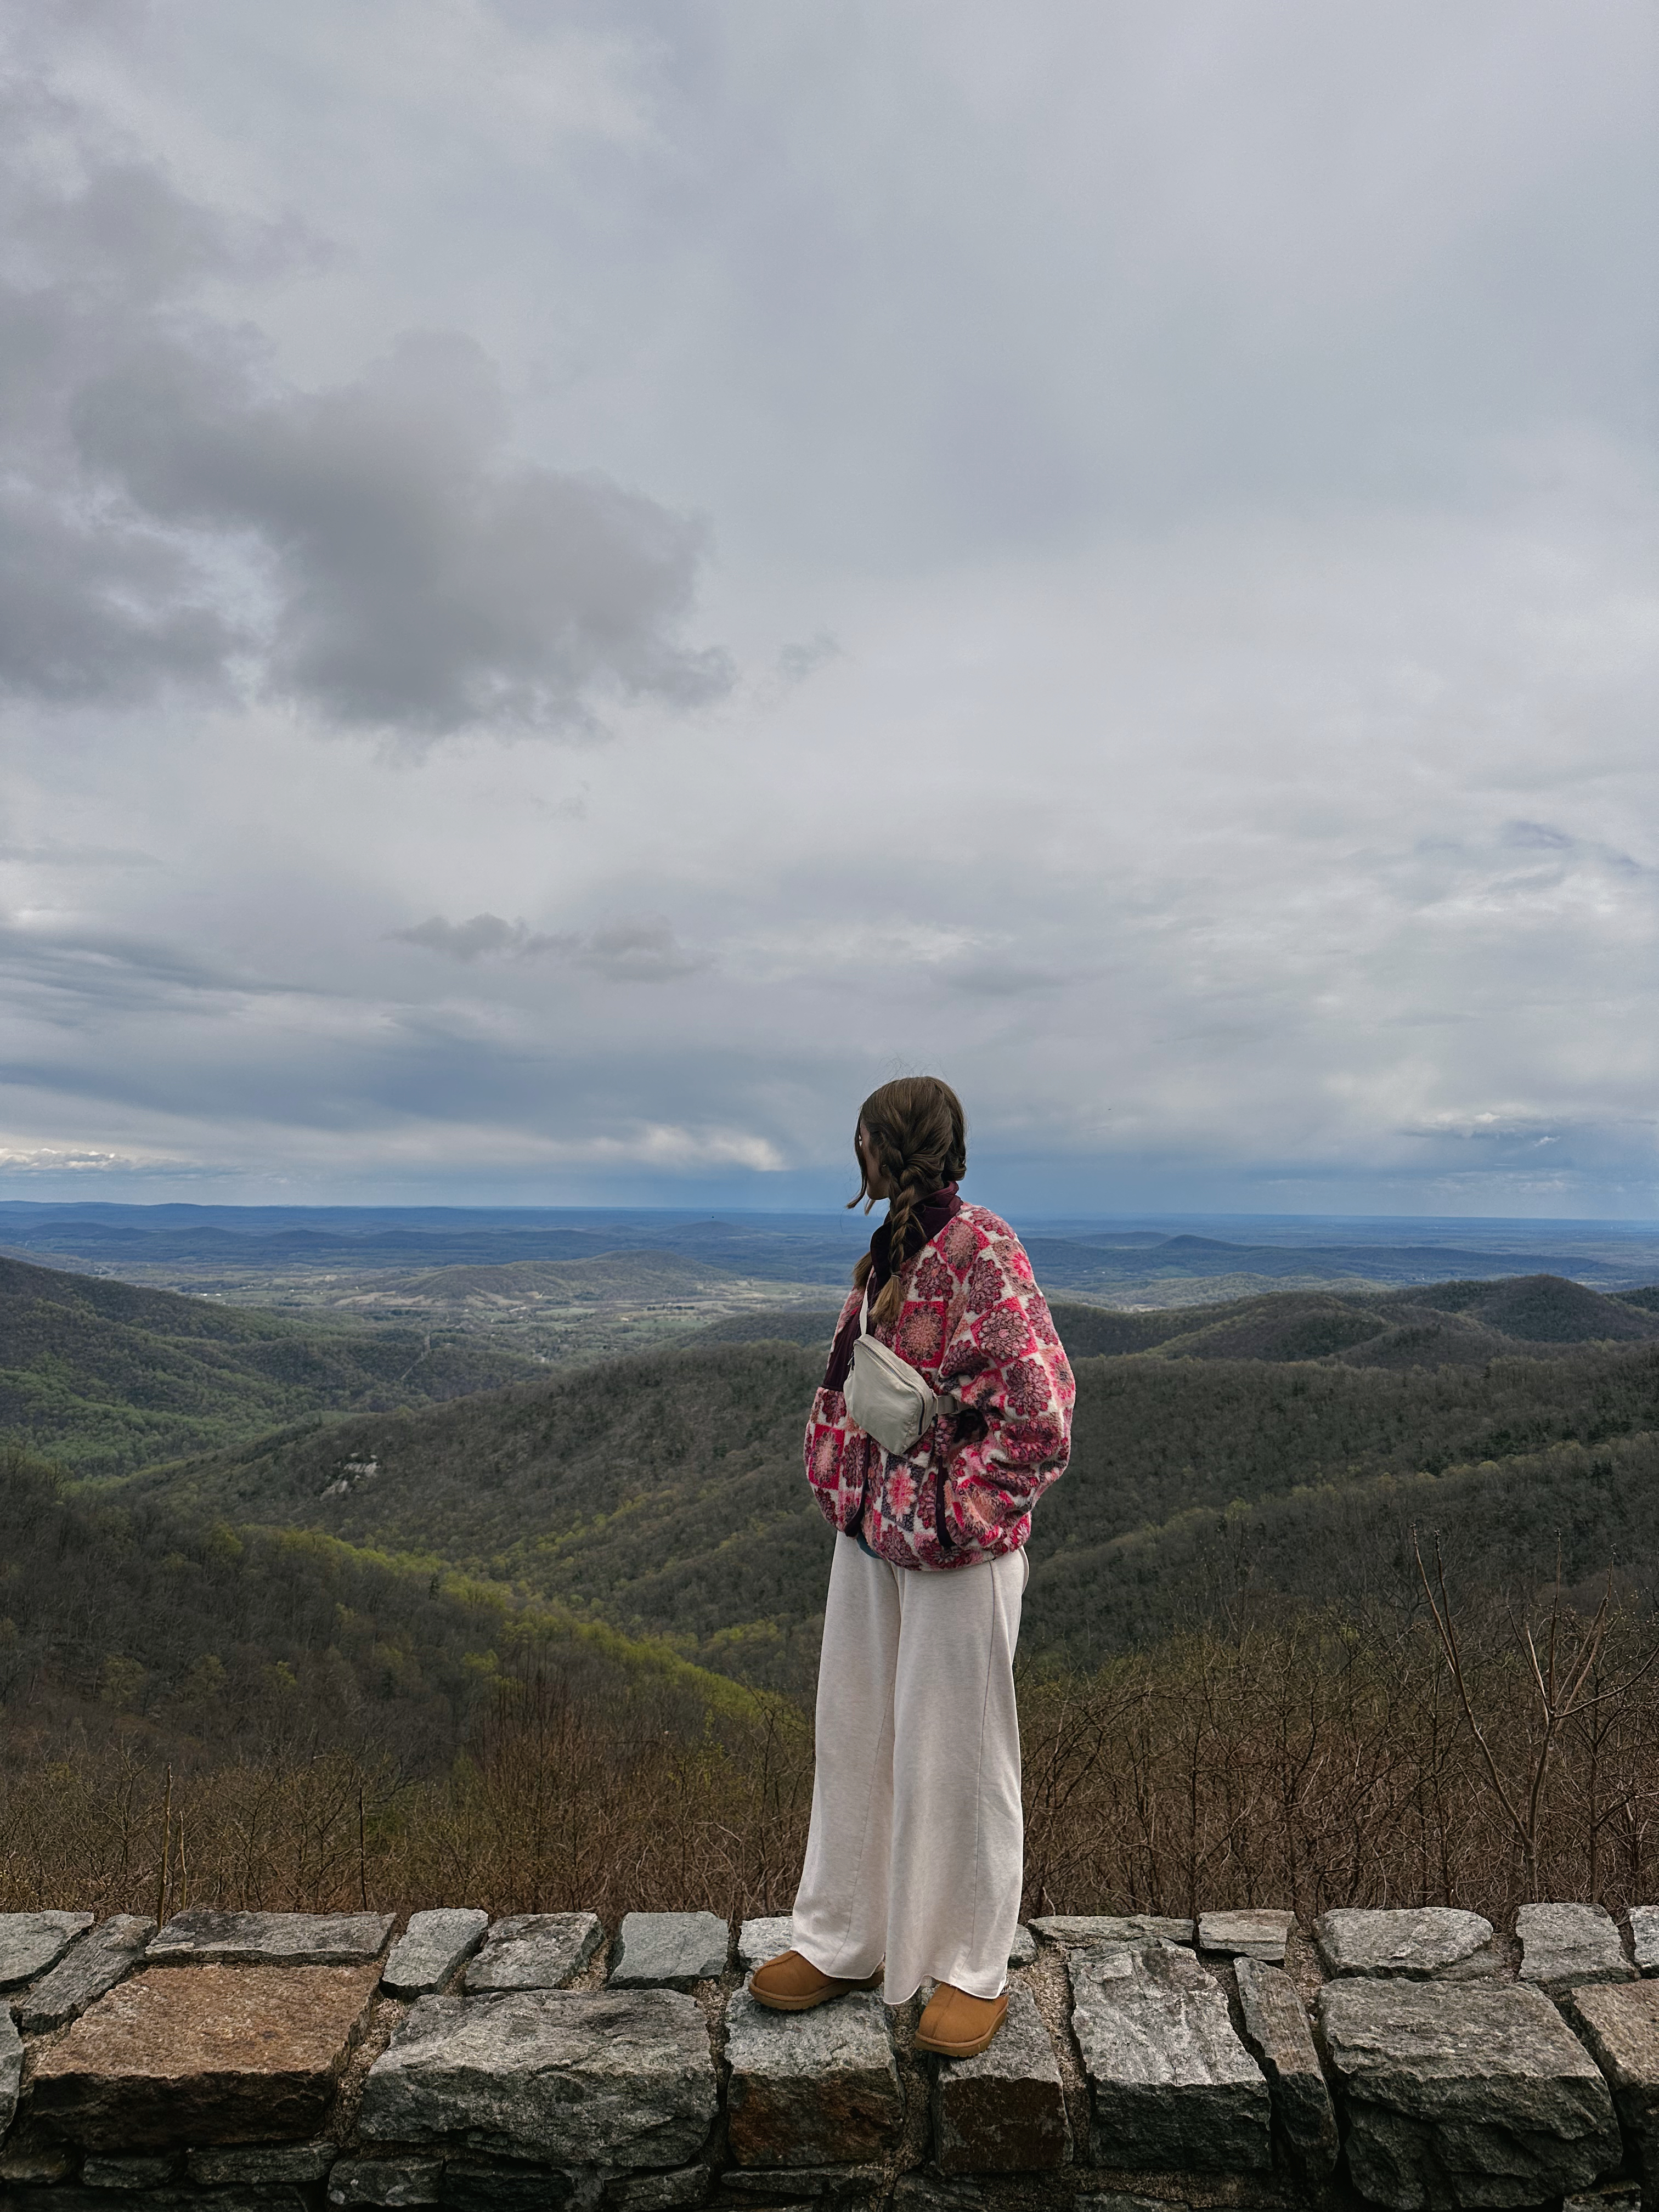
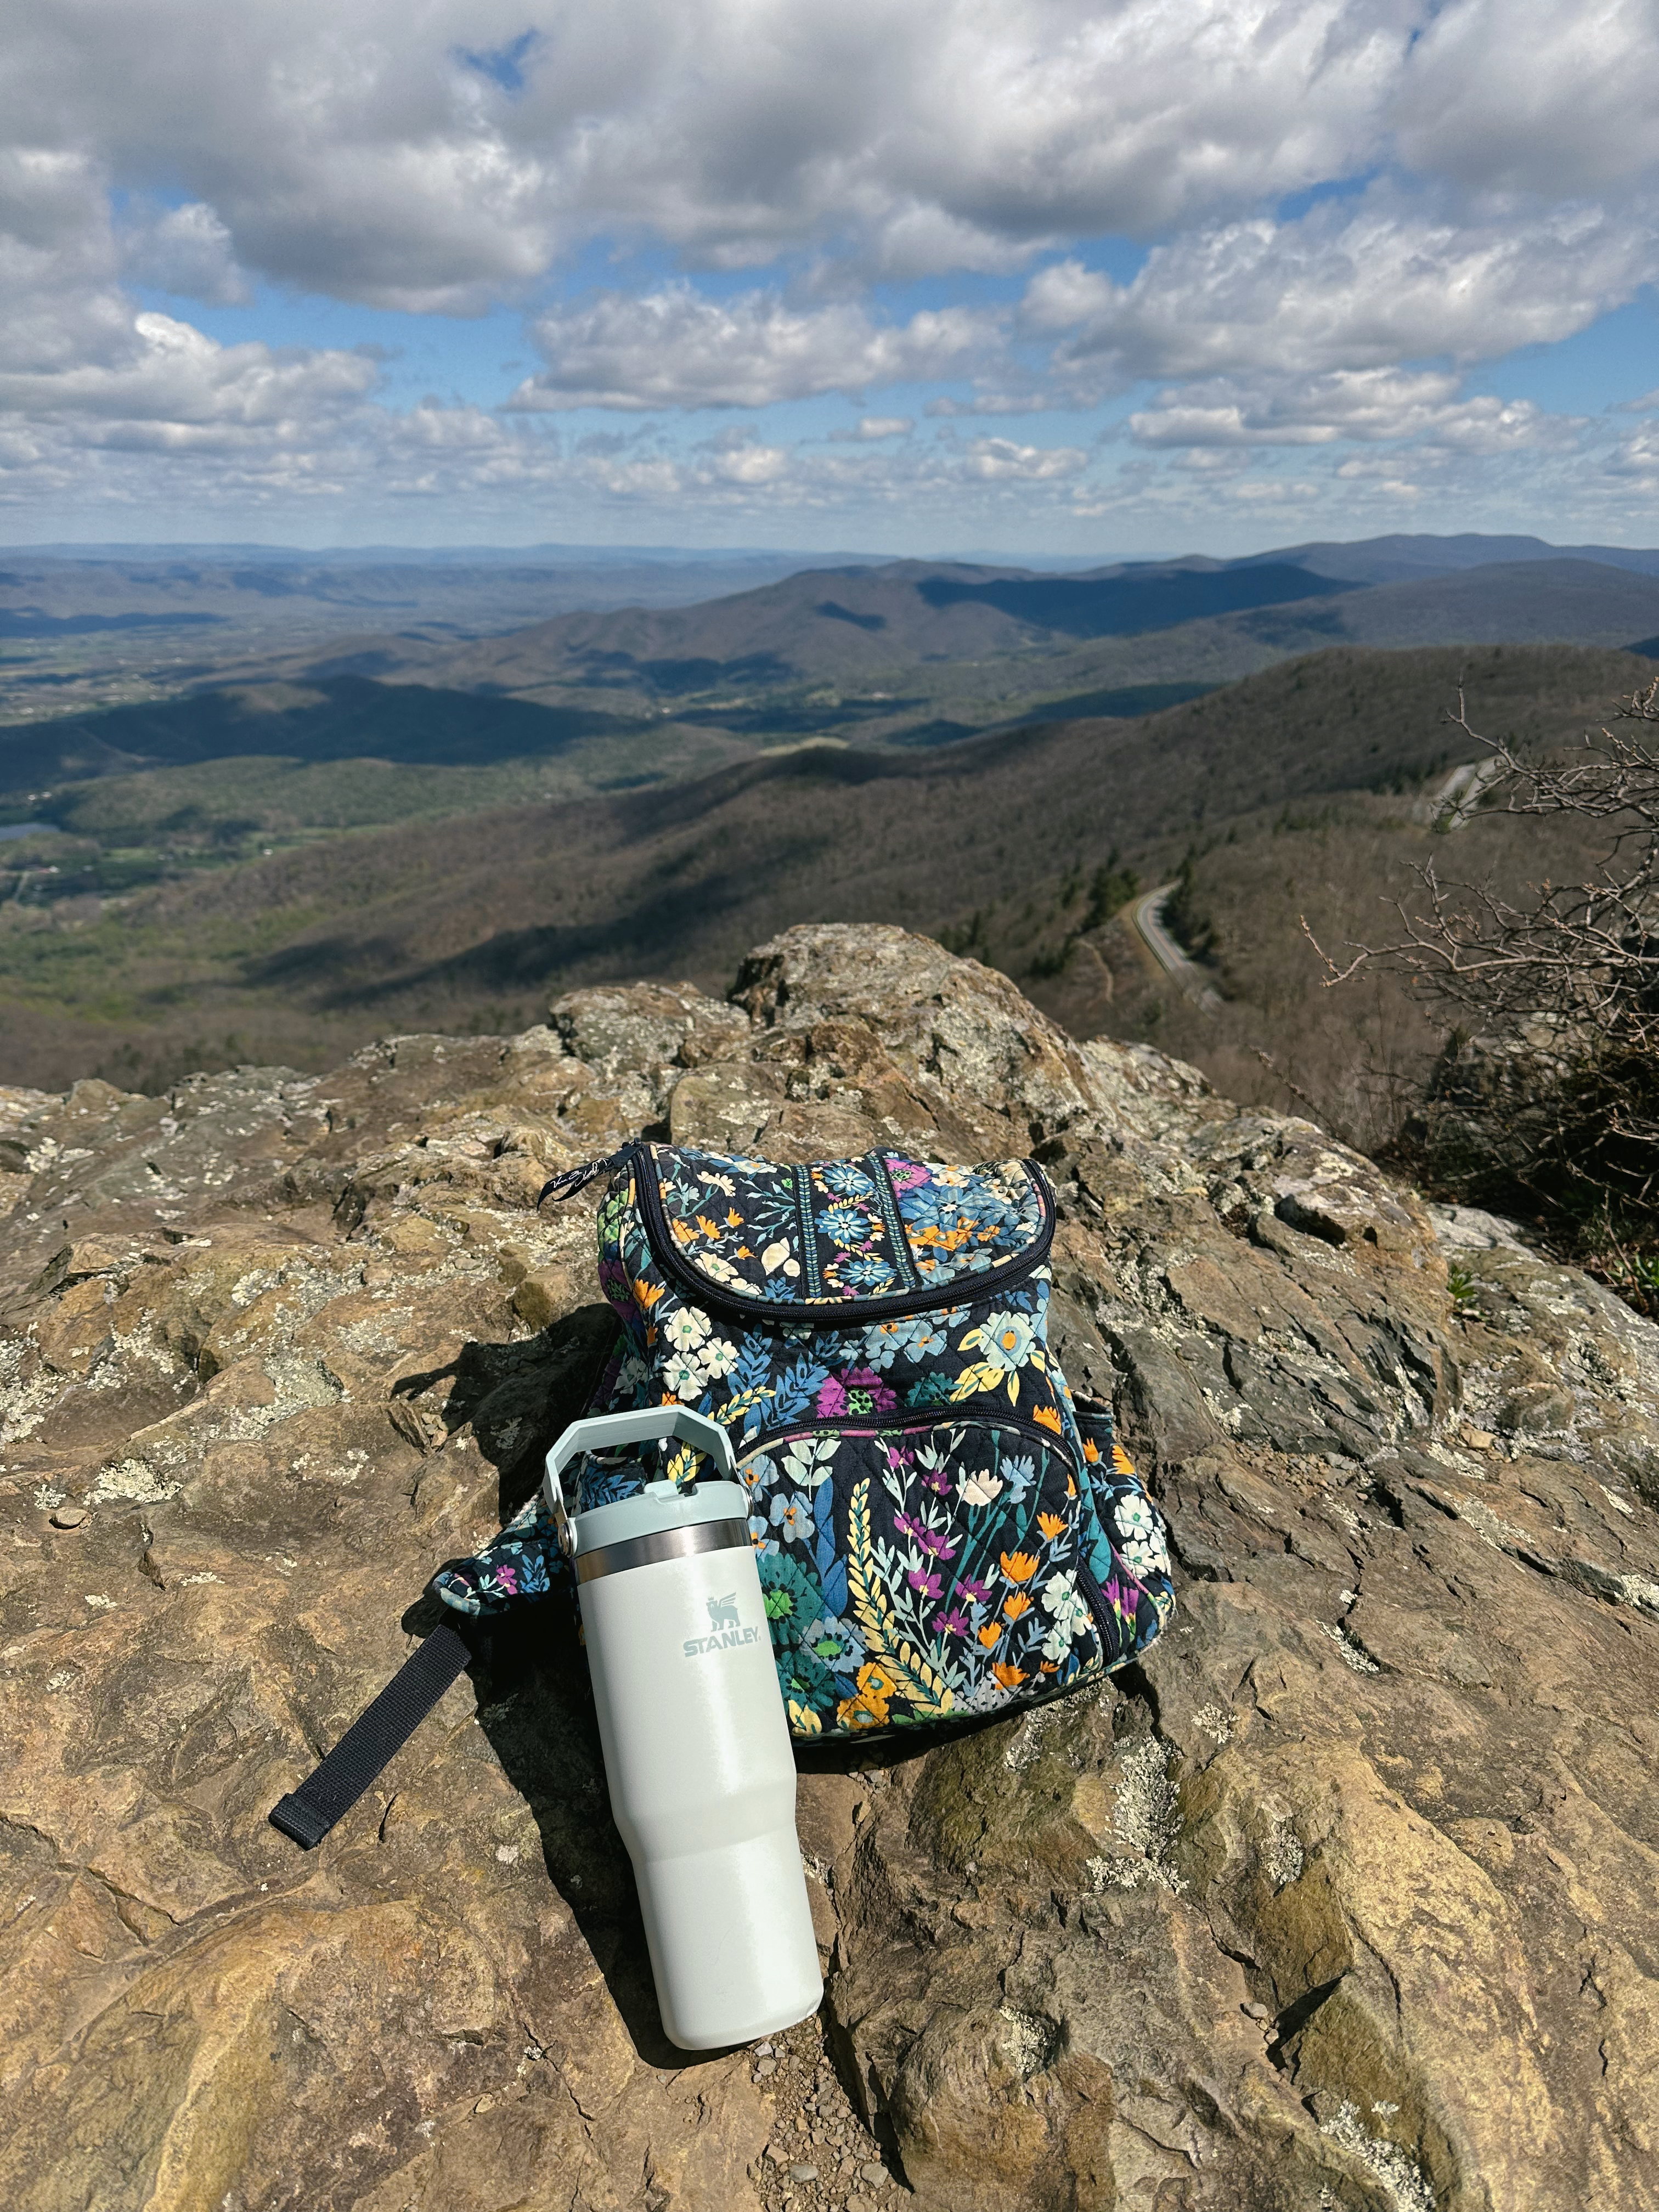
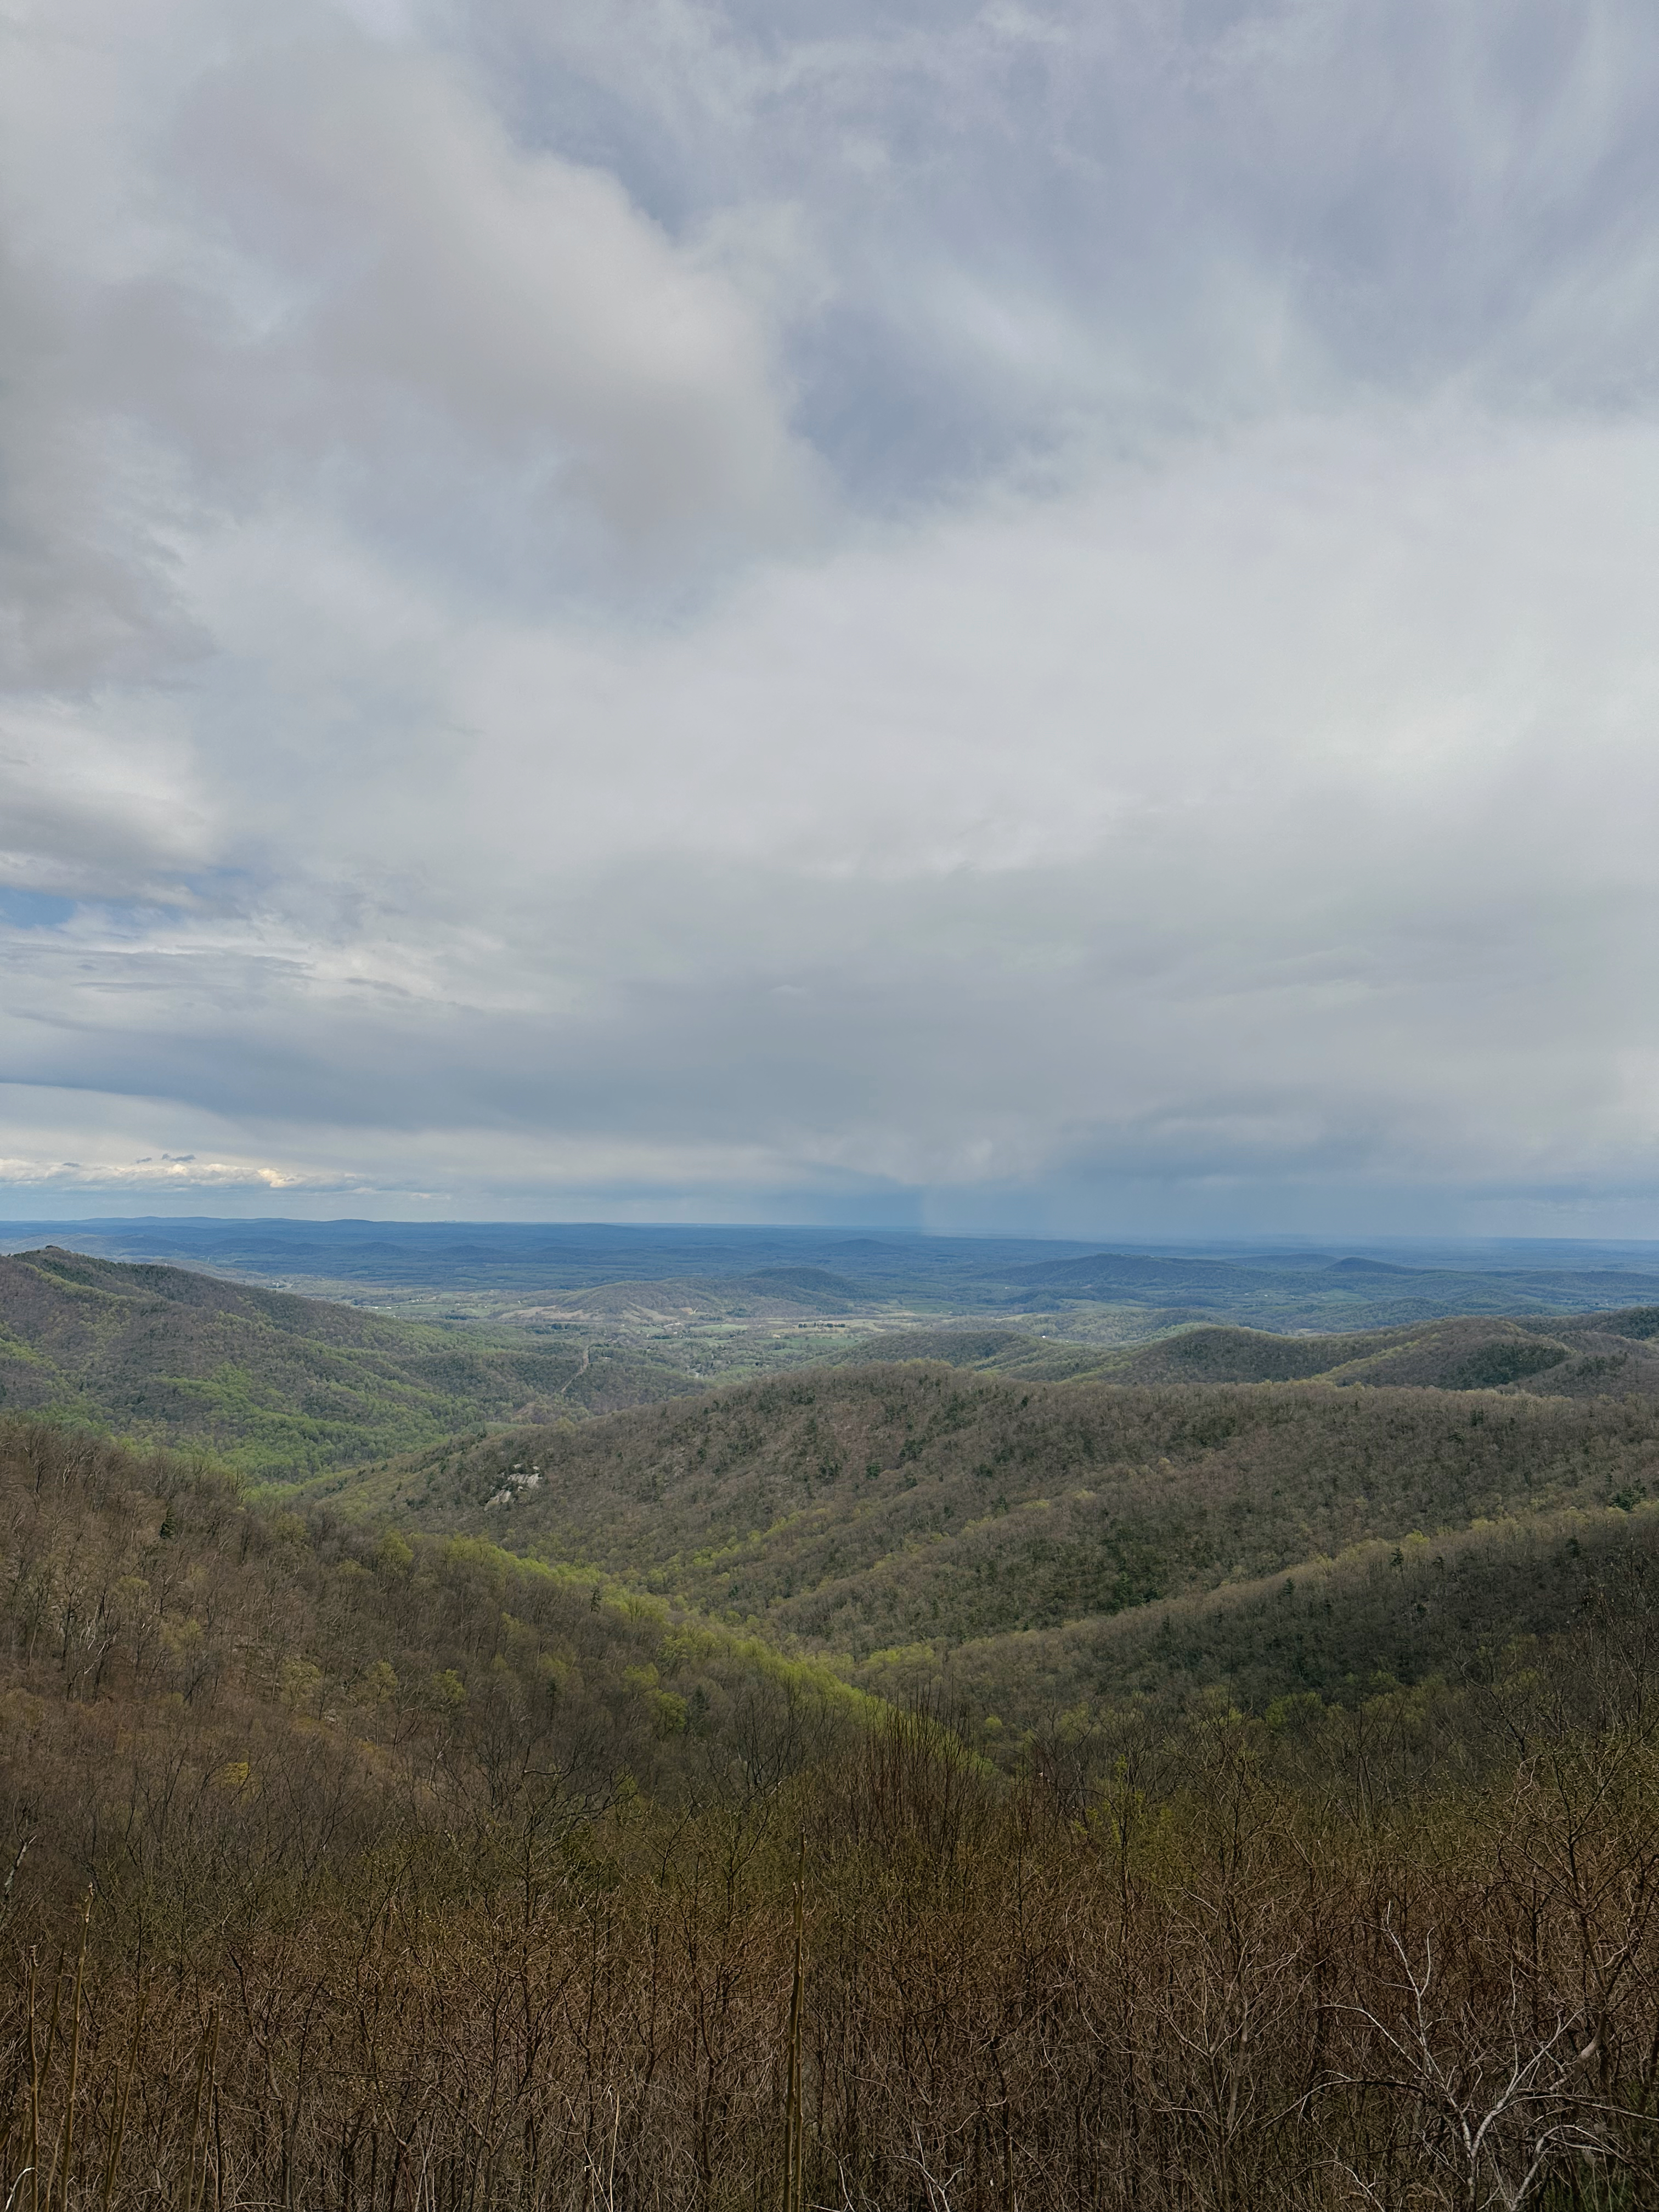
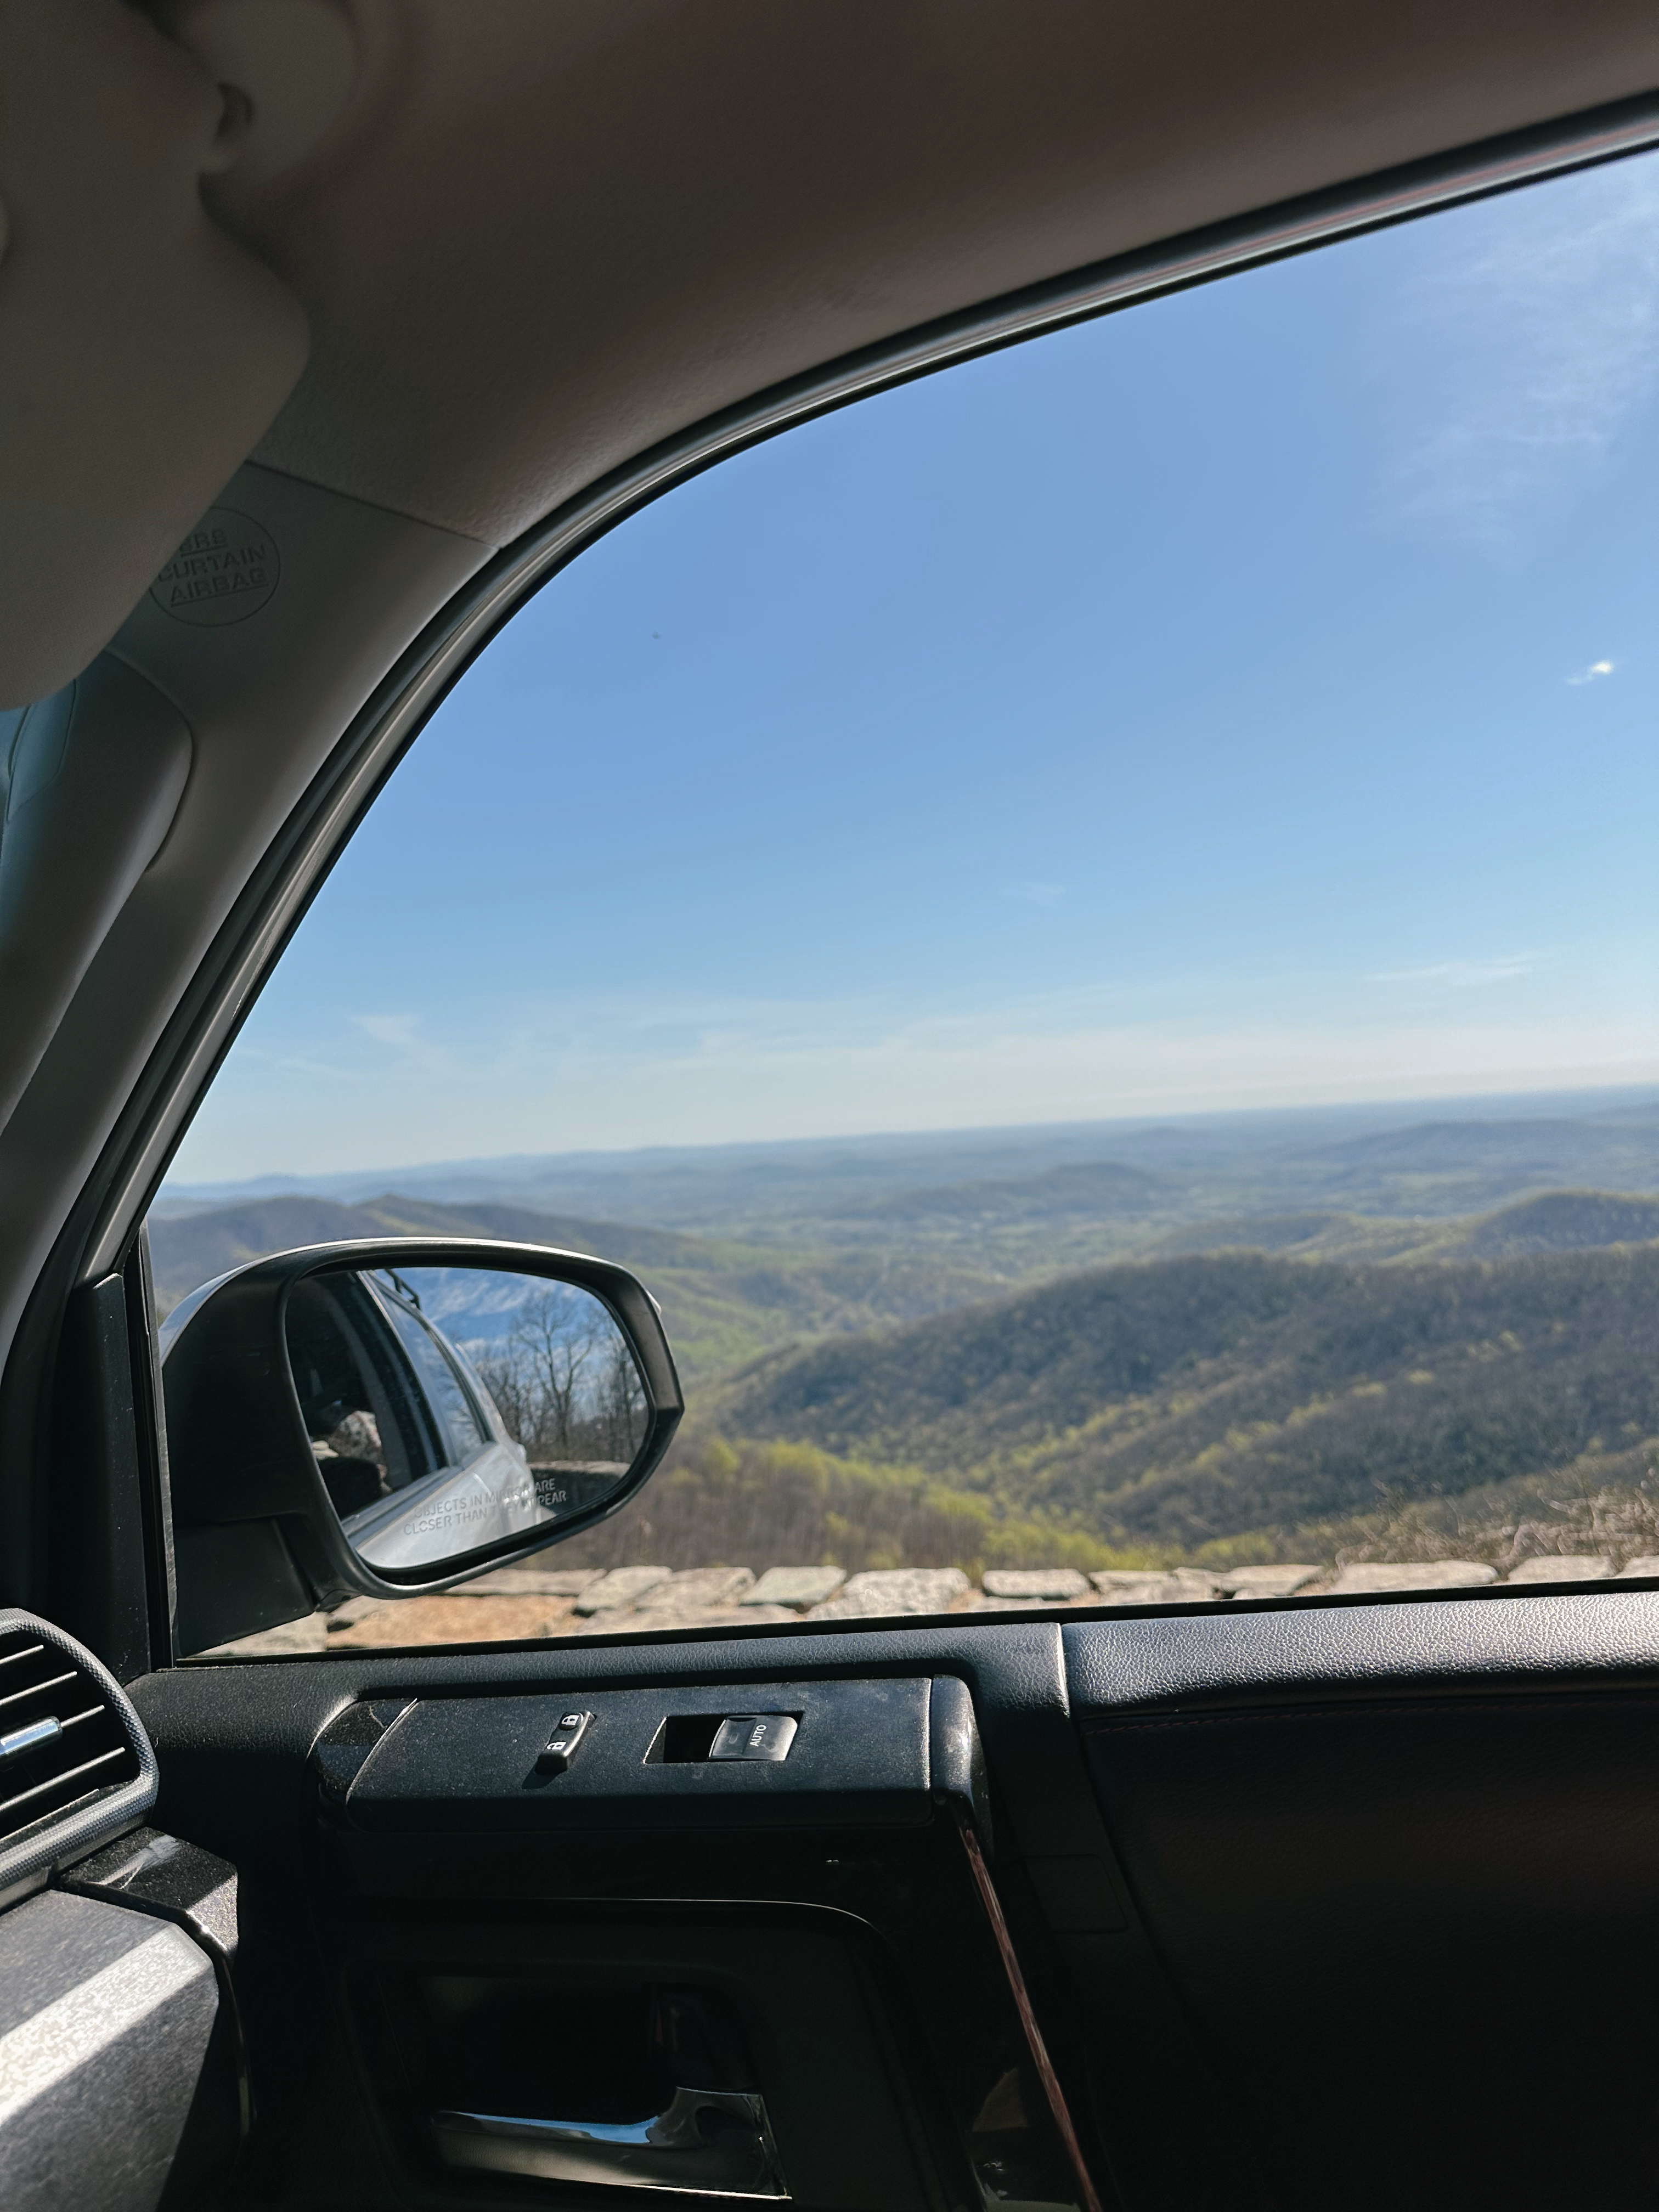
Last weekend, Patrick and I visited another national park on the east coast, Shenandoah! We had a weekend to explore the park and made the most out of our time there. We really enjoyed soaking in views along the Skyline drive, hiking to view the stunning Shenandoah mountain range, and much more. Here’s a quick weekend guide to Shenandoah national park and things I’d recommend you do too if you’re planning a visit.
Things to Know About Shenandoah National Park
Shenandoah requires a park entrance fee of $30 per vehicle which can be purchased when you arrive or in advance here.
There are a few lodging and overnight options within the park. If you like to camp, there are five campgrounds located within the park:
Mathews Arm
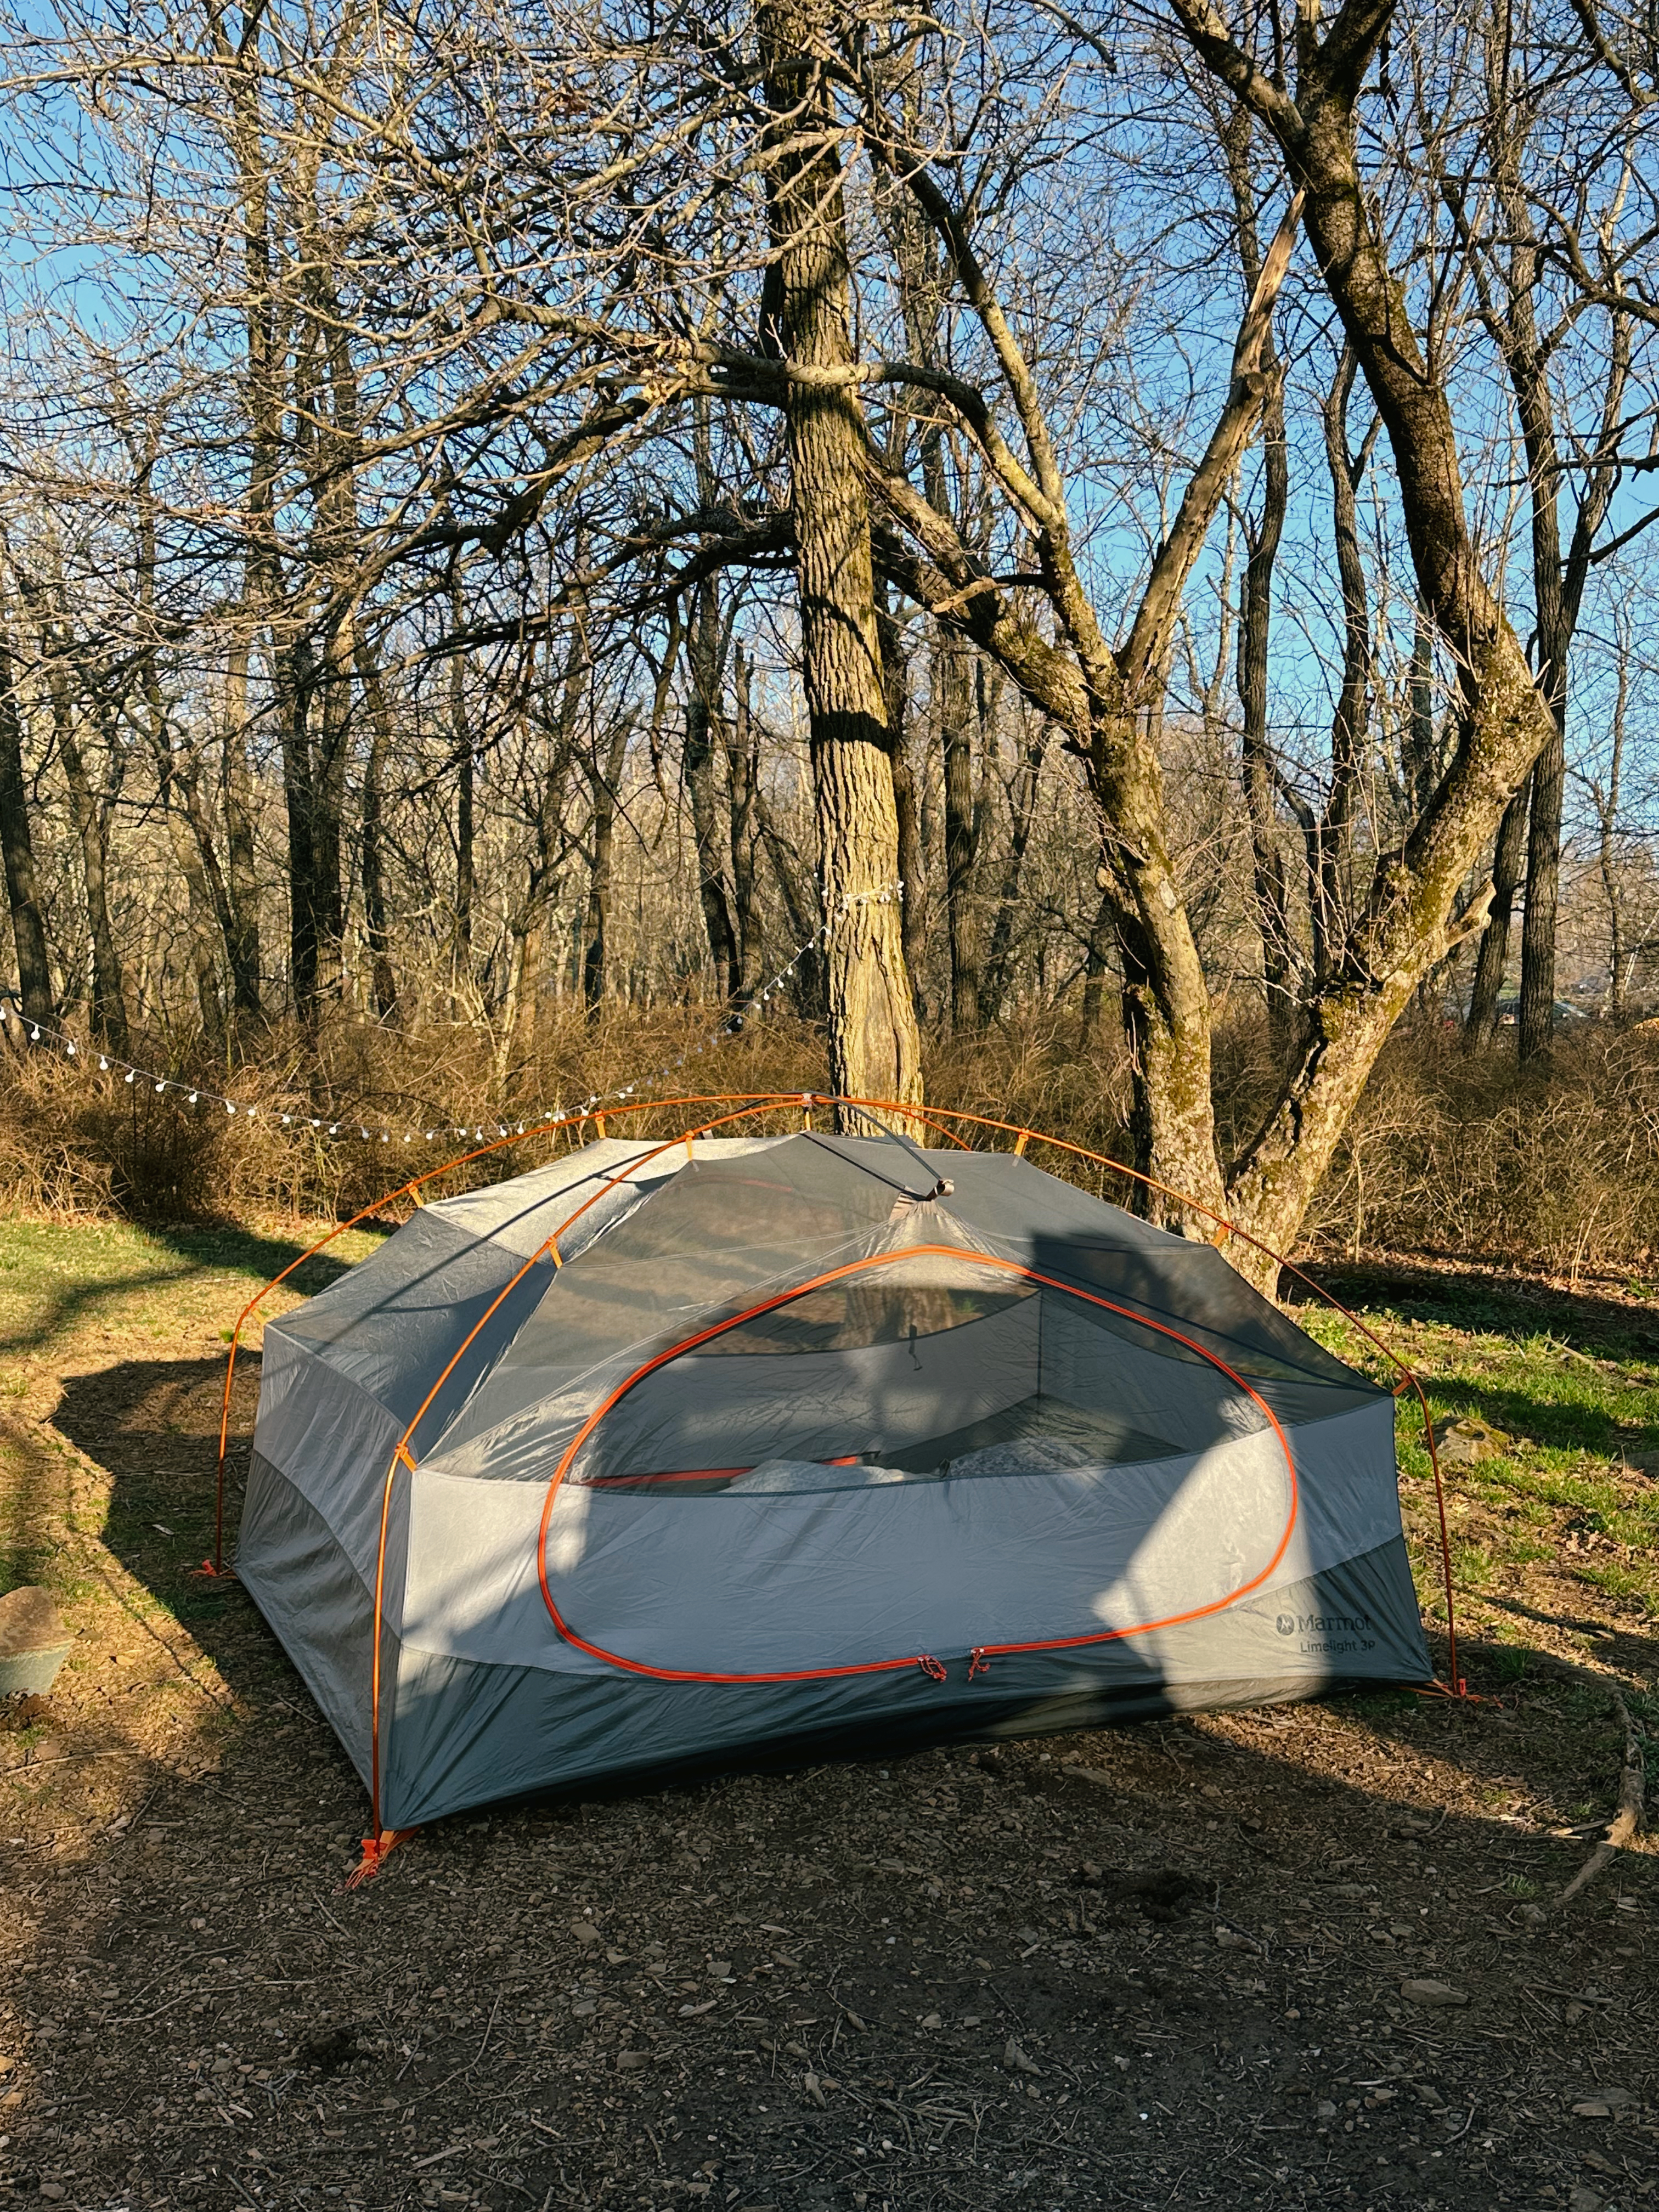
Big Meadows (this is the campground we stayed at during our visit, and really enjoyed it!)
Lewis Mountain
Loft Mountain
Dundo group
If you’d prefer other lodging options within the park, Shenandoah offers a few cabin and hotel like experiences:
Skyland lodge
Big Meadows lodge
Lewis Mountain cabins
The skyline drive goes through the park and has several marked pull off areas that offer stunning views of the park.
Things to Do in Shenandoah
Stop at the overlooks along the skyline drive. I’d recommend pulling off whenever you can! My favorite overlooks were:
Range view overlook
Hog back overlook
Mary’s rock tunnel
Buck hollow
Hazel mountain
Thorofare mountain (highlight overlook on the skyline drive)
Crescent rock
The point
Brown mountain overlook
buck hollow overlook
Go for a hike! Shenandoah offers some incredible hikes. Since our time was limited while visiting, we didn’t get to explore many hikes but the ones we did that I’d recommend:
Little Stony Man trail (1.5mi). This trail was pretty easy and gives you stunning views on the shenandoah mountain range!
Hawksbill mountain trail (1.6mi). This trail was steep and challenging at the beginning but the views at the top make it worth it!
Bearfence viewpoint trail (1.4mi). Another great smaller trail that gives stunning views at the top!
Some hikes we also considered that look amazing:
Mary’s rock summit (3.1mi)
Compton peak trail (2.3mi)
Rose river falls (3.8mi)
Dark hollow falls (1.4mi)
views along the little stony man trail
Stop by Skyland lodge. Even if you aren’t planning to stay at Skyland, I’d recommend stopping to check out the views, souvenirs shops, and grab some food at the cafe. There’s also a Starbucks located inside if you need a good cup of coffee!
Stop by a nearby town. Shenandoah is nestled between some quaint Virginian towns that are worth exploring! On our way home, we had fun stopping in Sperryville, VA for some coffee and window shopping.
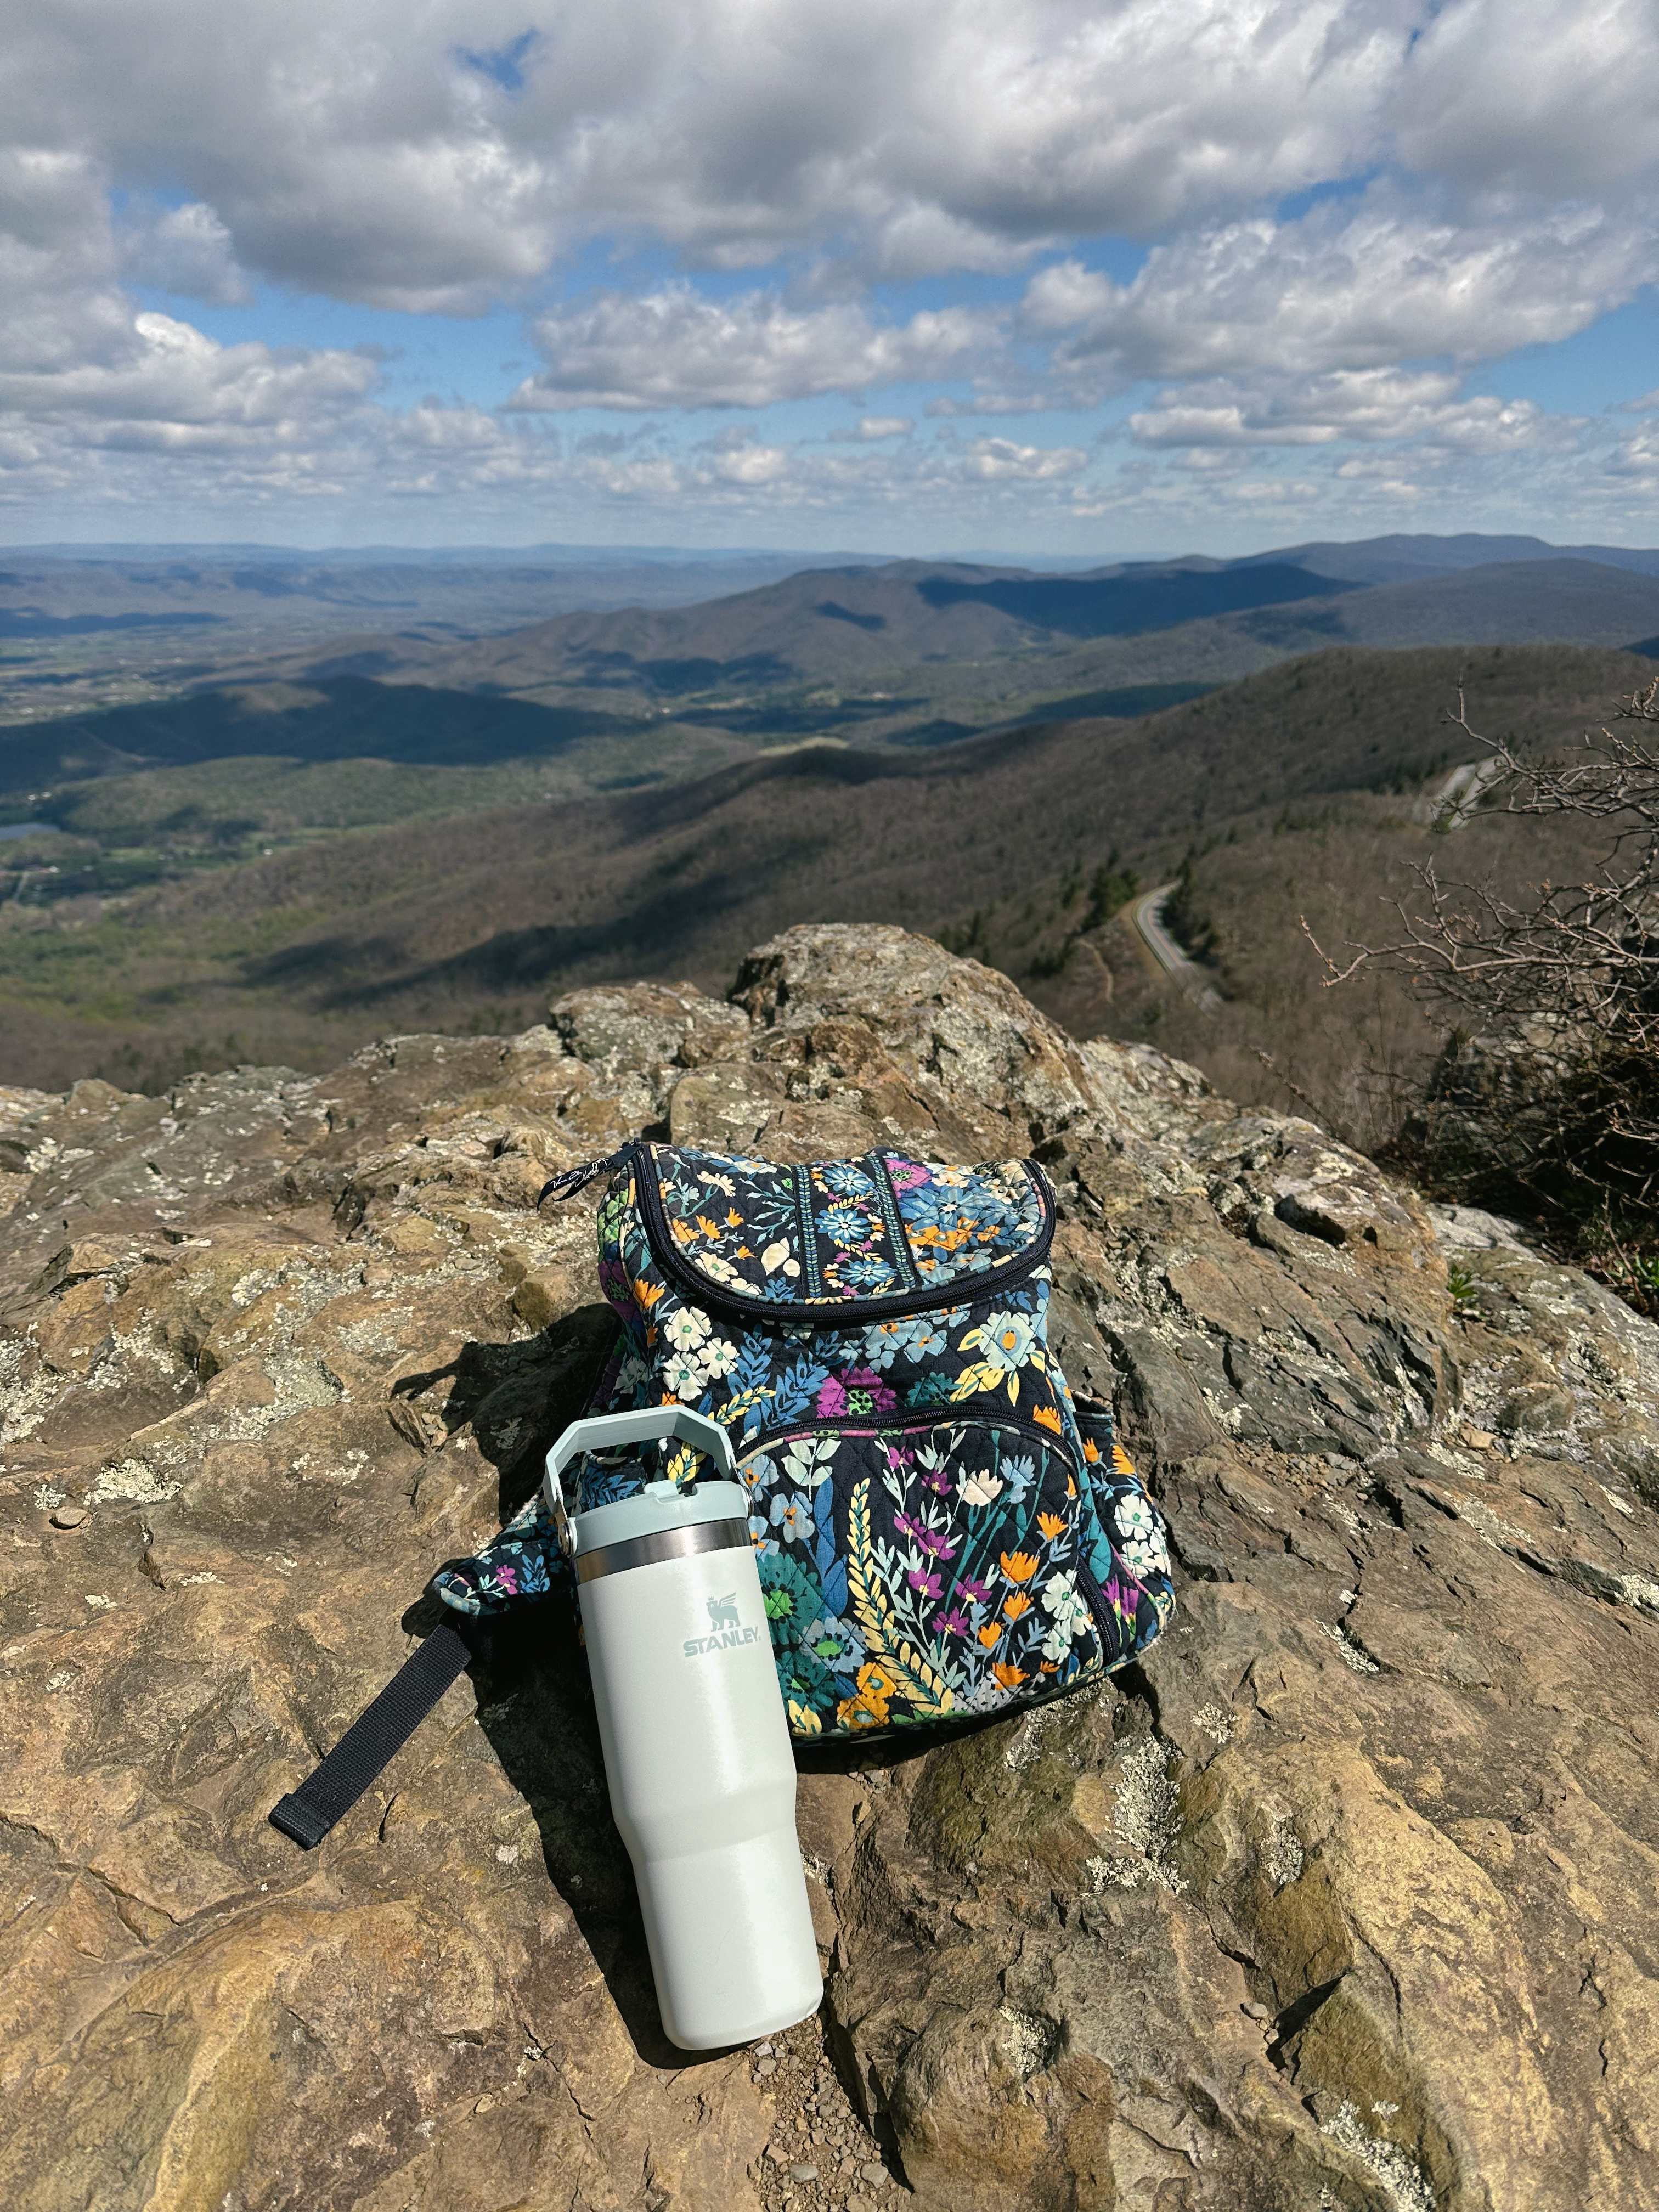
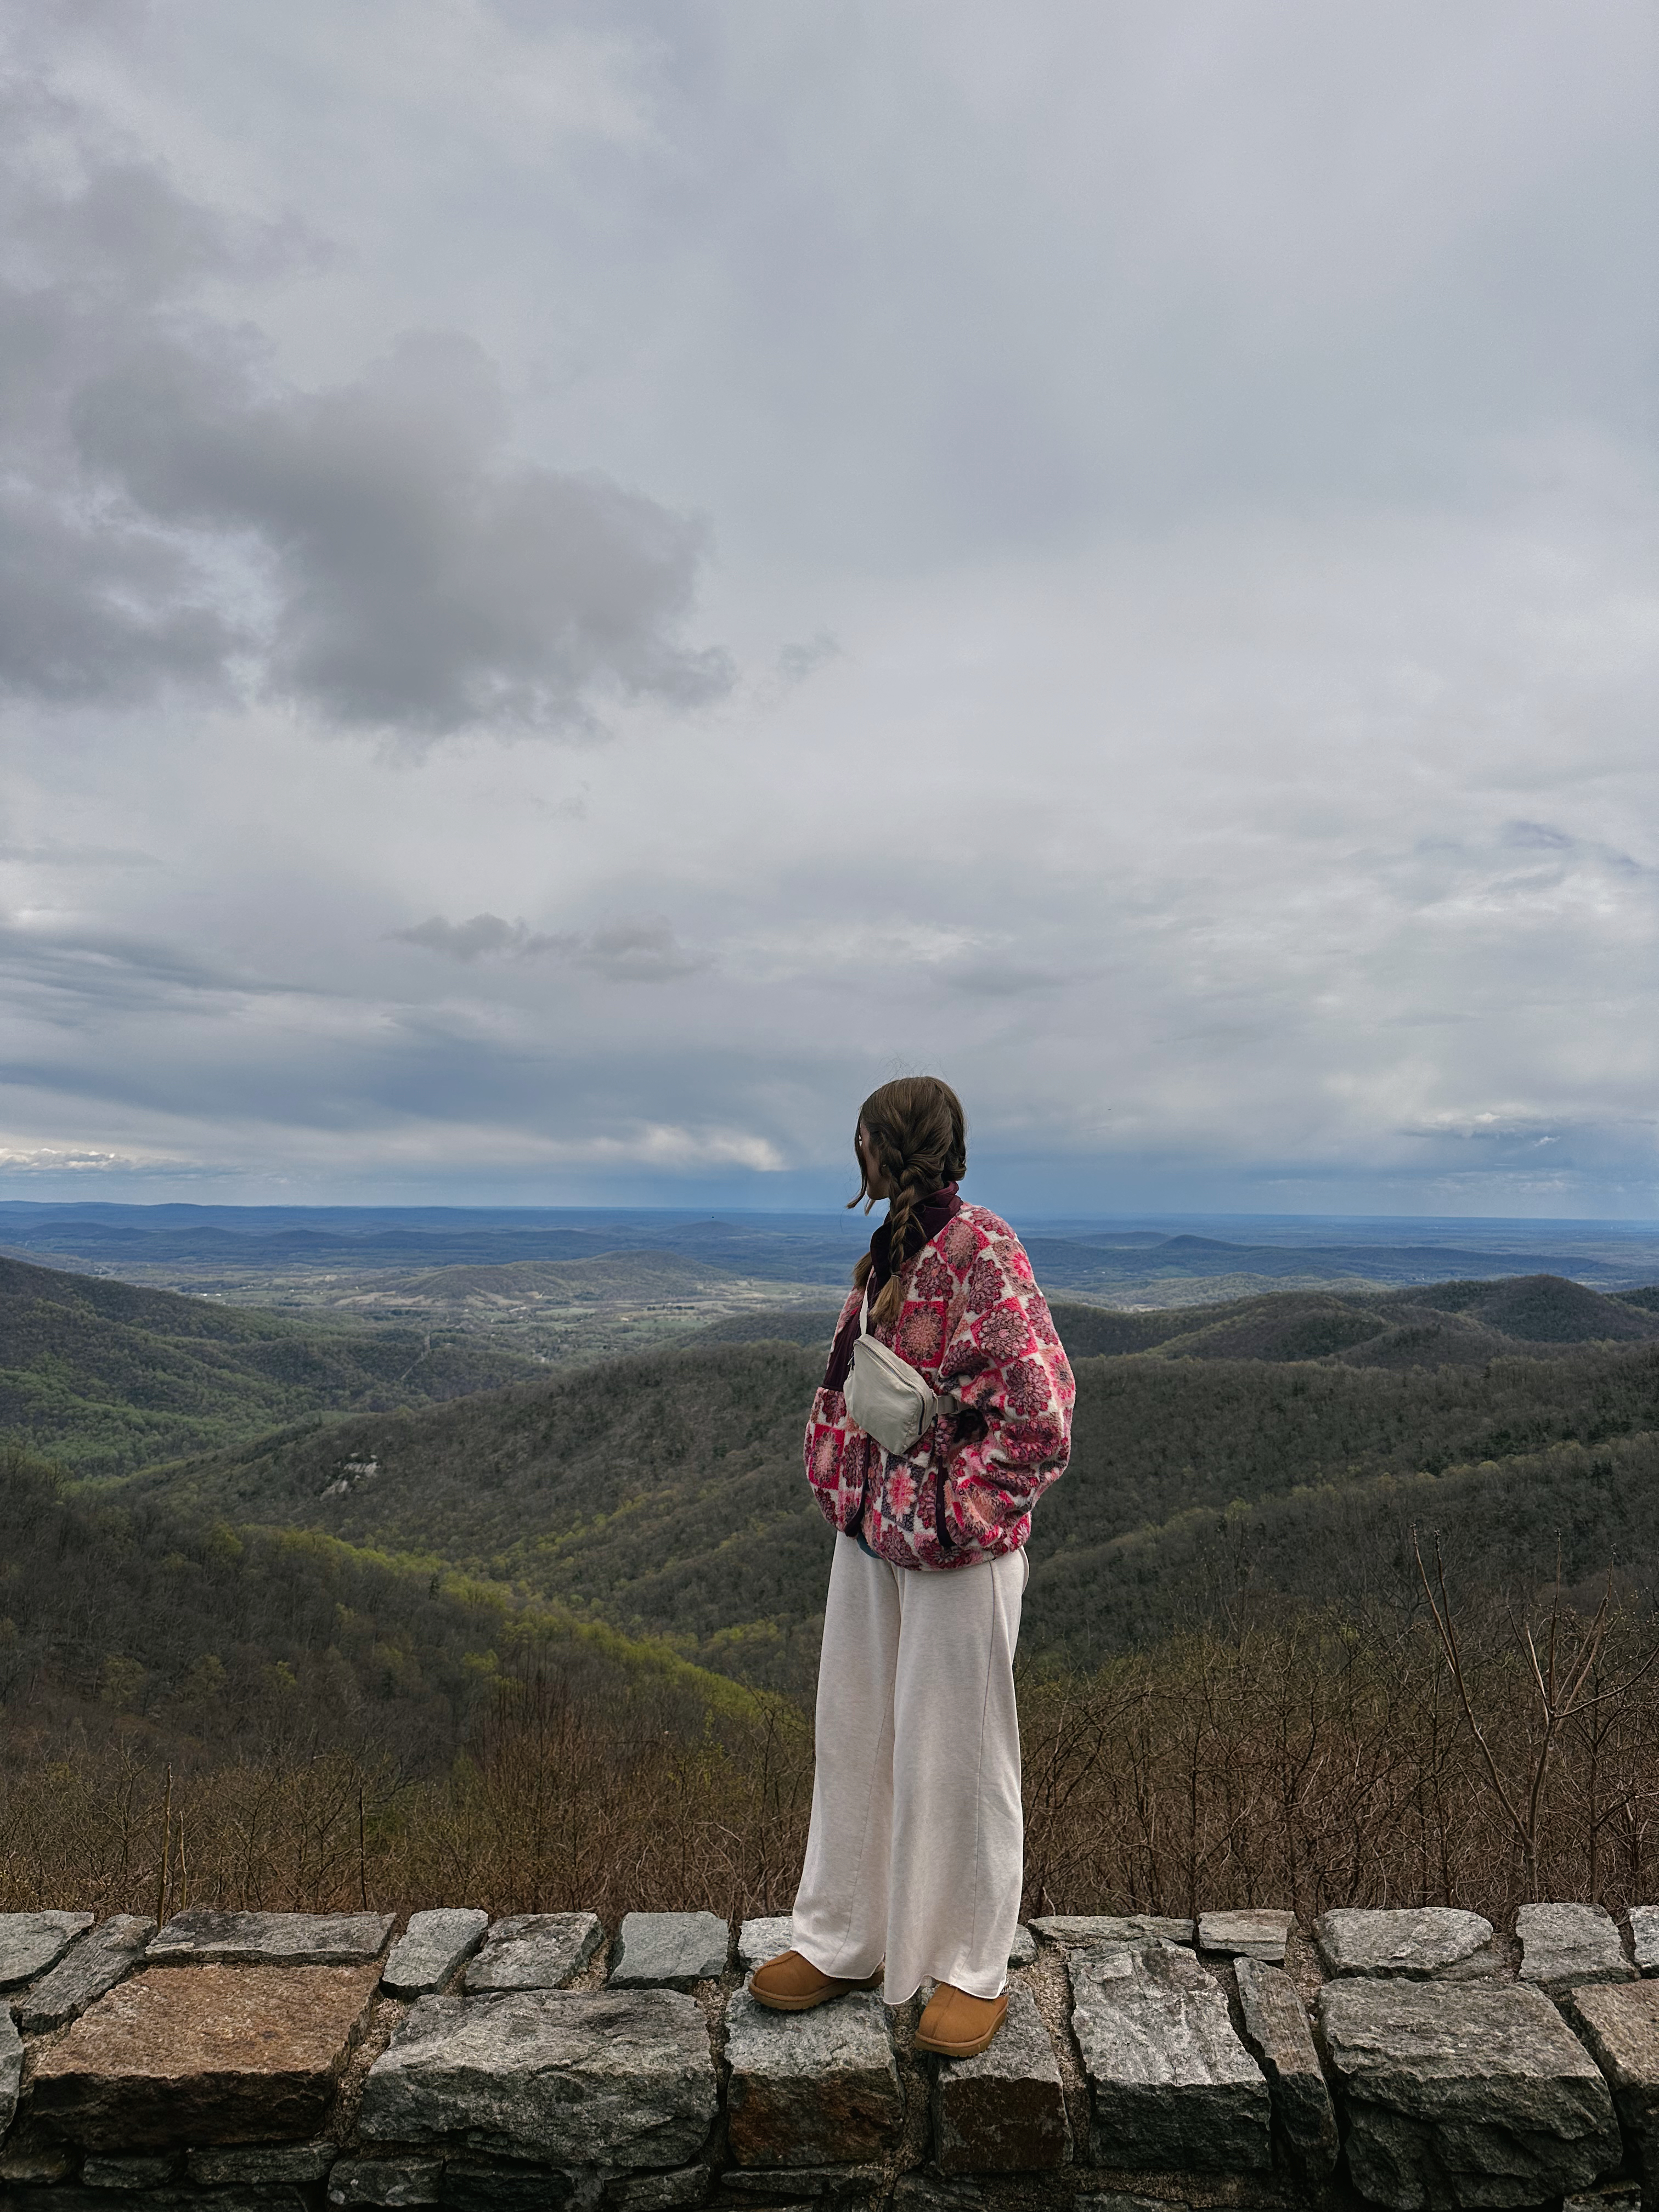
Views along Skyline driveCamping at Big Meadows Stopping along overlooksCoffee stop at Skyland lodgeHazel mountain overlookBig meadows campgroundStopping at overlooks along the skyline driveOverlook stop for pictures!
Planning a trip can be overwhelming and stressful at times, especially larger trips. The planning process can take time depending on where you’re planning to go. I always recommended planning early if possible to relieve stress and give yourself plenty of time to make reservations and develop a plan for your trip. If planning in advance isn’t a strength of yours, I’m hoping this guide gives you some ideas to make it a little less stressful!
Where to Start When Planning a Trip
📍Pick your desired destination, the fun part! Sometimes this is easy but if you aren’t sure where you’d like to go, consider what types of activities you’d like to do, if you’d rather relax or adventure, and how far you’re willing to fly or drive to reach your destination.
⏰ Determine timeframe. I like to start the planning process with a general idea of when I’ll be going on a trip. This may be depend on the area you’re visiting and whether there’s a better time to visit or it may be based on your availability. I usually gravitate towards traveling in the summer or fall months, the weather is usually better and there’s more opportunity for activities.
🚐 Decide whether driving or flying makes the most sense. Driving can take more time but it saves you the hassle of having to find a rental car or other means of transportation at your destination. Plus, there’s no limit to what you can bring, if you’re an over packer like me!
🎟 If you have/want to fly, I’d book flight tickets pretty soon after deciding on dates. Similarly, if you decide to drive, plan out any reservations you’ll need for accommodations or tickets needed for various activities.
How to Develop an Itinerary
Once you have a general timeframe decided, know where you’ll be going, and choosen whether to drive or fly, it’s time to start forming an itinerary.
I typically create my itineraries in Notion but any word doc, excel sheet, or even hand written will work fine!
An itinerary can be as detailed as you want it to be! If you feel more confident with a detailed plan of activities and sites to see while on a trip, a list of several things may be better for you. Or, if you’d rather go with the flow on your trip but still resort to a list of ideas of what to do some days, a lighter itinerary may work better. Reflect and be realistic with what will work for you! It is vacation after all so nothing with an itinerary has to be set in stone, it’s really just to have something to guide you, especially if it’s a new destination you’ll be visiting.
I like to list out all the days I know I’ll be on a trip and include:
Where we are sleeping that day
Any “must sees” if it’s a specific area
How much drive time is required between sites
Resturants to try
A collection of hikes, sites, or other attractions I want to visit that given day
On the itinerary, I also include reminders for myself if I need to reserve tickets for an activity or if I should check the weather before committing to a particular activity on a given day, etc.
How to Find Things to Do
I usually always start by browsing on Pinterest to find blog posts or other online sources that others have shared from visiting the area. I love hearing about other’s experiences and gaining a visual of what the area I’ll be visiting looks like. It really inspires me and excites me while planning a trip!
Social media will be your friend. Similarly to Pinterest, I’ll browse instagram, youtube or TikTok to gain video sources of what others did in the area I’ll be visiting to give me ideas.
I also recommend making a list of what you find through research. This will help you keep organized on things you’d like to do and see throughout your trip and then add to the itinerary later.
Tips
Be flexible with plans! Things can change so easily while traveling so even with an itinerary, it’s important to have an expectation that things may not go according to plan and that’s ok! Whenever I’ve gone on a larger trip, there are always changes to plans that happen just depending on weather, crowds, fatigue, etc. In my experience, because I had a list of so many places and activities I wanted to see for a trip, I would sometimes switch days or plans around if needed while on the trip which worked so well and gave me alternate ideas if I needed to be flexible.
I always recommended planning at least 3-6 months in advance, more for ease of mind that things are booked and there’s a plan in place.
Start a check list of packing necessities you’ll need to bring, especially if it’s a big trip. This is so helpful to ensure you don’t forget anything!
If you’re a visual person, I’d recommend adding photos of certain spots you’re excited to see on the trip to your itinerary or planner. I do this and it always helps to see what I’lll be doing and makes me even more excited for the trip to come!
It’s hard to believe it’s already spring! I love the start of any new season, but something about spring is so refreshing. It’s so inspiring to see longer days with sunlight, birds chirping in the morning, flowers and trees blooming, and the end of colder days. This spring season, I’m focusing on ways to add color and crafts into my spaces. I want to share some inspiring photos that I’ve captured so far to welcome the spring season and my spring bucket list I’ll be working on.
Spring Bucket List 🌸💛🌿☔️🐇
have a picnic
go on a weekend trip 🚐
spring clean my home
host friends over for dinner
go on a new hike in the area 🥾
incorporate more color into my wardrobe and home spaces 🌸
visit the farmer’s market 🧺
paint or color eggs for easter
spring simmer pot 🍊
DIY a spring wreath
Spring simmer potrecipe:
add water to a pot or dutch oven
cut and add 1 thinly sliced lemon
cut and add 1 thinly sliced grape fruit
2-3 flower heads
lavender or rosemary garnish
splash of vanilla extract
bring pot to a boil and lower to simmer for 30+ minutes
Wishing you all a happy start to the spring season! x
spring simmer potrecent thrift finds, so much color!painted eggs for eastermorning scenescolorful jacket to embrace a new seasonDIY spring garden wreathsimmer pot prepspring books for the coffee tablepainted taper candlesfresh flowers
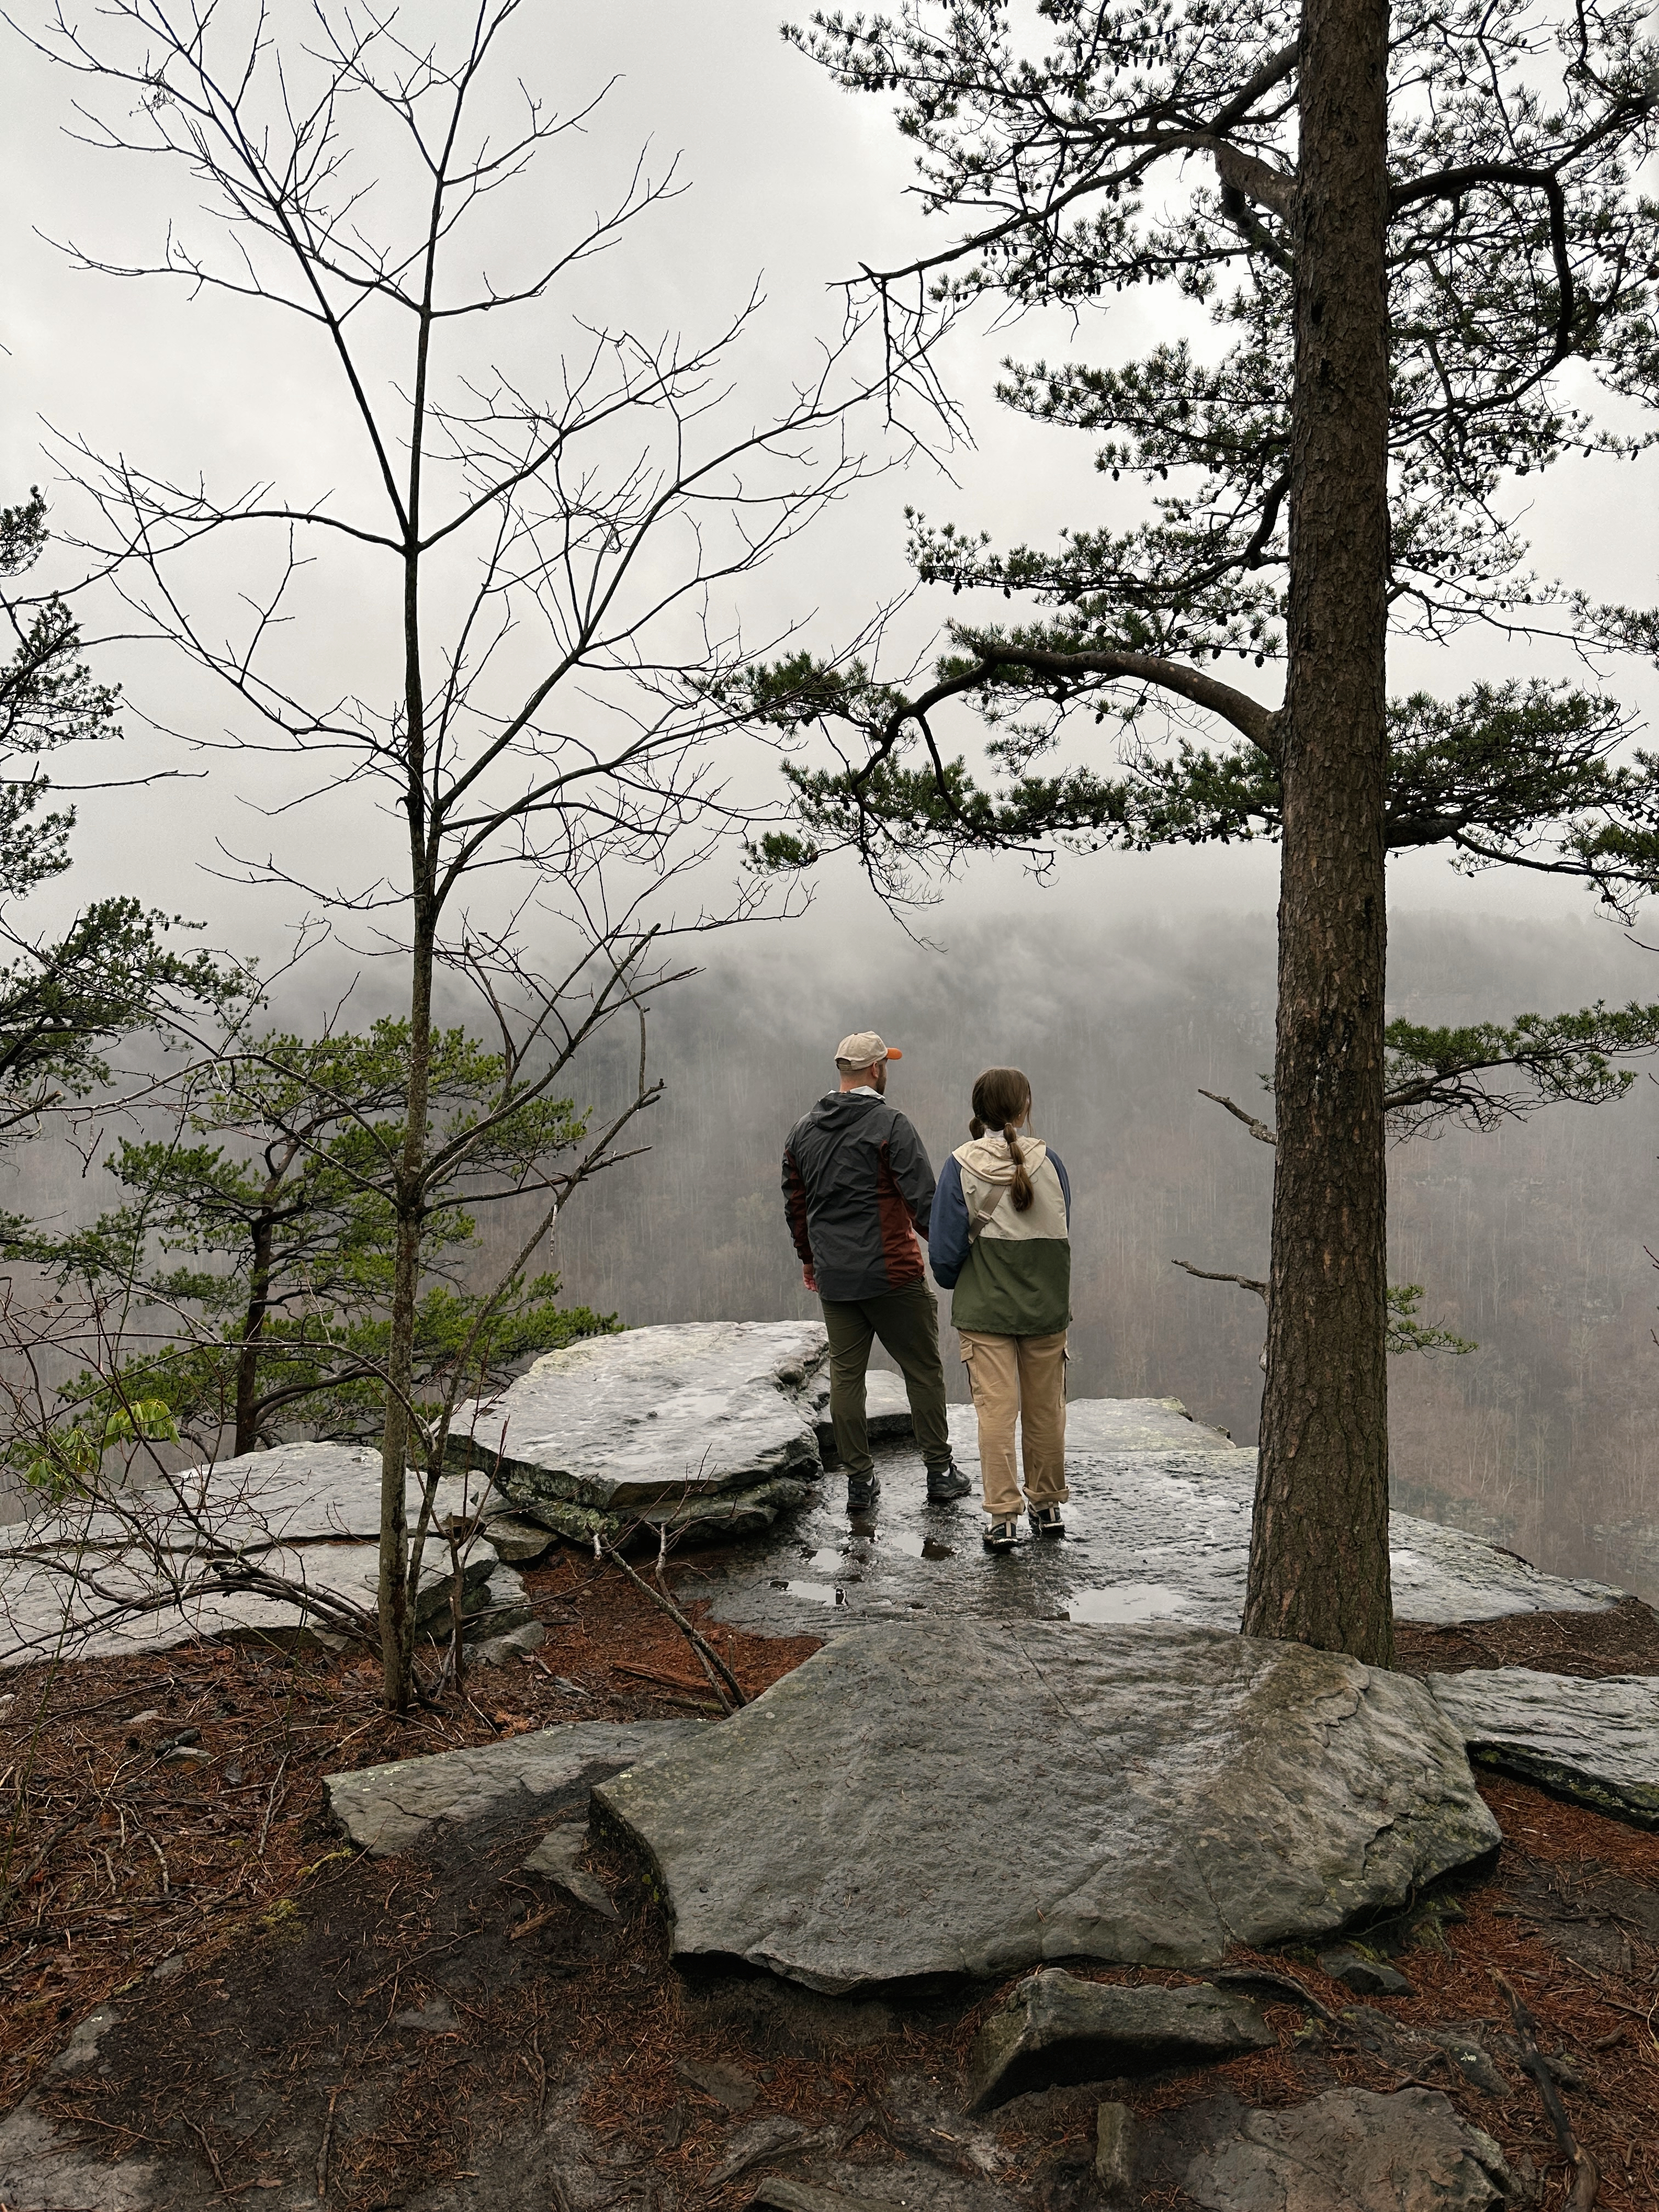
This past weekend, Patrick and I took a short and sweet trip to New River Gorge National Park. We left so impressed with how much this national park had to offer and we are already looking forward to a future trip someday. Even though our time was limited, we truly made the most of the weekend and saw some incredible highlights in New River Gorge national park.
Things to Know About New River Gorge
New River Gorge is completely FREE to enter the park!
The closest town to New River Gorge is Fayetteville, WV and it is such a cool little town.
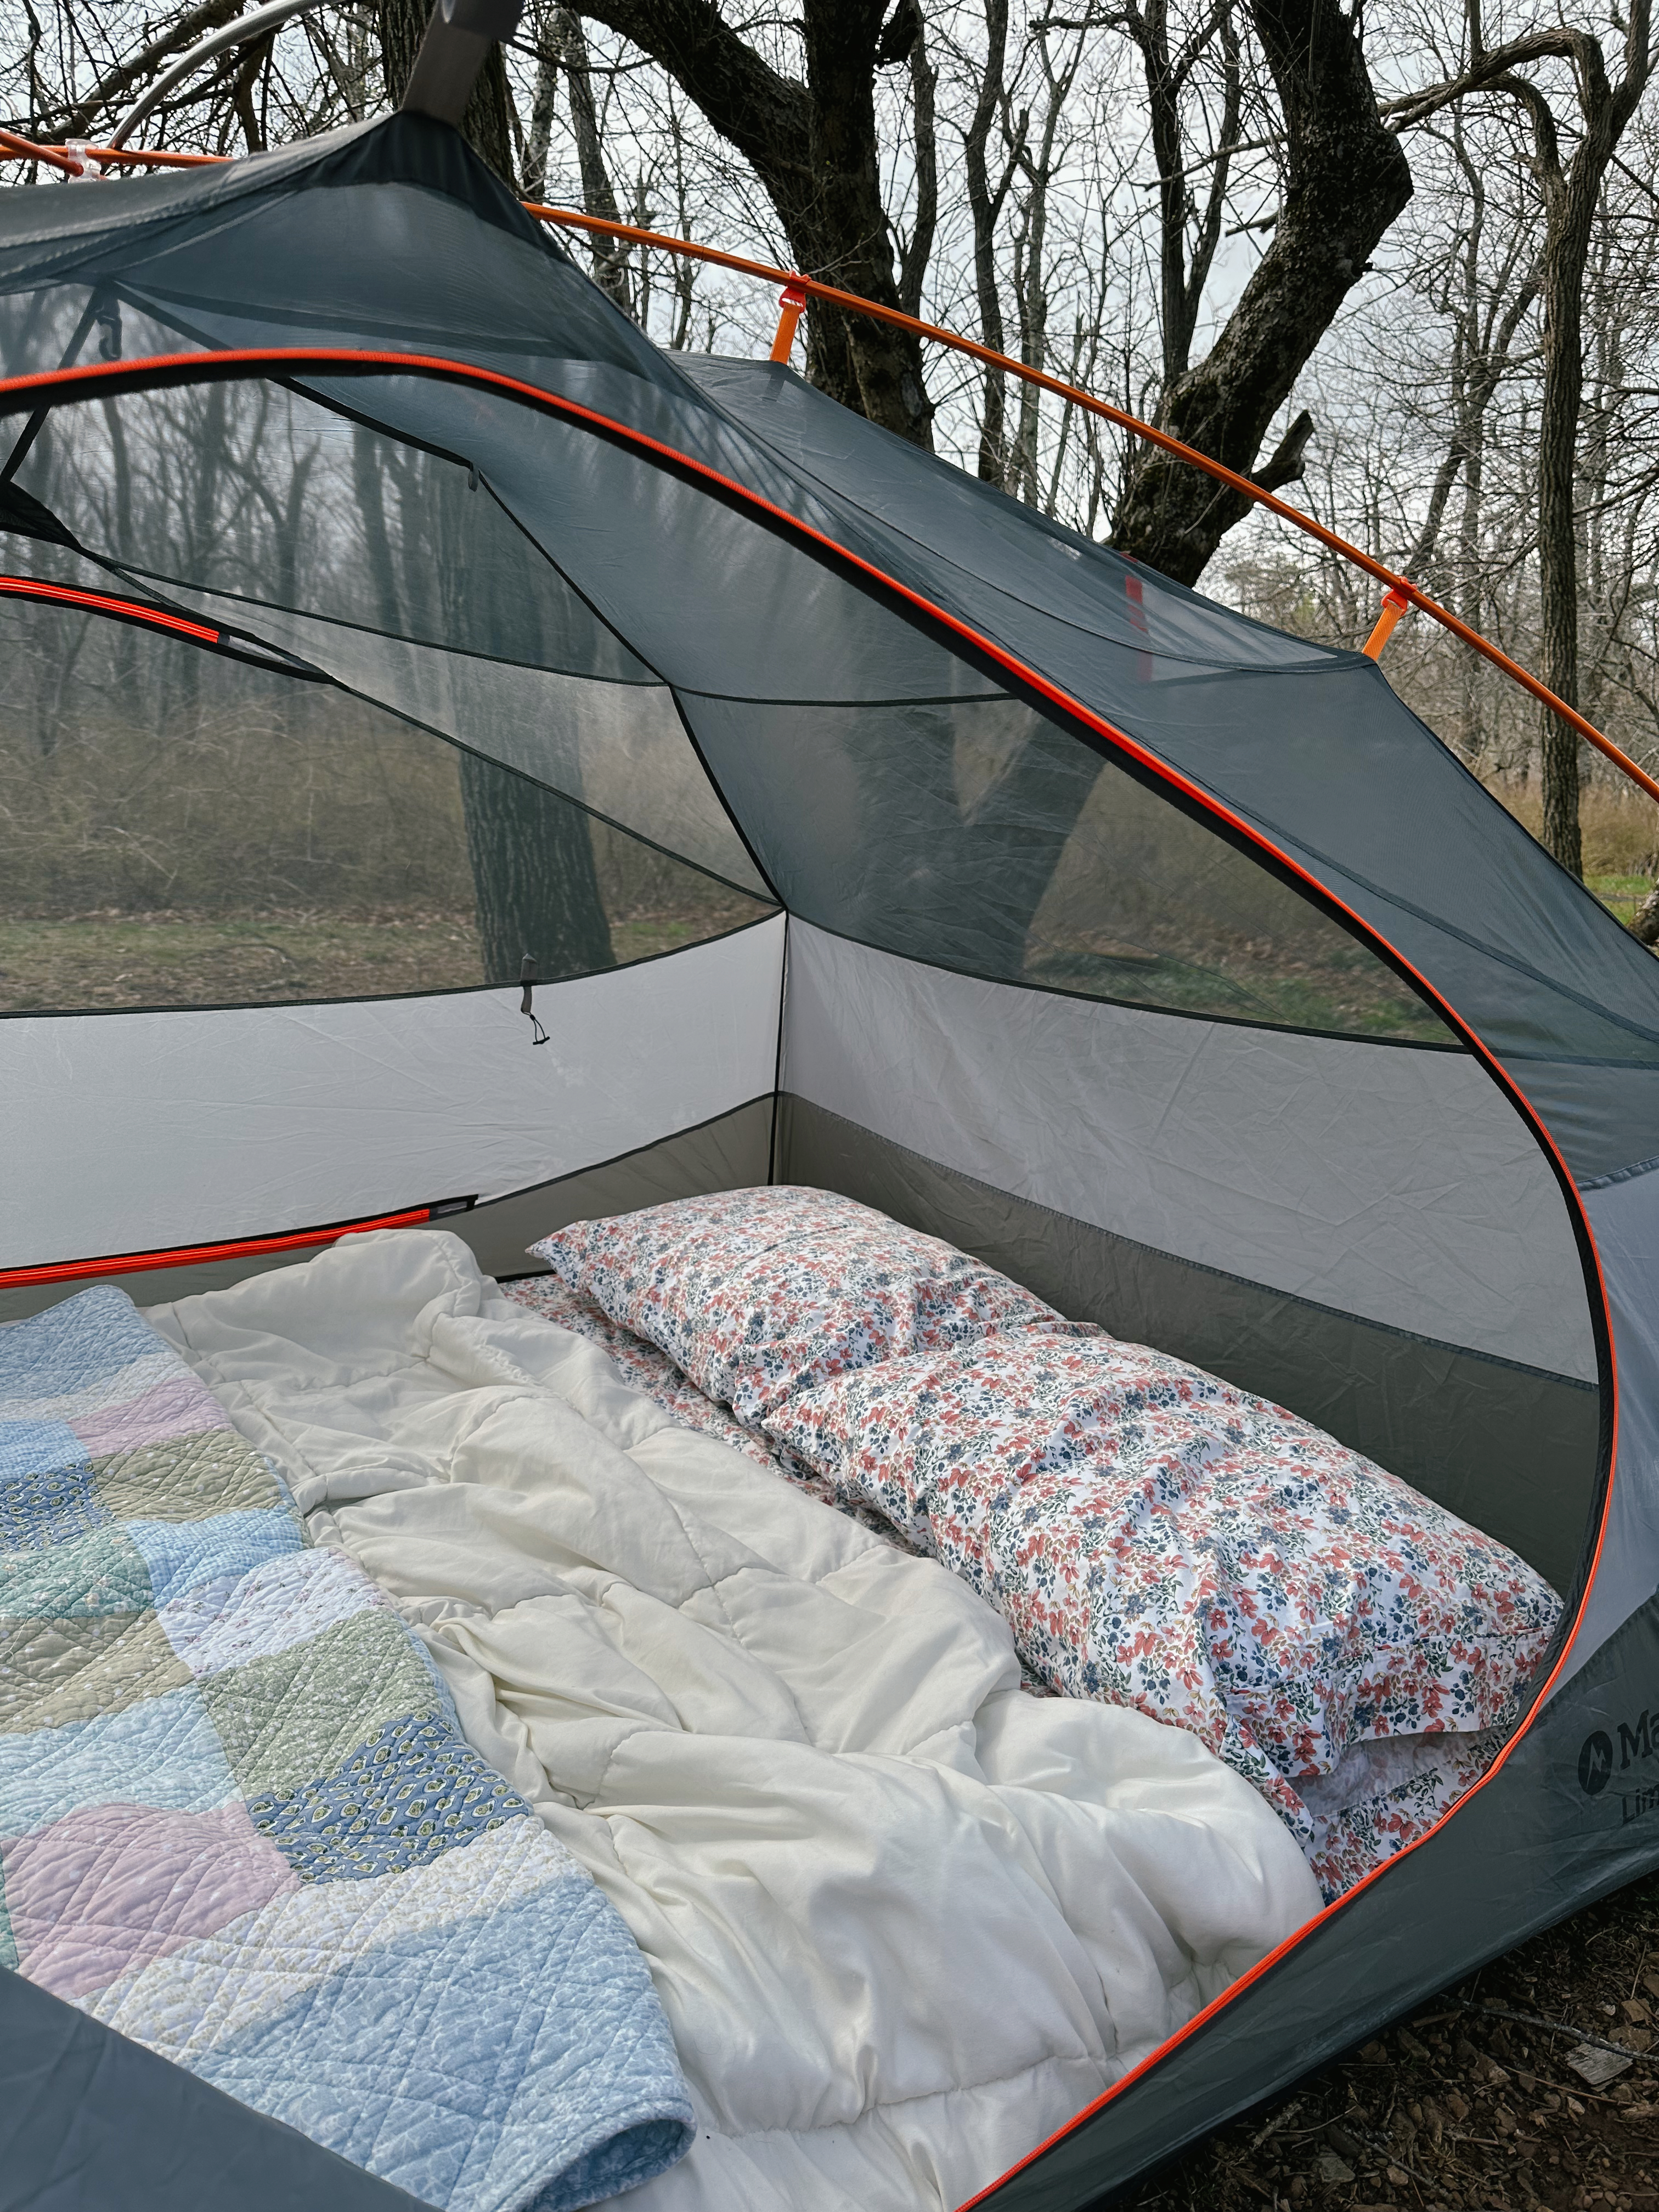
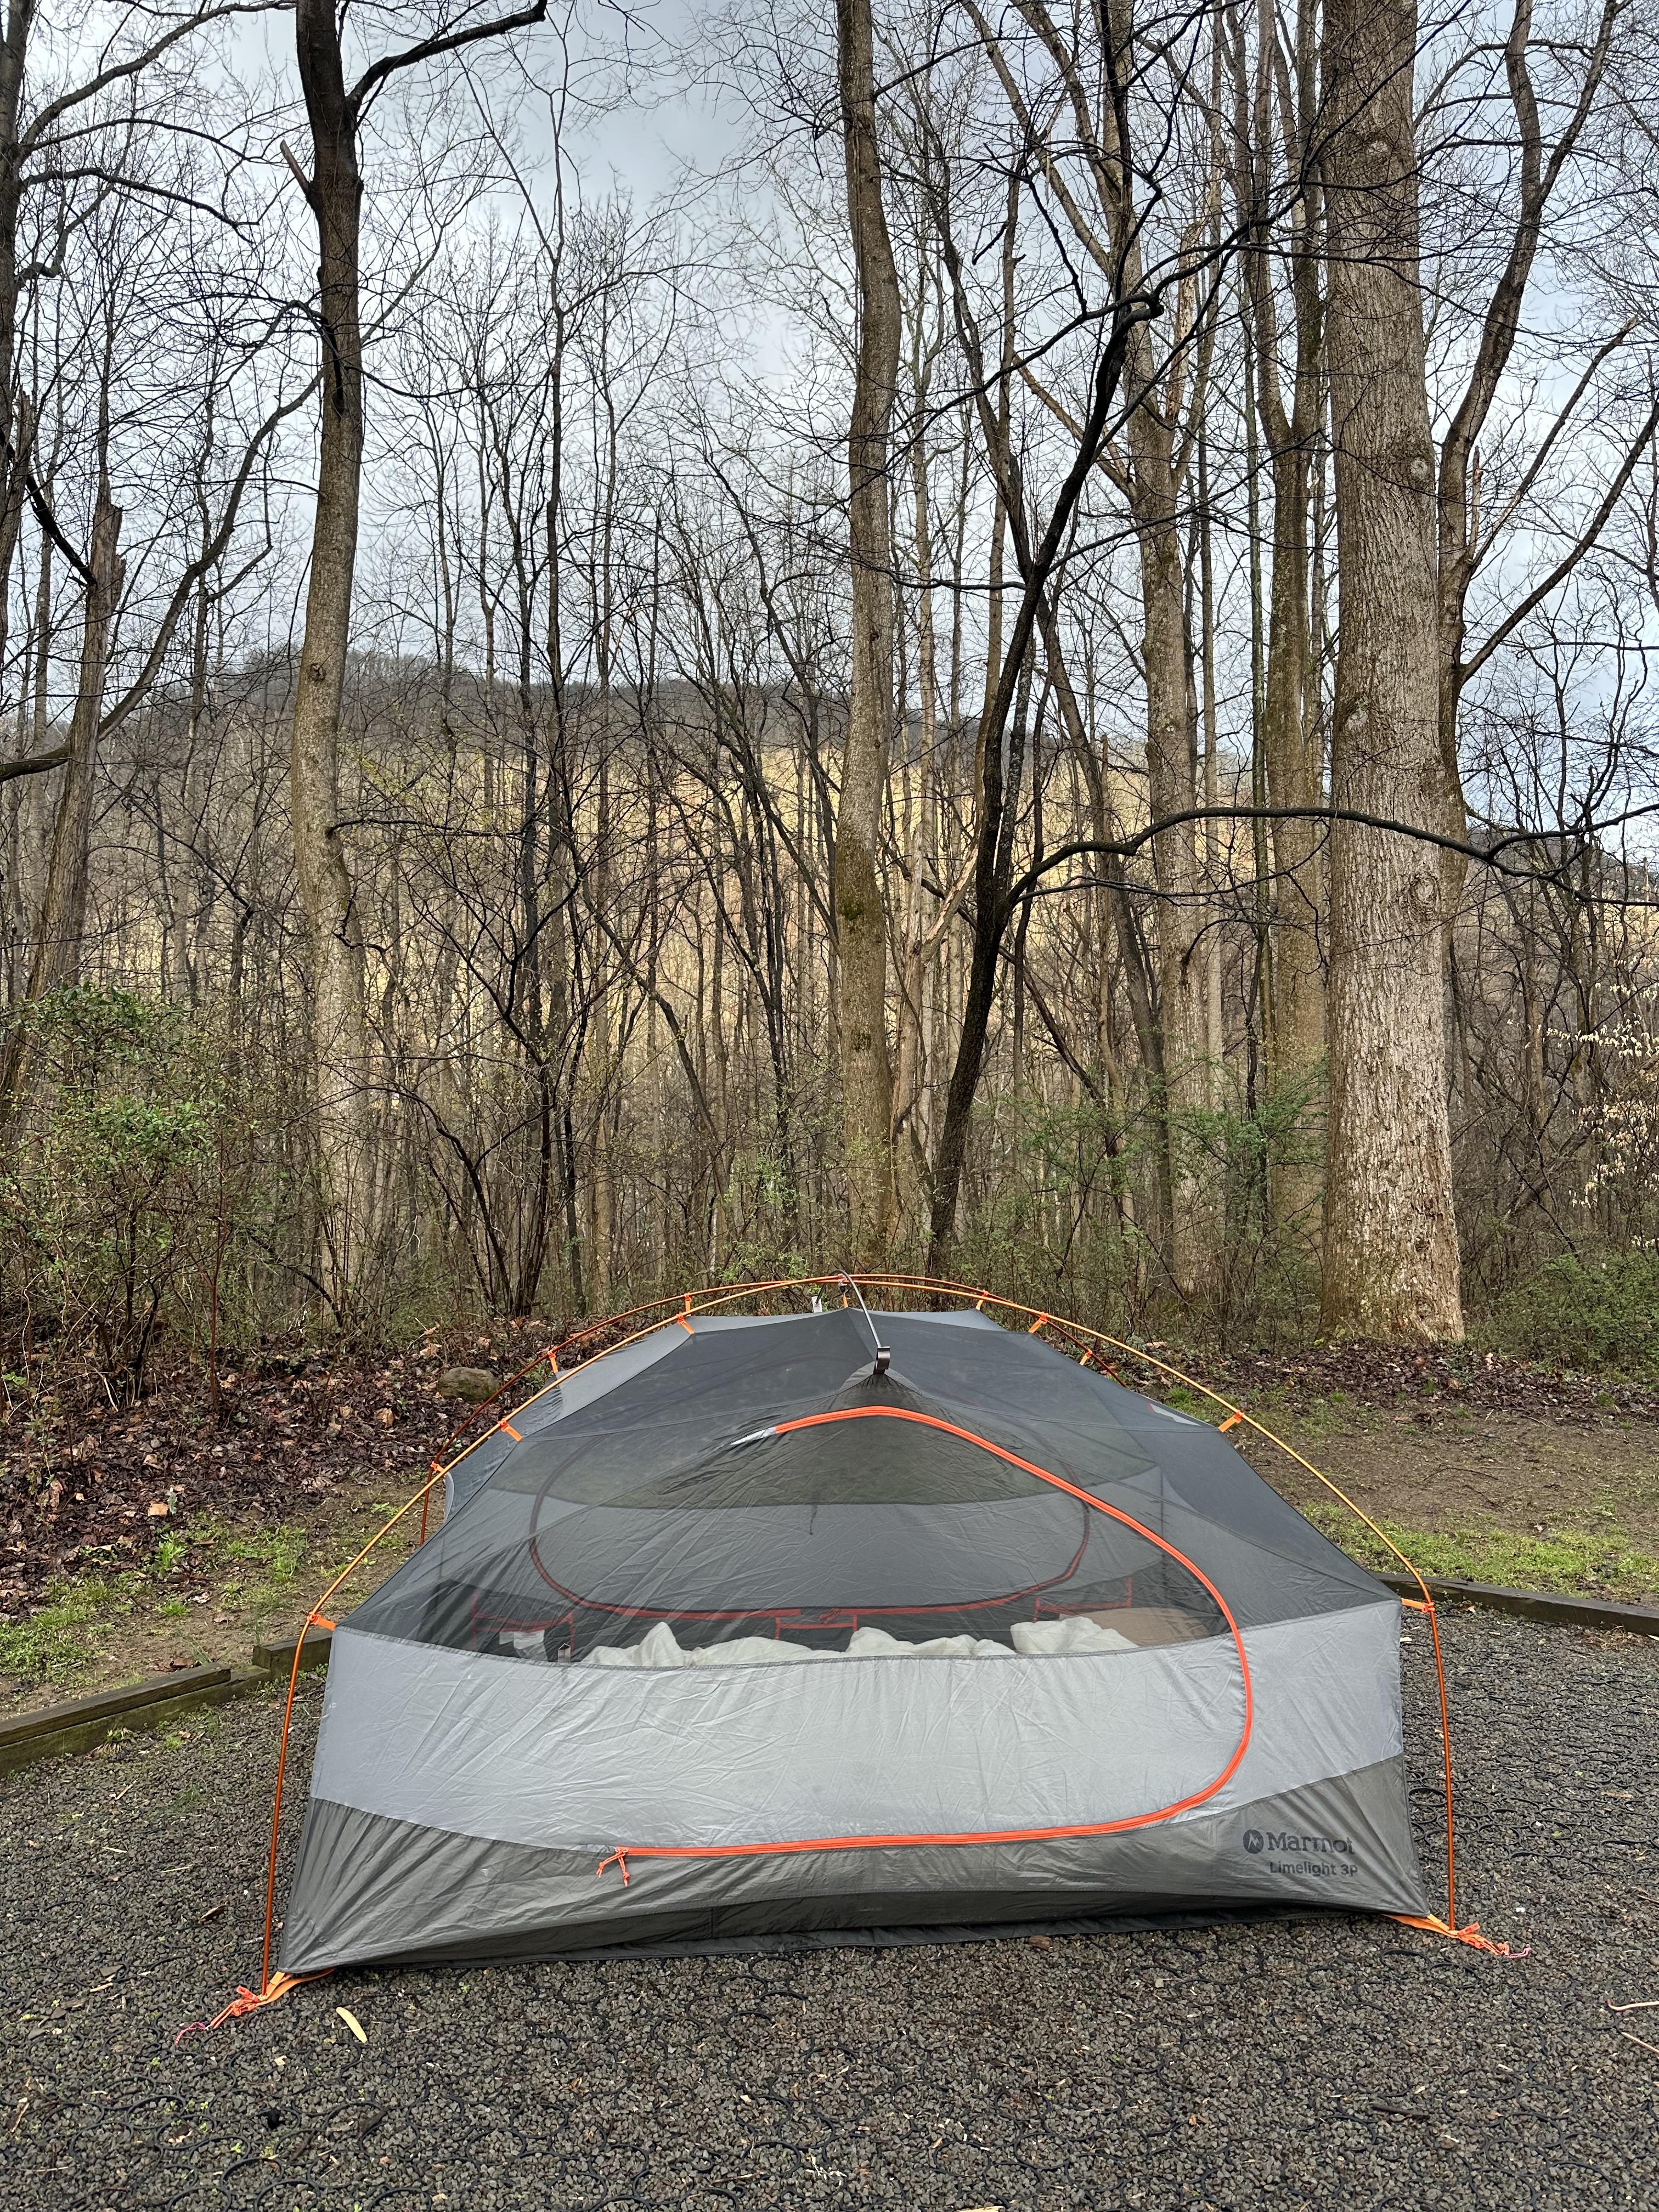
All 8 campgrounds within New River Gorge are also completely FREE which is a huge plus for campers! We stayed at Grand Sandbar campground and really enjoyed it. Keep in mind, the campgrounds are primitive, so no flush toilets, running water, showers, etc. The sites at each campground are also first come first serve. If camping isn’t your thing, there are plenty of hotels within the area as well.
Things to Do in New River Gorge
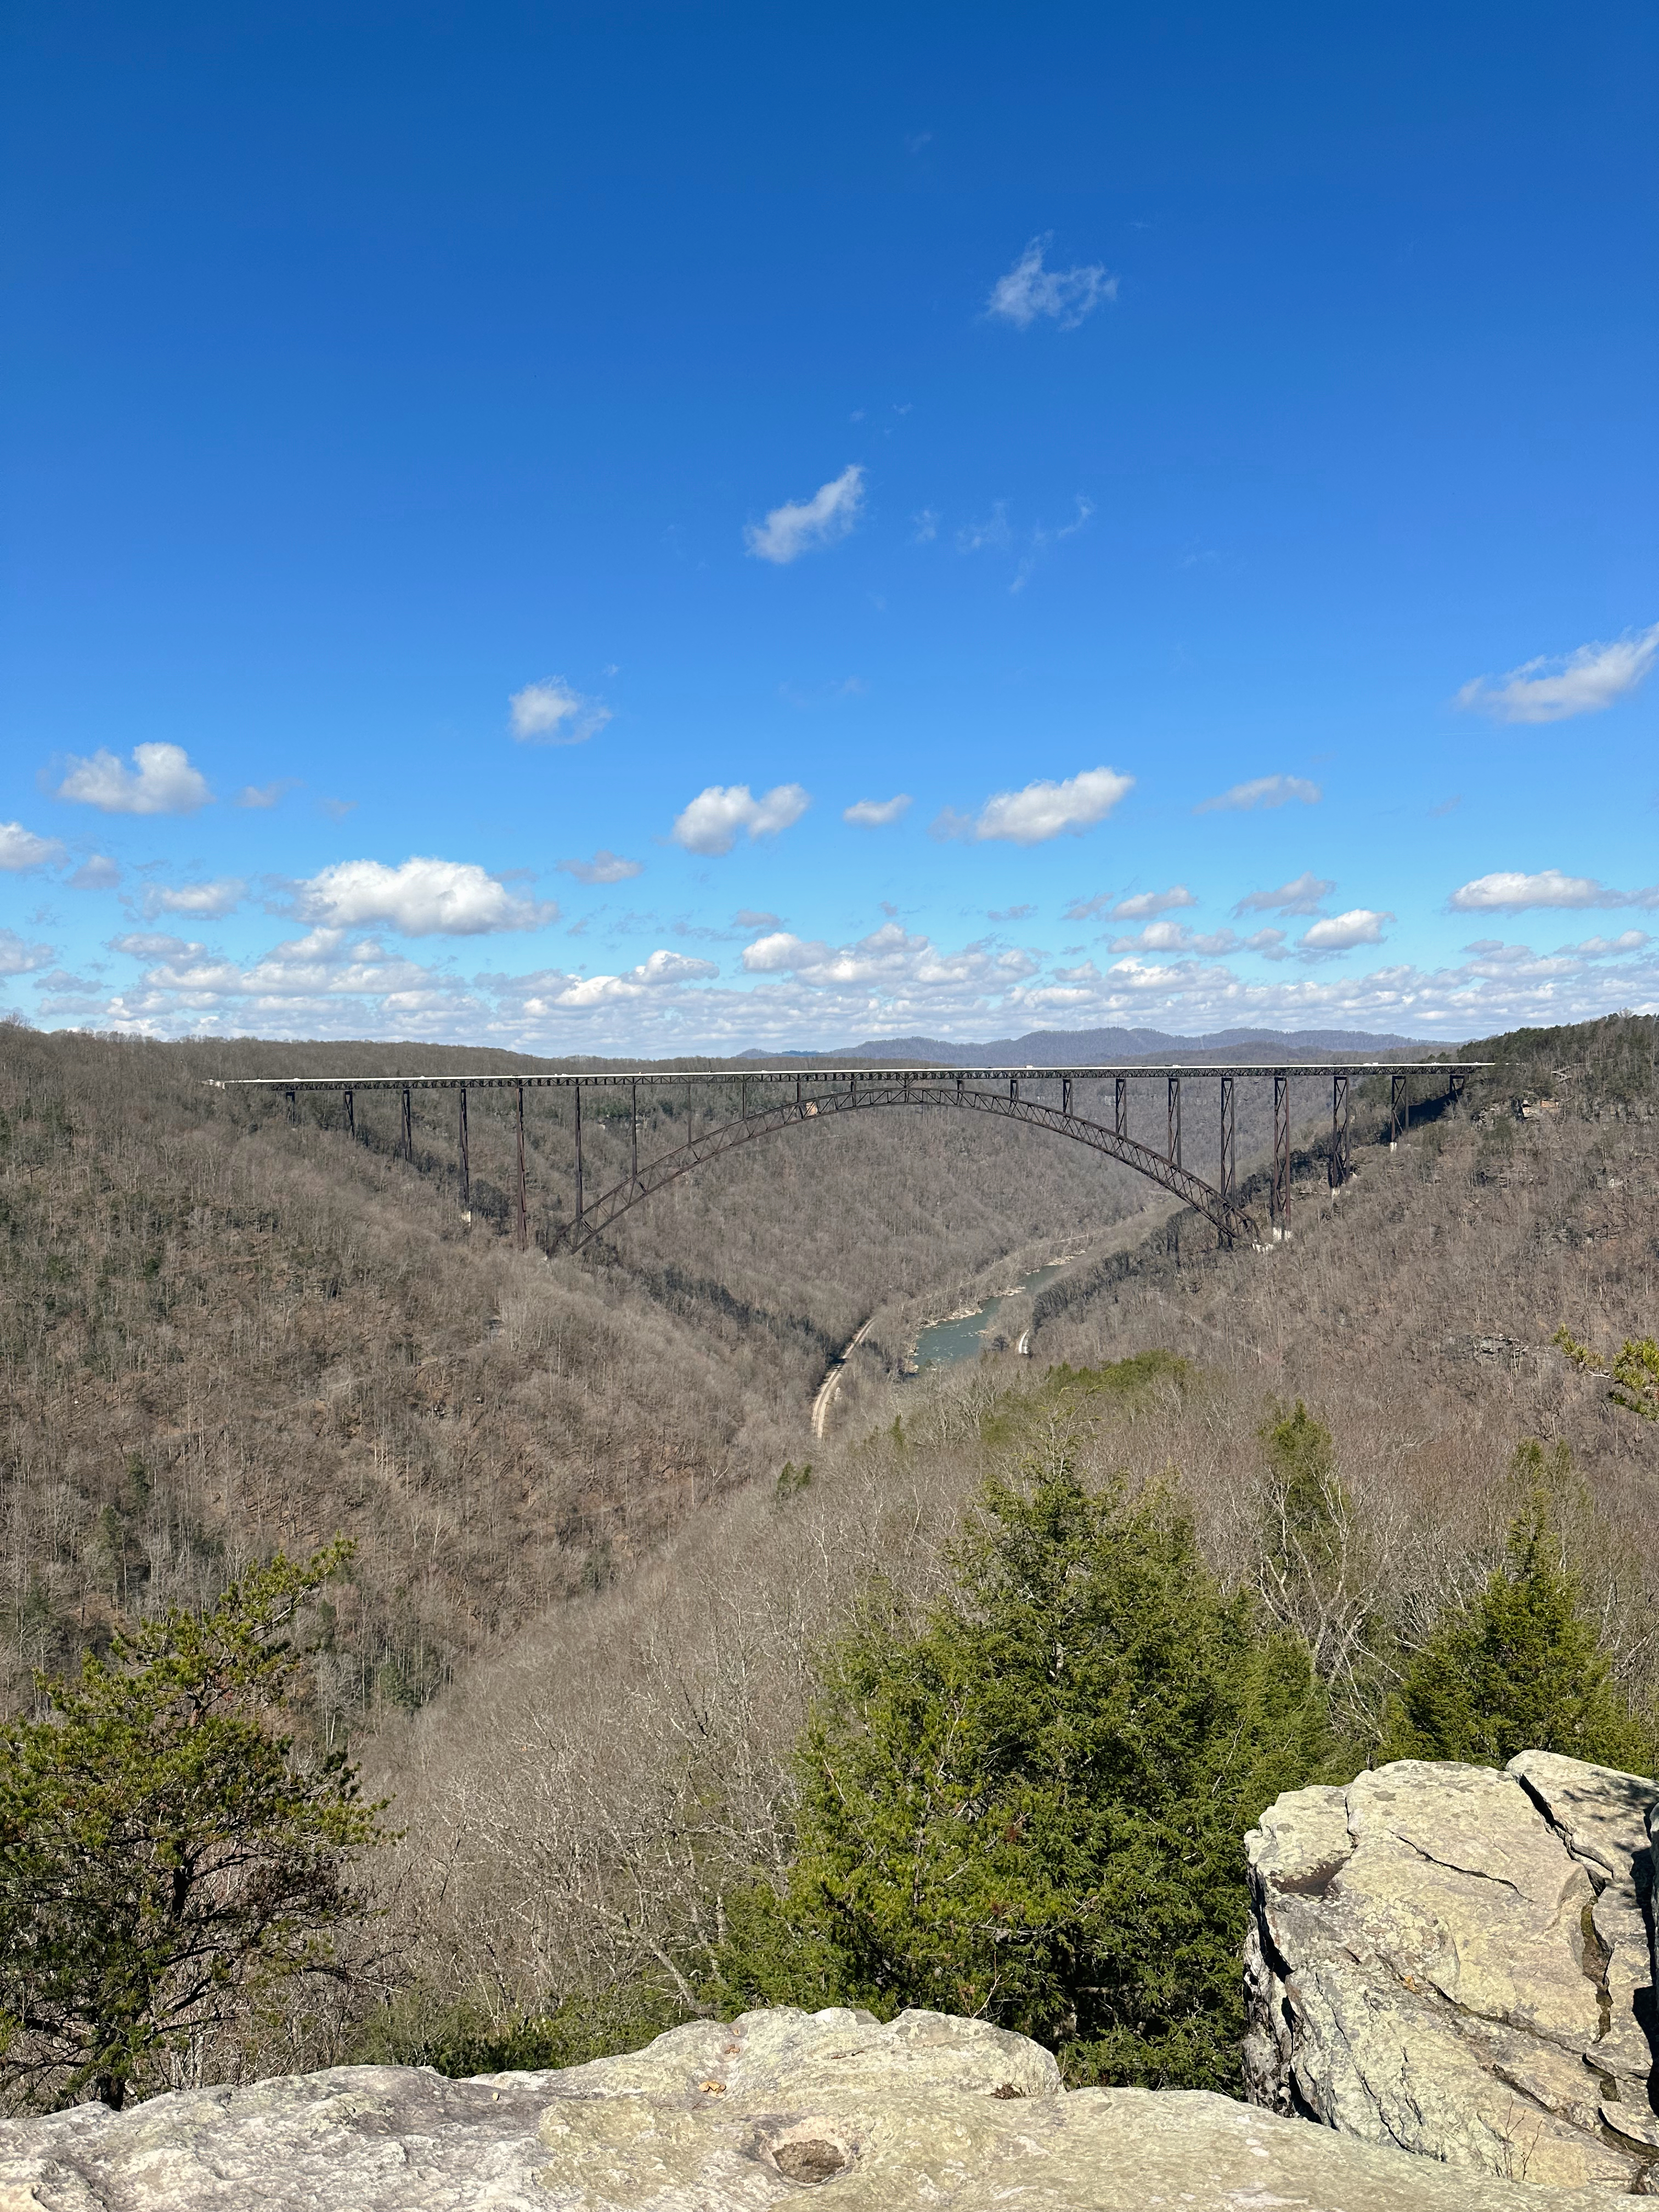
Check out the bridge overlook near the Canyon Rim Visitor’s Center. This overlook gives you a stunning view of the bridge and it’s an easy walk. There are steps you can also take for an up close view of the bridge, but it is 178 steps so keep that in mind. I’d recommended walking down if you’re able, seeing the bridge a little up close was so cool!
Drive to the grand/ “main overlook.” We weren’t able to do this because we were staying in a different area of the park, but next visit this is definitely on our list!
Take a hike! New River Gorge surprised us with so many incredible hikes. We only had time for two but they were some of our favorite hiking experiences we’ve ever had!
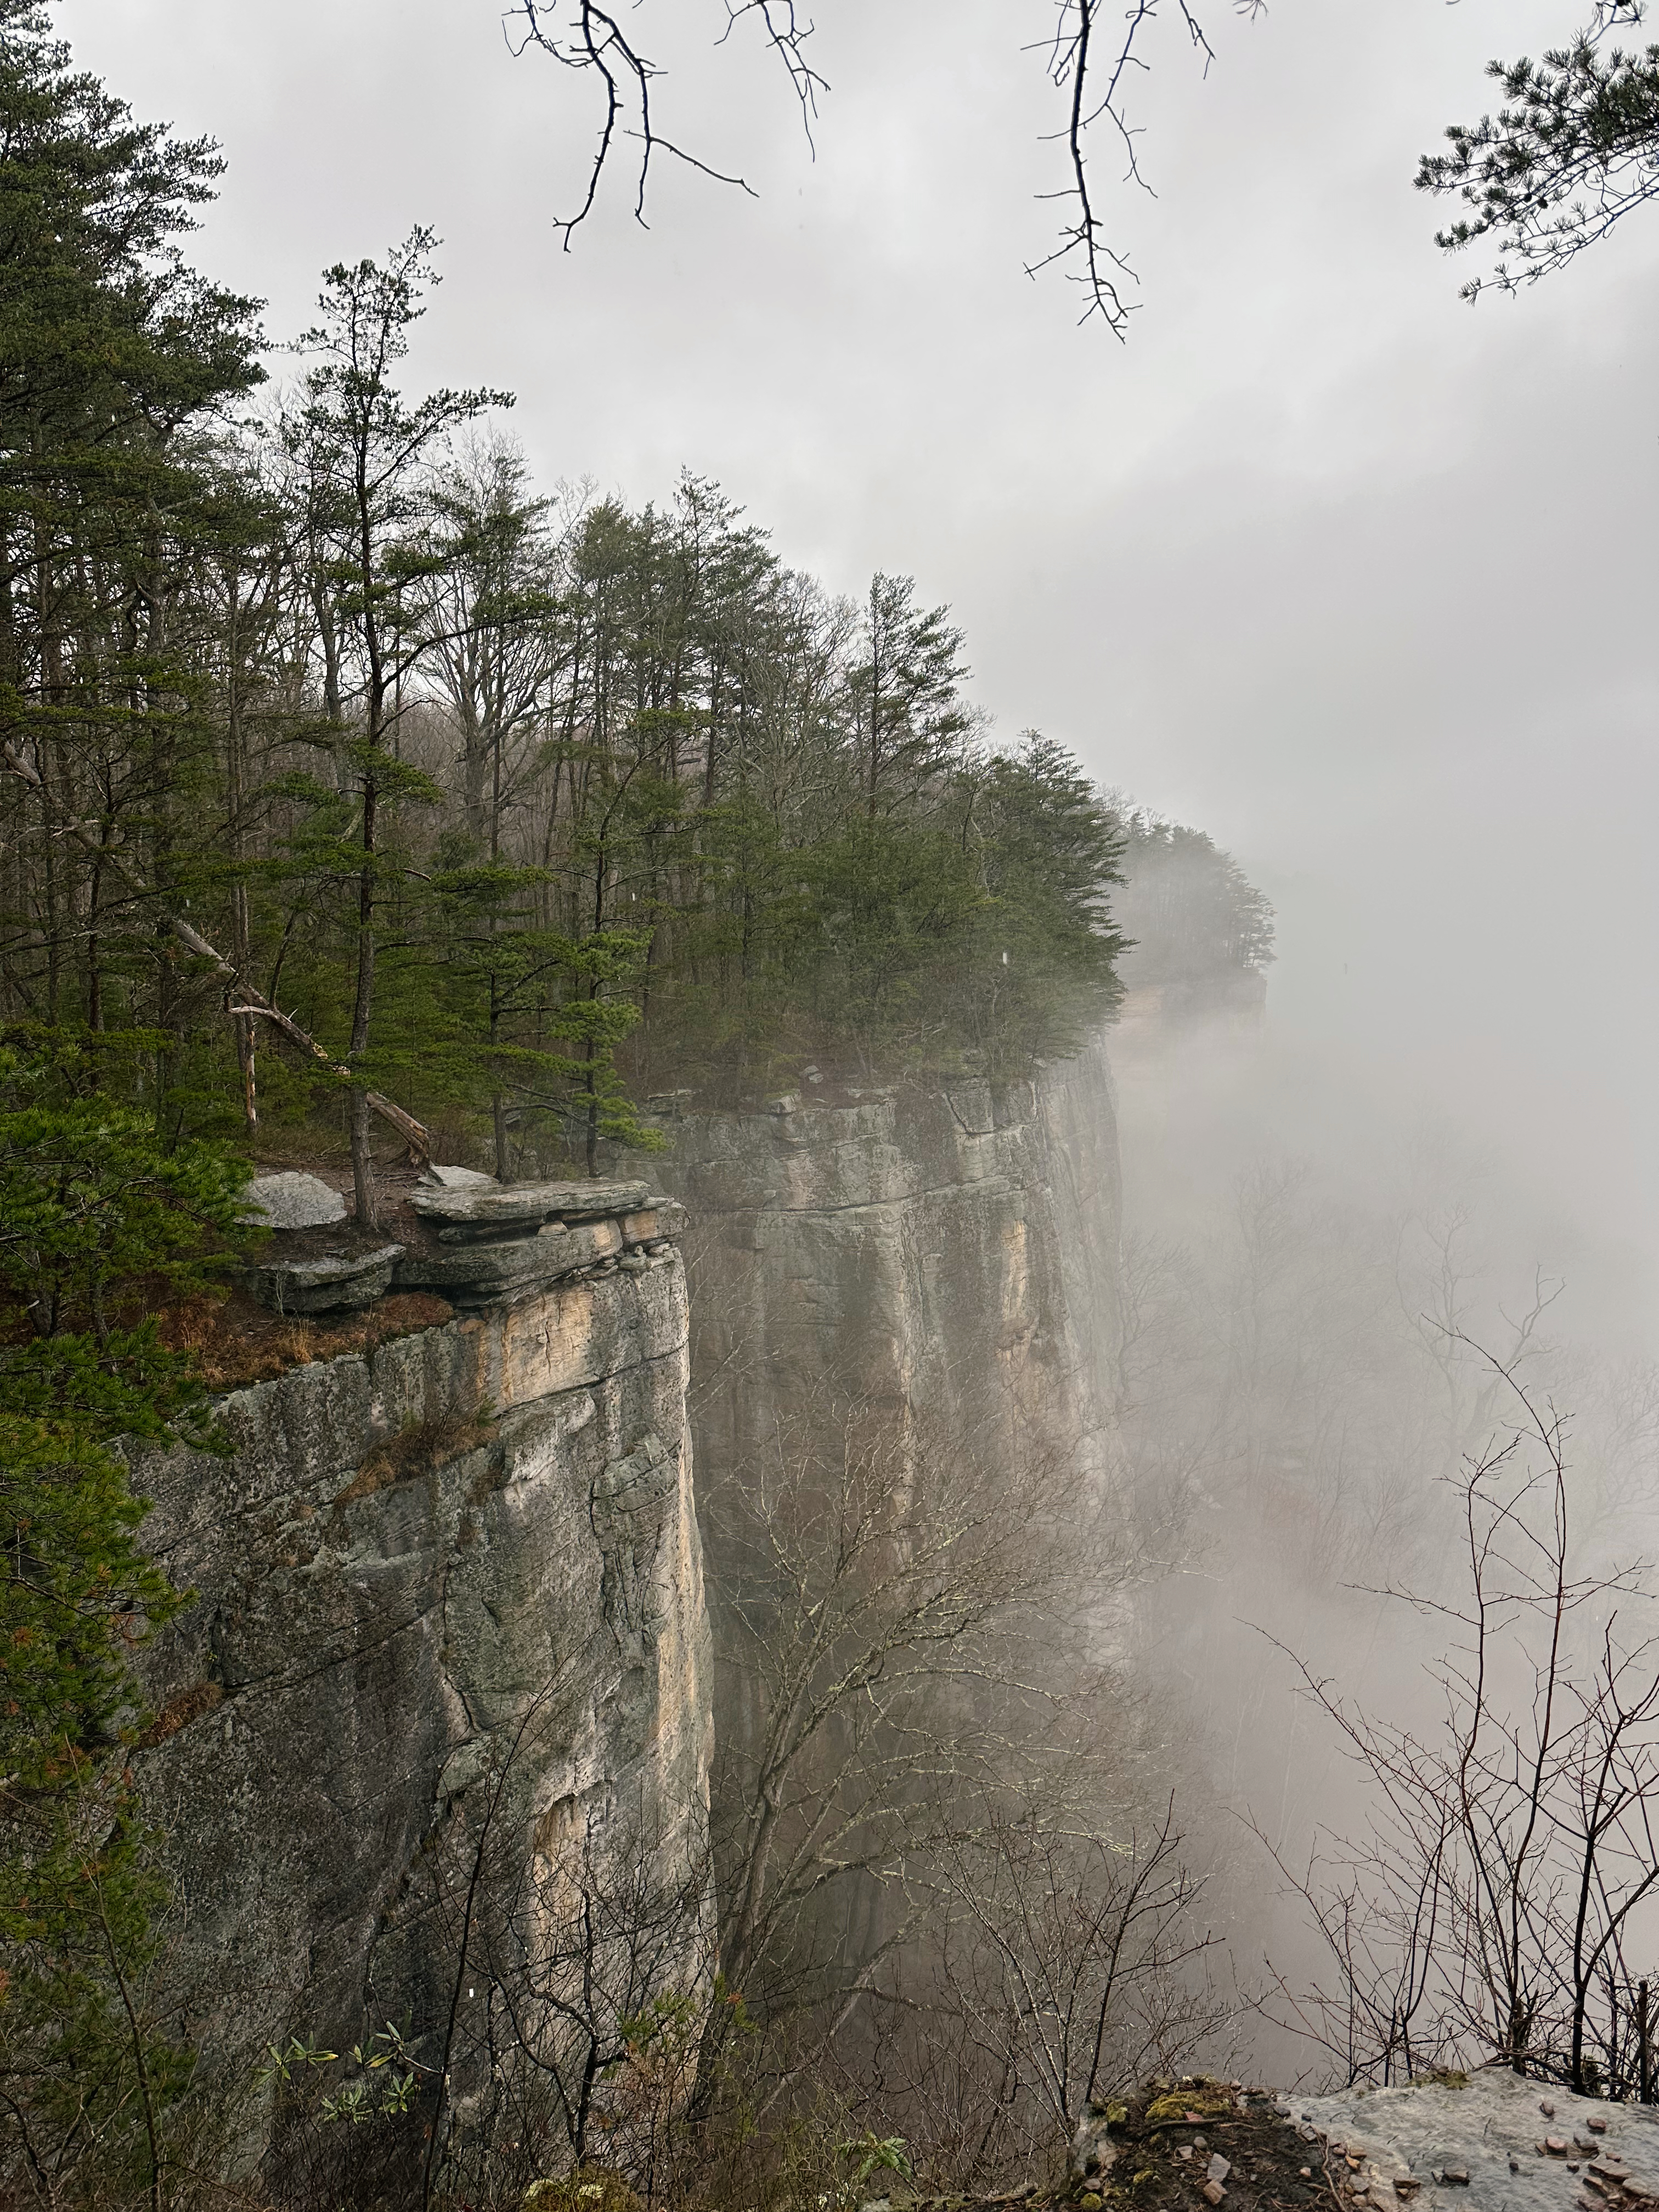
Endless Wall Trail. This trail is 3.2 miles round trip and it’s technically a loop trail but learn from our mistake, the start and end points don’t connect back to the same parking lot! If you park at endless wall trailhead and hike all the way in a loop direction, you will end at Nuttall parking lot. Thankfully, these parking lots are a 12 minute walk a part but if you don’t want to walk back to your car afterwards, I’d recommend making the hike an out and back style. Regardless, this trail is incredible and gives you stunning views of the wall cliff side and the gorge underneath!
Long Point trail. This is one of the most popular trails in the park and for good reason! This 3.2 mile out and back trail gives you a stunning view of the new river gorge bridge. I’d say this trail is fairly easy with very little elevation gain.
Castle Rock trail. We didn’t have time for this hike but it’s on our list for next time!
Spend time in Fayetteville, WV. This is the park’s closest nearby town and it’s such a cool area. We had so much fun walking around, checking out shops, and eating delicious food! Our favorite food stops were:
Secret Sandwich Society
Pies and Pints
Rangefinder Coffee
Cathedral Coffee
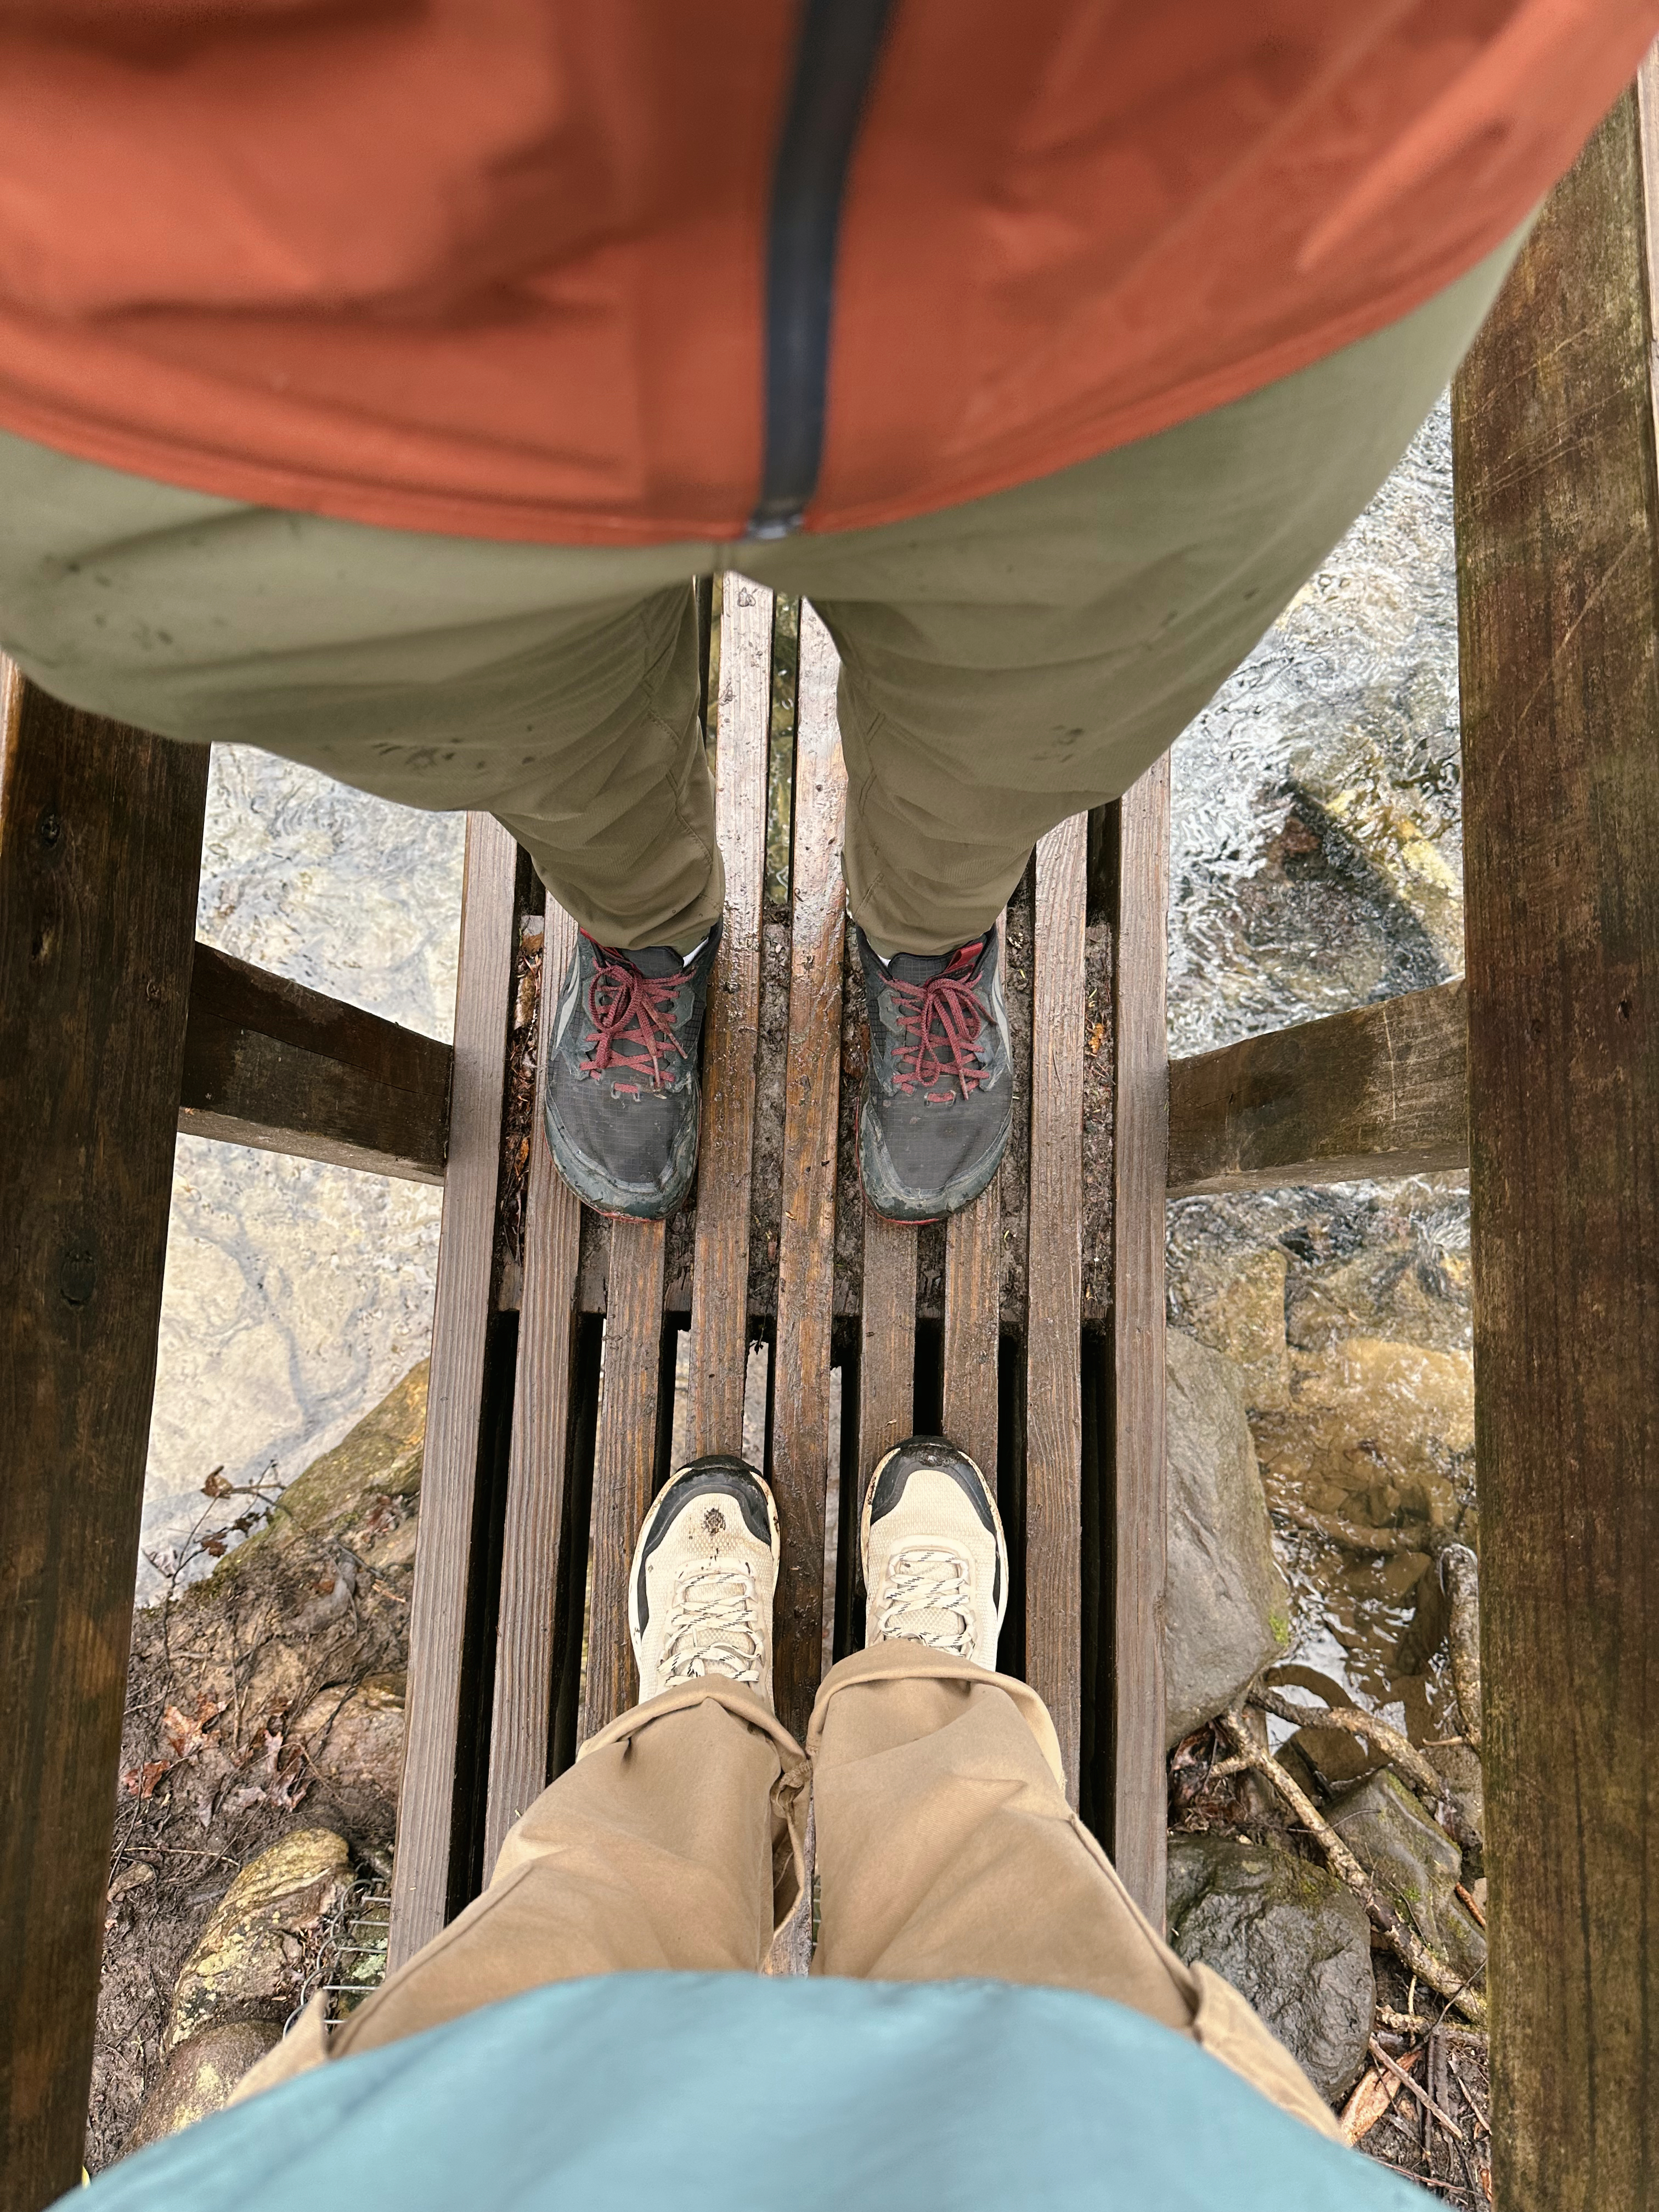
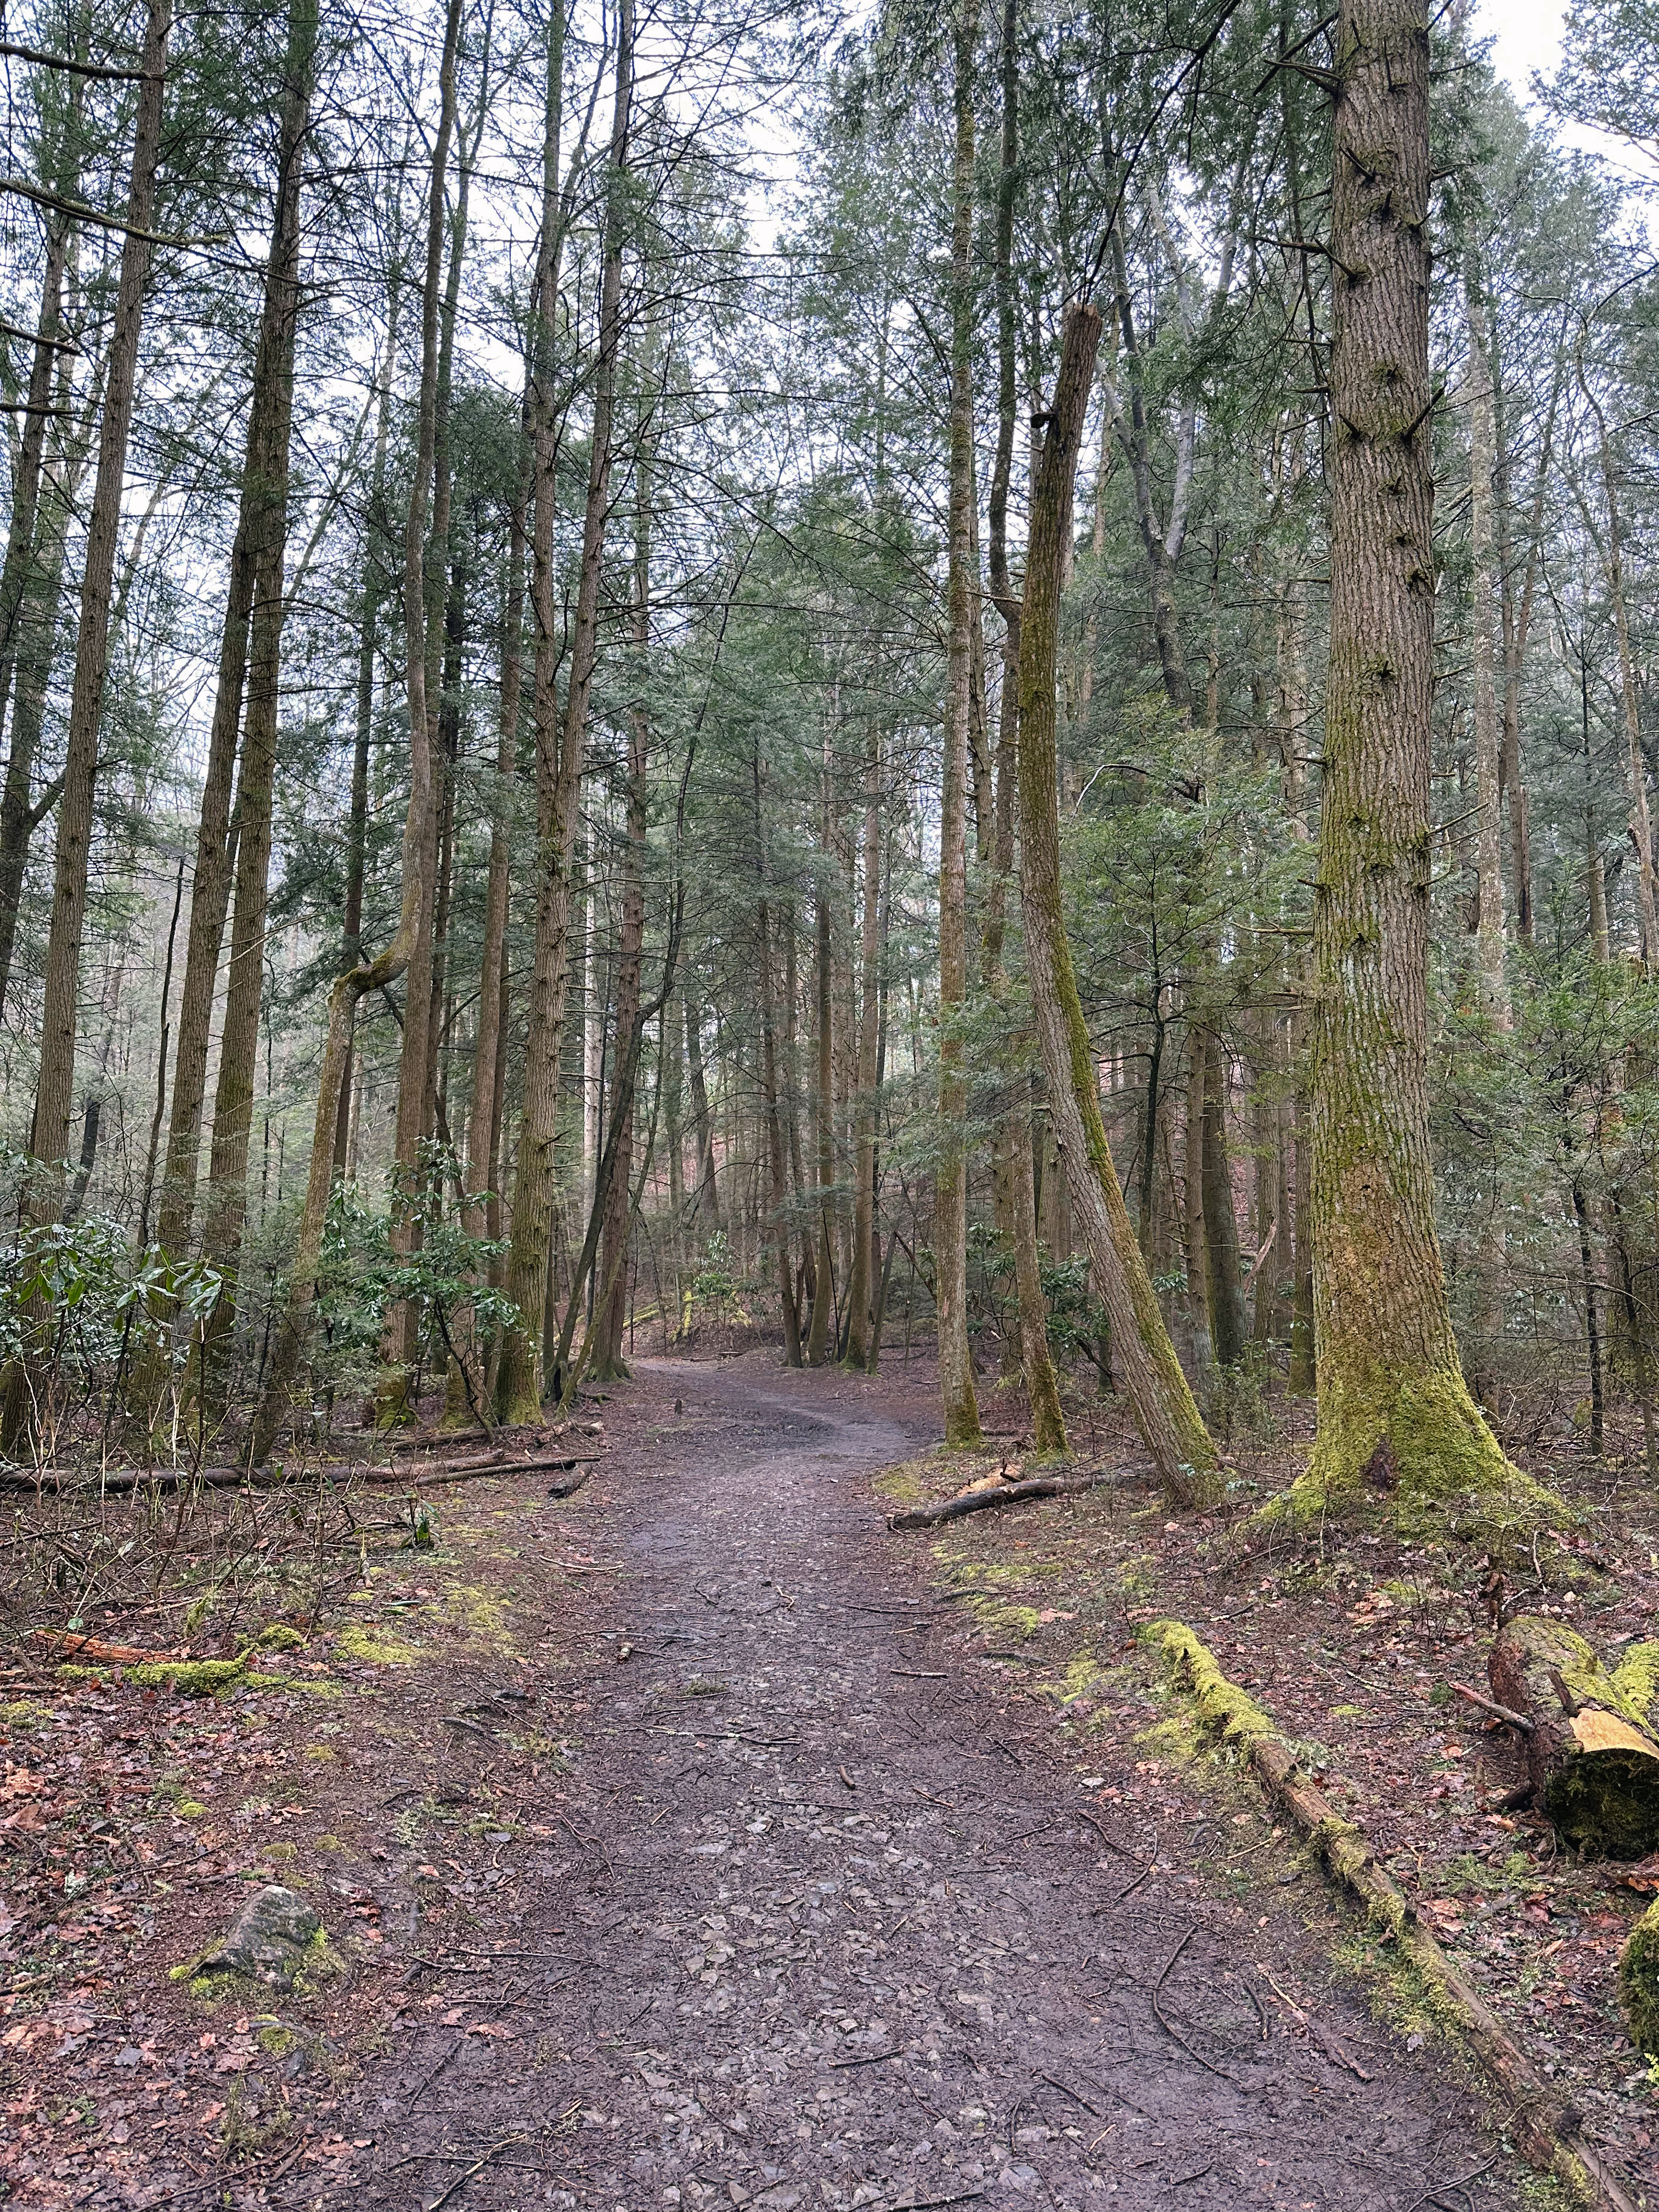
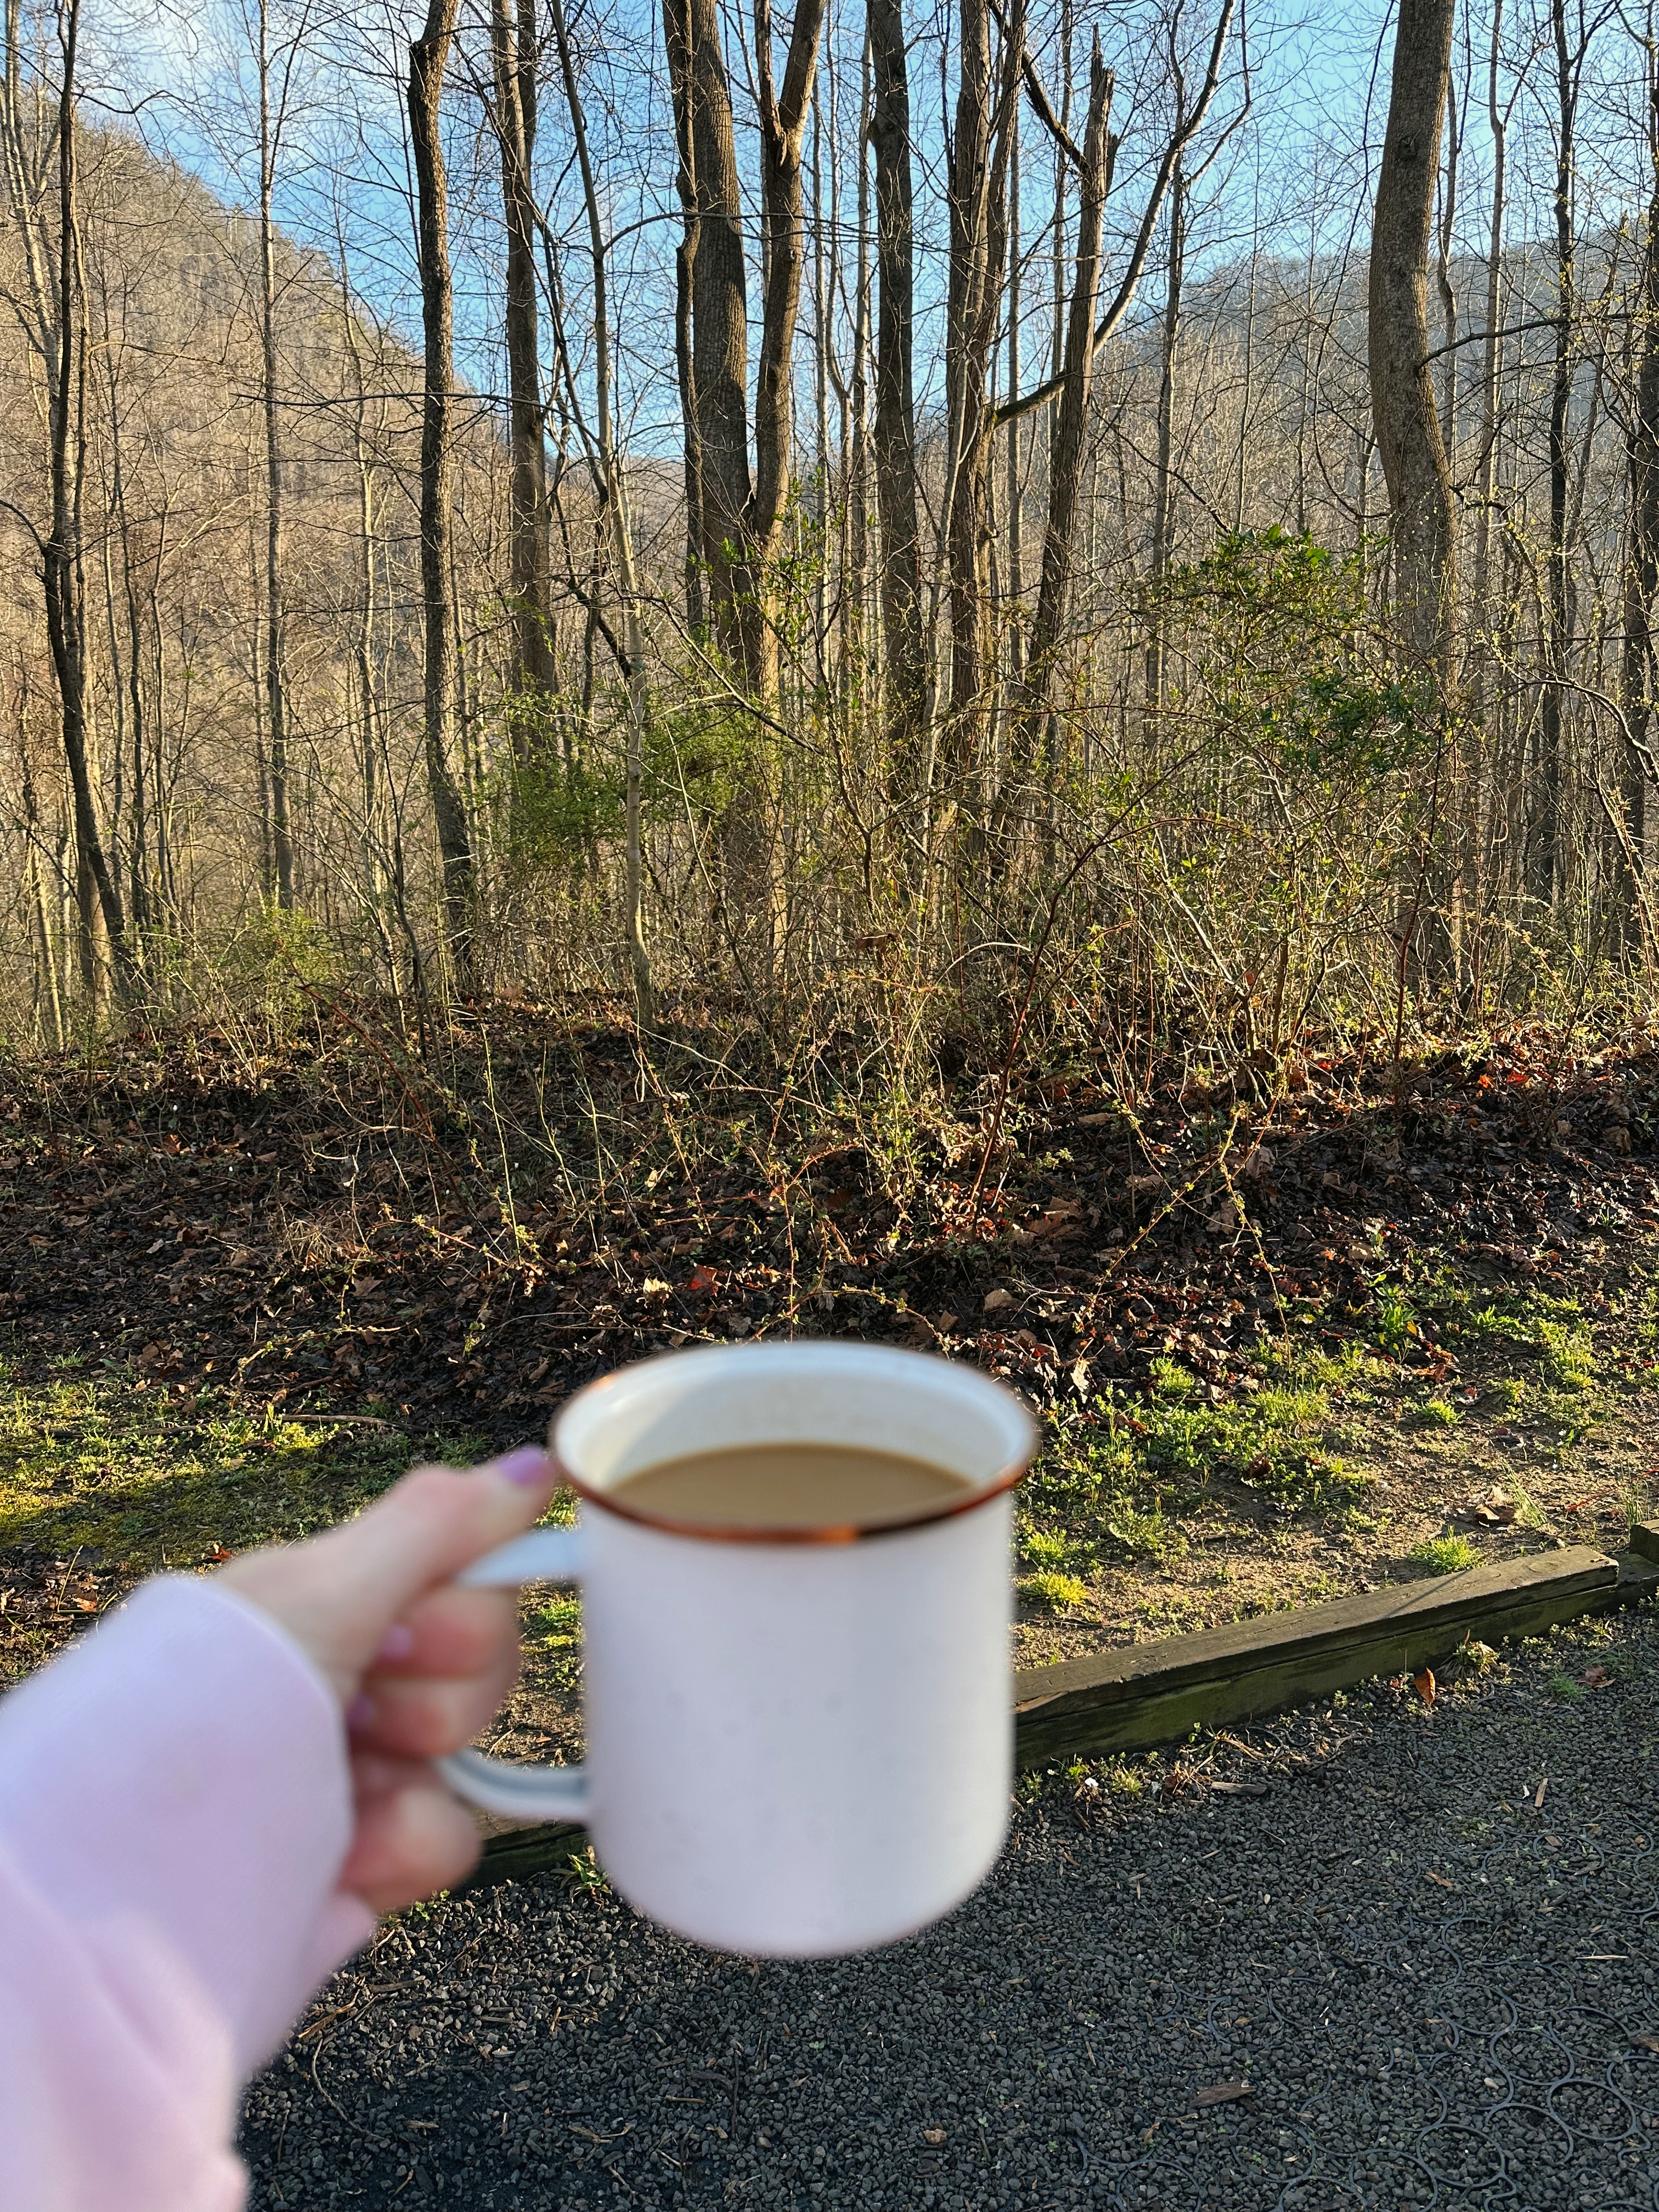
Rainy views along the endless wall trail Bridge along endless wall trailView at top of Long Point trailEndless Wall hike, be sure to stop by Diamond Point for incredible viewsEndless wallMossy trail along endless wallMorning coffee at campFoggy views at diamond pointCamp setup at Grand Sandbar campgroundPatrick at the top of long point trail
Glacier national park is one of my favorite national parks I’ve been to yet. It has stunning mountain views, incredible hikes, and so many opportunities to see unique wildlife. I visited the park for the first time last summer and was completely blown away! Here are some incredible things I’d recommend doing while visiting Glacier national park.
1. Drive the Going to the Sun Road
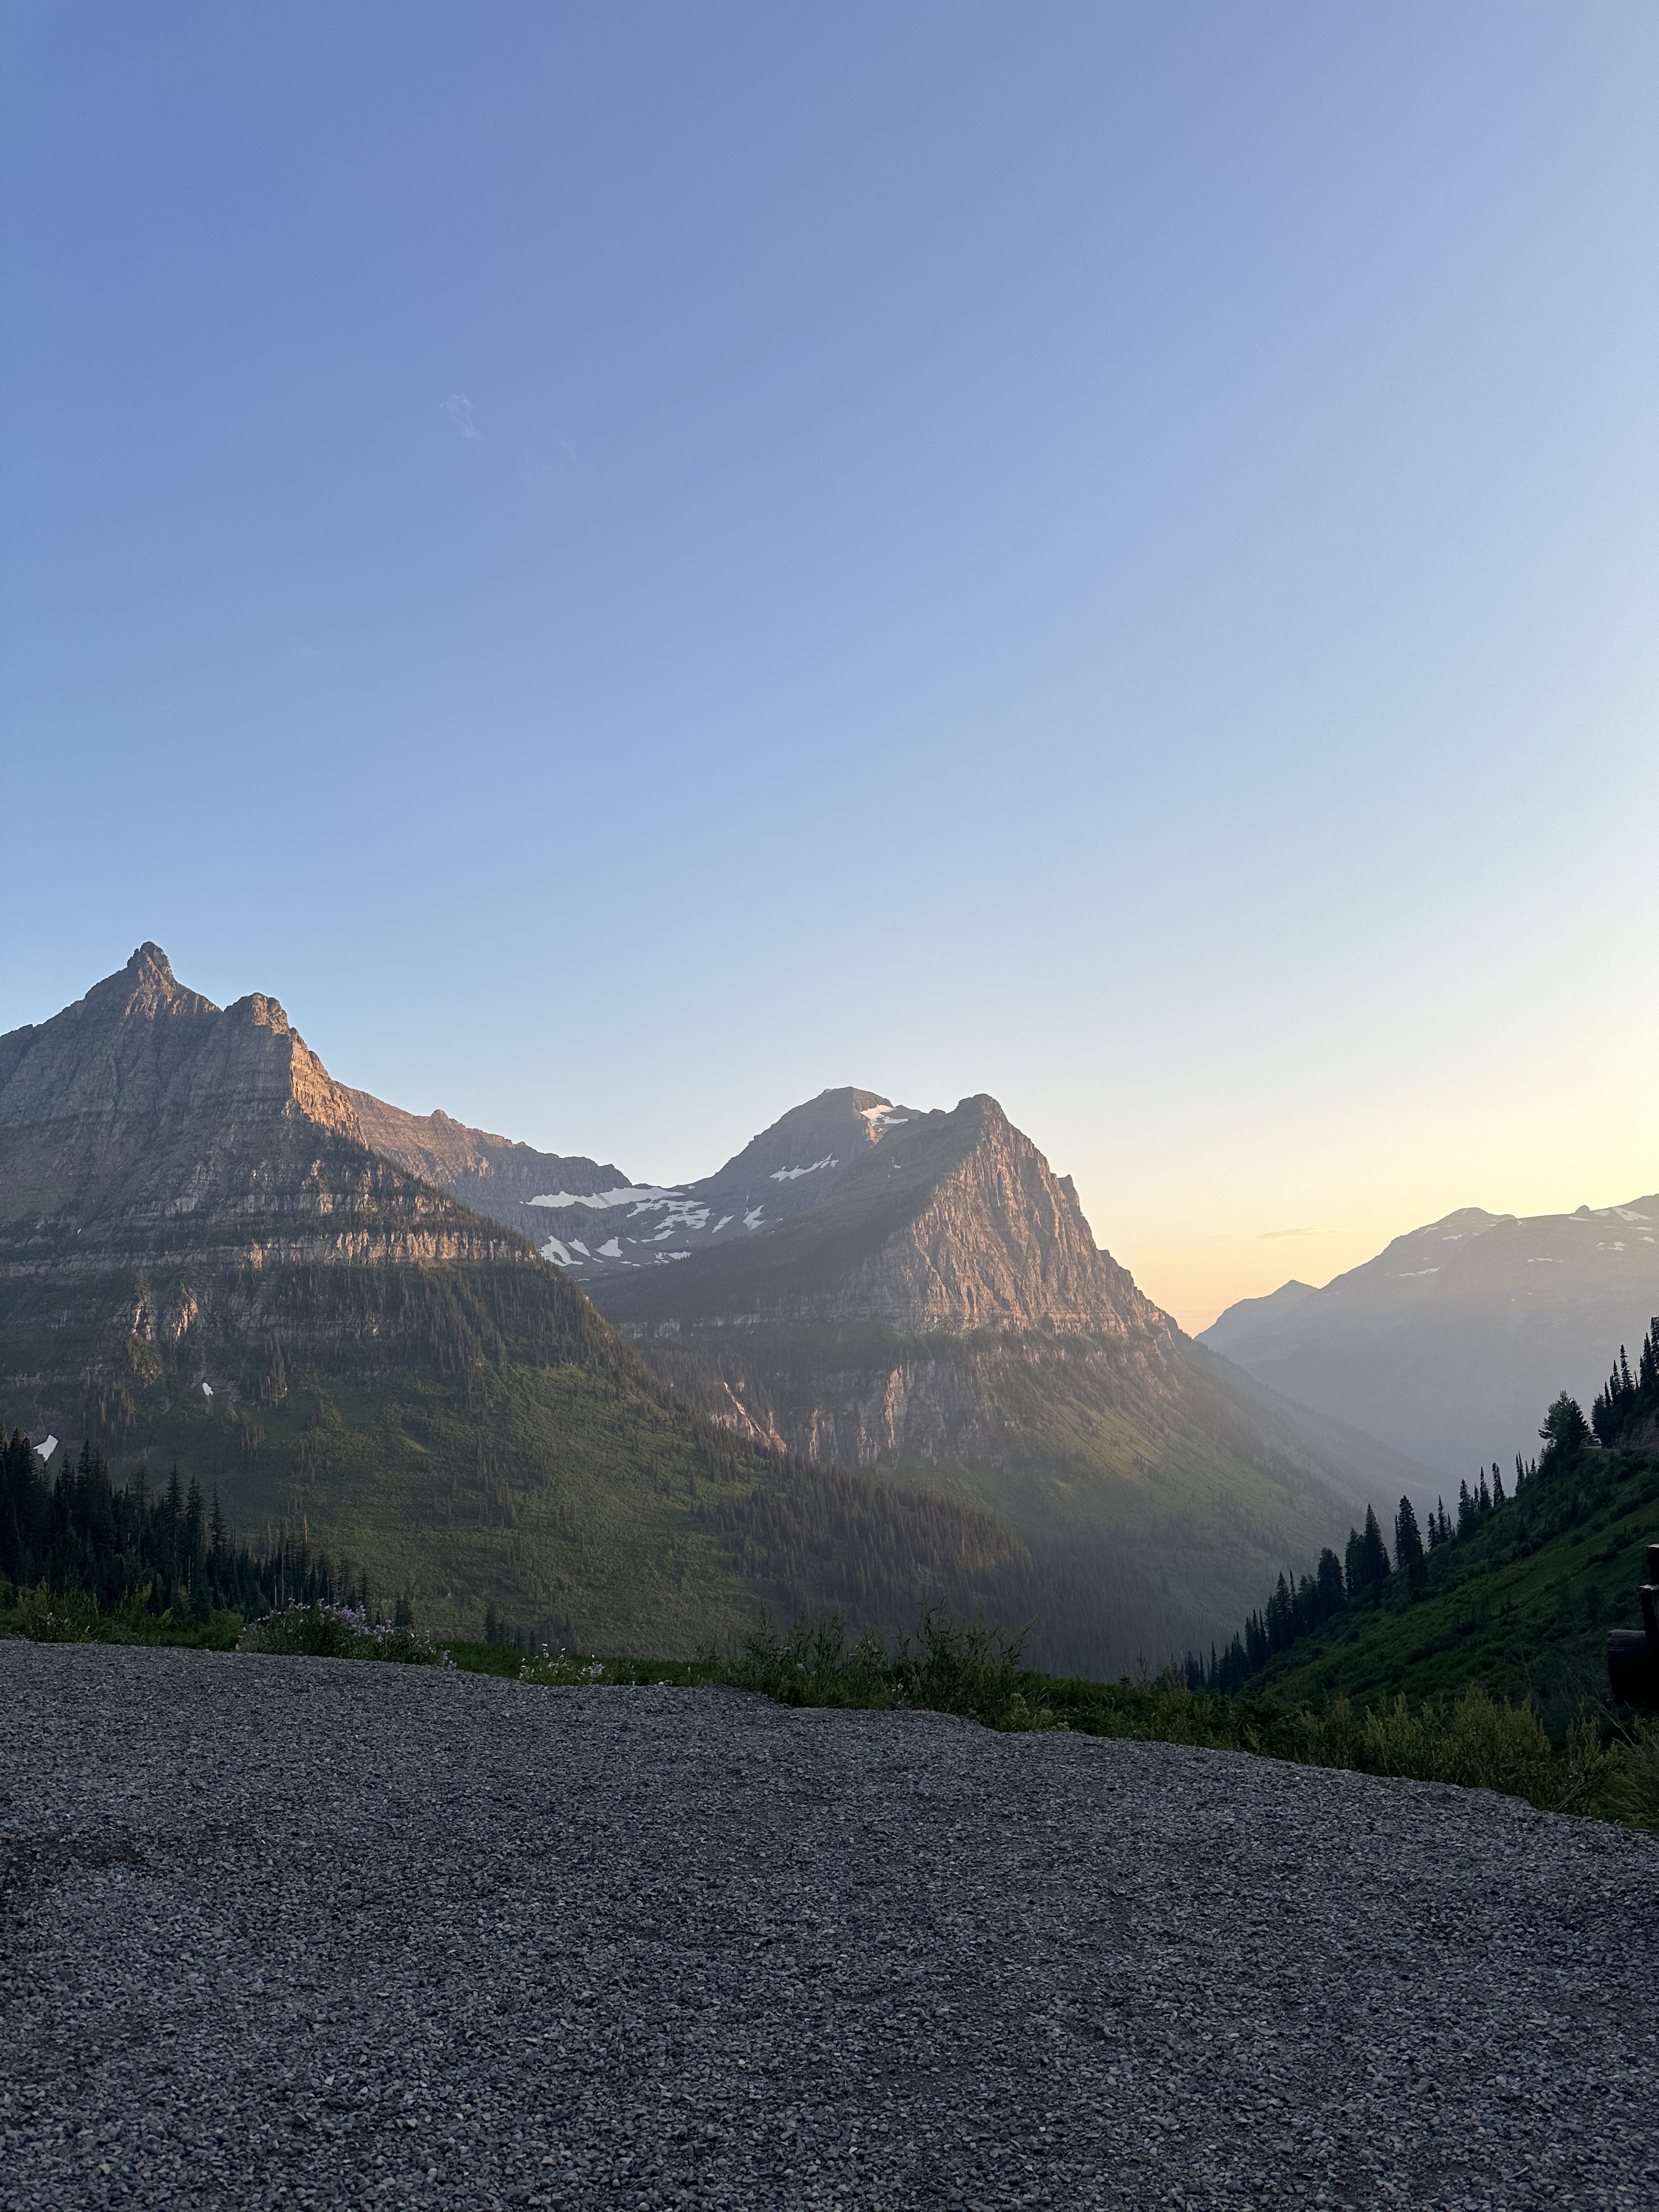
This is a must do while visiting Glacier! This iconic road is the main road that connects most areas of the park. It gives you stunning views of the mountains and scenery within the park and offers several pull off areas to stop and soak in the views further. Our favorite pull off area was “Big Bend” which isn’t really marked but it’s the point on the road that really opens up and gives you an incredible view of the mountains. Note, the going to the sun road is typically only open from late June/early July through October. The park posts each year on their website when the road opens for the season and it varies depending on the amount of snow that year.
2. Take a Hike
Glacier has so many incredible hikes! The best part of the hikes within the park is the mountain views you’re able to see from most trails. Some of my favorite that we did include:
The Highline trail
Avalanche Lake trail
Grinnell glacier viewpoint trail
Hidden lake overlook trail
I’d recommend downloading the All Trails app to learn more about these hikes, the difficulty level, length, and reviews from other hikers. There’s also the ability to download a map of the trail in advance so you have a guide while hiking, which is helpful because there’s barely any cell service in Glacier!
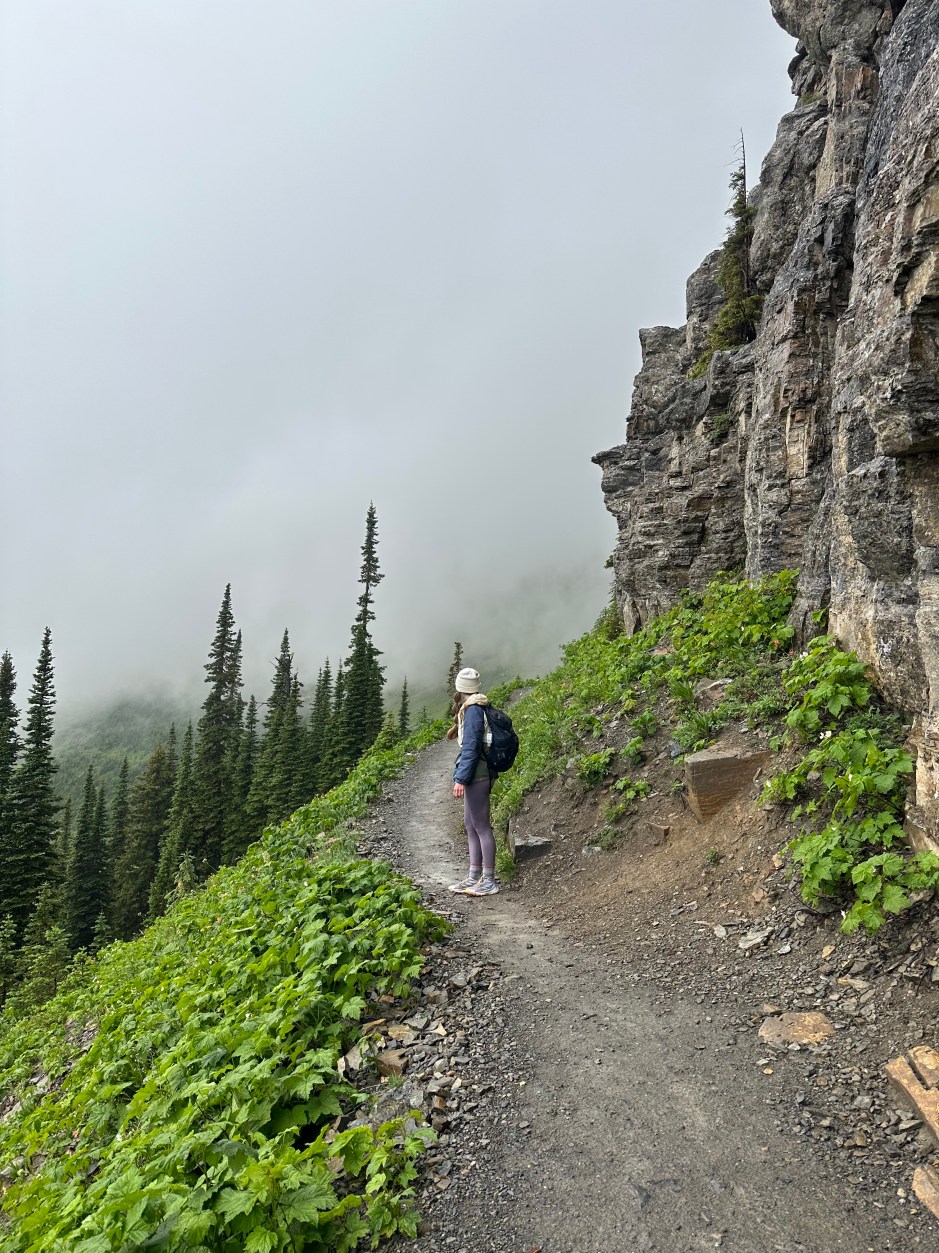
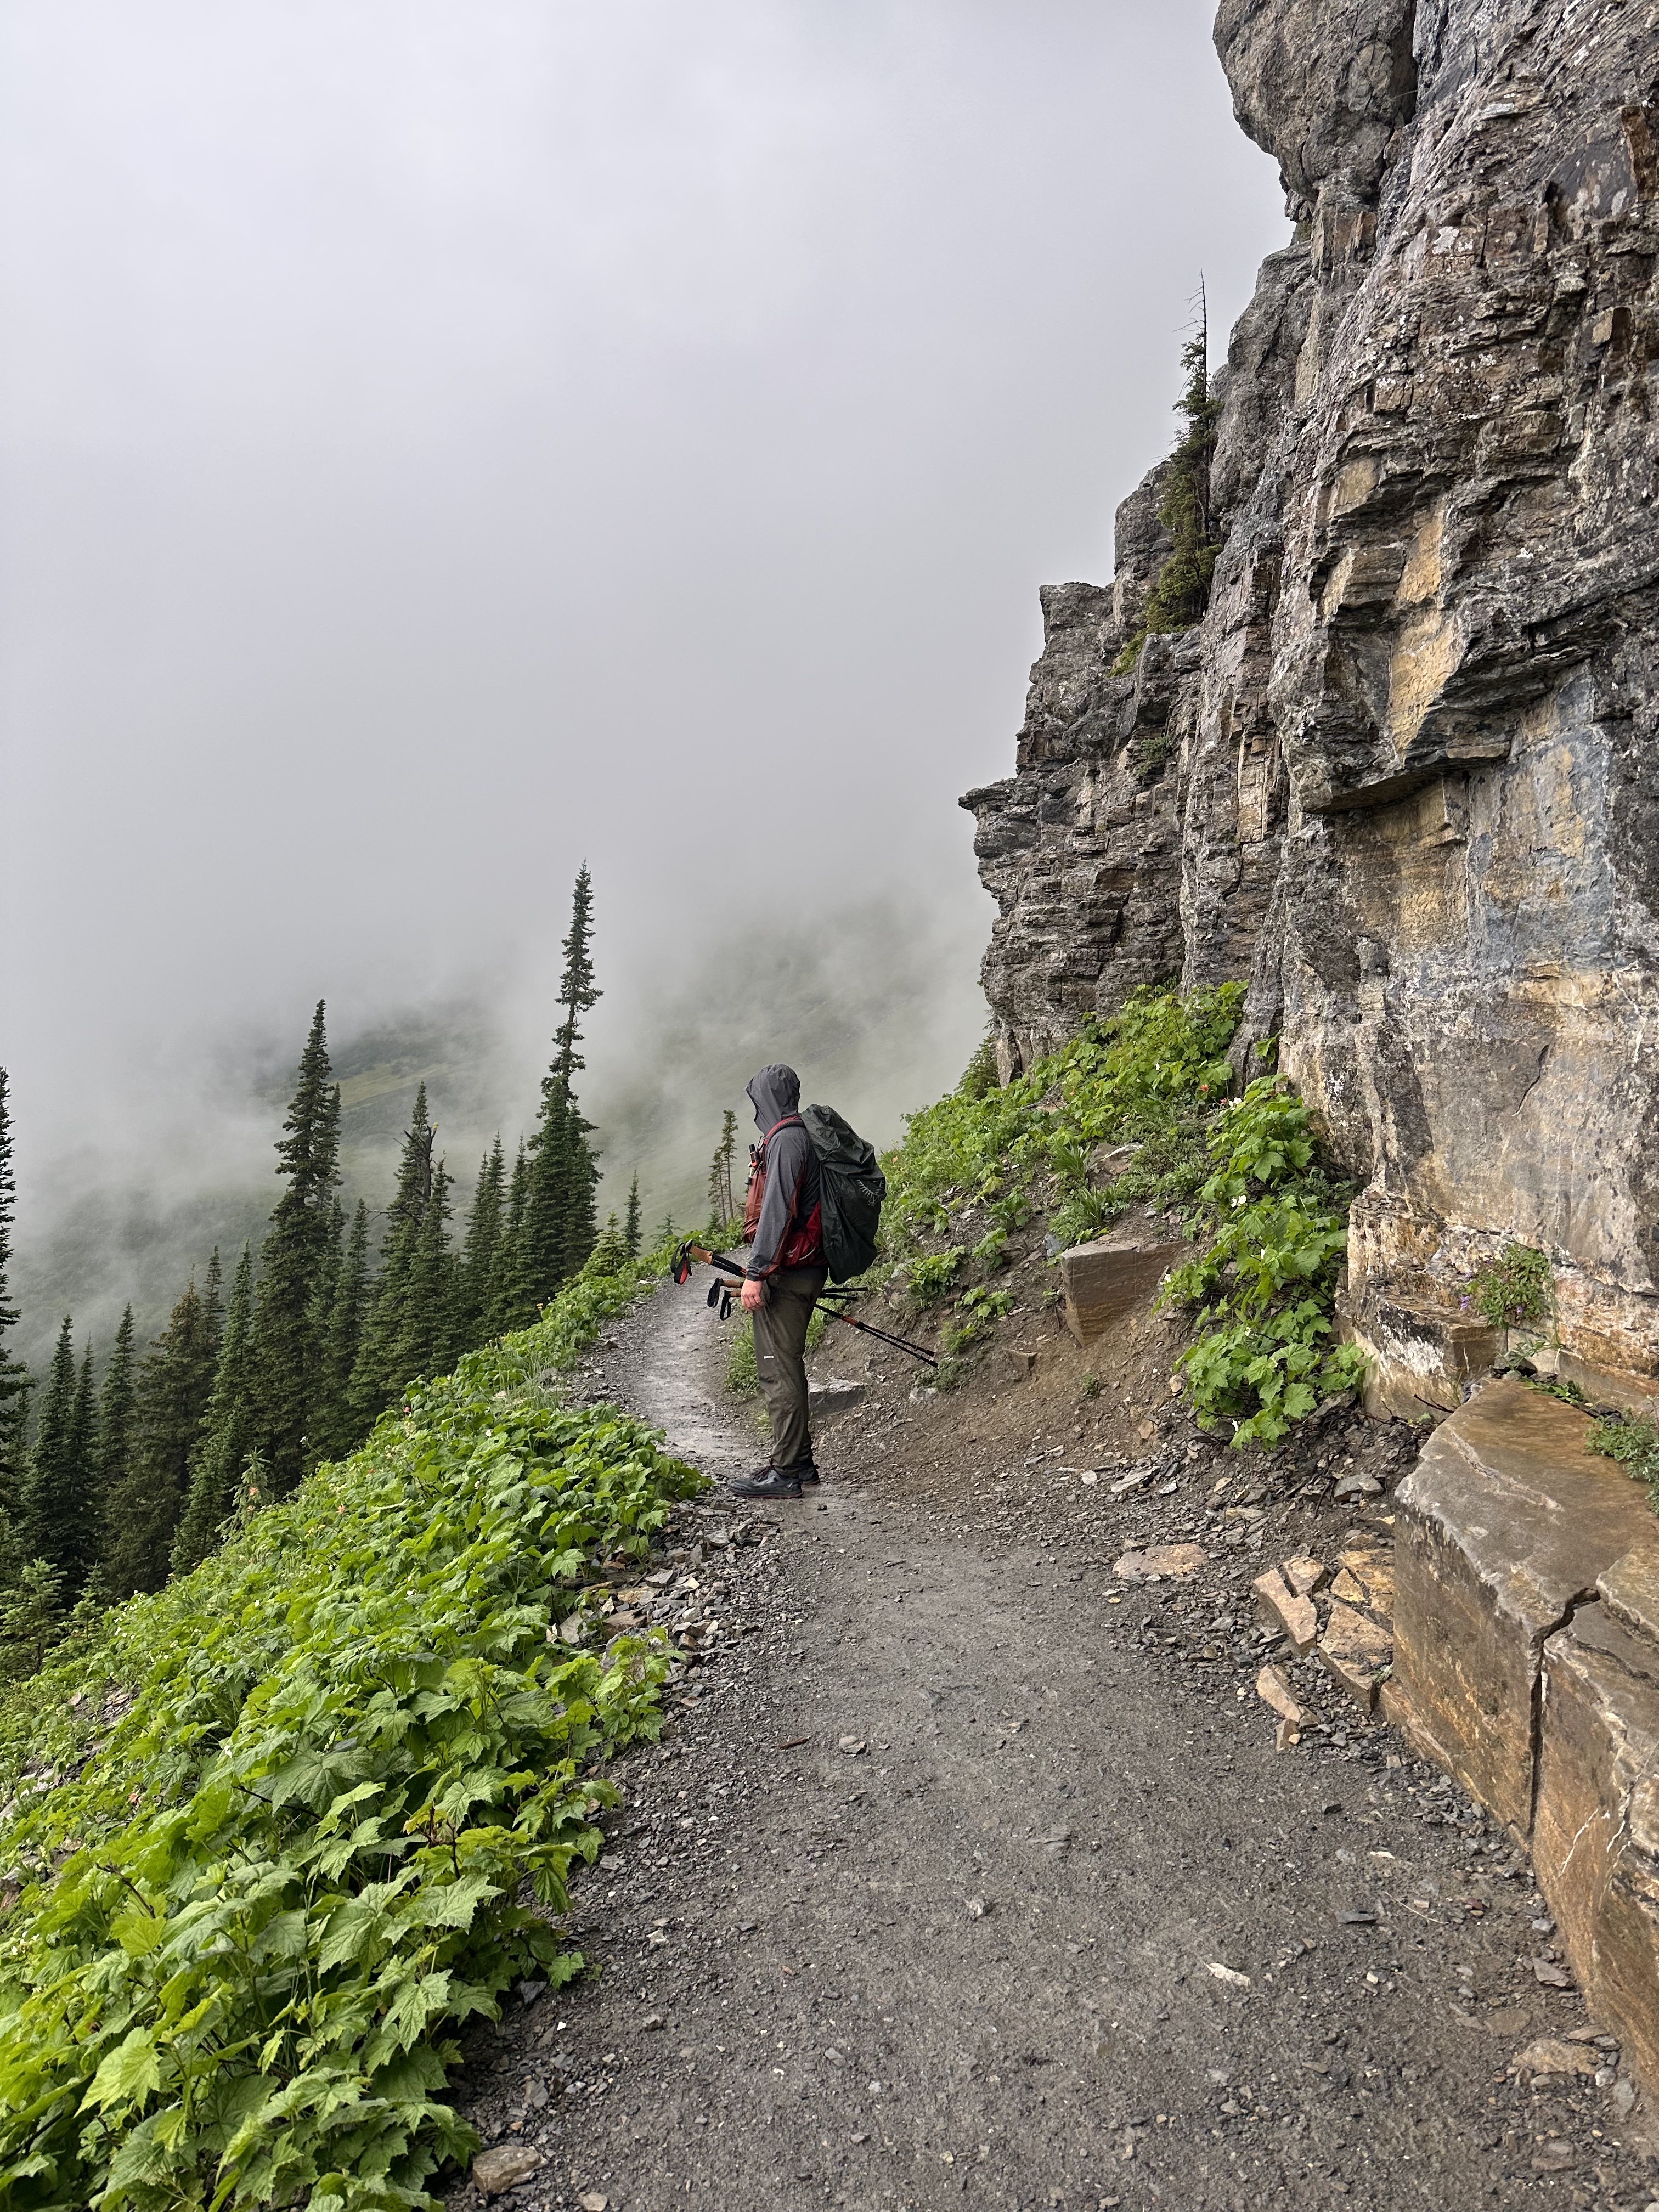
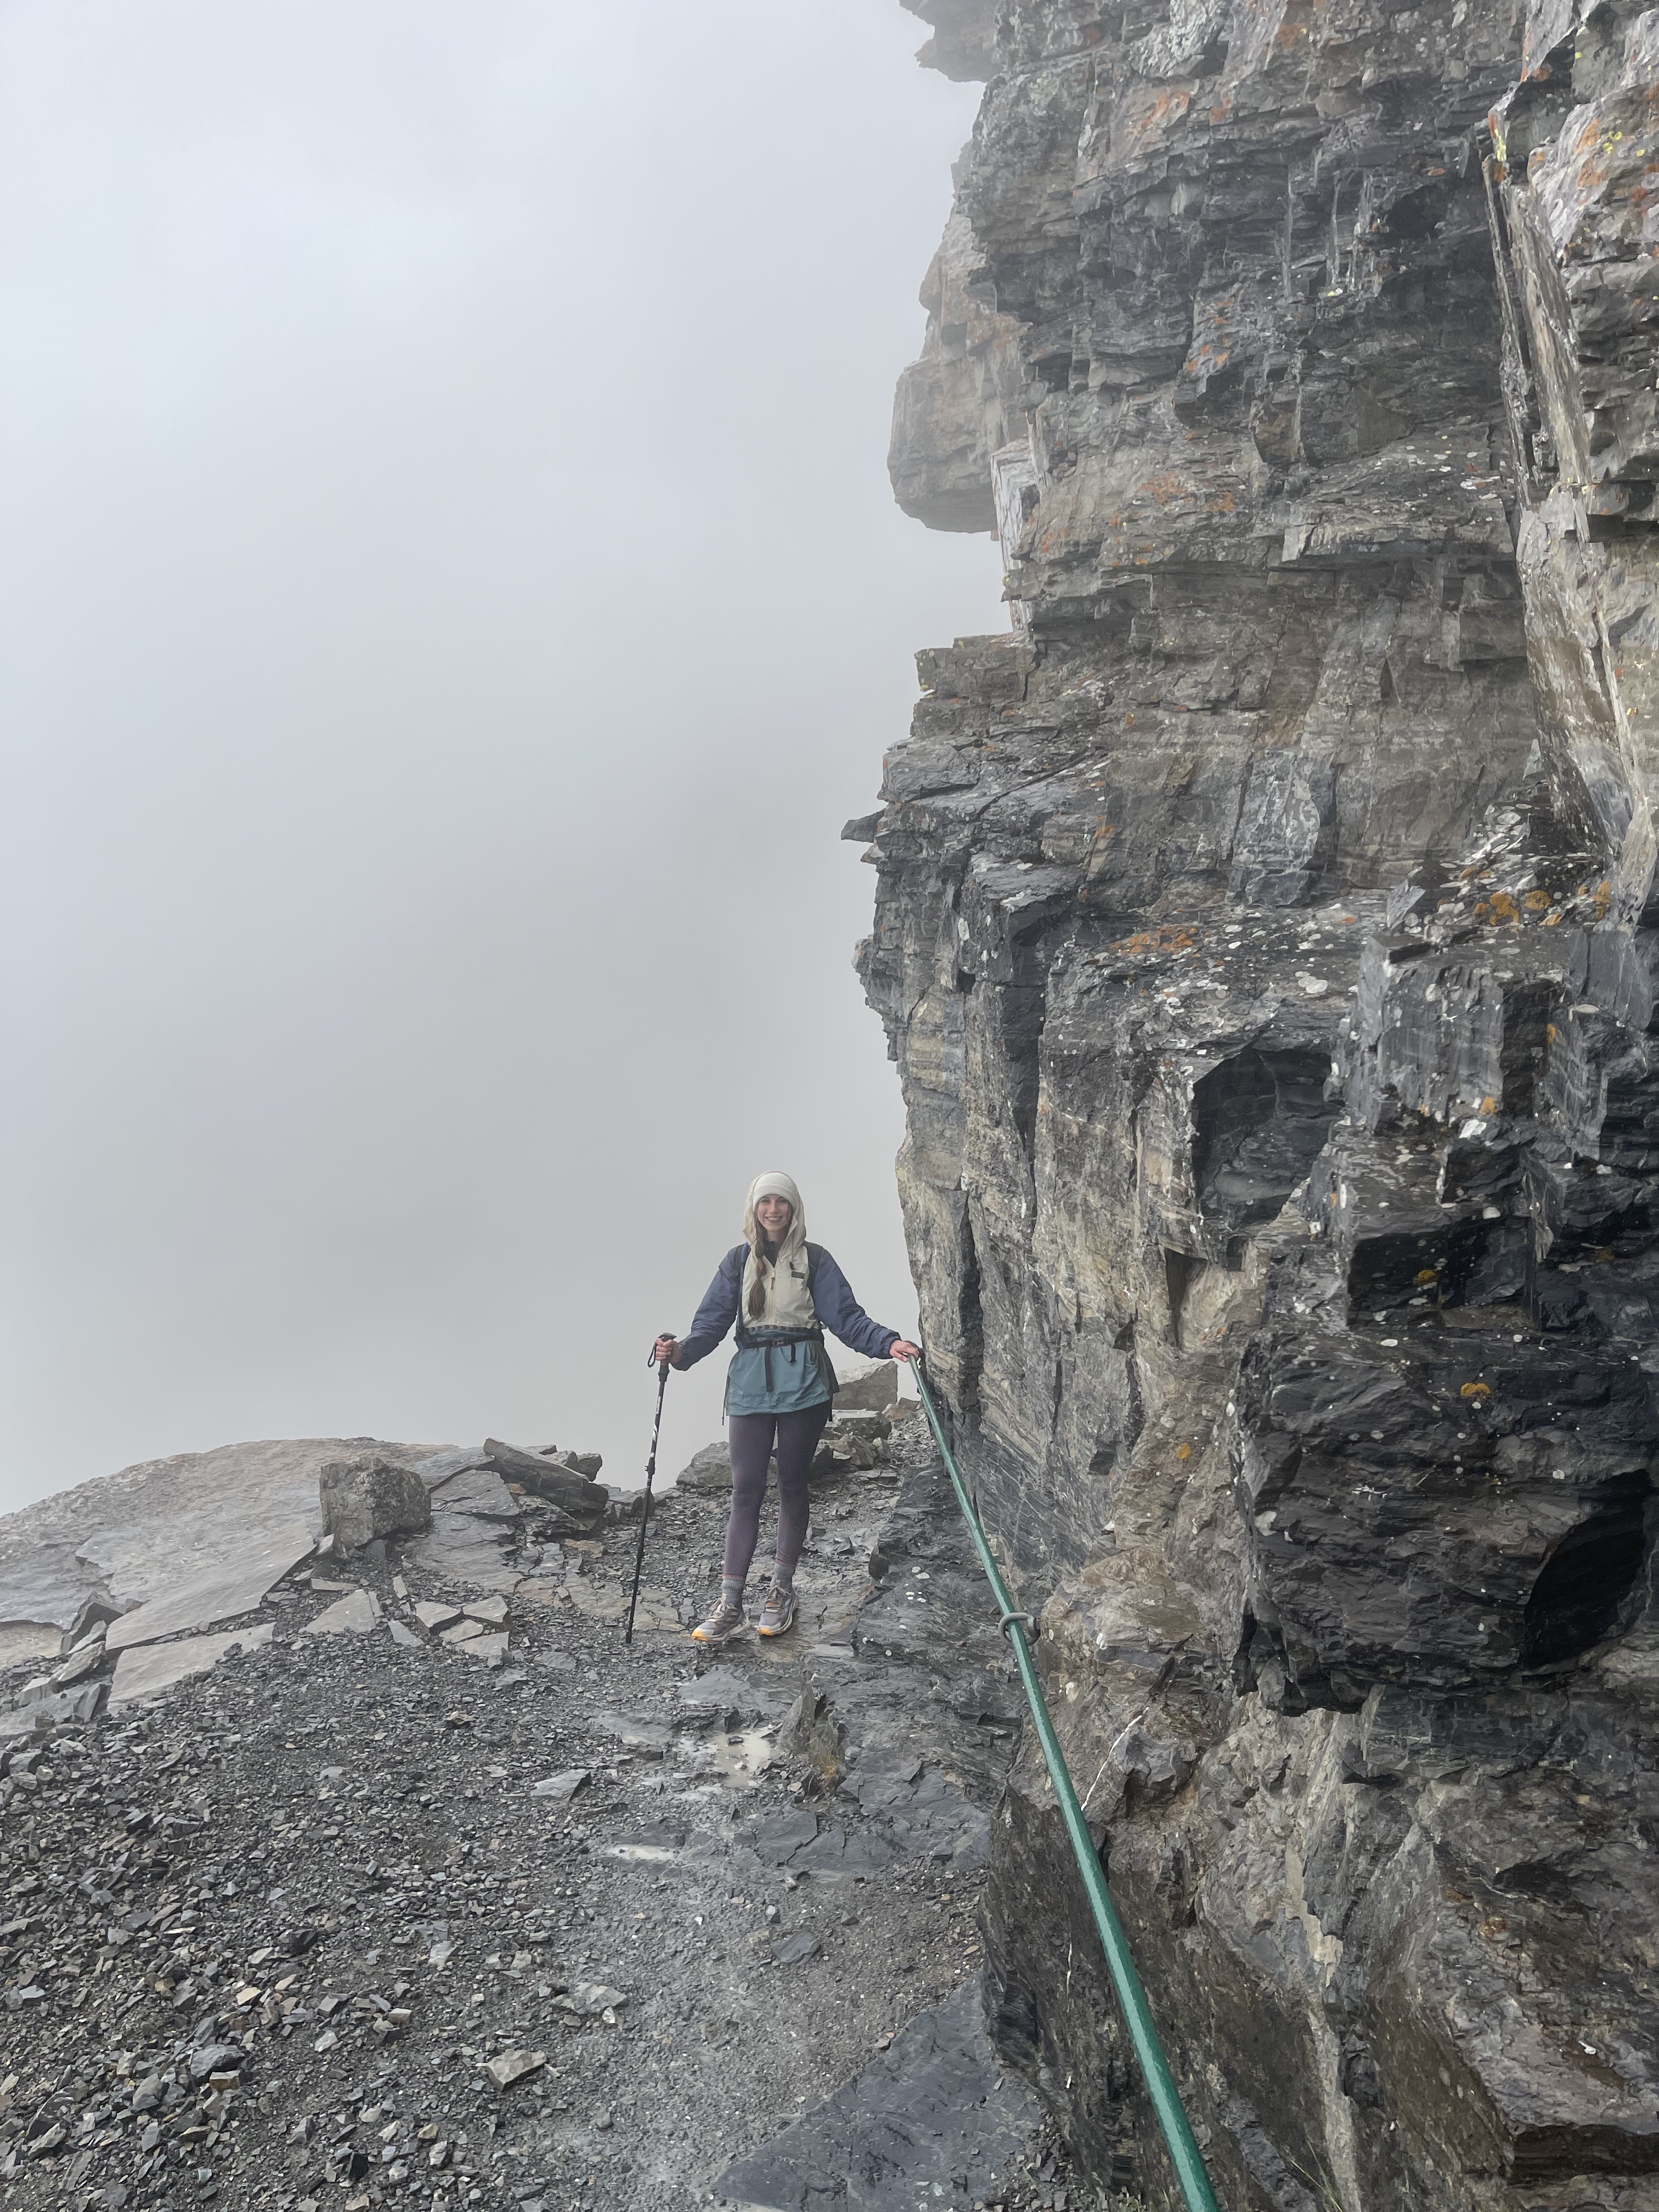
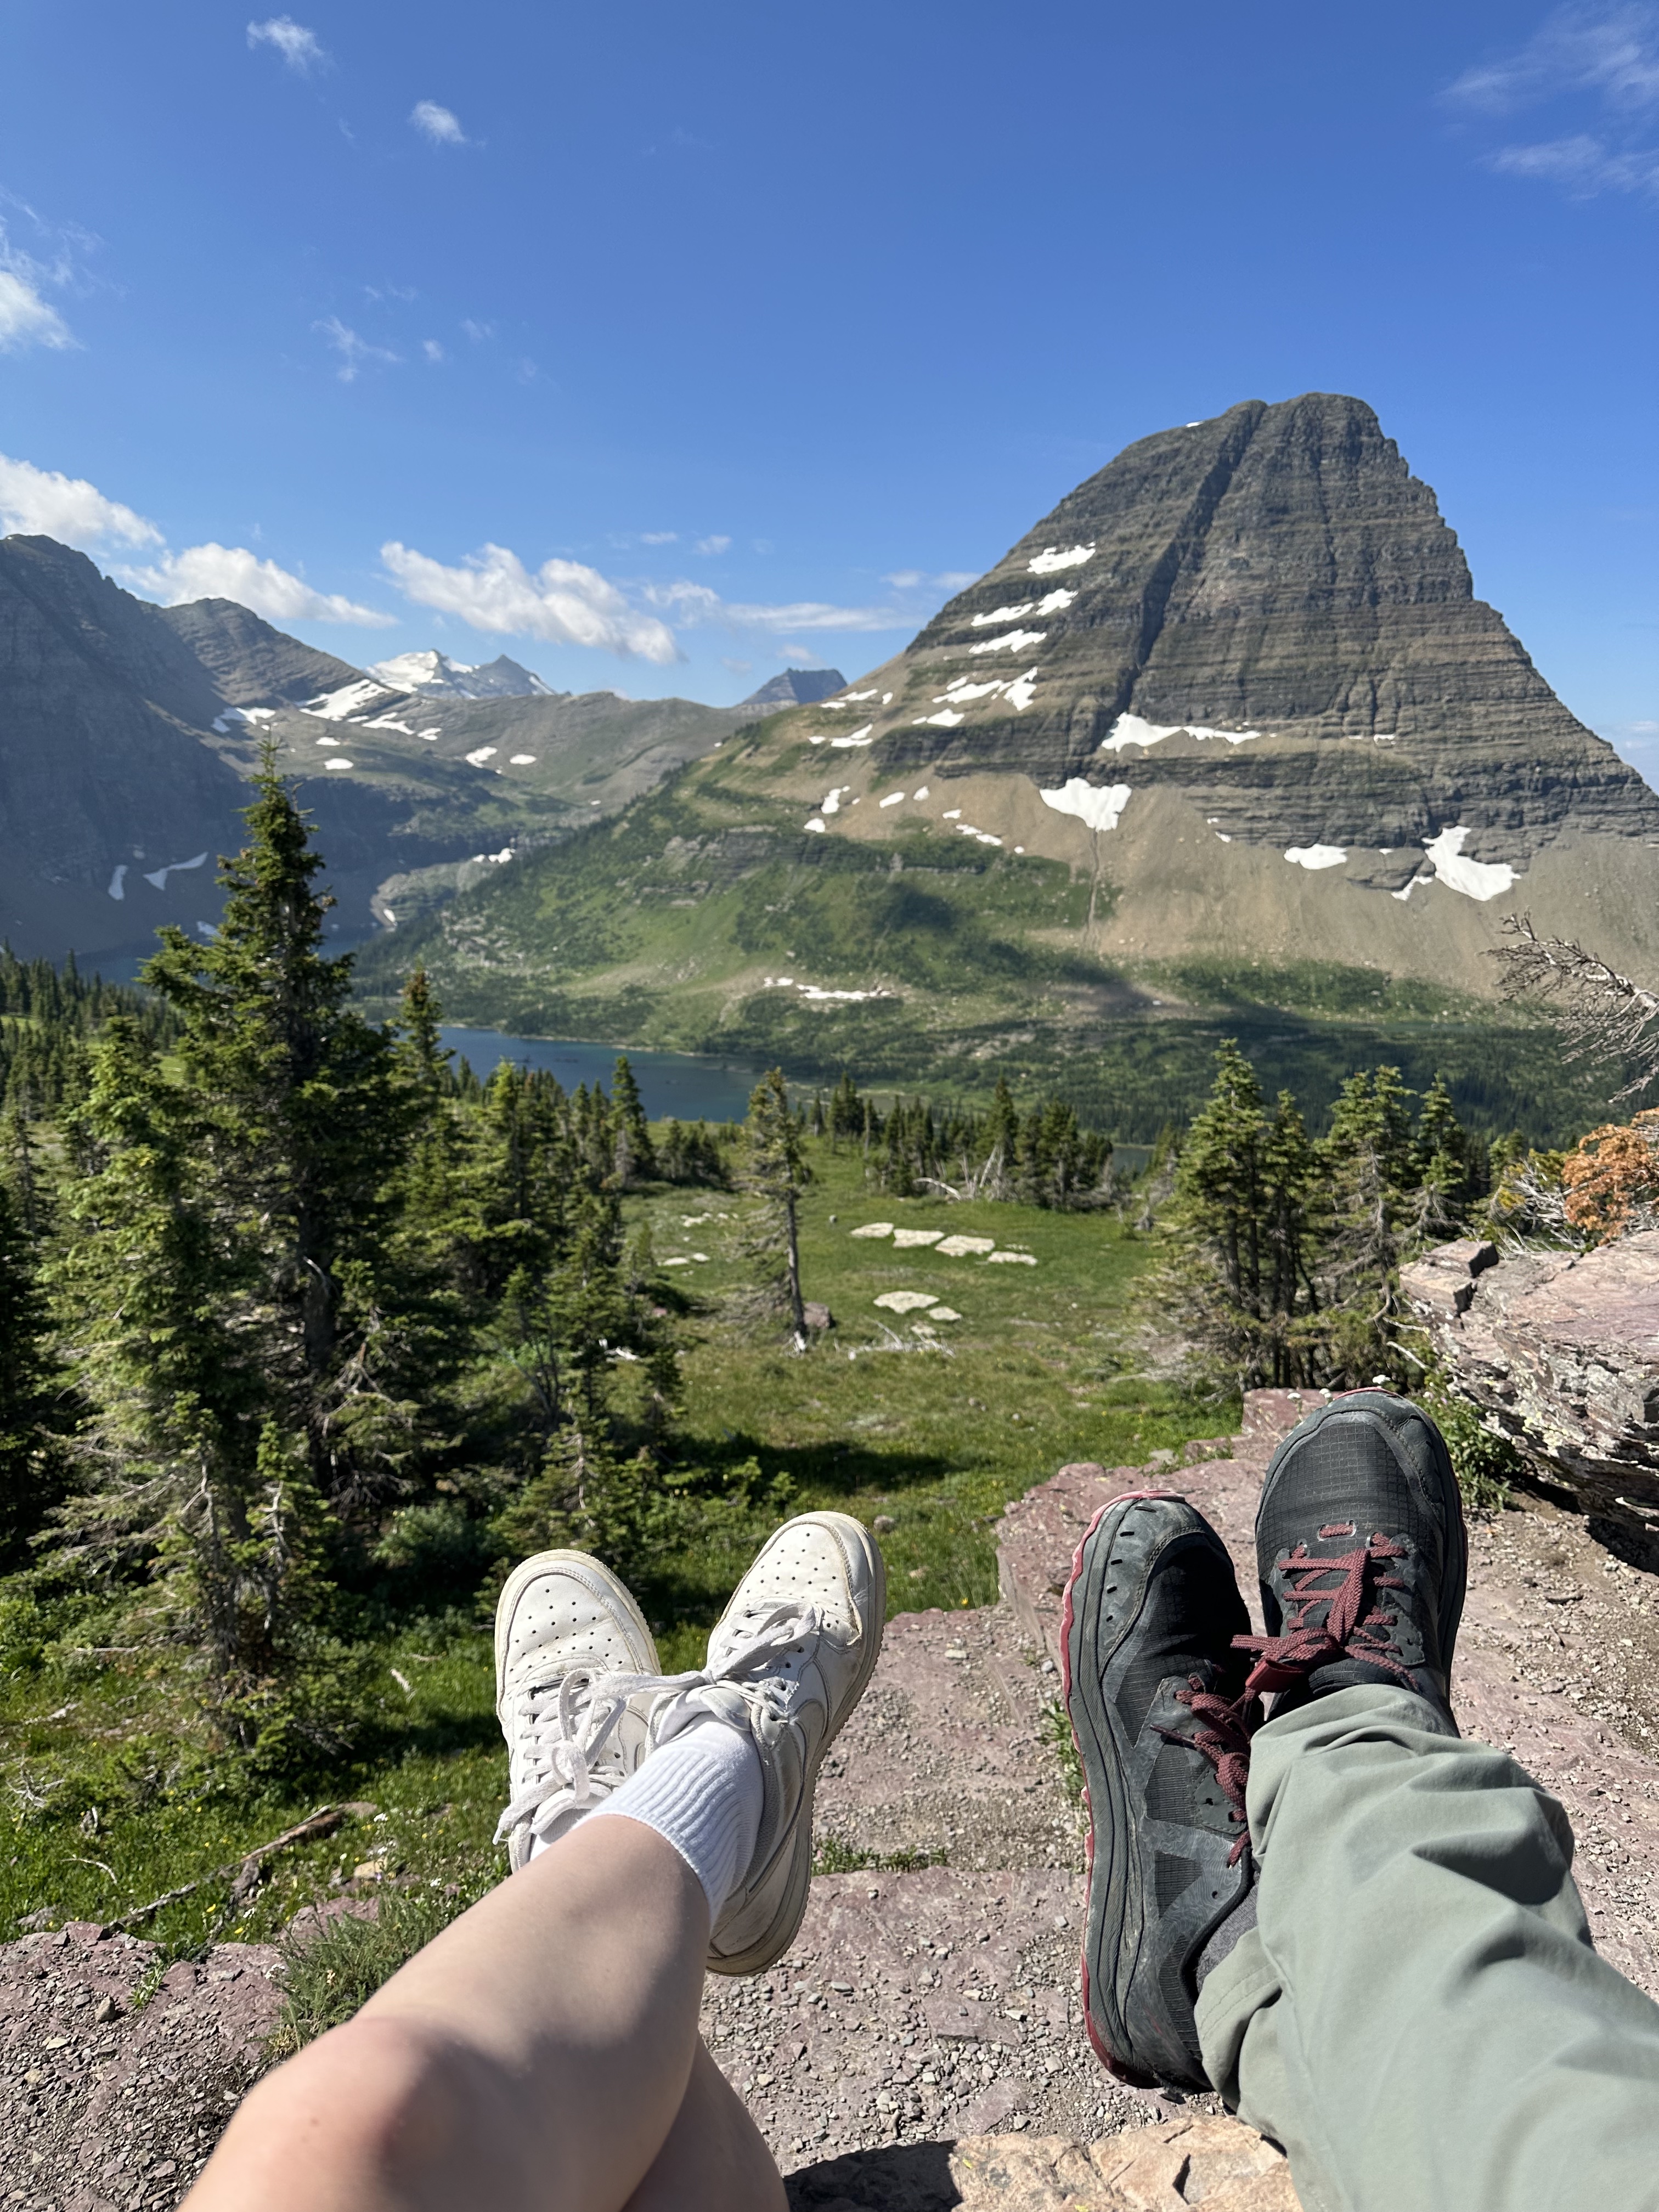
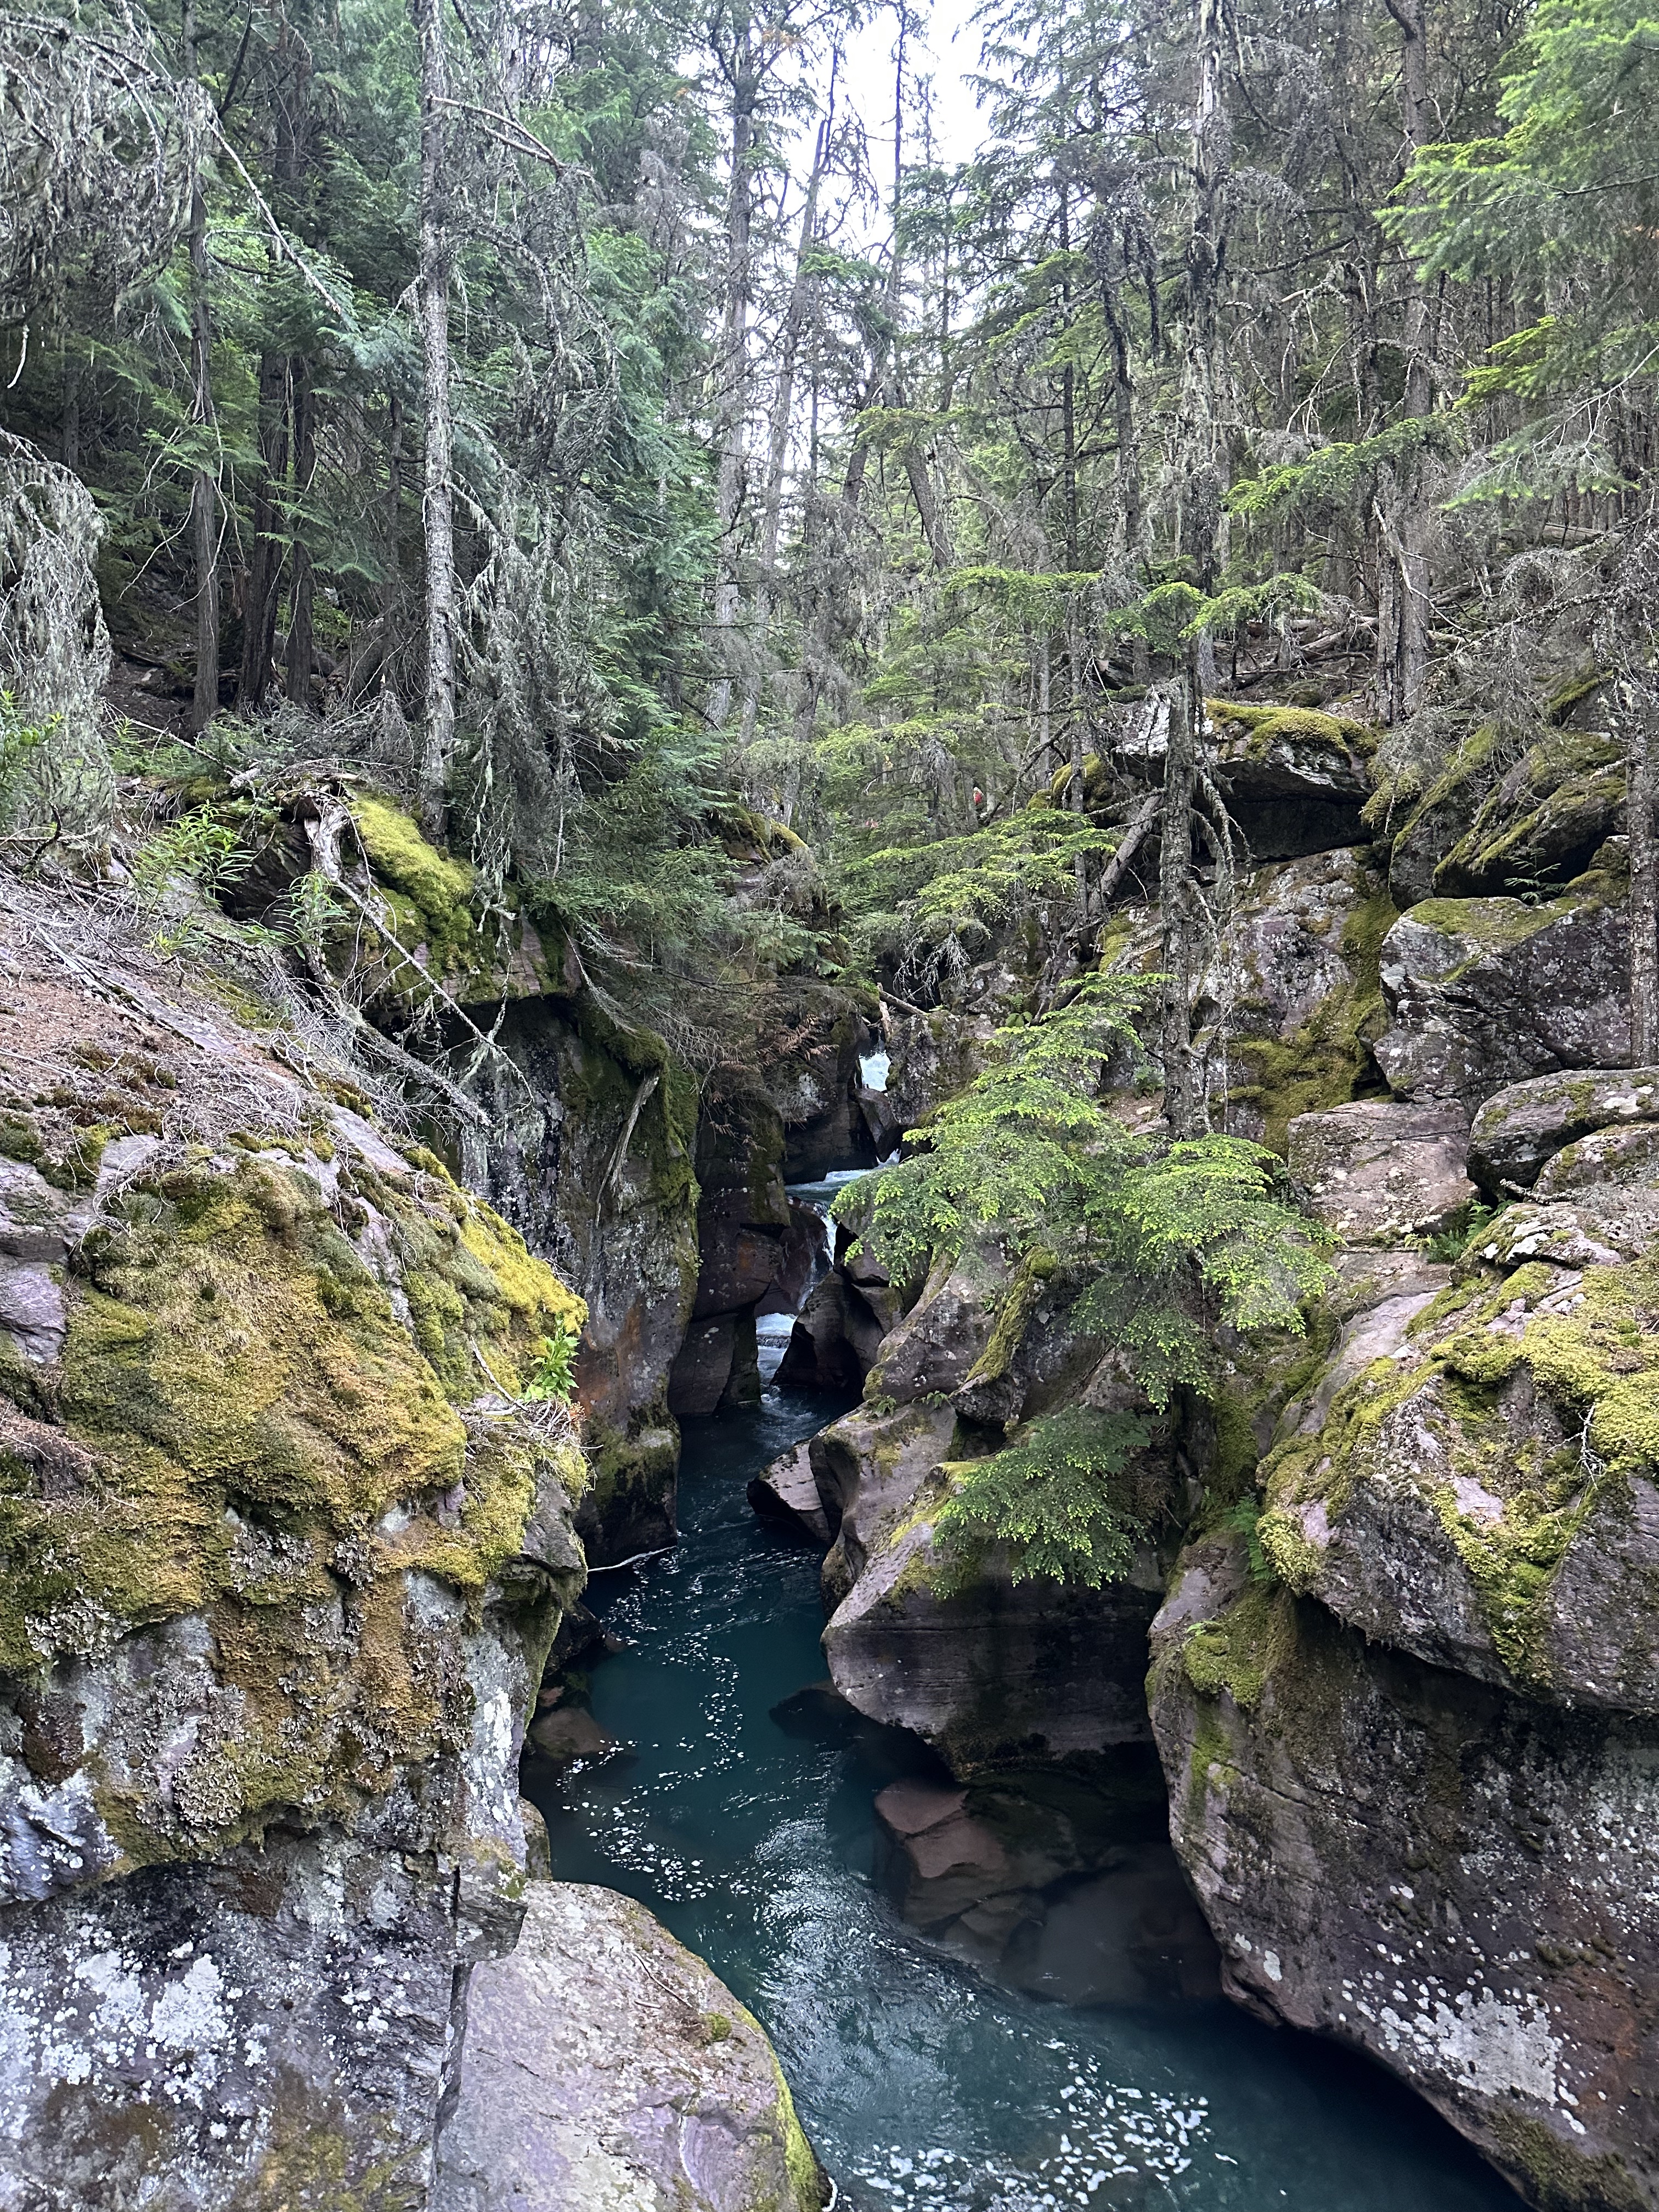
Views along the high line trailThe weather was super cloudy and rainy when we attempted the high line trailViews along the hidden lake overlook trailViews along the Avalanche lake trail
3. Visit the Many Glacier Area
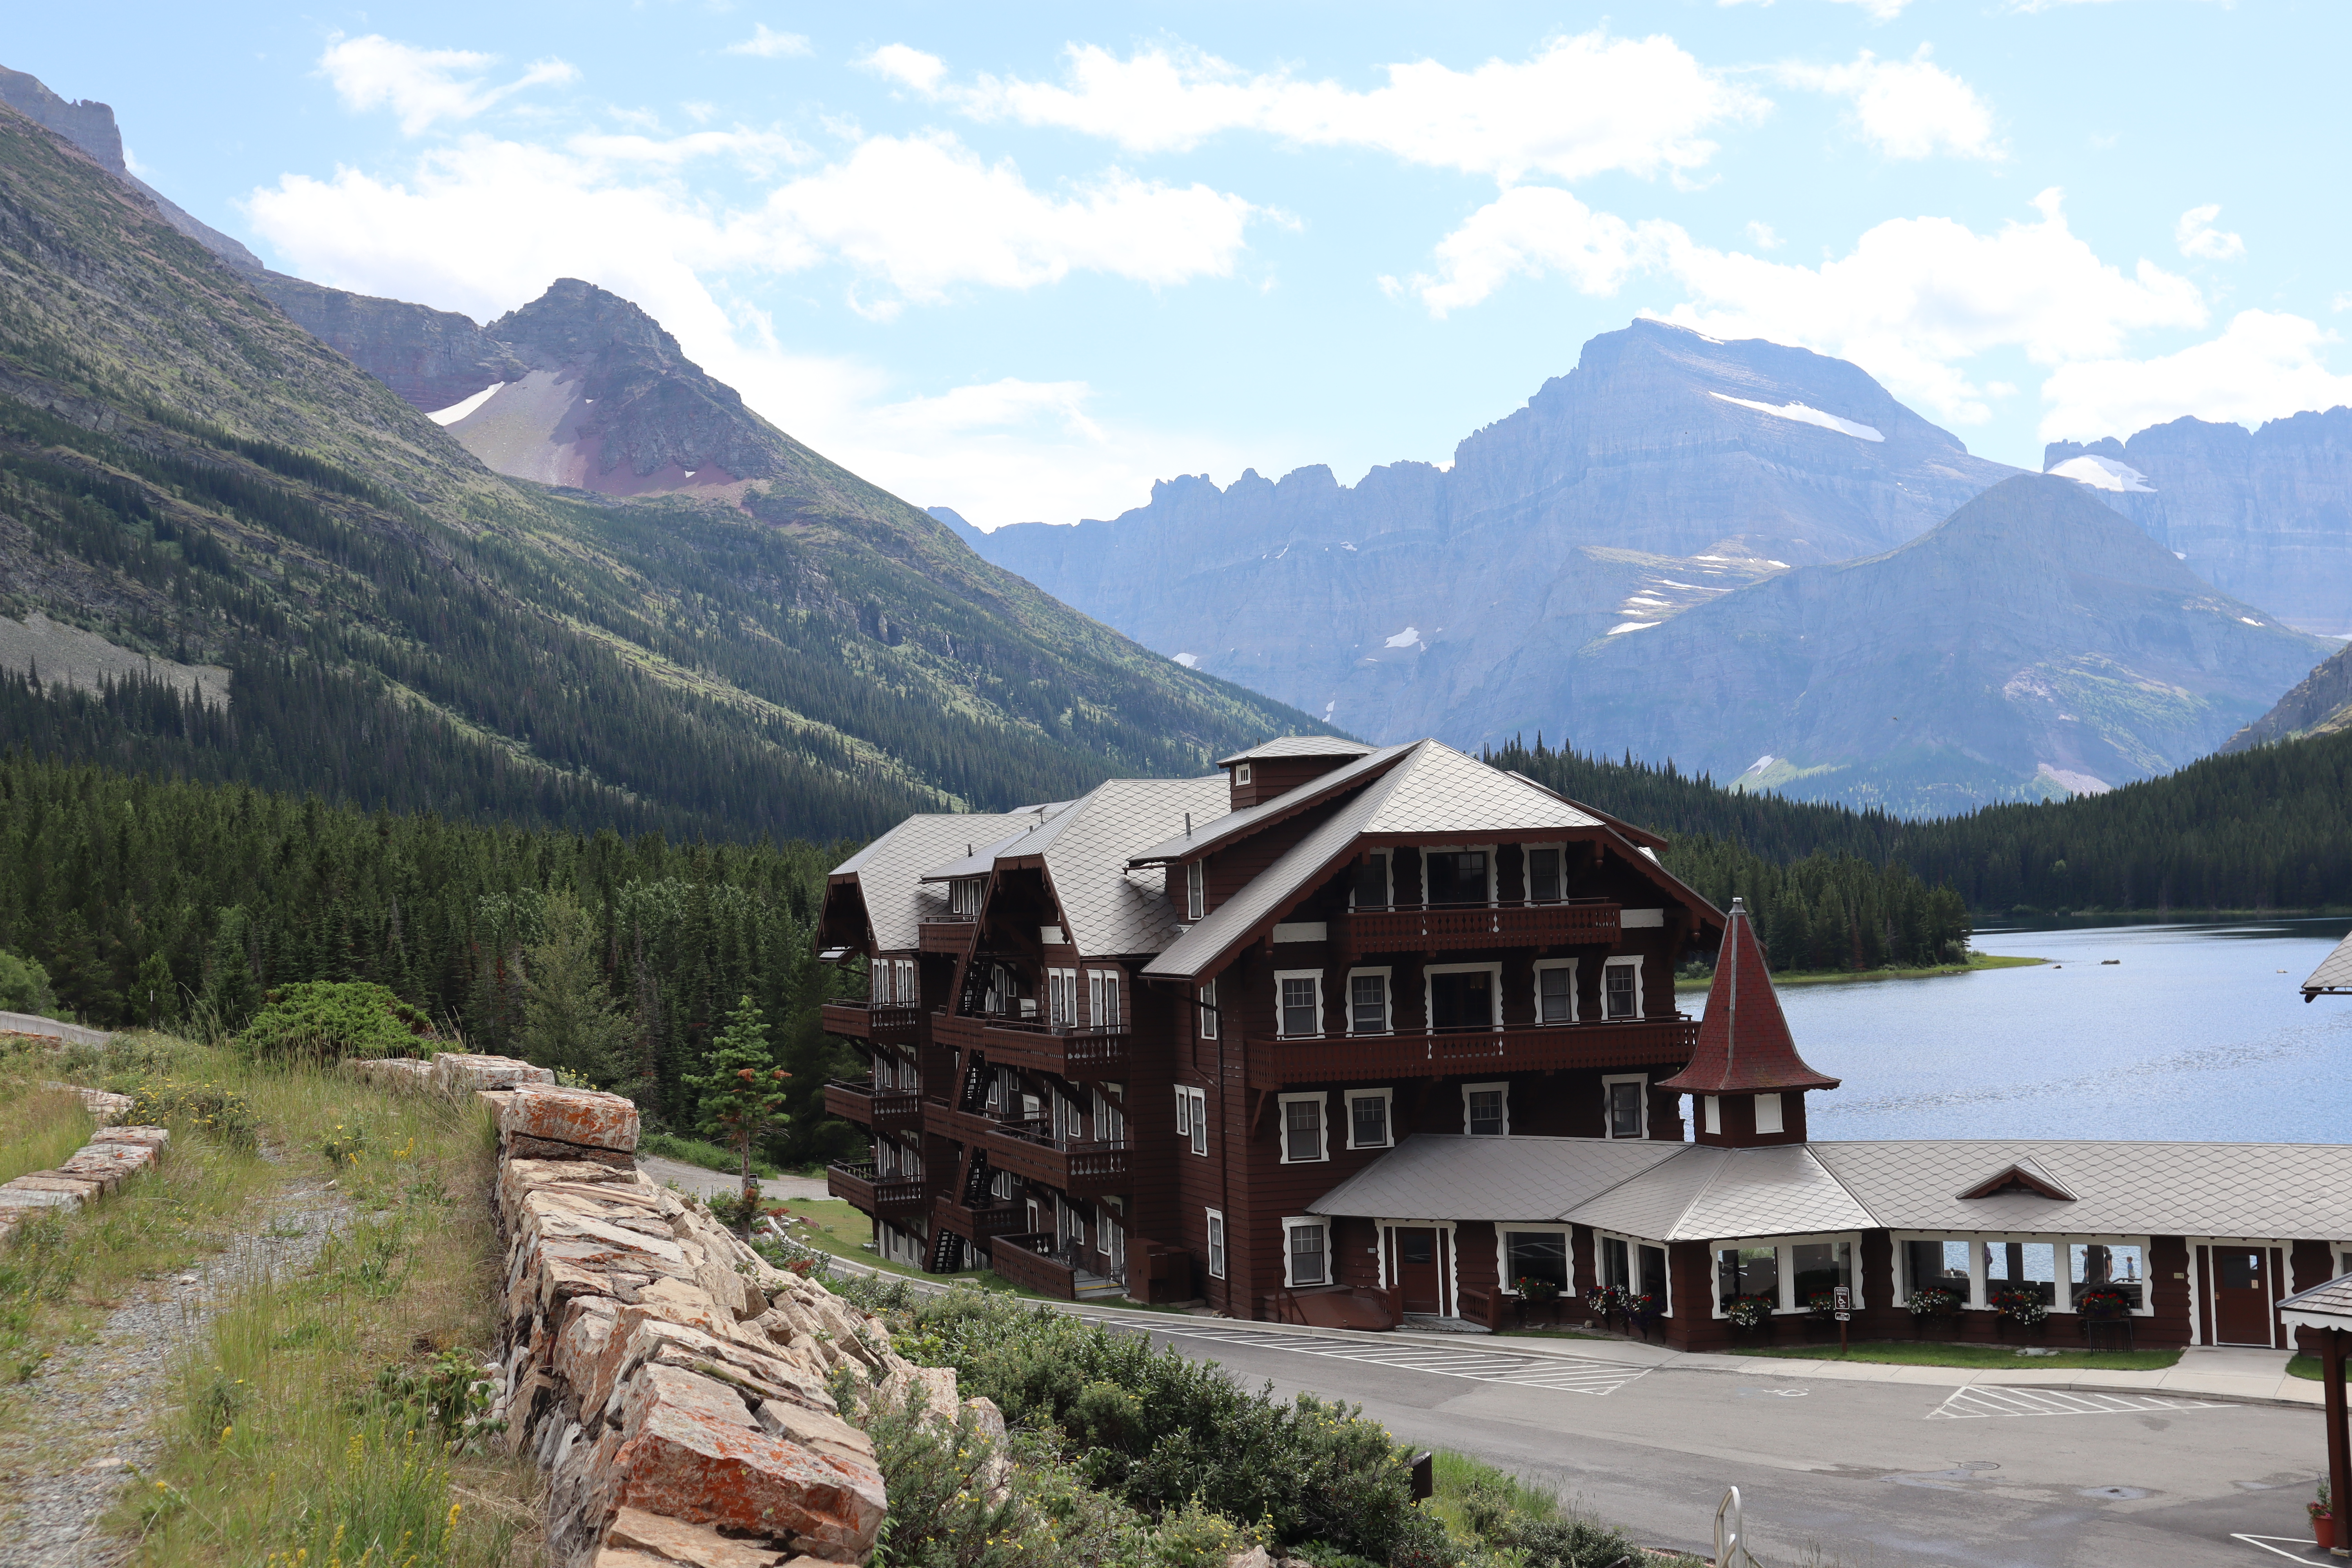
This area is located on the east side of the park and is home to the Many Glacier hotel. This area truly felt like I was transported to Switzerland, it was so unique! There’s several incredible hikes to check out here too including Grinnel Glacier overlook trail. Keep in mind, this area of the park requires it’s own timed entry reservation if visiting during peak season which can be purchased on the park’s website.
The Many Glacier hotelDock area near the hotel
4. Try Huckleberry Ice Cream
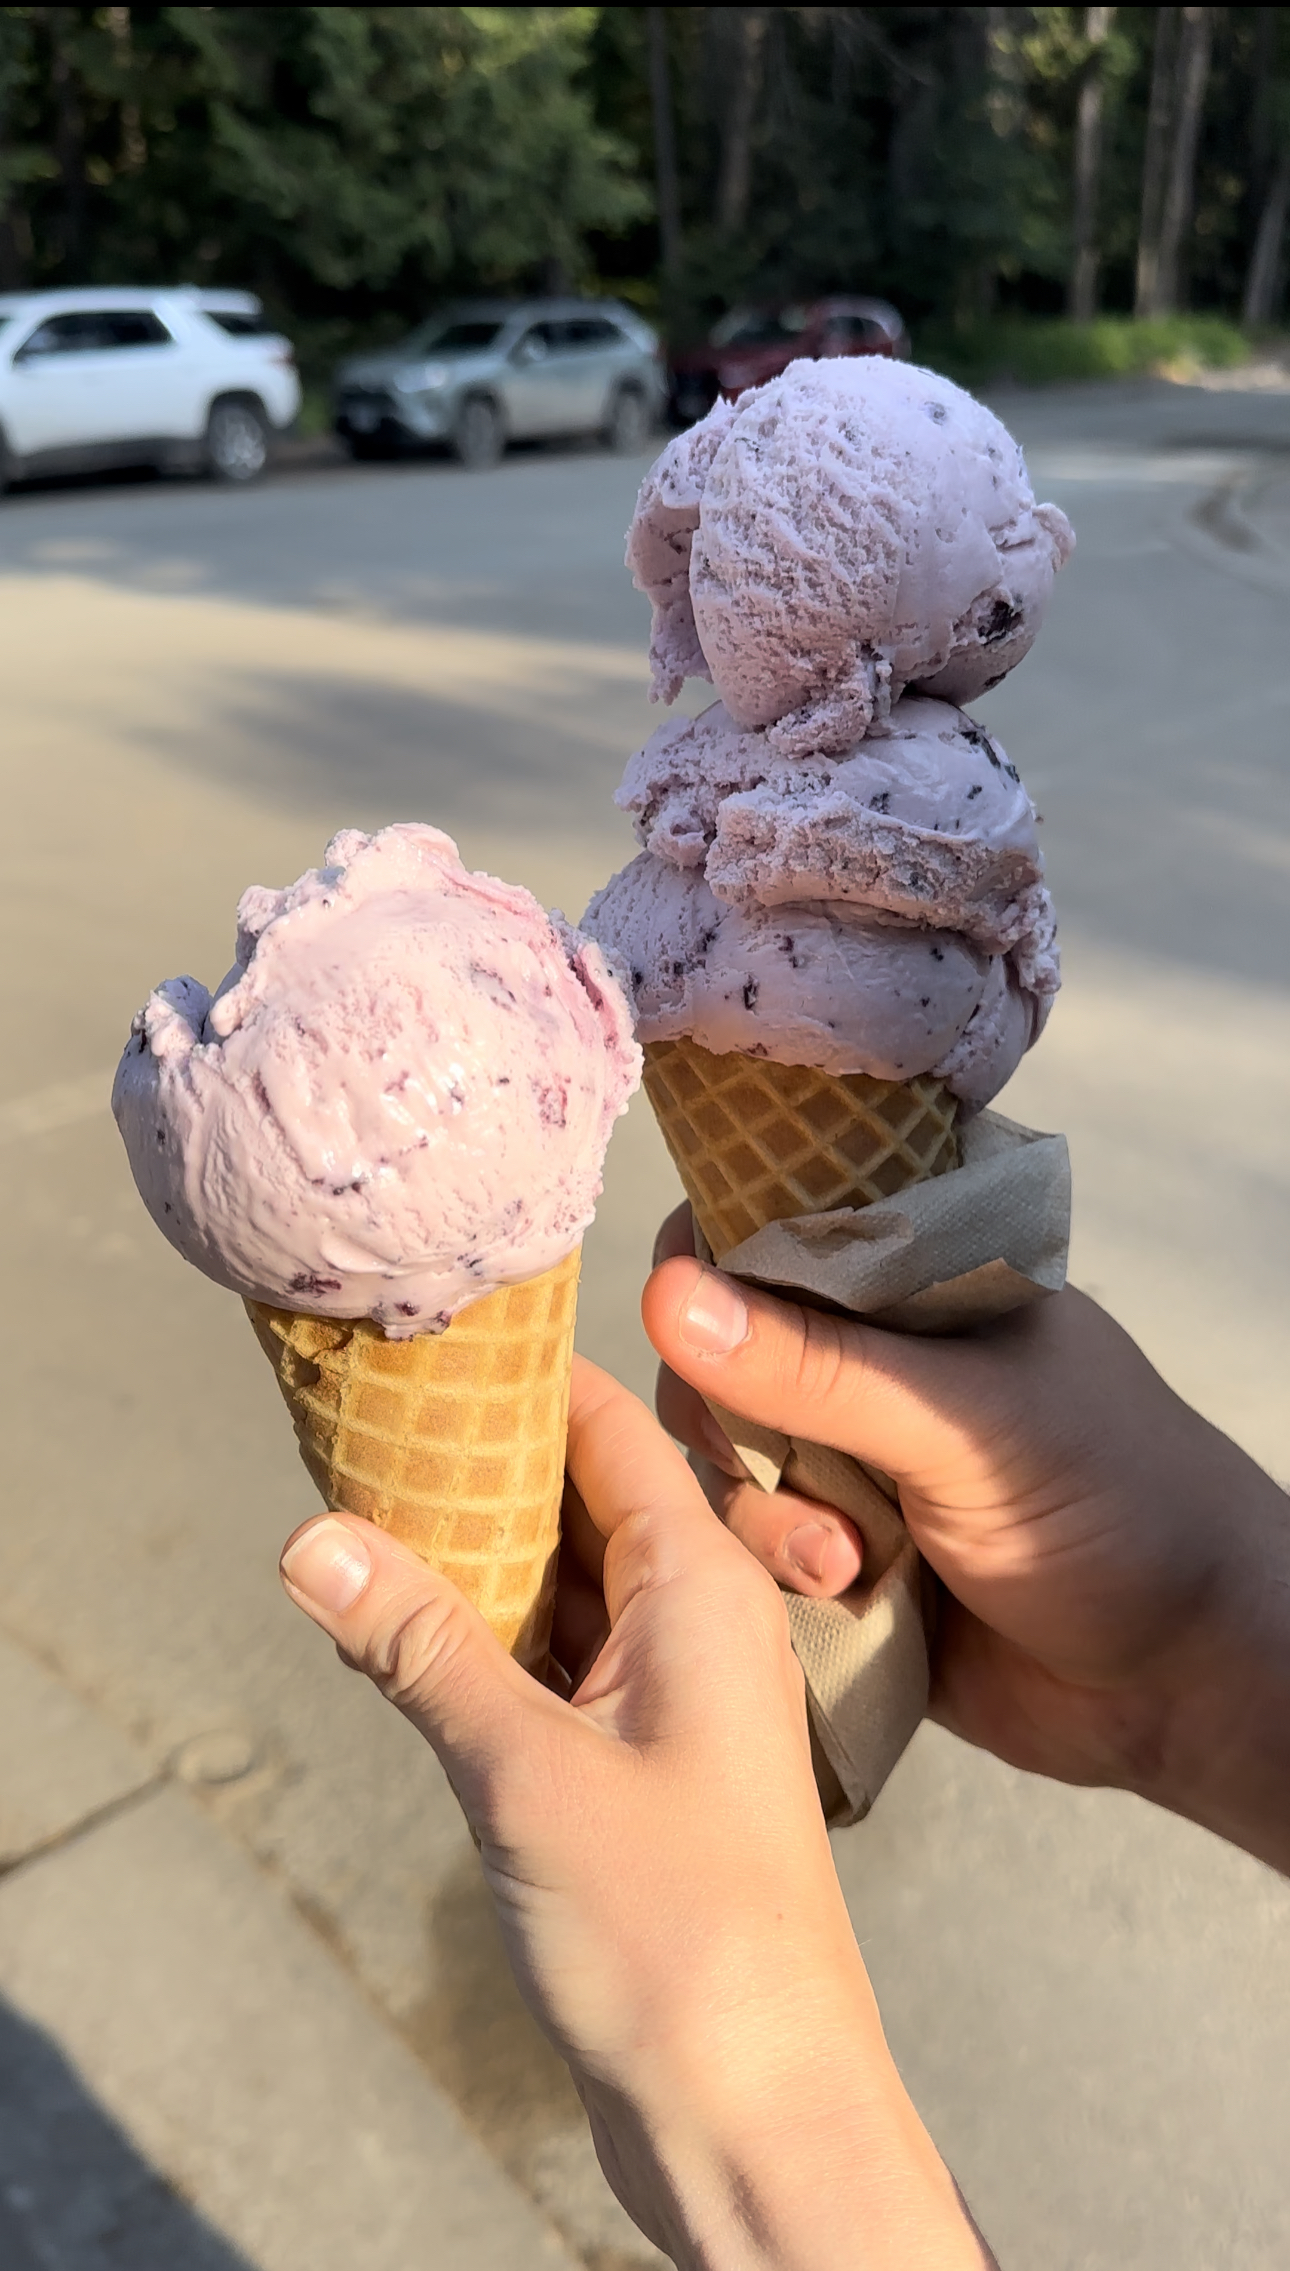
Huckleberry is extremely popular in the Wyoming and Montana areas! It is similar to a blueberry but a more tart and so good! There are so many huckleberry treats within the area and you’ll find it all over the park at every general store. I’d recommend trying the ice cream especially in the summer!
5. Swim in Lake Mcdonald
Take a swim in one of the most iconic lakes in the park. The water is super clear and has beautiful colored rocks to coat the bottom. It’s also possible to kayak in this lake which also seems like a great option!
Lake McDonald
6. Check out Goose Island
This island can be seen along the going to the sun road, there’s a pull off spot. This island truly looks like a goose! It has become an iconic photo location for visitors and definitely worth a stop!
7. Take a Drive to Polebridge
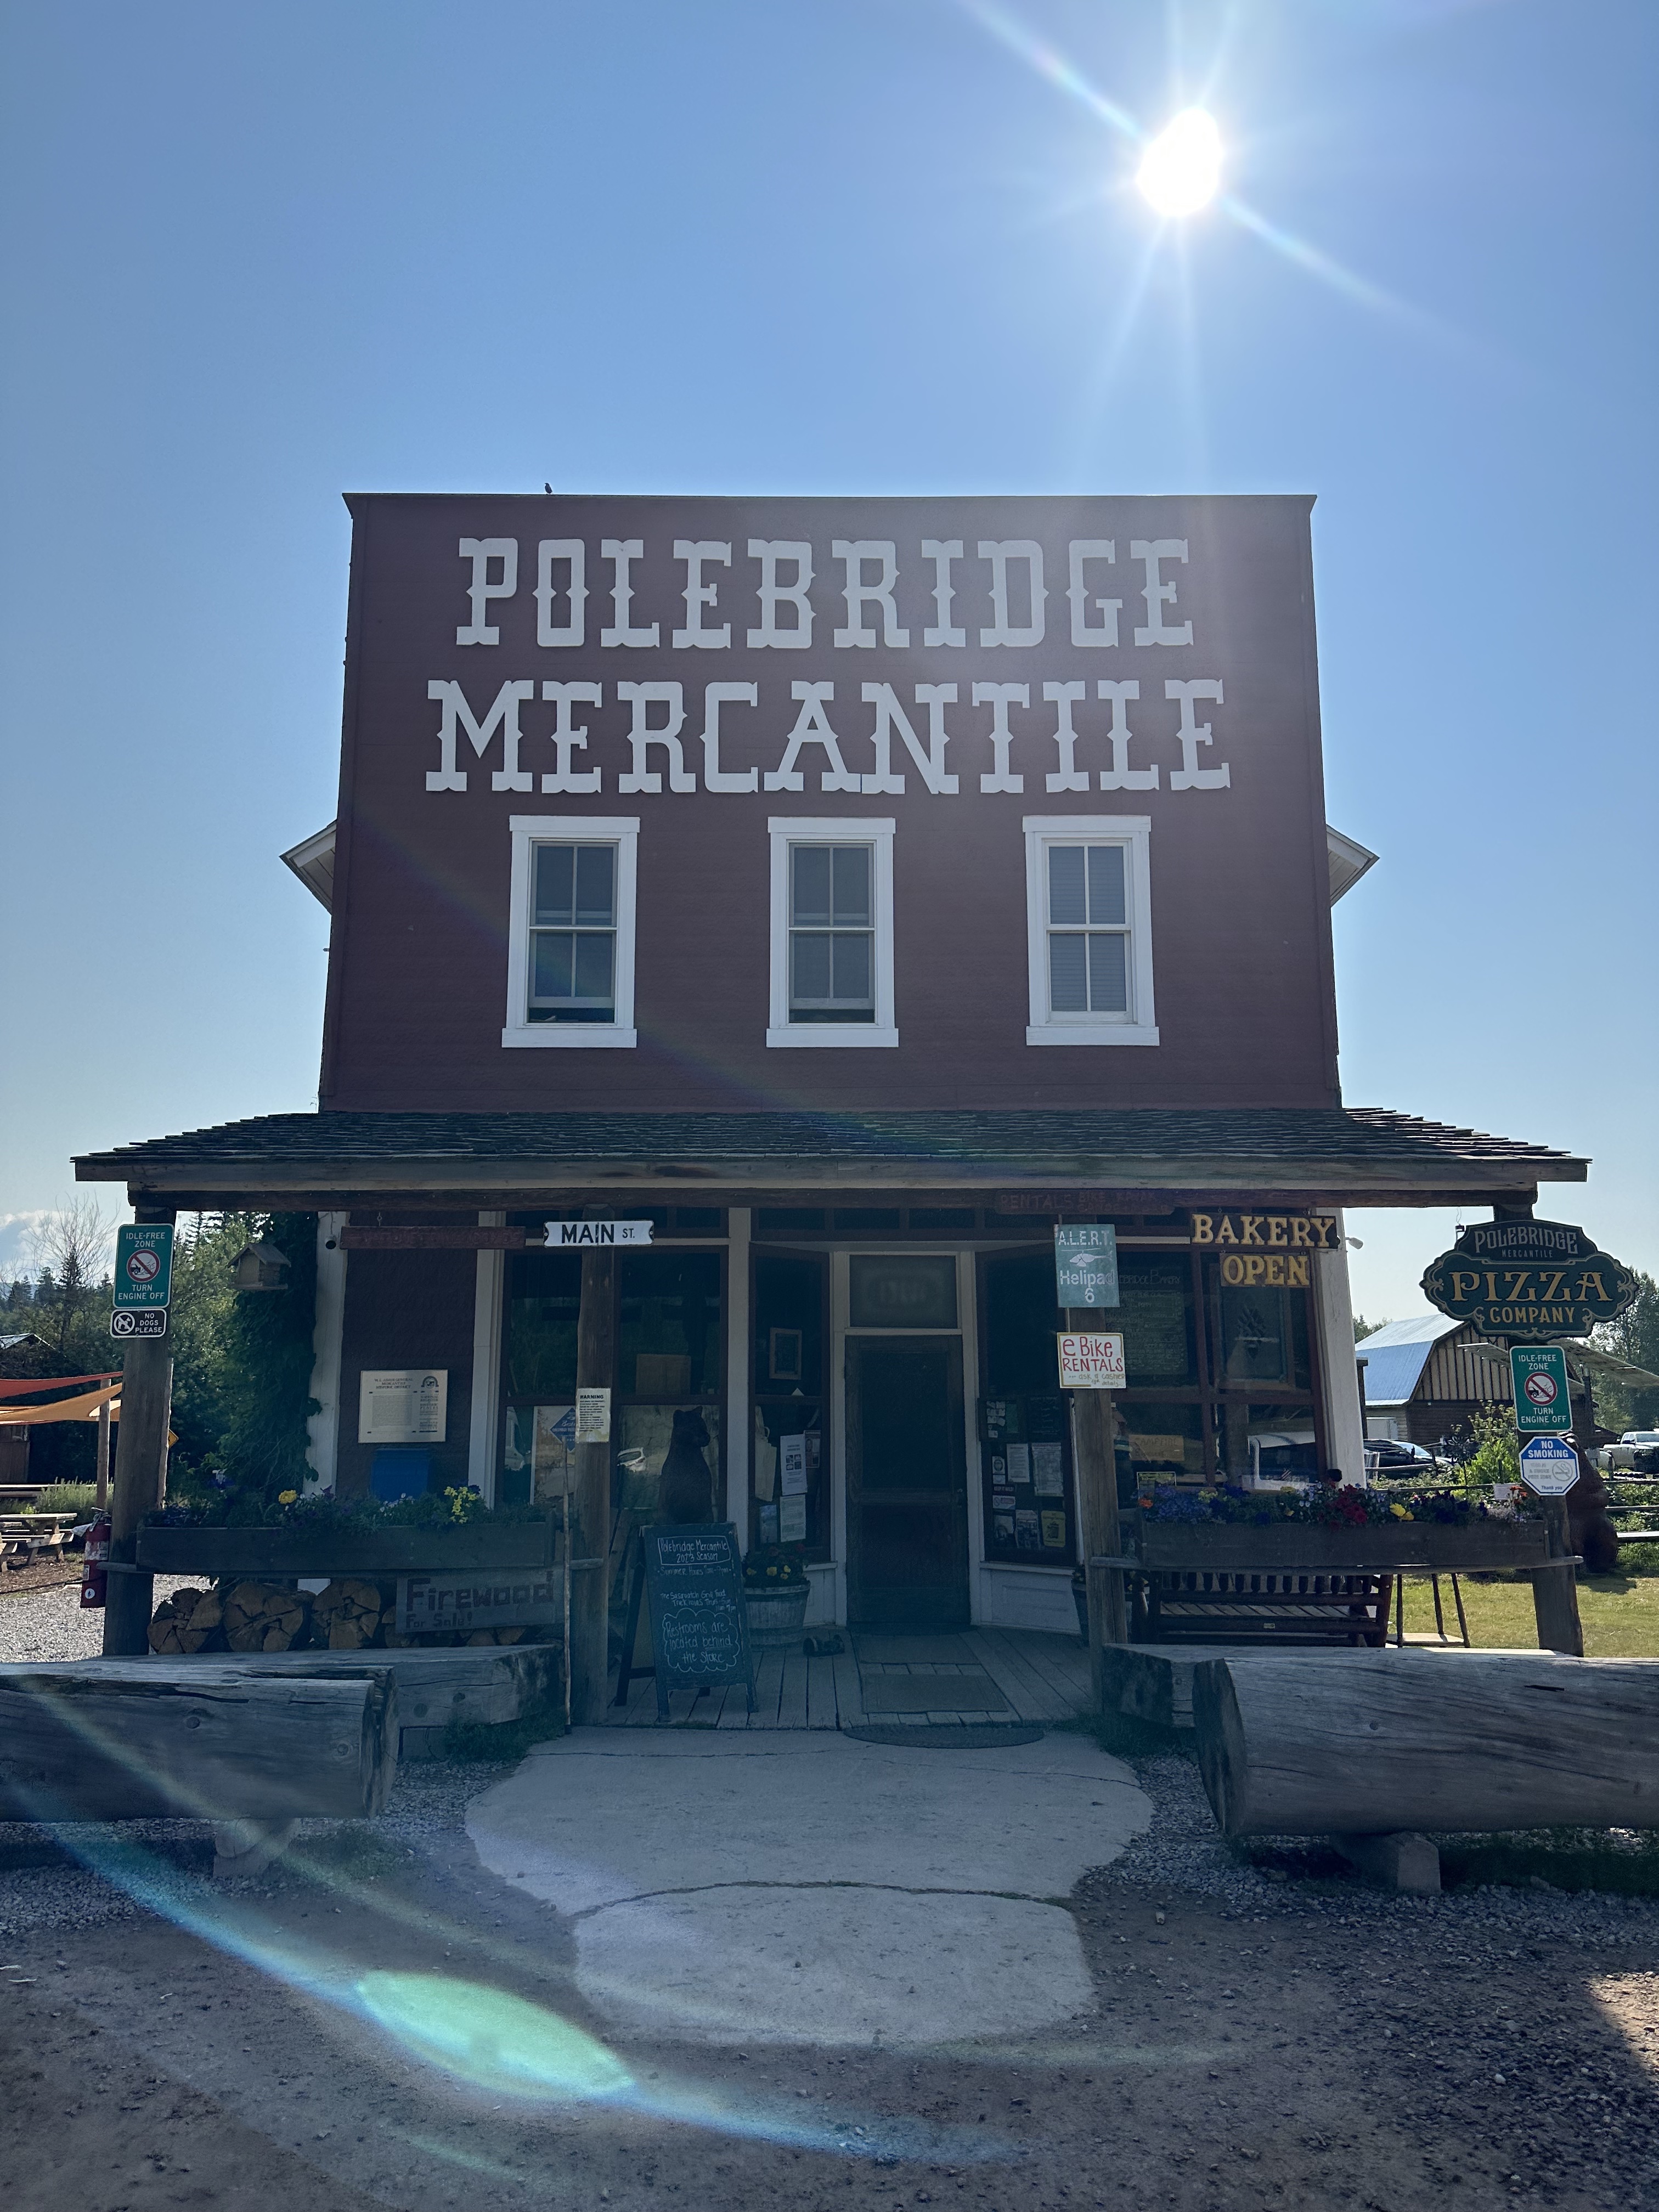
This area is technically outside of the park but close enough for a drive if you have extra time in your trip. It’s known for the Polebridge general store that has camp goods, foods, coffee, souvenirs and pastries. We stopped and got huckleberry pastries and coffee, it was delicious!
Polebridge general store
8. Go Fly Fishing
Glacier national park is well known for prime areas to fly fish. Areas outside of the park require a Montana fishing license which can be purchased at a flying fishing store or most general stores. I’d recommend speaking to a park ranger within the park or someone at a fly fishing store to gain more information on certain restrictions and regulations while fishing in the park or just within Montana.
9. Take Photos of the Wildlife within the park
We were stunned with how much wildlife we saw throughout our trip to Glacier! We loved seeing mountain goats, moose, bears, big horn sheep and much more. Most of this wildlife we saw was seen during hikes and drives throughout the park. Be sure to always carry bear spray and bear bells with you while hiking in the park and maintain a safe distance from these animals.
10. Watch the Sunset
Watching the sunset within the park is an incredible thing to do! We loved watching the sunset along the going to the sun road or by Mcdonald lake.
One of my favorite road trips I’ve ever done was exploring the national parks throughout Wyoming. Two of the most popular national parks in the country are also located here, Grand Teton and Yellowstone! These two parks are very close to each other which makes road tripping between the two convenient. In this guide, I’ll be sharing tips I gathered throughout my own experience from visiting these two incredible parks.
Things to Know Before Visiting
Best time of year to visit
It seems like the ideal time of year to visit either of these parks is the Summer or Fall. I also think Spring and Winter would be beautiful, but access to the park may be limited due to snow. By Summer time (May-August) the snow has melted, it’s warmer throughout the day, and the majority of the park is open.
Wildlife
Yellowstone and Grand Teton national parks are well known for their incredible wildlife. It’s important to respect the wildlife you may see by observing from a safe distance. The national park recommends you keep a 100 yard distance from bears and wolves, and 25 yards from bison and other animals. Both of the parks are also home to grizzly bears. And while this can seem scary, usually bears aren’t searching for you. However, if you plan to hike there’s a chance you may see or encounter a bear. If you can, it’s recommended you hike in small groups of three or more and carry bear spray or bells at all times. When we hiked, we also played music on some remote parts. The park also recommends making noise from the bells, music, or by talking to fellow hikers, this way, bears will know humans are in the area and will likely avoid that area.
Where to stay
If you like to camp, there are various campgrounds within the Grand Teton national park as well as free spots to camp for the night as well. Throughout our trip, we stayed at Jenny Lake campground and a few free camp spots I found on Campendium. Throughout the summer months there are also cabins and lodges within the park, check out here. Yellowstone national park also has a variety of campgrounds spread across the park. While we were in Yellowstone, we stayed at Canyon campground and loved it! There was laundry and shower amenities included in the reservation as well which was amazing. If you aren’t a camper, luckily, Grand Teton is close to Jackson Hole which is an amazing town with plenty of overnight accommodations. Similarly, Yellowstone has a variety of lodging options! As always, I’d recommend making any sleeping accommodations as far in advance as you can since the summer is peak season for both parks.
Park passes
I’d recommended buying the America the Beautiful park pass if you plan to visit both parks. Especially if you plan to continue on to other national parks nearby. The pass is $80 and gets you into national parks for a year. Otherwise it’s $35 to enter each park.
What to pack
Hiking shoes. Hiking boots or shoes will work best for the trails and long walks you’ll be taking while visiting both parks.
Hiking poles. These definitely come in handy when hiking up steep trails.
Layers. Even in the summer, the mornings and nights at both parks were chilly.
Backpack. This is handy when hiking or walking around to various sights.
Camera. A phone is great for this but if you do have a camera, bring it along too! There’s so much to capture on film while visiting both parks.
Navigation. I’d recommend downloading maps a head of time, both parks have limited cell service within the park. We love using google maps and park wolfe (free maps of the national parks that don’t require wifi or cell service to see) to navigate routes throughout the parks and AllTrails to download hikes in advance to follow the trail via your phone (helpful if you get lost or turned around on a trail!).
Headlamp. We love our headlamps for early morning hikes or adventures.
Water bottle.
Sunscreen.
Bug spay.
National park passor entrance passes.
Camping or lodging reservations.
Itinerary Outline
Starting the trip will depend on where you are coming from. Since we were driving in from the East, we started our trip at Grand Teton. If you fly in, you can decide which location you’d rather start at (you can’t go wrong either!). For this itinerary, I’ll be sharing things to do in the Grand Teton and Yellowstone national parks based off our experience and I’lll also be adding a few stops and sights we didn’t get to see but I’d recommend!
Grand Teton National Park
Grand Teton national park is one of my favorite parks I’ve visited yet. There’s so much to see and do while visiting and I loved how close the park is to Jackson Hole. We spent about four days throughout the park which I thought was the perfect amount of time, but you definitely could see most highlights in two to three days if that’s all you have.
Must Do’s in the Tetons
Wake up early to catch a sunrise. Grand Teton was my favorite place to watch the sunrise. There was something so magical about the way the Teton mountains changed colors while the sun came up. A few great places to catch the sunrise are:
Mormon Row
Schwabacher Landing
Oxbox bend
Take a drive on the scenic roads within the park. Grand Teton offers two scenic routes, the outer road, also known as Highway 191 and the inner road, also known as the Teton Park road. See the map above for reference.
Inner road pull off spots to see:
Windy point turnout
Teton Glacier turnout
Jenny Lake overlook
Cascade Canyon turnout
Mountain View turnout
Mount Moran turnout
Potholes turnout
Oxbow Bend turnout
Outer road pull off spots to see:
Elk ranch flats turnout
Snake river overlook
Teton point turnout
Schwabacher landing road
Glacier view turnout
Take a hike! The Grand Tetons has some incredible hikes that offer some of the best views! A few hikes I’d recommend are:
Hiking to Hidden falls and Inspiration point. There’s a boat shuttle available you can take from Jenny Lake that drops you right near the trail head to hike up to hidden falls. If you feel up for a longer hike, continue on past Inspiration point and hike towards Cascade Canyon. This is a long hike but it’s worth doing parts of it!
Cascade Canyon. This is a long hike but we were able to hike parts of it and combined it with the Jenny lake loop so we could also see hidden falls and inspiration point like I mentioned above.
Delta lake. This is a stunning but strenuous hike that takes you to delta lake. We attempted to hike this trail but had to turn around after a few miles due to Patrick getting elevation sickness. Make sure you go prepared with plenty of water and snacks as well as giving yourself time to adjust to the elevation in the area.
Taggart Lake. This is a fairly moderate 4 mile hike that takes you to Taggart Lake. The views along this trail were beautiful and gives you another lake to spend time at within the park.
Stop by the Jenny Lake visitor’s center for some park souvenirs.
Drive the scenic Jenny Lake road and take a walk along the lake. This was such a hidden gem! It was such a special view of Jenny Lake, and both times we stopped by, there were barely other people there.
Spend time in Jackson Hole, Wyoming. Such a great town with a fun western vibe!
Drive to the Cotler Bay village area and spend time by the water. There’s also options to kayak or swim here.
Sunrise at Mormon RowOxbox Bend pull off spot along scenic “inner” roadMountain View turnout spot along scenic roadViews along trail towards Cascade CanyonHidden fallsSunrise at Schwabacher landingDowntown Jackson HoleCowboy Bar in Jackson HoleJenny Lake scenic area
Yellowstone National Park
Yellowstone National park is so big, it’s technically in three different states (Wyoming, Montana, and Idaho!). For this guide, I’m recommending things we did on our trip that were mostly in Wyoming. We spent two days exploring but I’d recommend at least three to full experience the park. Yellowstone is divided into two loops: the northern and southern. If you can, I’d recommend spending part of the trip in the north loop and the other in the south loop if you want to cut down on driving time per day. We ended up driving back and forth between the loops throughout our trip and it was doable but more time consuming to get to various points so keep that in mind. For this guide, I’ve divided activities into the north and south loops to make it easier to plan and follow.
Must Do’s in Yellowstone
North Loop must do’s
Drive to Hayden or Lamar valley to watch wildlife. These are two valleys the park recommends that usually have bison and other wild life grazing. We had so much luck at Hayden valley, it was so incredible to see bison up close! We were able to marvel at these beautiful animals for the safe distance within our car. Hayden valley is closer to the Grand Canyon of Yellowstone and Lamar is more north on the northern loop of the park.
Check out the Grand Canyon of Yellowstone. This was one of my favorite experiences while visiting the park, it’s stunning and there are multiple few points to give different perspectives of the canyon. Our favorite few points to check out:
South Rim drive: Artist’s point and upper falls lookout point.
North Rim drive: brink of lower falls, inspiration point, grand view point, and lookout point
Stop by Tower Falls. We didn’t have the chance to see this but I’ve heard it’s a great spot to add on your Yellowstone itinerary.
Drive to see Mammoth hot springs. The lower terrace of the hot springs was so unique and stunning we were in shock. This is a fairly quick stop but I’d say it’s a must see while visiting Yellowstone.
Spend time exploring the Norris Geyser Basin area to see more beautiful geysers and springs. This area is similar to the old faithful area, with boardwalks that lead you to view points of the various geysers and springs.
South Loop must do’s
Stop by Gibbon Falls. Around this area is also the Gibbon river which is a nice spot to fish if that’s your thing!
See ‘Old Faithful’ erupt! This is one of the most popular geysers to see, mostly because it erupts consistently every 60-90 minutes. We used the website, geyser times, to check in advance when the next predicted time frame was for Old Faithful to erupt so we didn’t have to wait too long.
See other geysers and pools in the old faithful area. There’s so many geysers and spring pools in this area connected by boardwalks which make it easy to site see. Some other geysers or pools I’d recommend checking on in this area:
Castle geyser
Daisy geyser
Spa geyser
Morning Glory pool
Grotto geyser
Grand geyser
Beauty pool
Check out the Grand Prismatic spring. This is another iconic spot in the park that is a must see! We drove to the fairy falls trailhead to hike to the overlook which gives you an above view of the spring. The hike to the overlook is about 1.5mile and a bit steep at times, but the view is definitely worth it! There’s also the option of viewing the grand prismatic at ground level, but I’ve heard this angle makes it harder to see all of the vibrant colors.
Watch the sunset. I’d recommend watching the sunset back at Hayden valley, which is what we did, and it was beautiful!
Stop at any ‘Yellowstone General Store.’ While we visited, there were so many of these stores throughout the park that offer restrooms, souvenirs, and food options.
Old Faithful viewing areaSpring poolsBison! Grand Spring PrismaticMammoth Hot SpringsGeyser poolsGrand Canyon of YellowstoneExploring geysers and poolsMorning glory Bison at Hayden Valley
This past weekend, Patrick and I crossed another national park off our list, Mammoth Cave! Mammoth Cave national park is located an hour and a half south of Louisville, Kentucky. It is an underrated park in my opinion, I was amazed with how incredible Mammoth Cave was! We only spent one day exploring which I think was enough to experience the highlights but I’d recommend at least a weekend to fully explore the park. Here’s a quick guide to tips and things I’d recommend checking out while visiting.
Things to Know About Mammoth Cave
Mammoth Cave national park is FREE to enter, there are no entrance fees required to access the park.
Cave tours are the most popular thing to do while visiting the park, tours vary in length and difficulty level.
I’d recommend booking a cave tour in advance. You have the option to buy a ticket on site at the visitor’s center, but even in February, certain cave tours were sold out!
After exiting any cave tour, the park requires you to walk across a station with soap to clean the bottom of your shoes. This is to prevent the spread of White Nose Syndrome which is a fungal disease that has been impacting bat populations across the country.
The park has great lodging options if you desire to stay within the park:
Sunset Terrance hotel
Historic Cottages (closed in the winter)
Woodland Cottages (closed in the winter, these cottages don’t have A/C or heat)
Maple Springs campground (10 minutes from visitor’s center)
Houchin Ferry campground (20 minutes from visitors center, tent only).
Airbnb’s and hotels in surrounding areas (Brownsville, KY + Cave City, KY).
Things to Do
Cave tour. When visiting Mammoth Cave, you have to take a cave tour! It’s an incredible experience having the opportunity to explore the caves. The national parks system has done an amazing job making the tours enjoyable and informative. There are several cave tour options that you can learn more about on the park’s website.
We decided to take the Frozen Niagara cave tour and it was incredible! This tour was an hour and 15 minutes. It’s the shortest cave tour in time and distance, we only walked about .25 mile on this tour.
Other popular tours many visitors choose include:
Historic Tour (2 hours, $20 per adult)
Domes and Dripstones tour (2 hours, $21 per adult)
Gothic Avenue tour (2 hours, $19 per adult)
*Starting March 1st, 2024, the park will be increasing the prices of cave tour tickets, learn more on the park’s website.
Visit the visitor’s center. We were surprised with how big the visitor’s center was! For a smaller national park, this was great to see. The visitor’s center had a small museum like feel inside giving visitors information and history on the cave.
Go for a hike. There were surprisingly lots of different hikes within the park. Our favorites were:
Sunset point trail
Cedar sink trail
Floyd Collins trail
Green river bluff, echo river springs, sinkhole, and heritage trail (combined is 4.3mi round trip)
Stop by the historic entrance. This is an iconic spot in the park to stop by. It is the largest natural opening of the cave and it was originally the first entrance to the cave when it was discovered.
Take a picture at the entrance sign.There are two entrance signs for the park, one if you’re entering from Cave City and one if entering from Brownsville.
Stop by Cave City. We didn’t explore too much here but we’ve heard there are great restaurants and shops in this area.
Entering Mammoth Cave View of Crystal Lake during Frozen Niagara tourHistoric EntranceDetails within cave Visitor’s Center History facts at the visitor’s centerViews on the trailsViews along hiking trails